
You can install Webitel on one dedicated server at low load, up to 30-40 thousand calls per day (about 60 simultaneous calls with conversation recording), and up to 50 thousand chat dialogs per day.
-
Hardware platform:
-
A 64-bit version of the Intel x86 processor, at least 4 cores and 8 threads with a clock frequency of 3.0 GHz;
-
From 8GB of RAM;
-
from 100 GB of free space on the disc (>150 IOPS). Optional disc or S3 storage for call recording.
-
-
Software platform:
-
Debian GNU/Linux 12 (bookworm) 64 bit;
-
Ansible 2.14
-
-
Using the FQDN domain name to automatically obtain a let's encrypt certificate or having your own PEM certificate to configure HTTPS (required when using the WebRTC protocol).
Preparation
24.10
Perform a basic Debian GNU/Linux 12 64-bit installation and connect via SSH.
You can check the installed version with a command: lsb_release -d
Description: Debian GNU/Linux 12 (bookworm)
As root user, install the required minimum set of applications:
apt install git gnupg sudo ansible

ansible --version
    ansible [core 2.14.3]
Copy the installation scripts:
cd /tmp
git clone --single-branch -b 24.10 https://git.webitel.com/scm/wep/ansible.git
cd ansible
The installation will be done using the Ansible configuration management system.
Installation
Before proceeding with the installation, the group_vars/all.yml file, there is an option to make preconfigurations, namely in the sections:
# Webitel
webitel_ver: 24.10
webitel_repo_user: user
webitel_repo_pass: password

# FreeSWITCH
signalwire_freeswitch_key: pat_XXXXX

# OpenSIPS
opensips_fail2ban: false

# Grafana
grafana: false

# nginx
nginx_letsencrypt: false
nginx_site_name: cloud.webitel.lo
nginx_mail_address: cloud@webitel.lo
-
webitel_repo_user and webitel_repo_pass - Login and password to access repositories with Webitel. You need to request access from your manage;
-
signalwire_freeswitch_key - SignalWire Personal Access Tokens (PAT) are required for the FreeSWITCH installation. You need to create a token and set the value in this variable. How to create SignalWire Personal Access Tokens;
-
opensips_fail2ban - true, if you need to enable protection against SIP attacks;
-
grafana - true, if you want to install Grafana to build analytics based on data from the database;
-
nginx_letsencrypt - true, if you need to get an HTTPS certificate automatically;
-
nginx_site_name - set FQDN name to receive a certificate;
-
nginx_mail_address - enter your existing Email to receive the certificate.
Start installation:
ansible-playbook -i hosts/localhost playbook.yml
Licensing
The license is issued for a unique installation. To obtain a license, you need to obtain an identifier on the server:
A license is given for the unique installation. To get a license, you need to get an ID on the server:
curl -L http://localhost/api/srvinfo
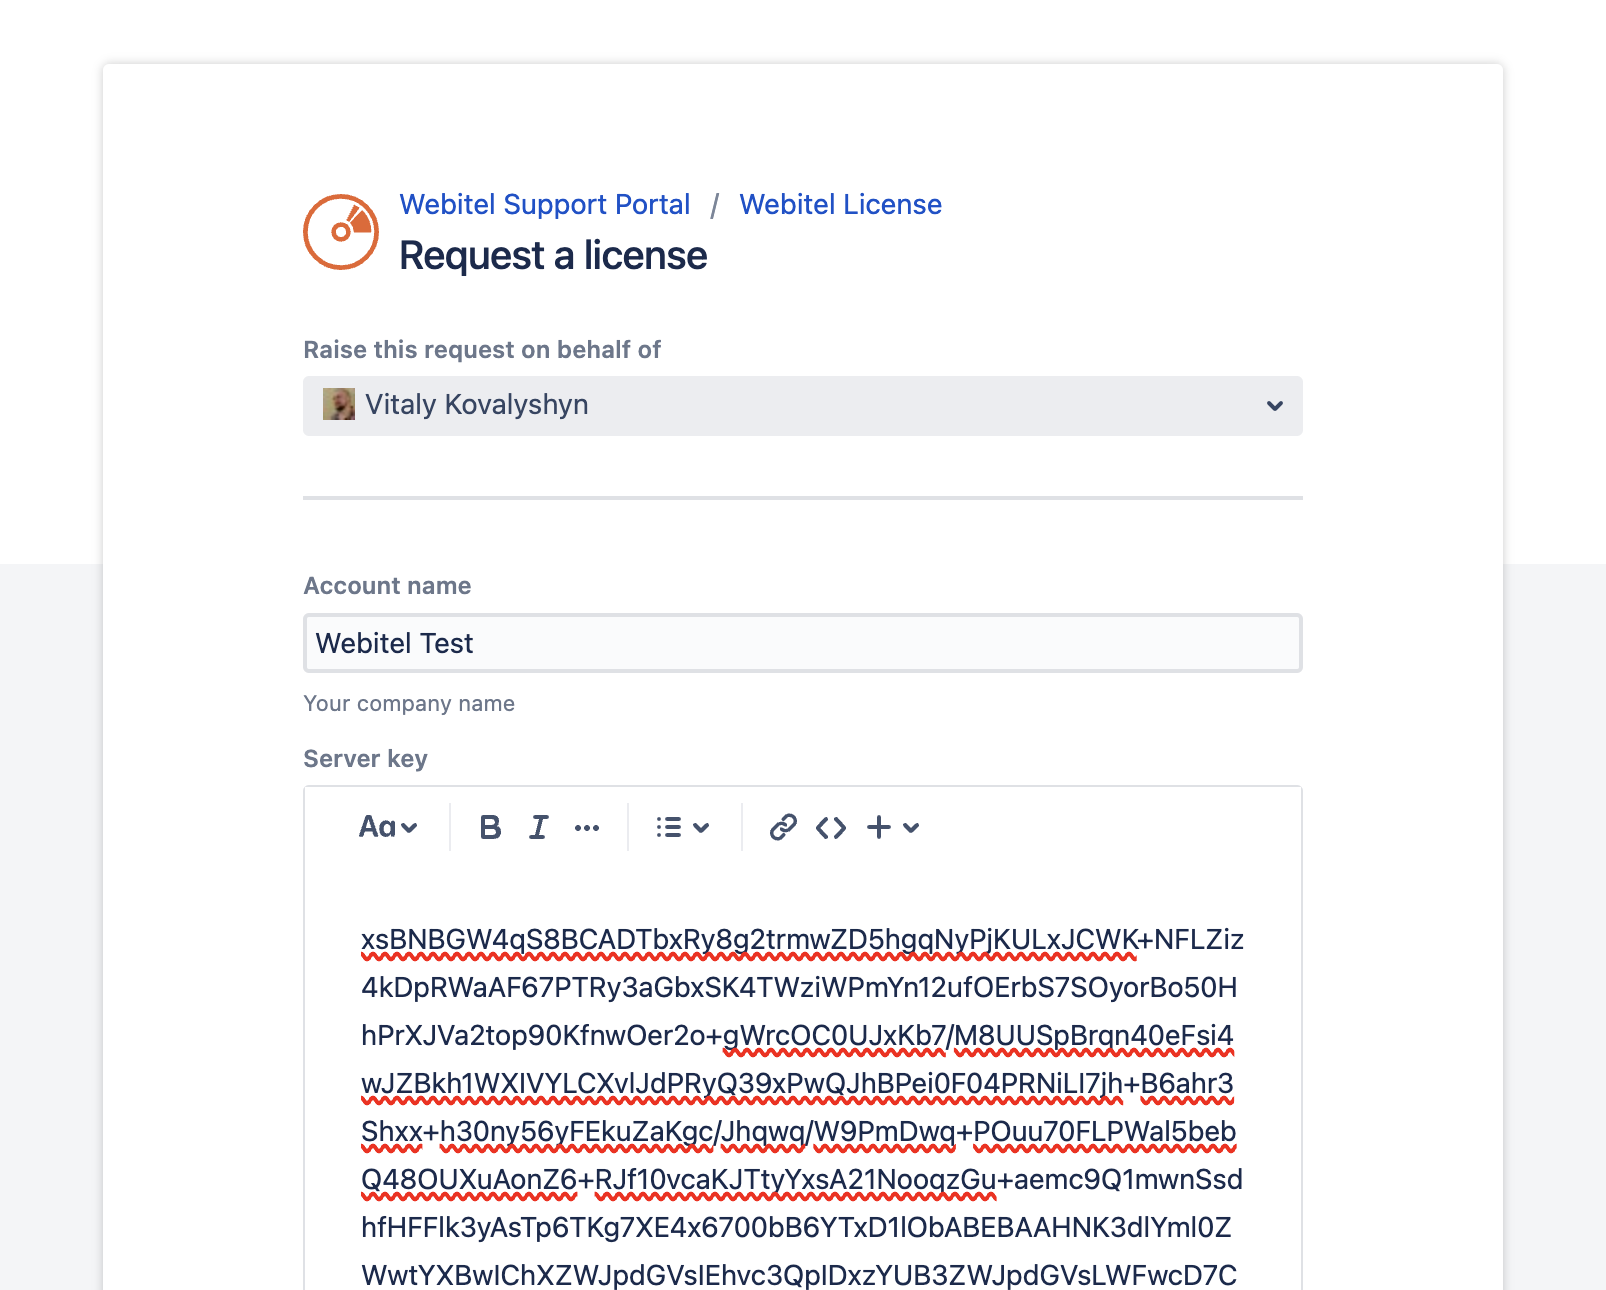
Copy the answer and create a request on the Support Portal:
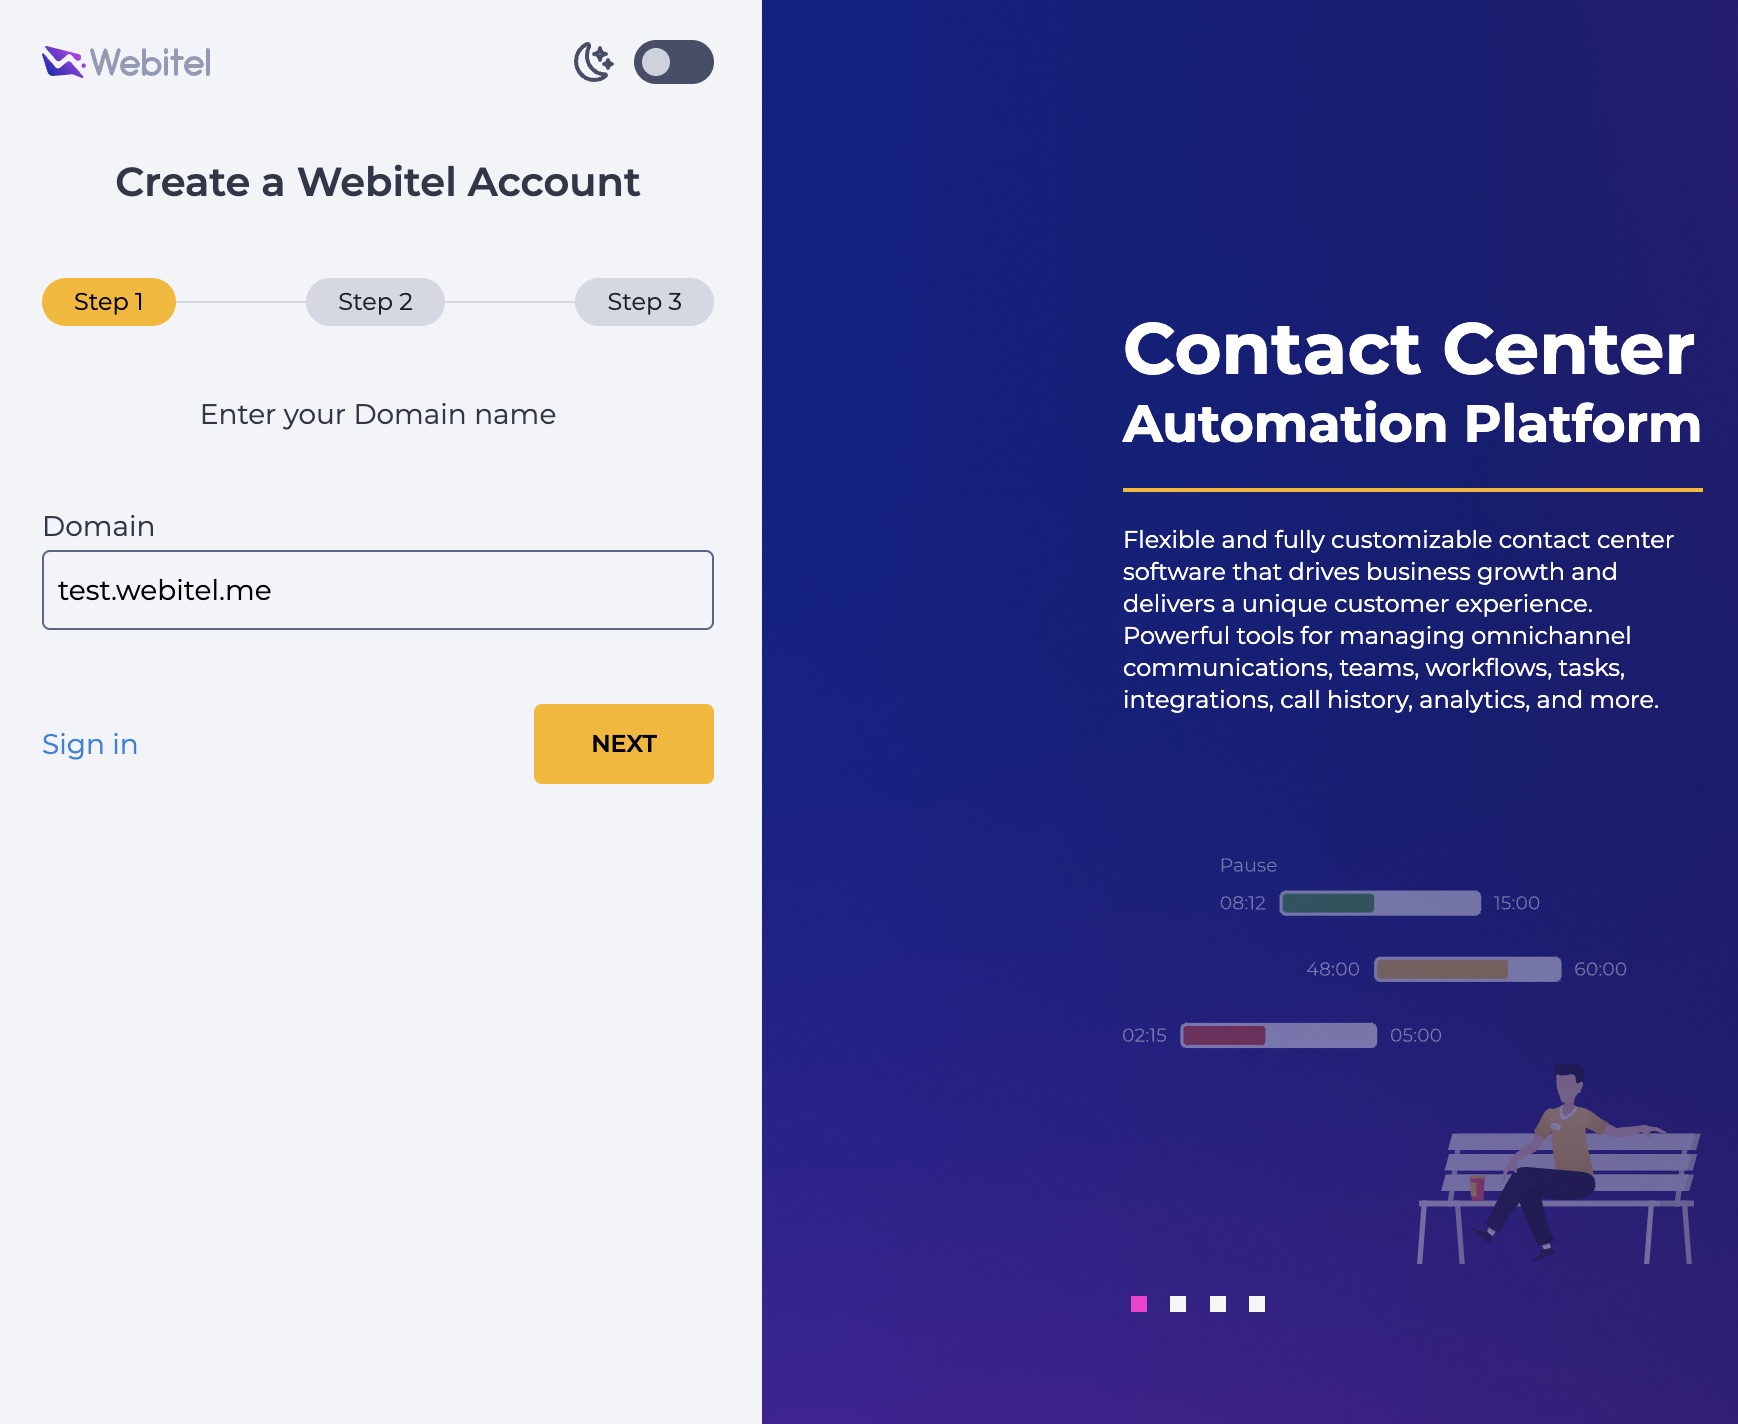
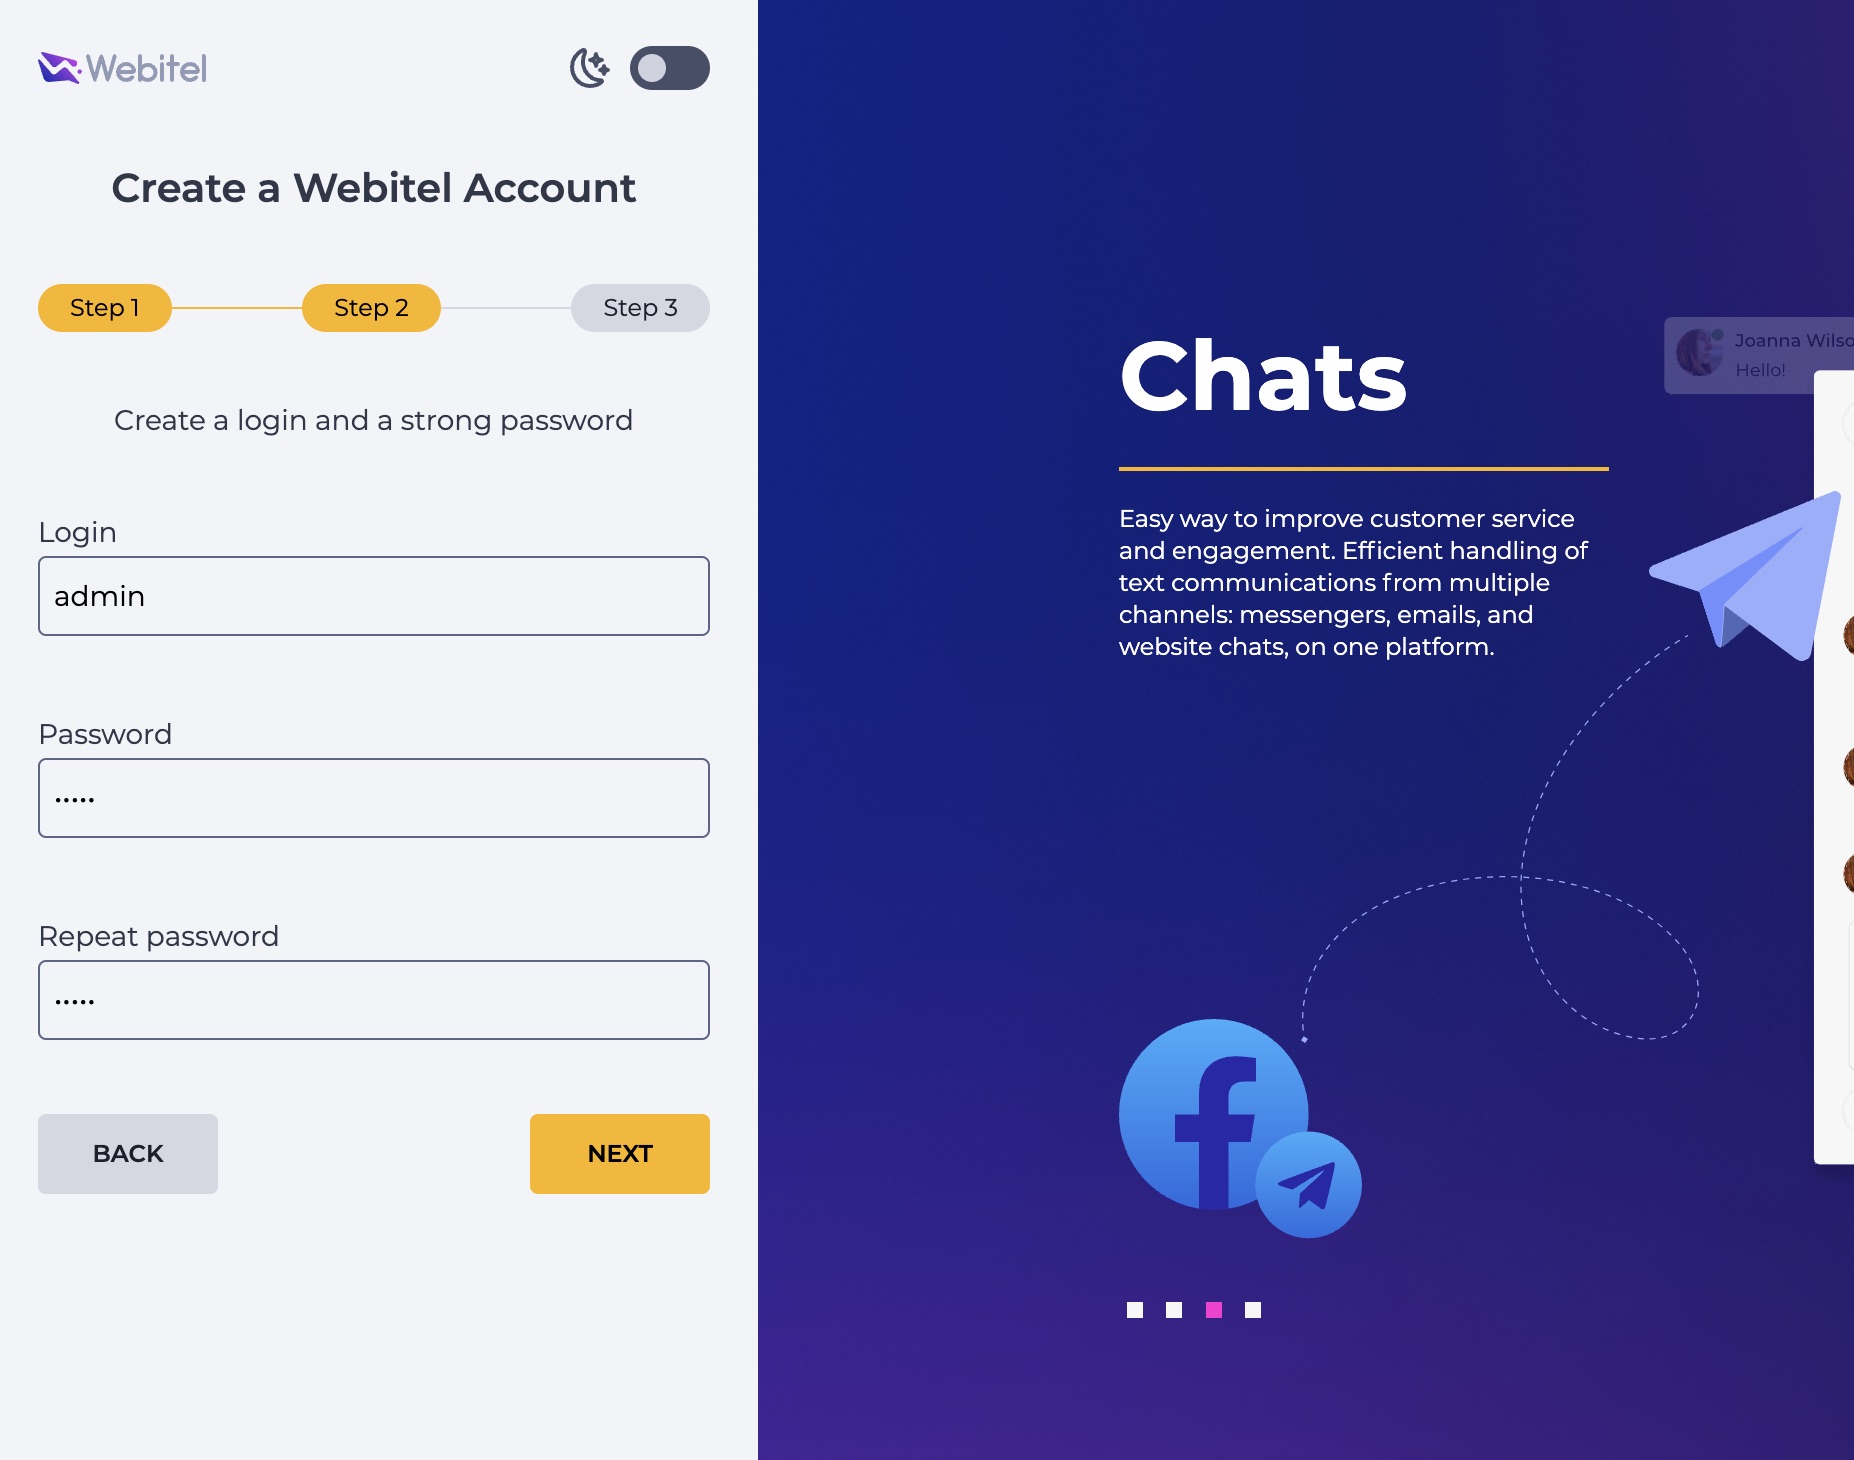
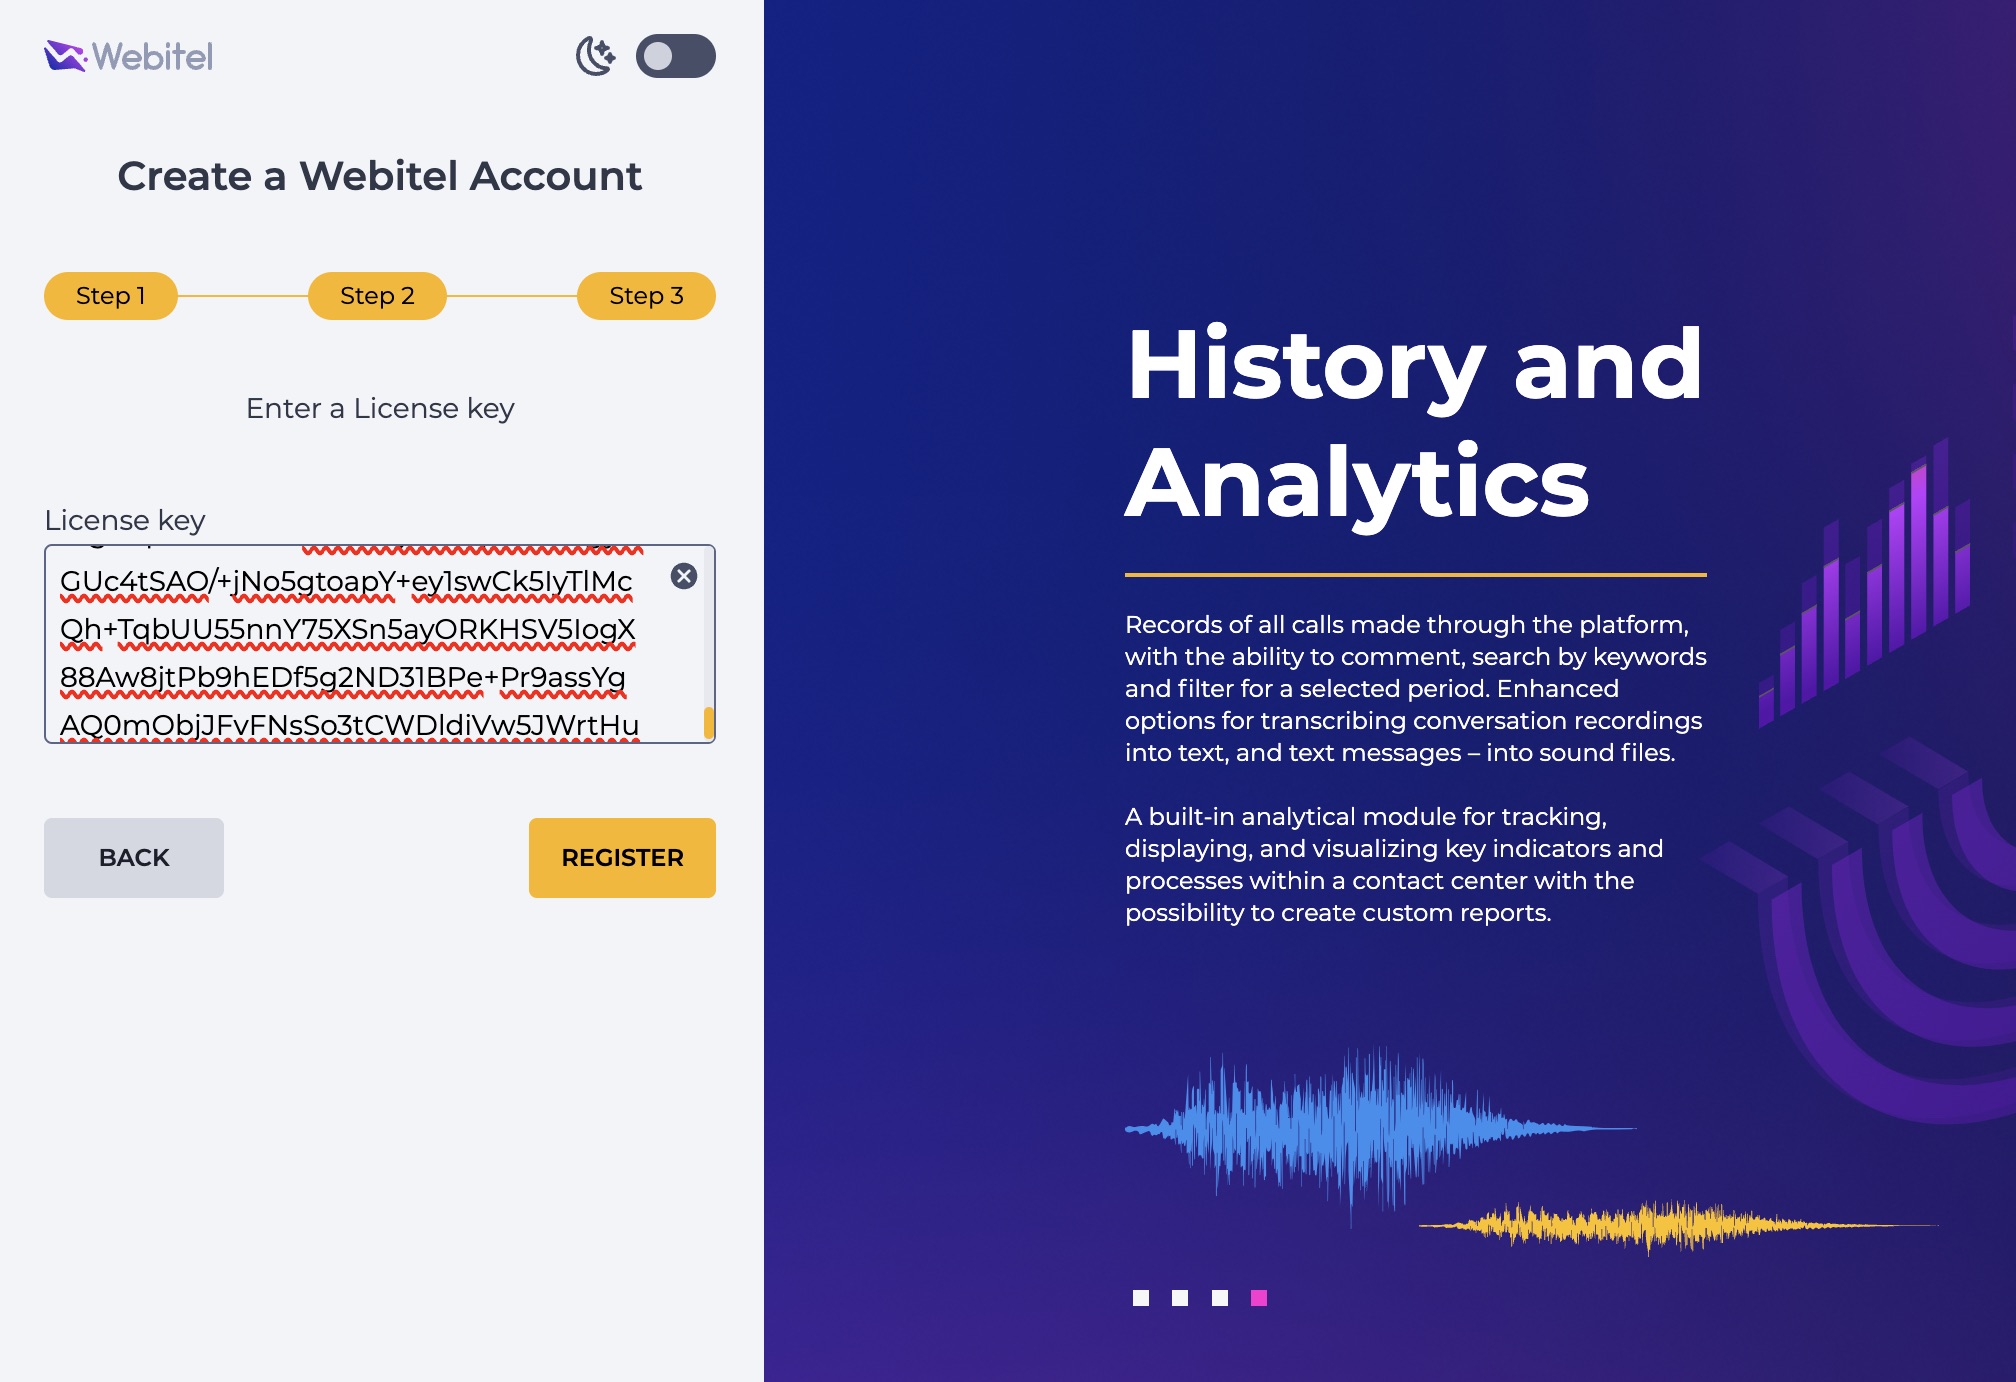
After receiving the license key, you need to go to the web interface on the server and create a user and domain using the received key:
After successful licensing, you should see an application selection screen:
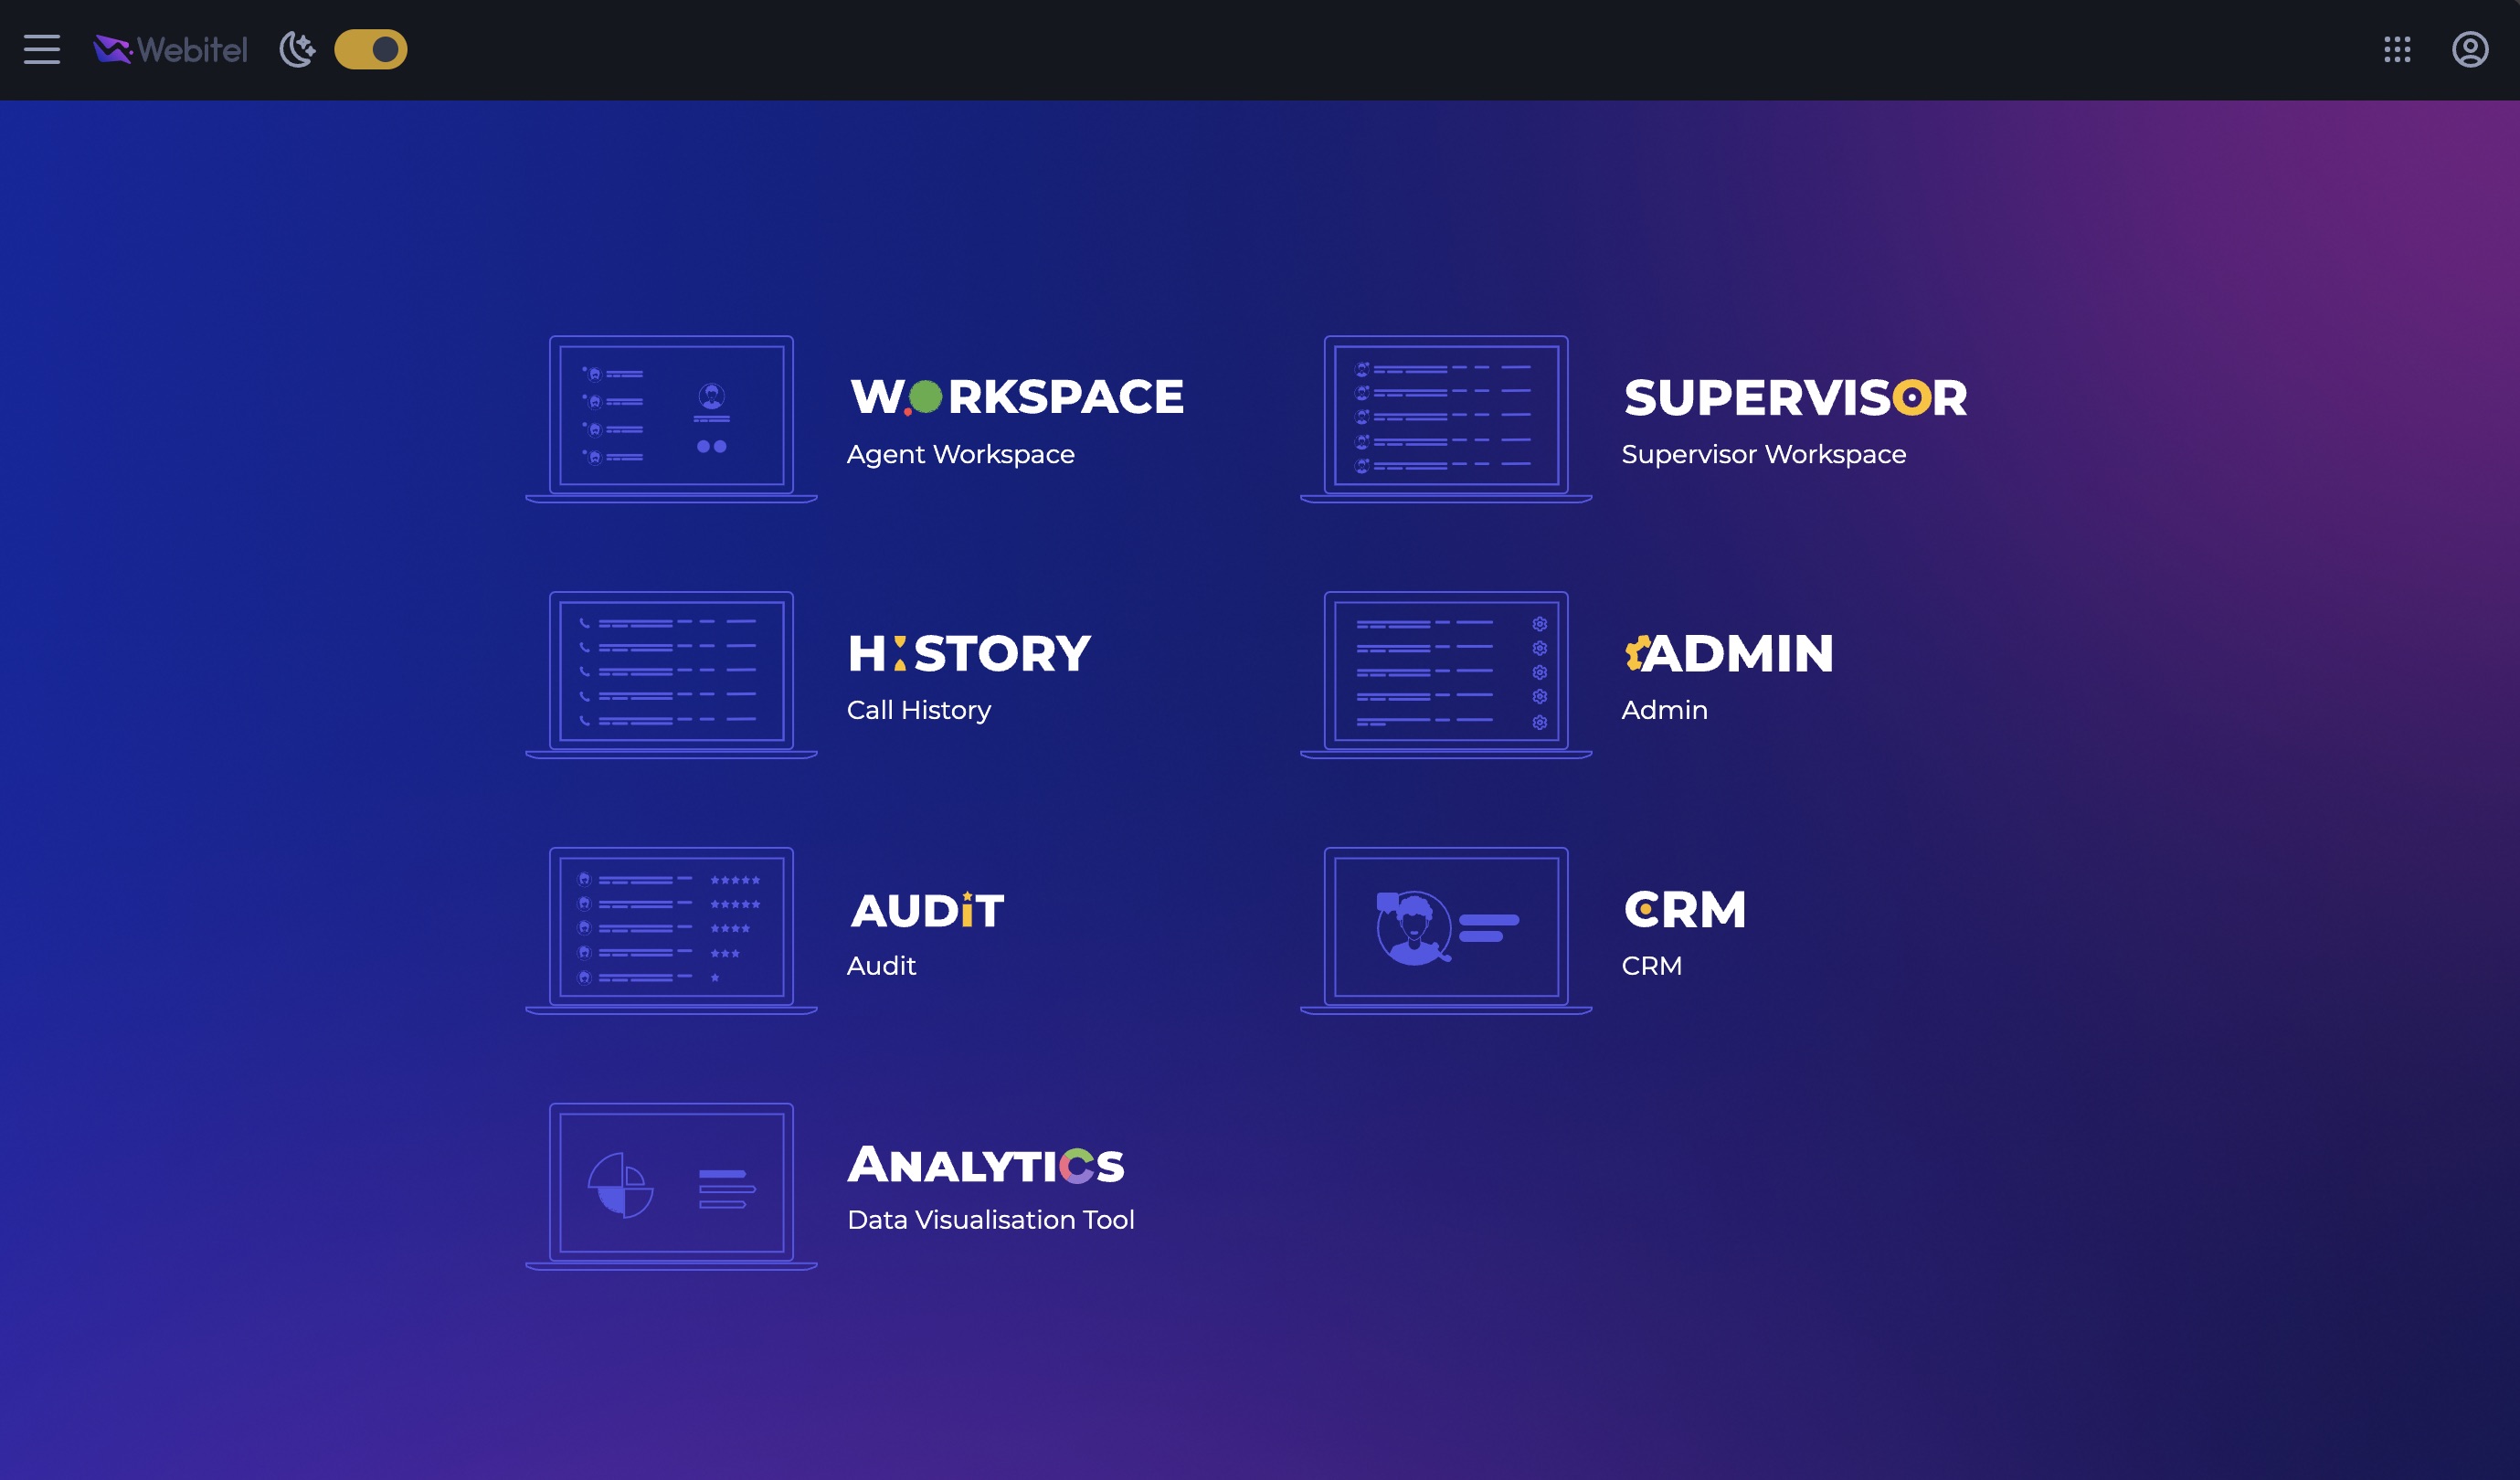
Open the Admin app and go to the system settings.