
-
Go to https://developers.facebook.com/ and log in.
-
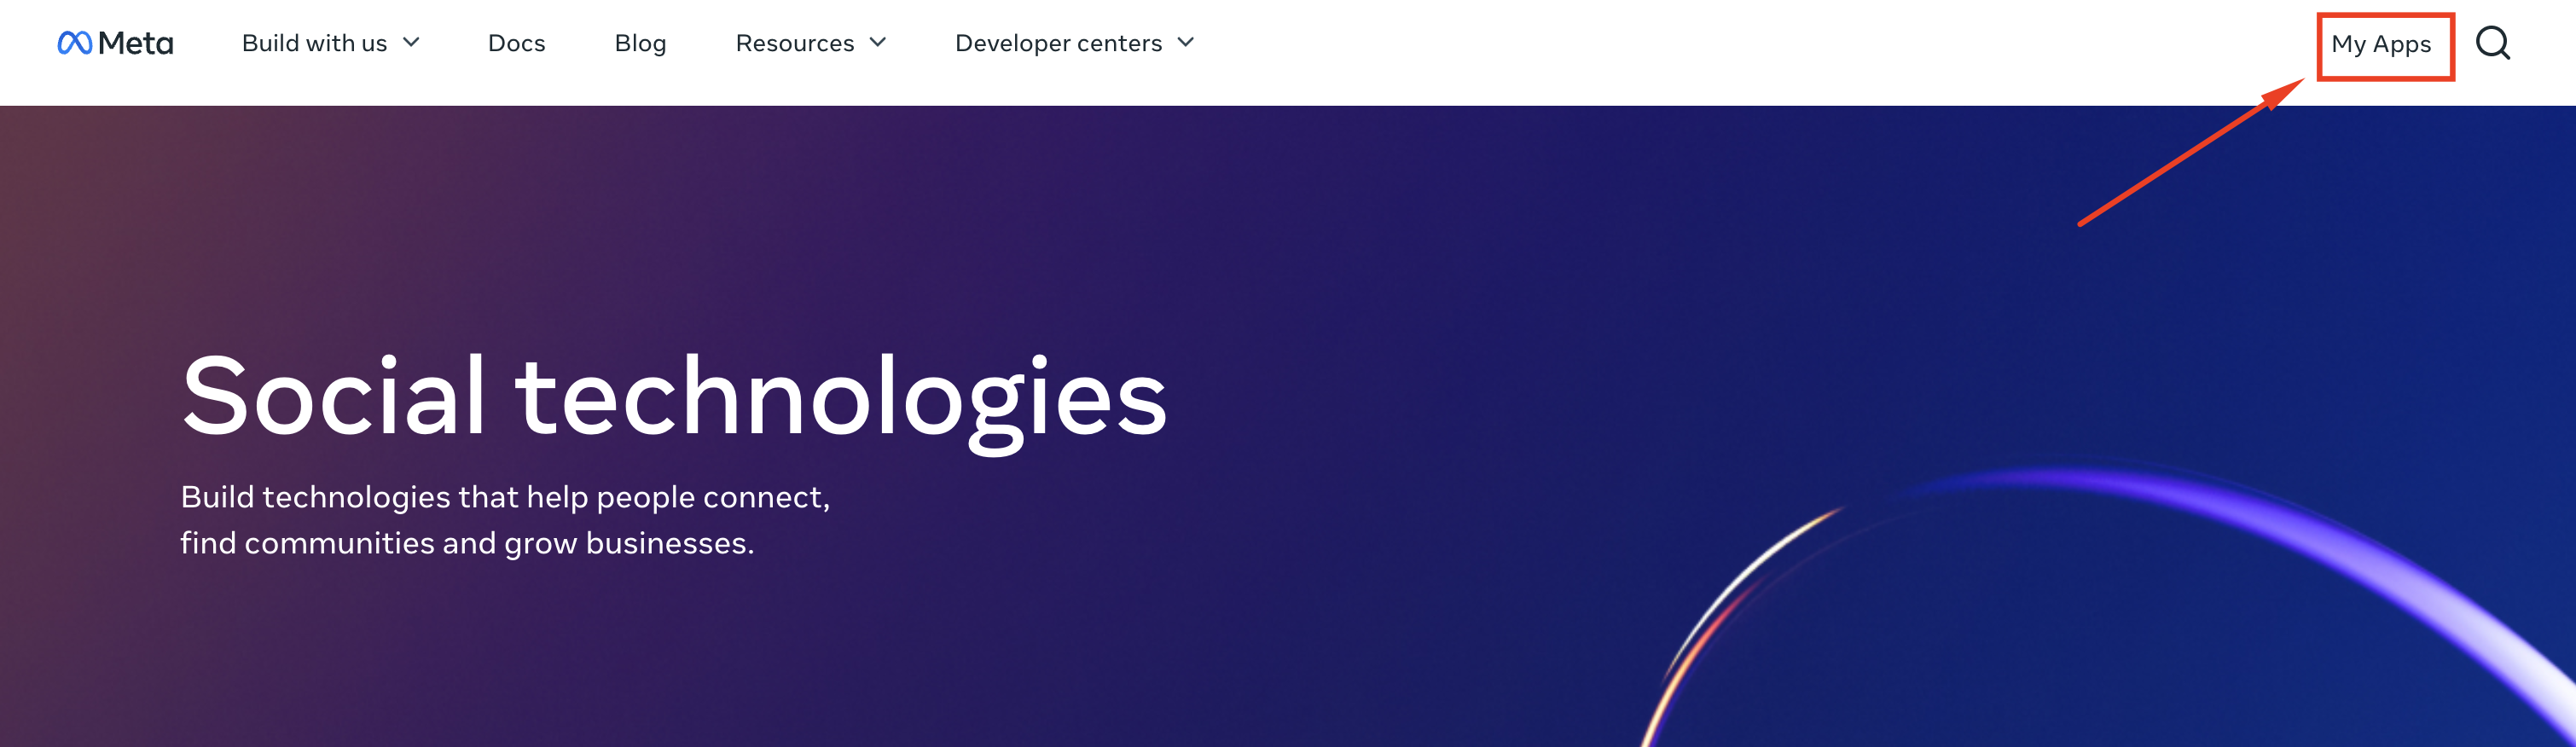
Click “My Apps” (Fig. 1).
-
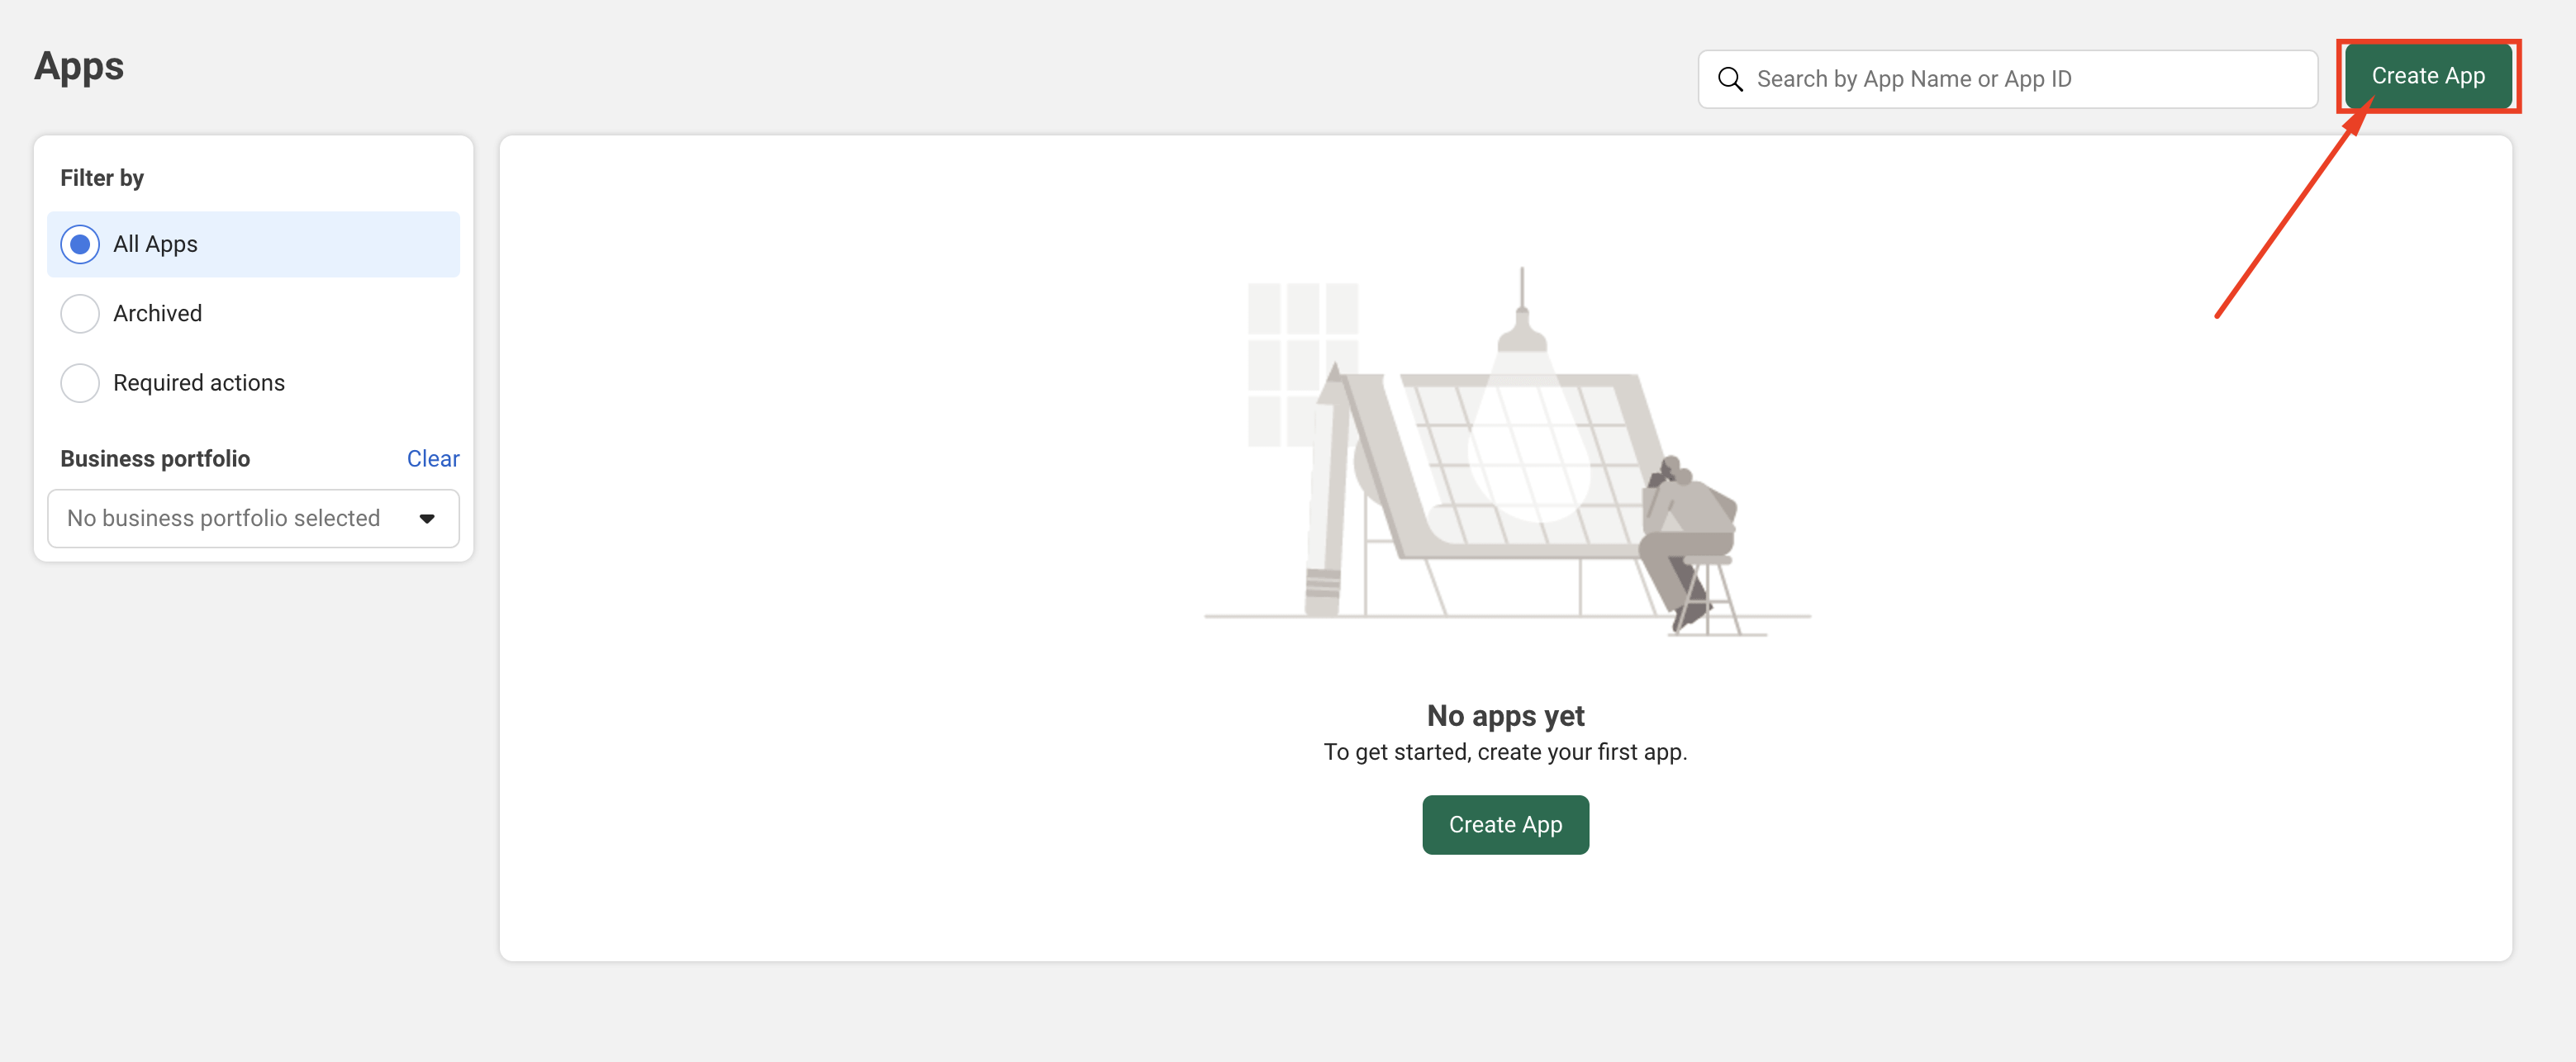
The “Apps” page opens. Click the “Create App” button (Fig. 2).
-
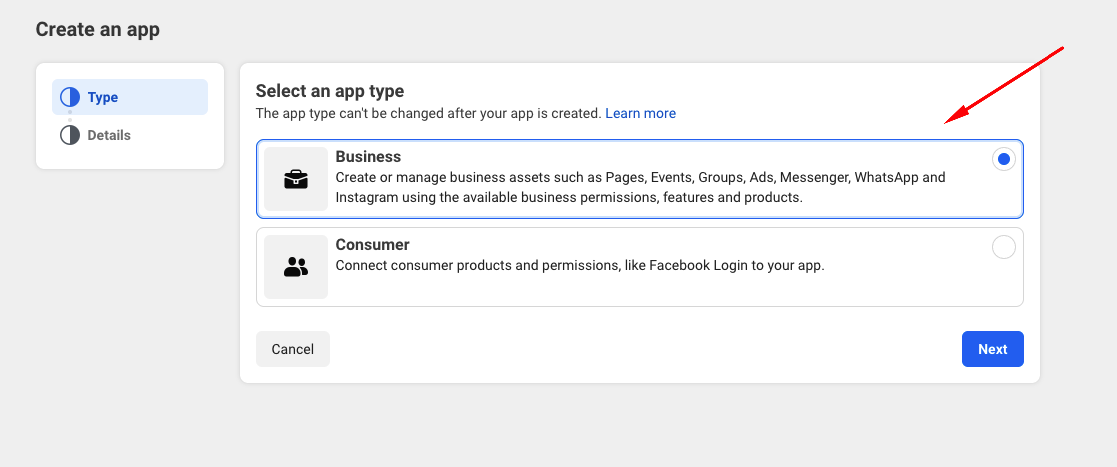
The “Create App” page opens, “Type” section. Select the “Business” app type and click the “Next” button at the bottom of the page (Fig. 3).
-
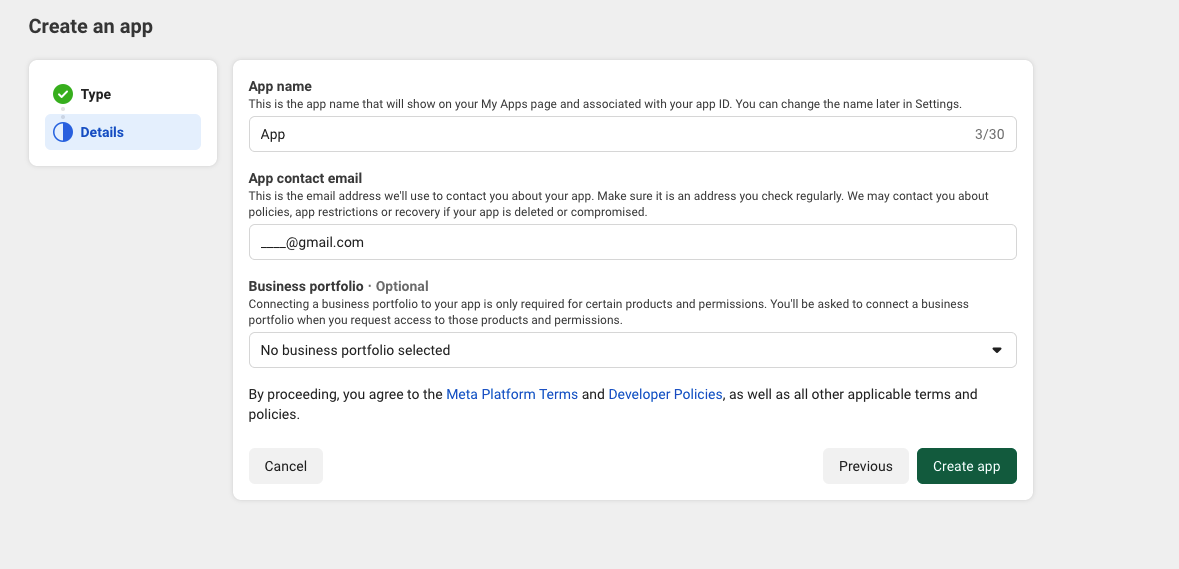
The “Create App” page opens, “Details” section. Fill in the fields. Click the “Create App” button (Fig. 4).
-
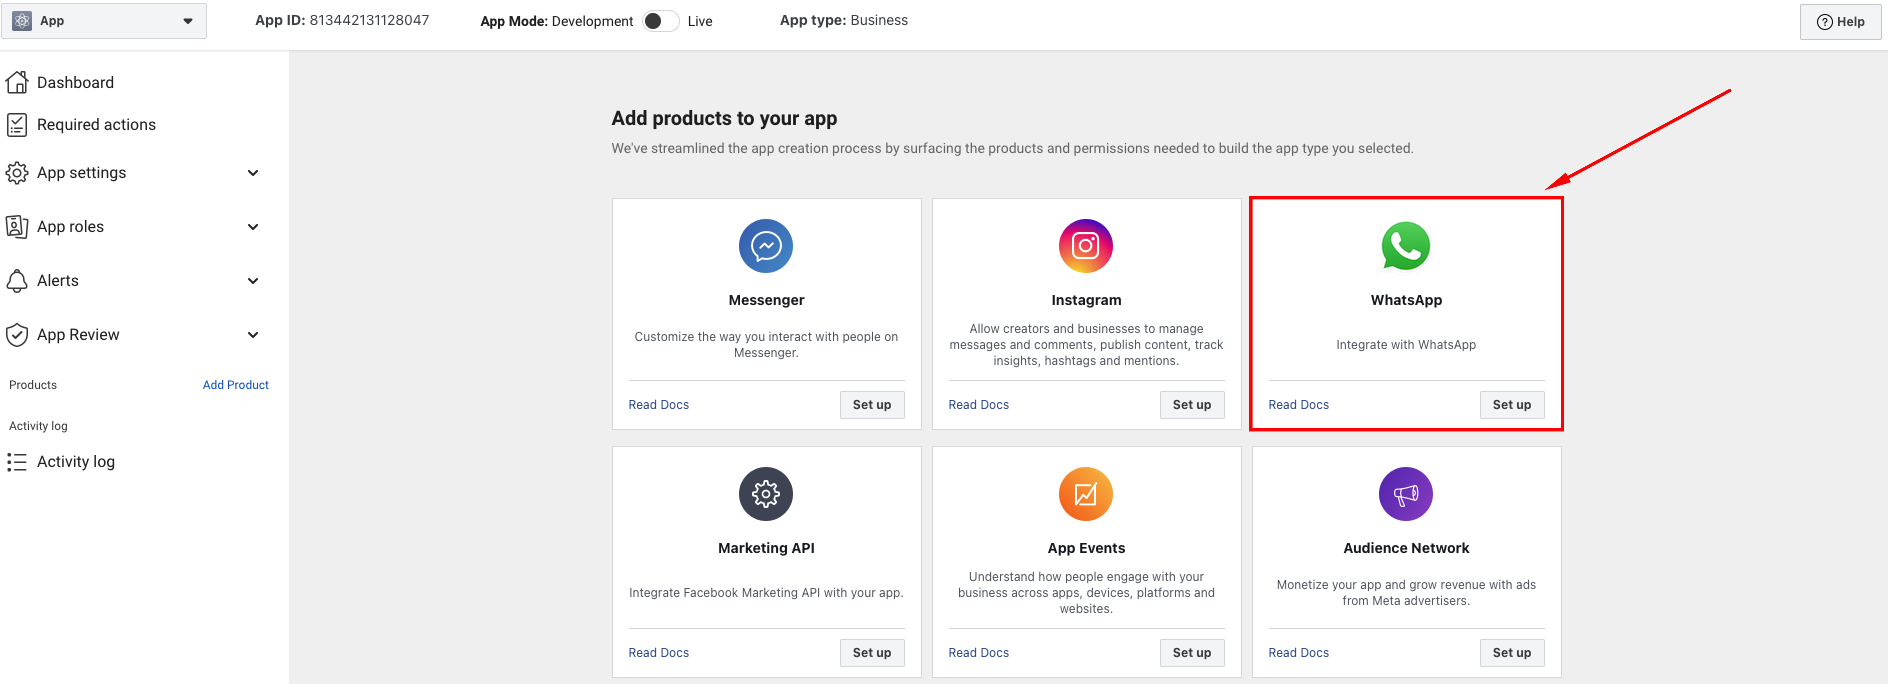
A modal window opens to re-enter the password. Enter the password and click the “Submit” button. The page for adding products to the app opens. Select WhatsApp, click the “Set Up” button (Fig. 5).
-
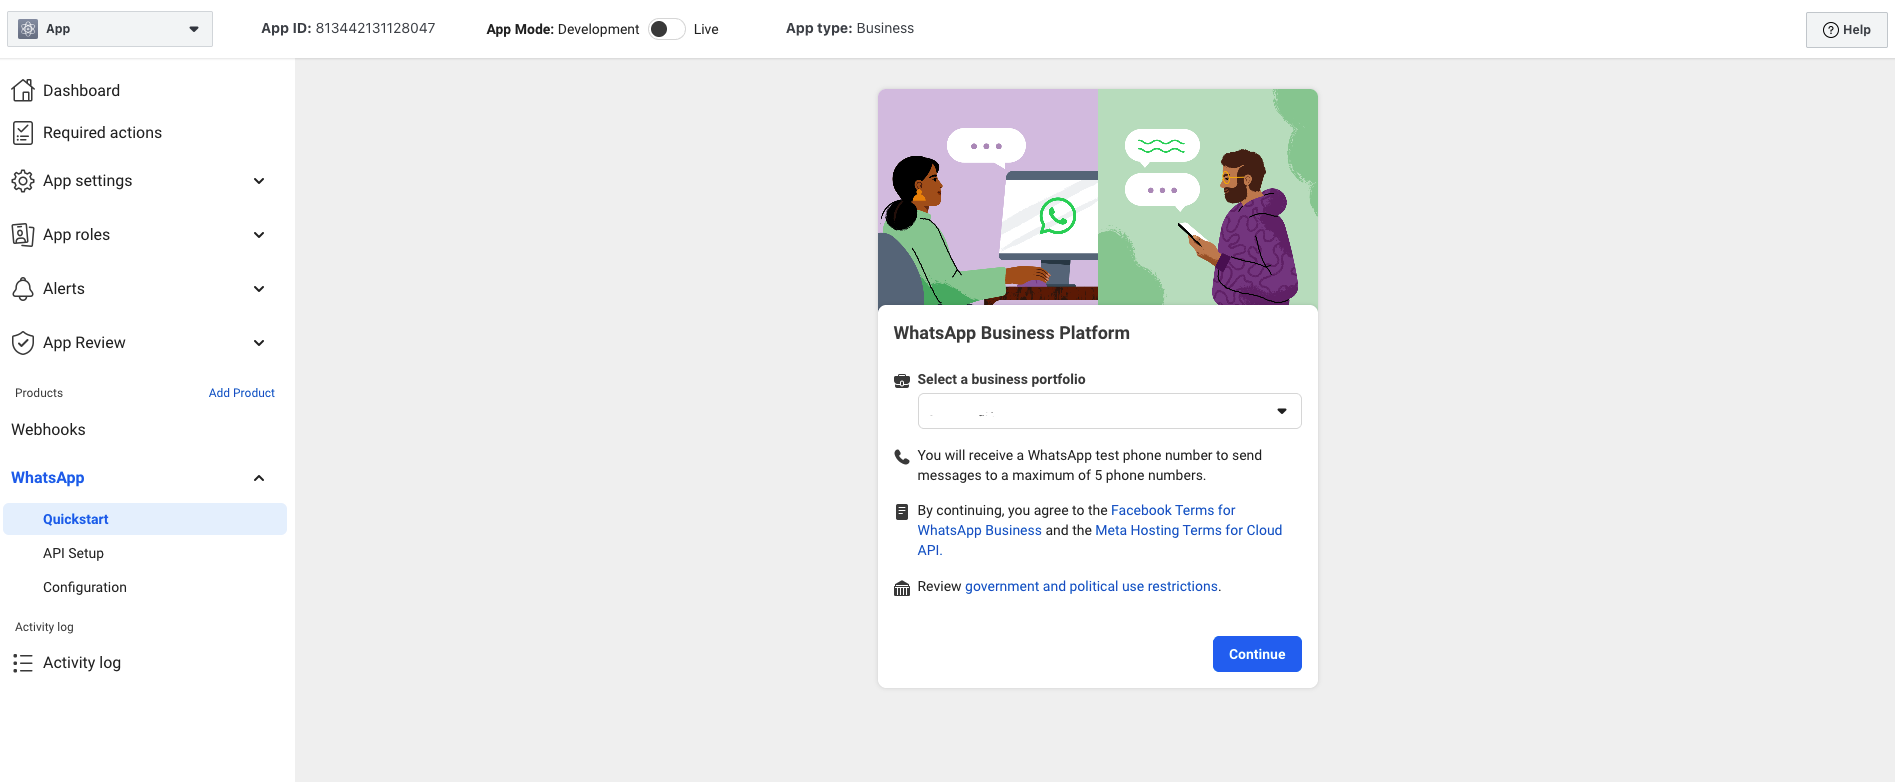
The “WhatsApp Business Platform API” page opens. Select a business account from the drop-down list. If not selected, a business account will be created automatically. Click the “Next” button (Fig. 6).
-
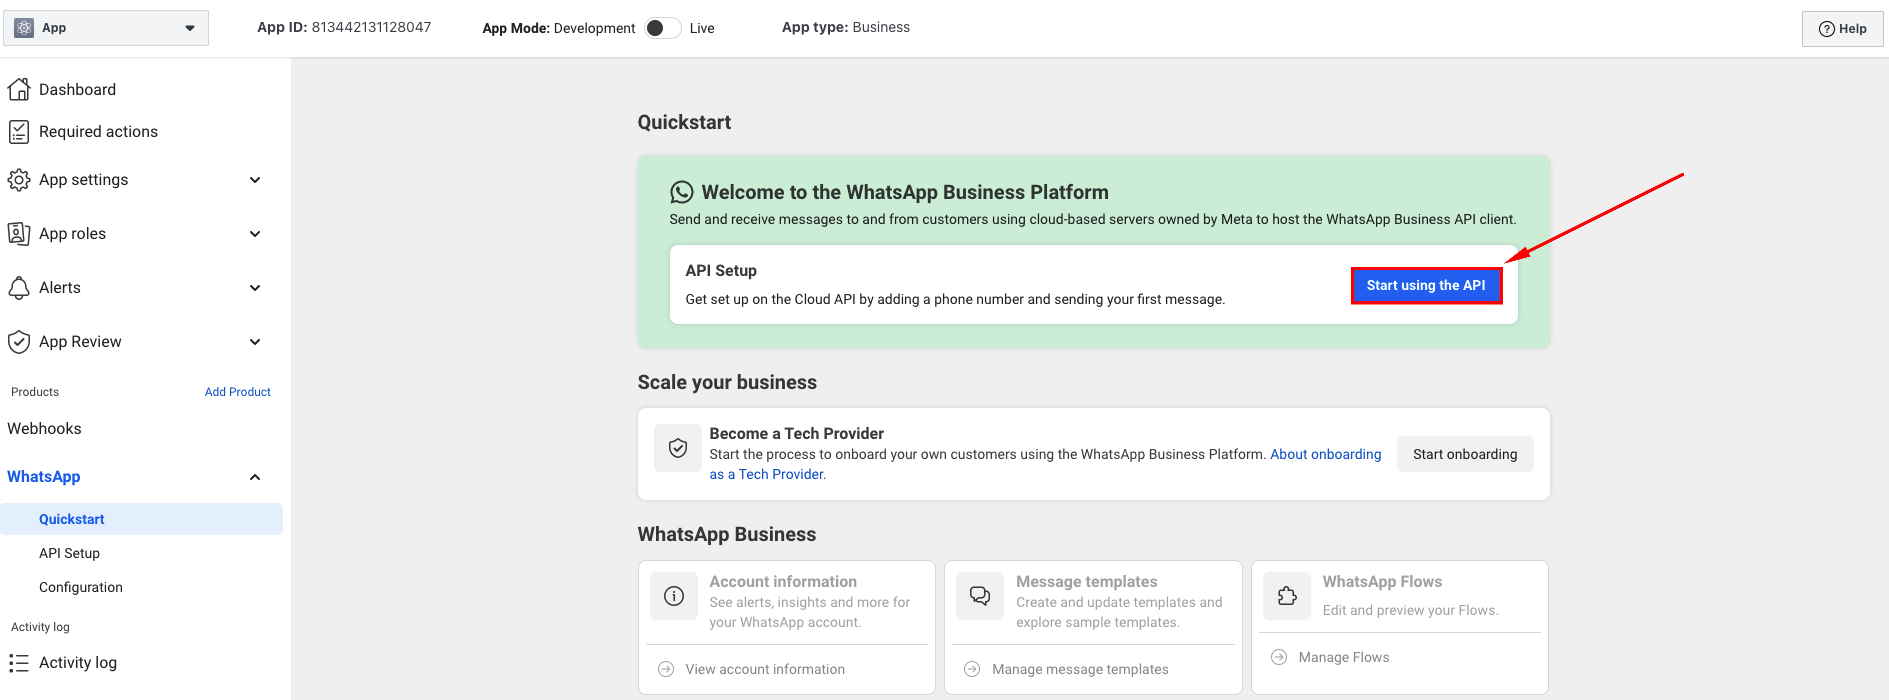
The “Quick Start” page opens. Click the “Start using API” button (Fig. 7).
-
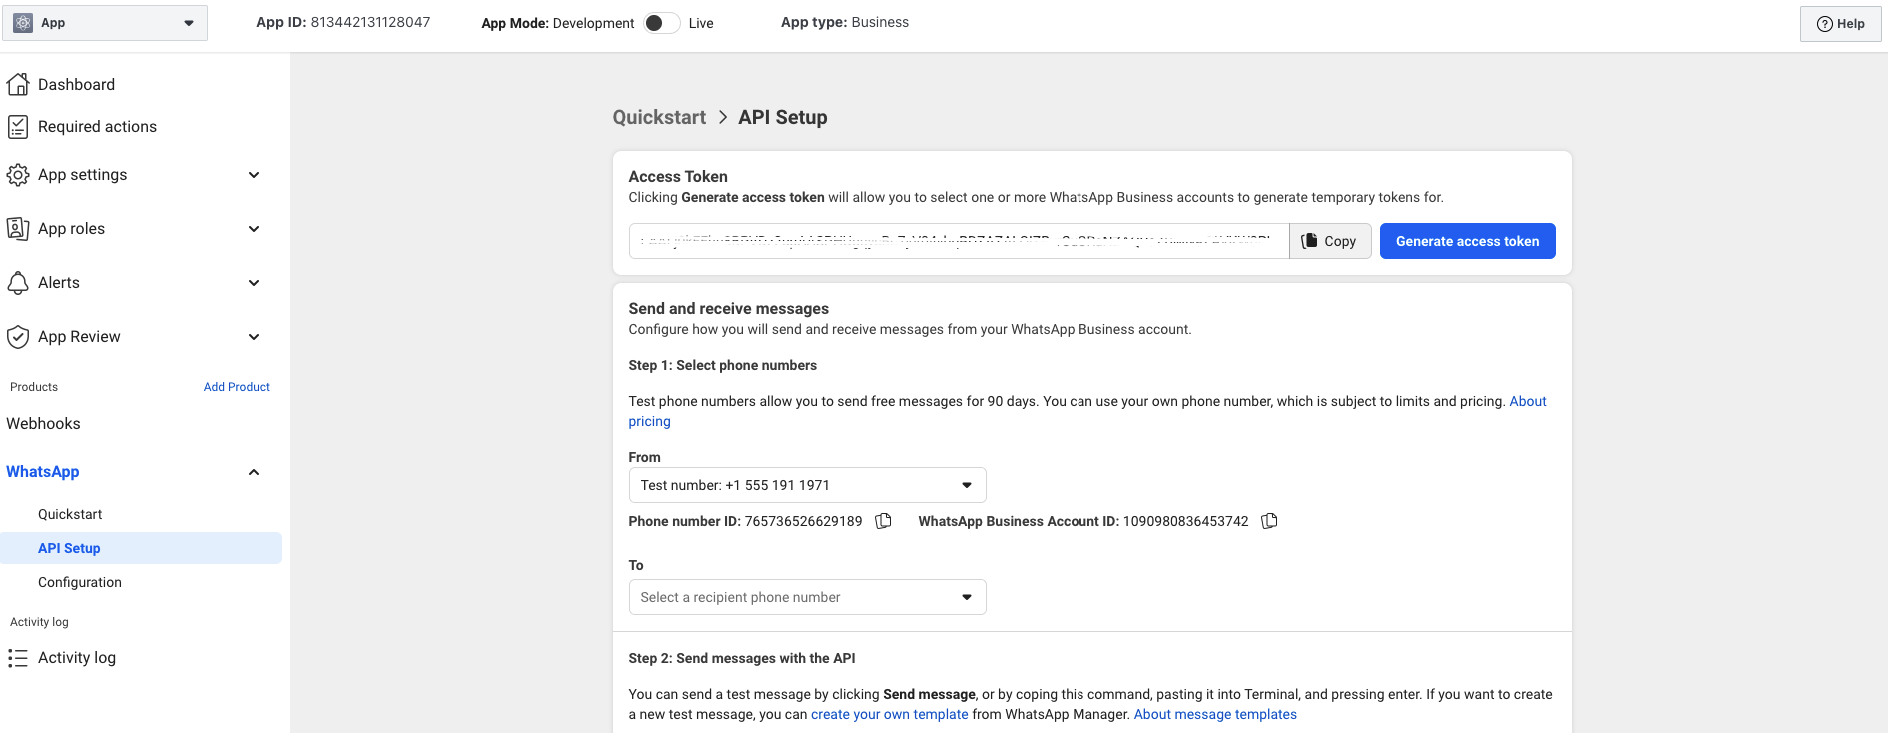
The “API Setup” page opens.
-
The temporary access token (Fig. 8) cannot be used.
-
It is intended only for setting up a test number.
-
Registration and connection of your own numbers are described below.
-
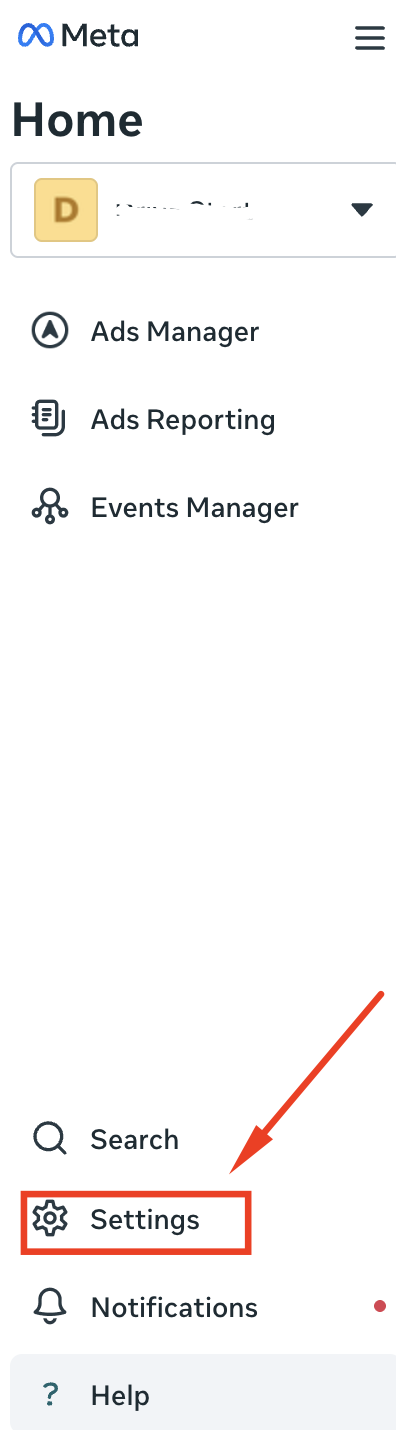
Go to https://business.facebook.com/. After the welcome modals, select the required account and click the “Settings” button in the left panel (Fig. 9).
-
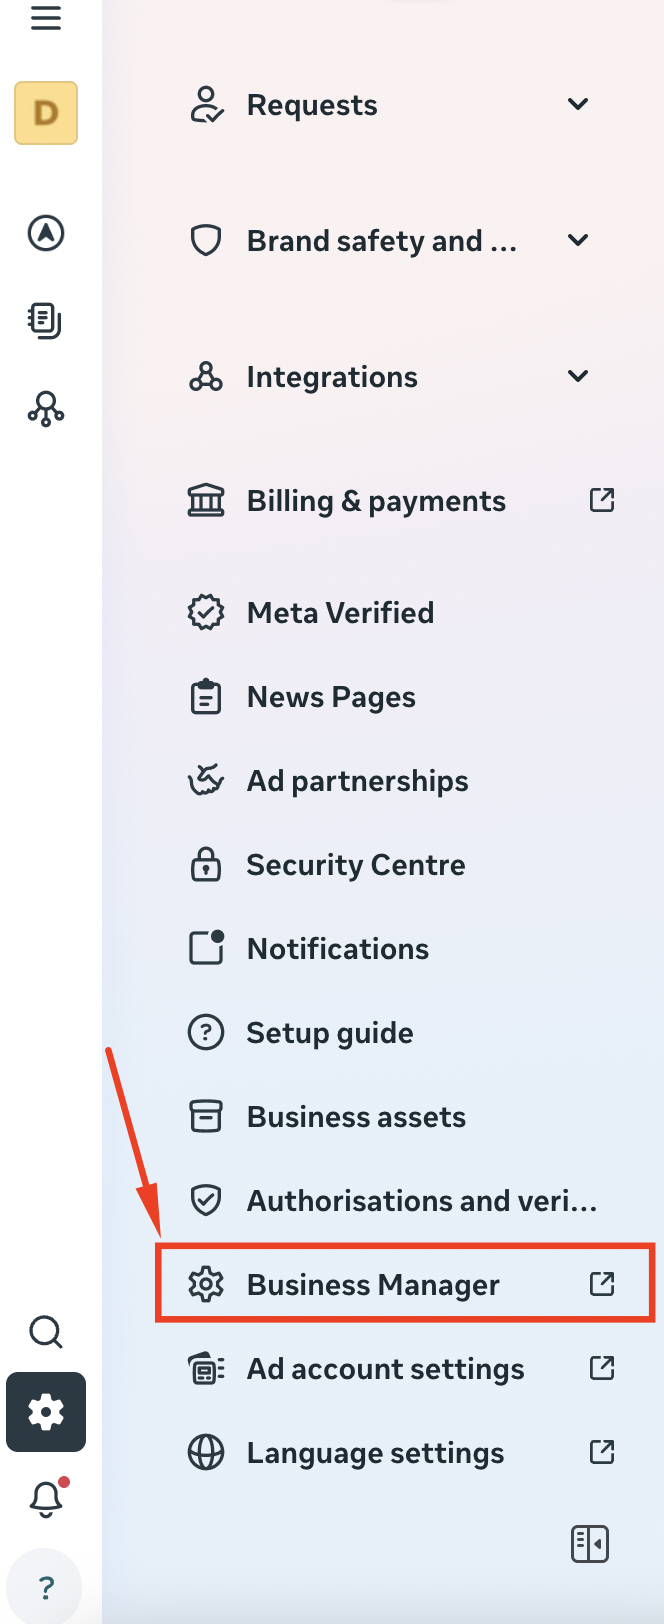
The “Settings” page opens. In the left panel, click “Business Manager” (Fig. 10).
-
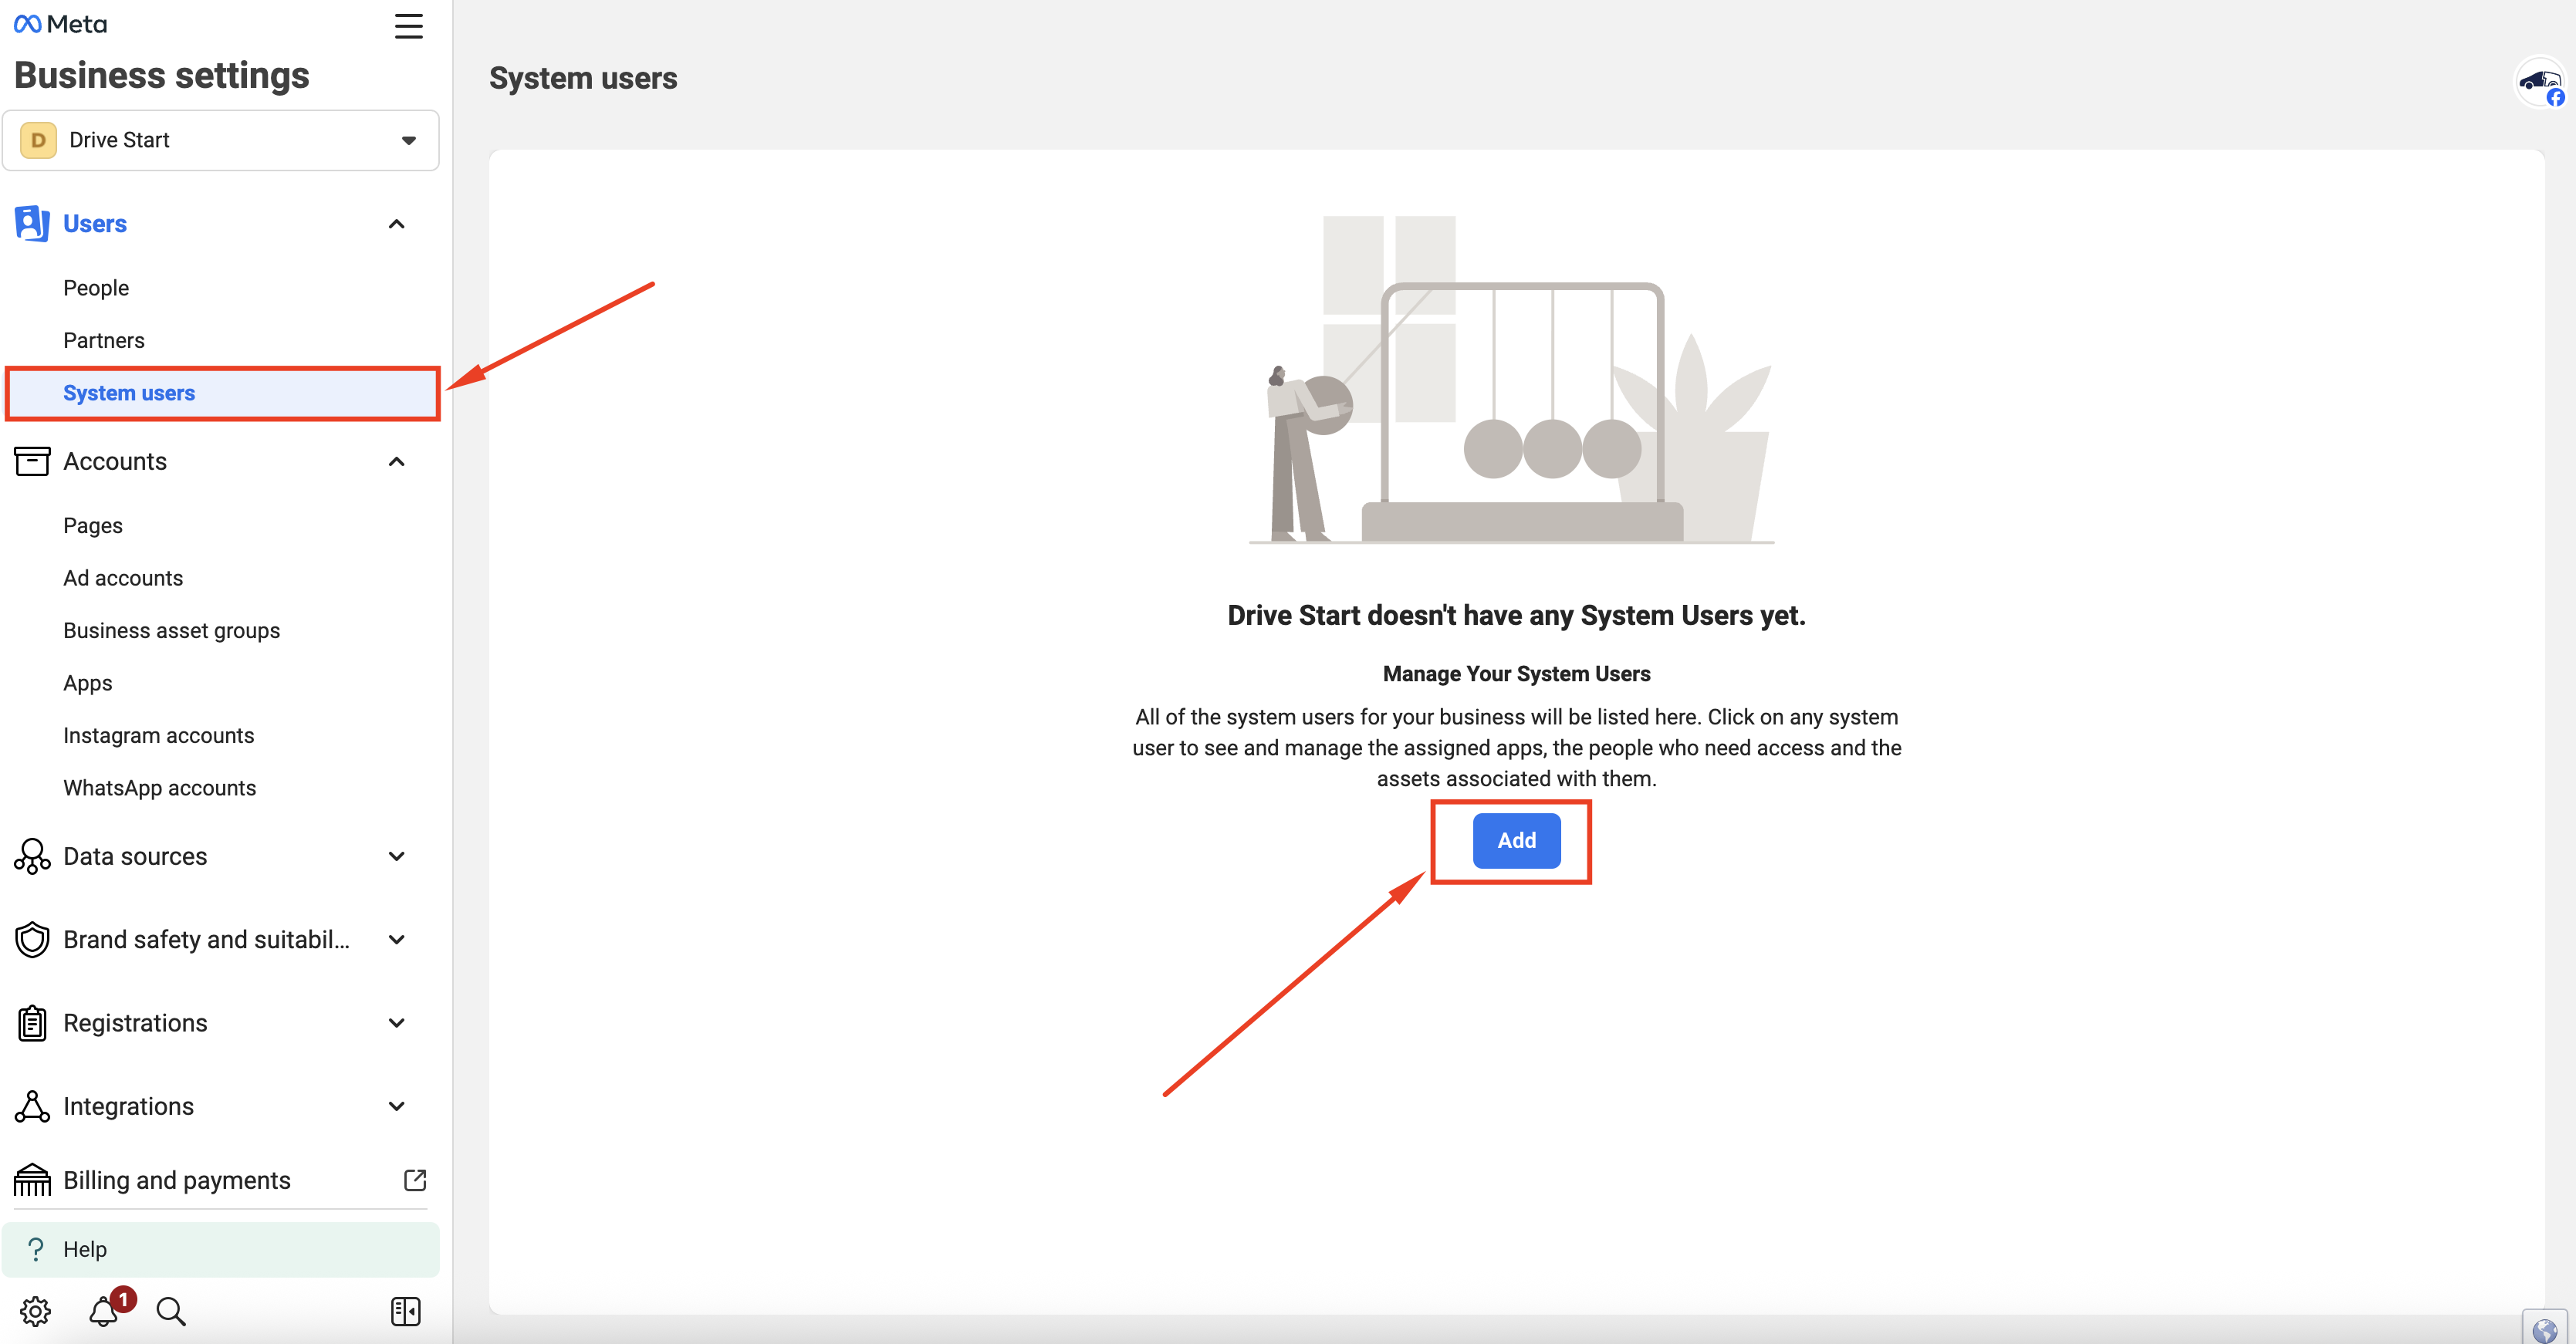
Go to the “System Users” page. Click the “Add” button (Fig. 11).
-
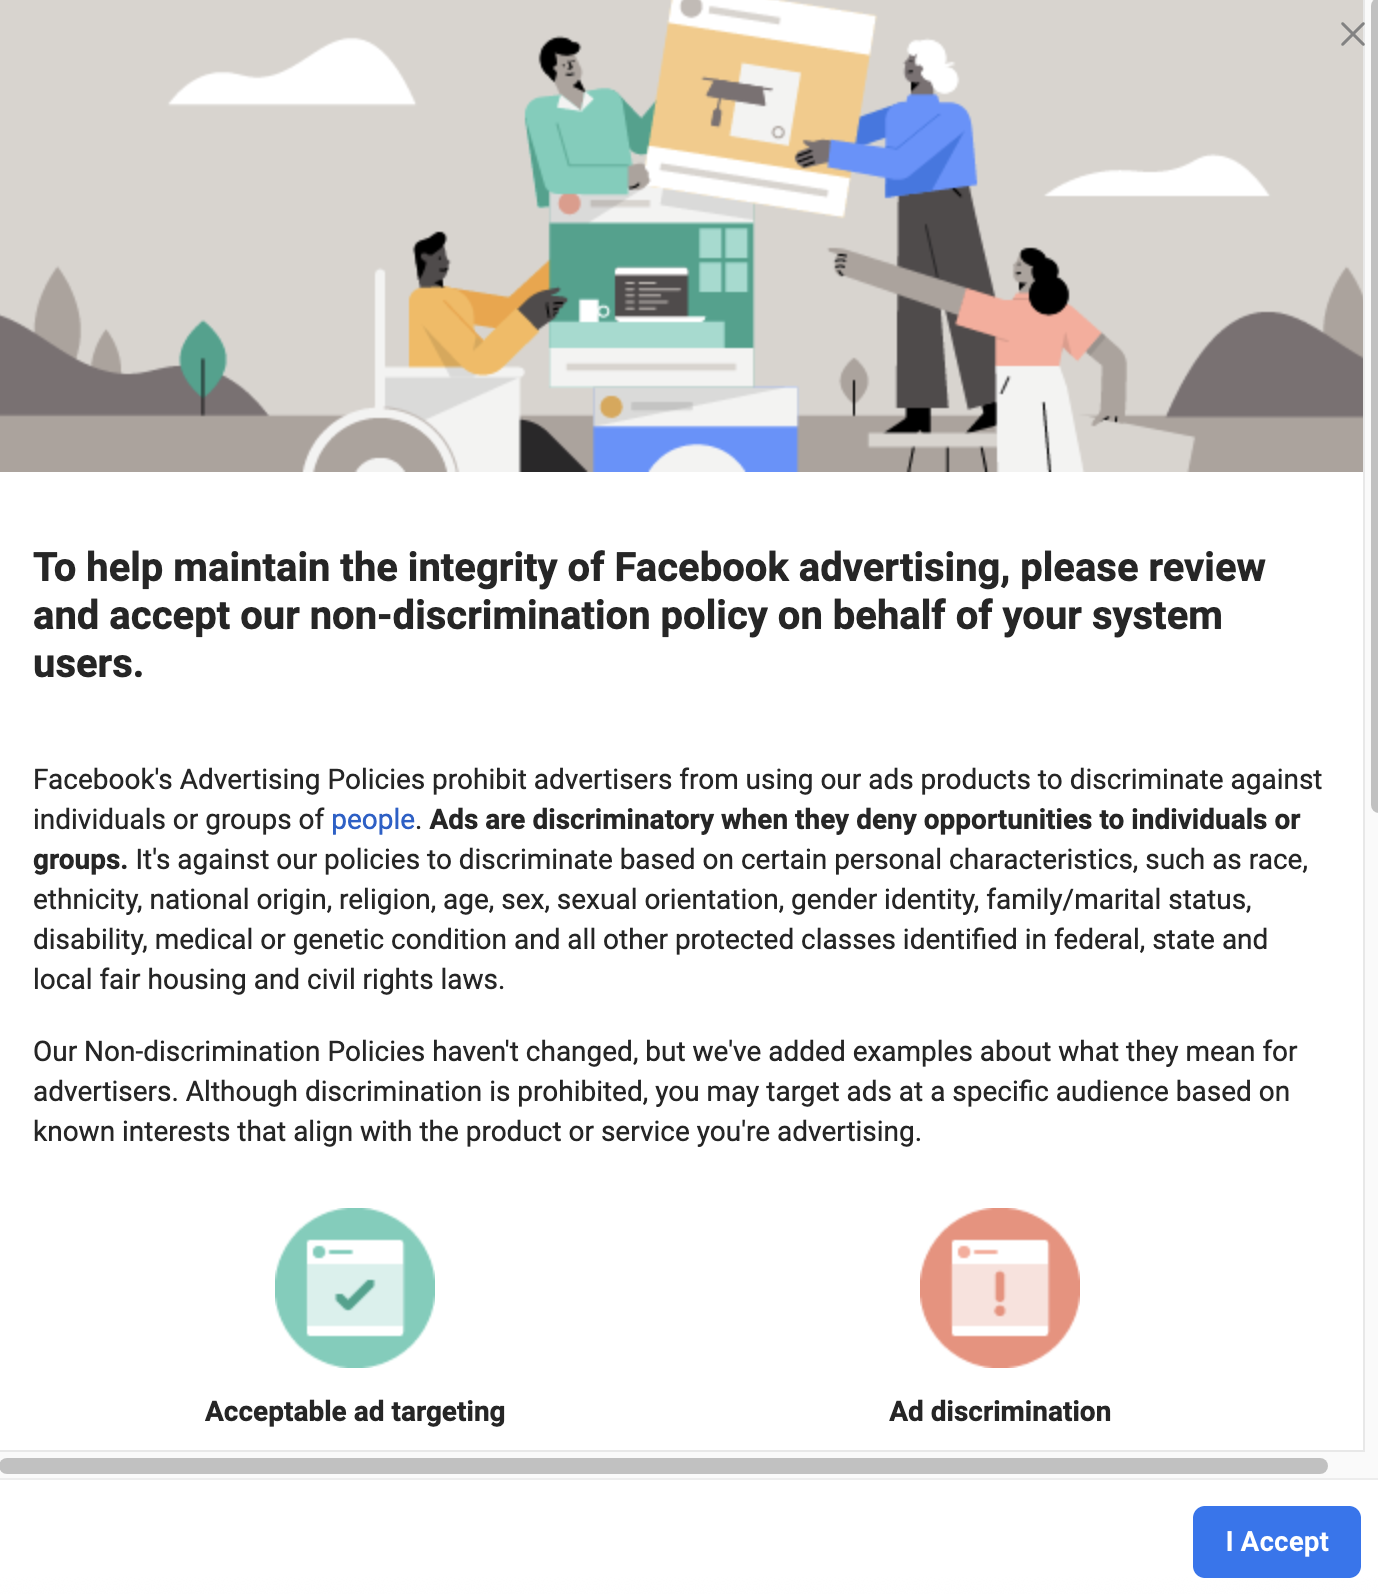
Click “Add”. Read and accept the non-discrimination policy on behalf of your system users by clicking the “I Accept” button in the modal window (Fig. 12).
-
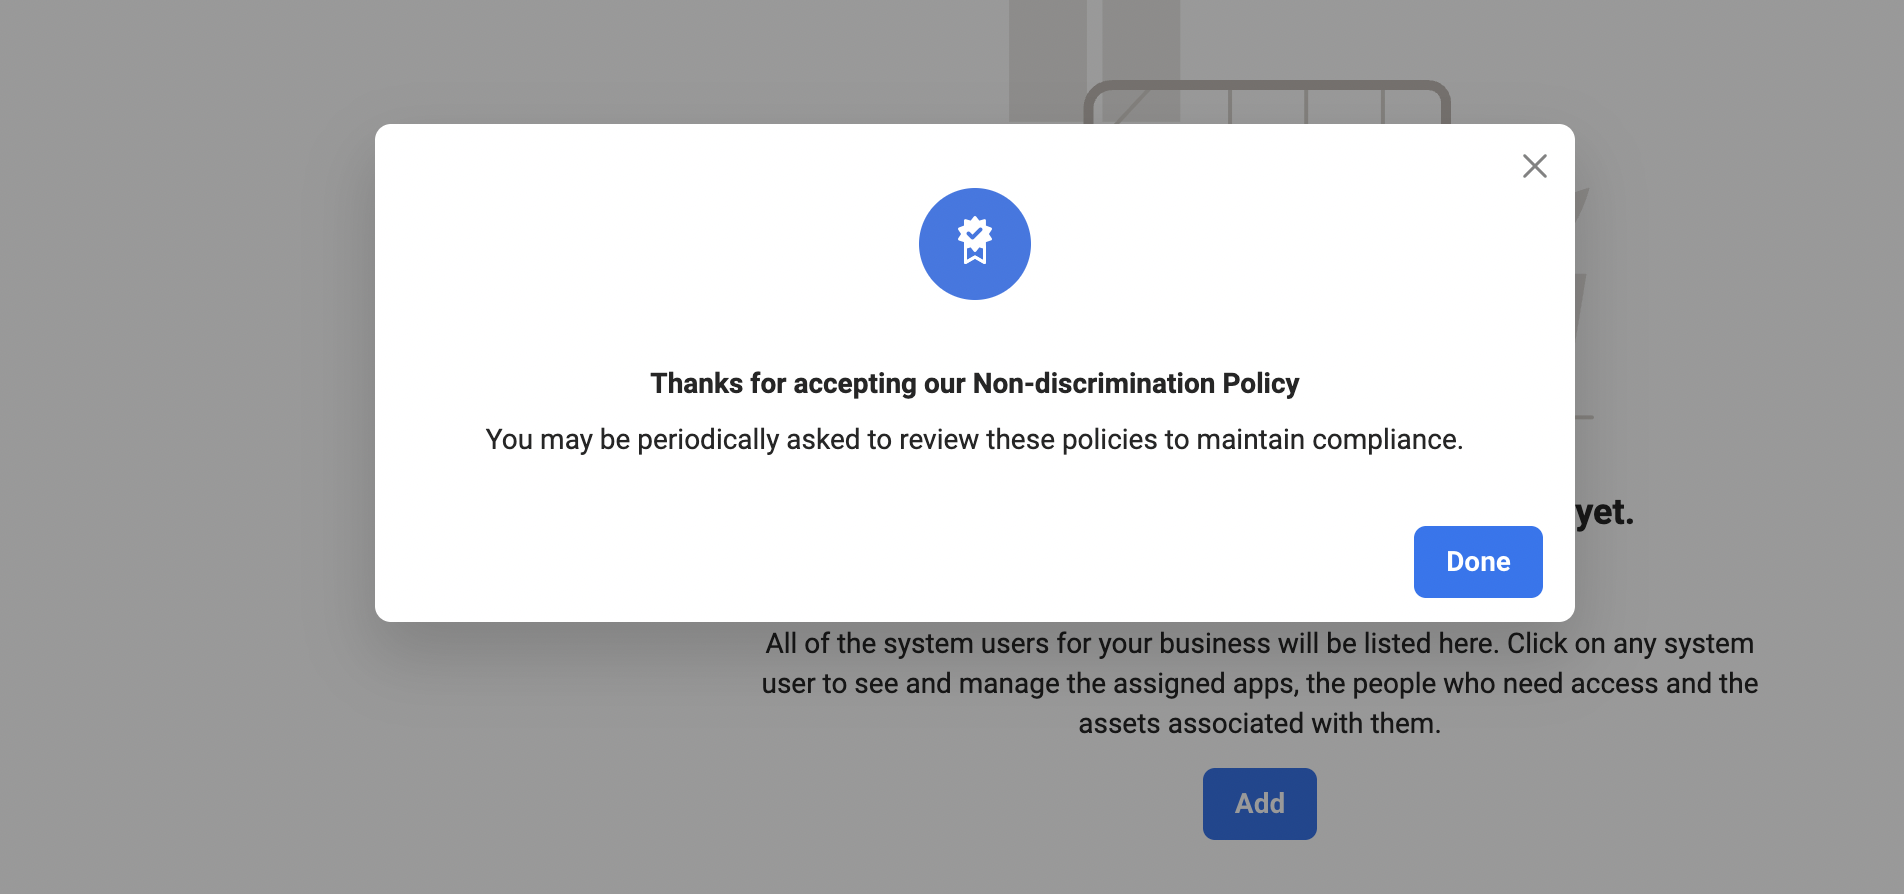
A modal window with acceptance information opens. Click “Done” (Fig. 13).
-
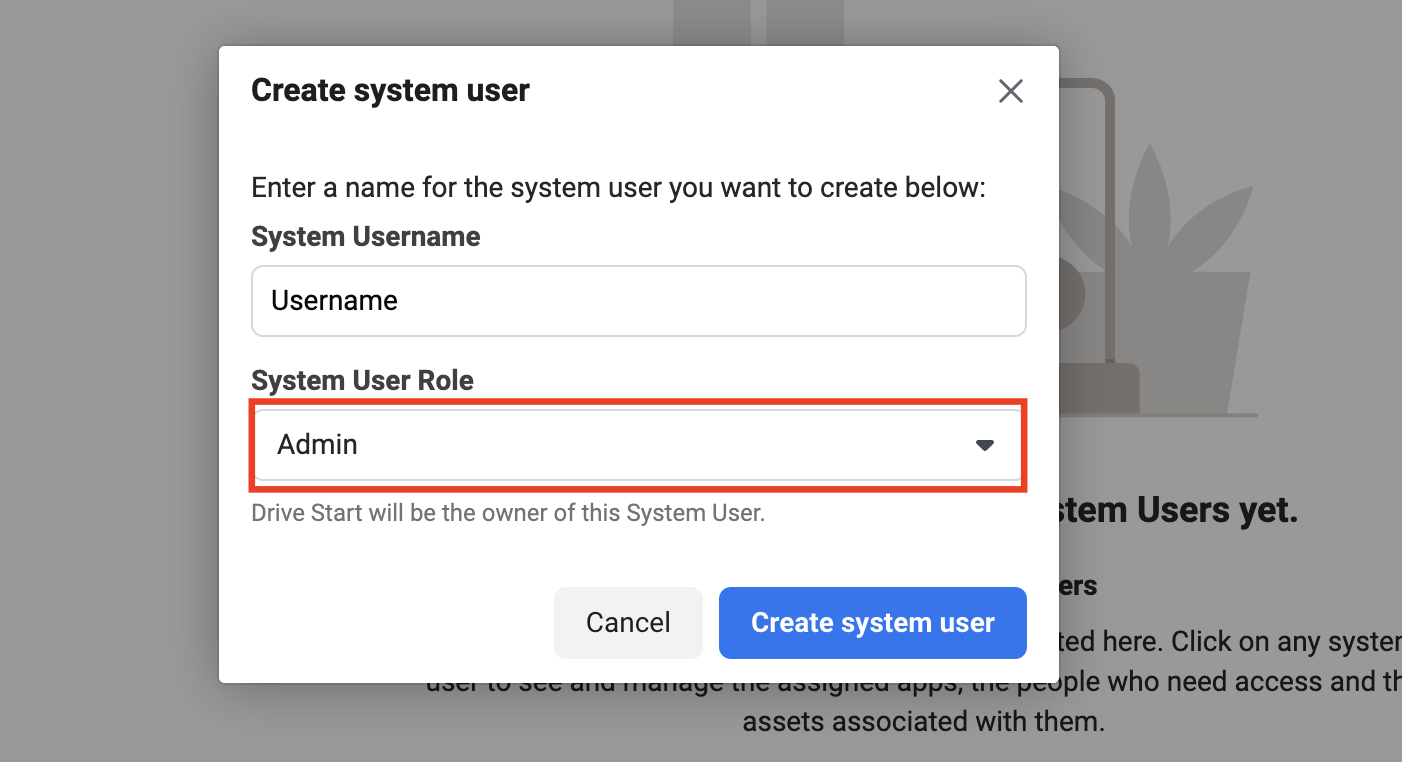
The “Create System User” modal window opens (Fig. 14).
-
Enter a name for the new system user, e.g., “webitel”.
-
Select the “Admin” role.
-
Click “Create System User”.
-
The modal window closes and the System Users page opens.
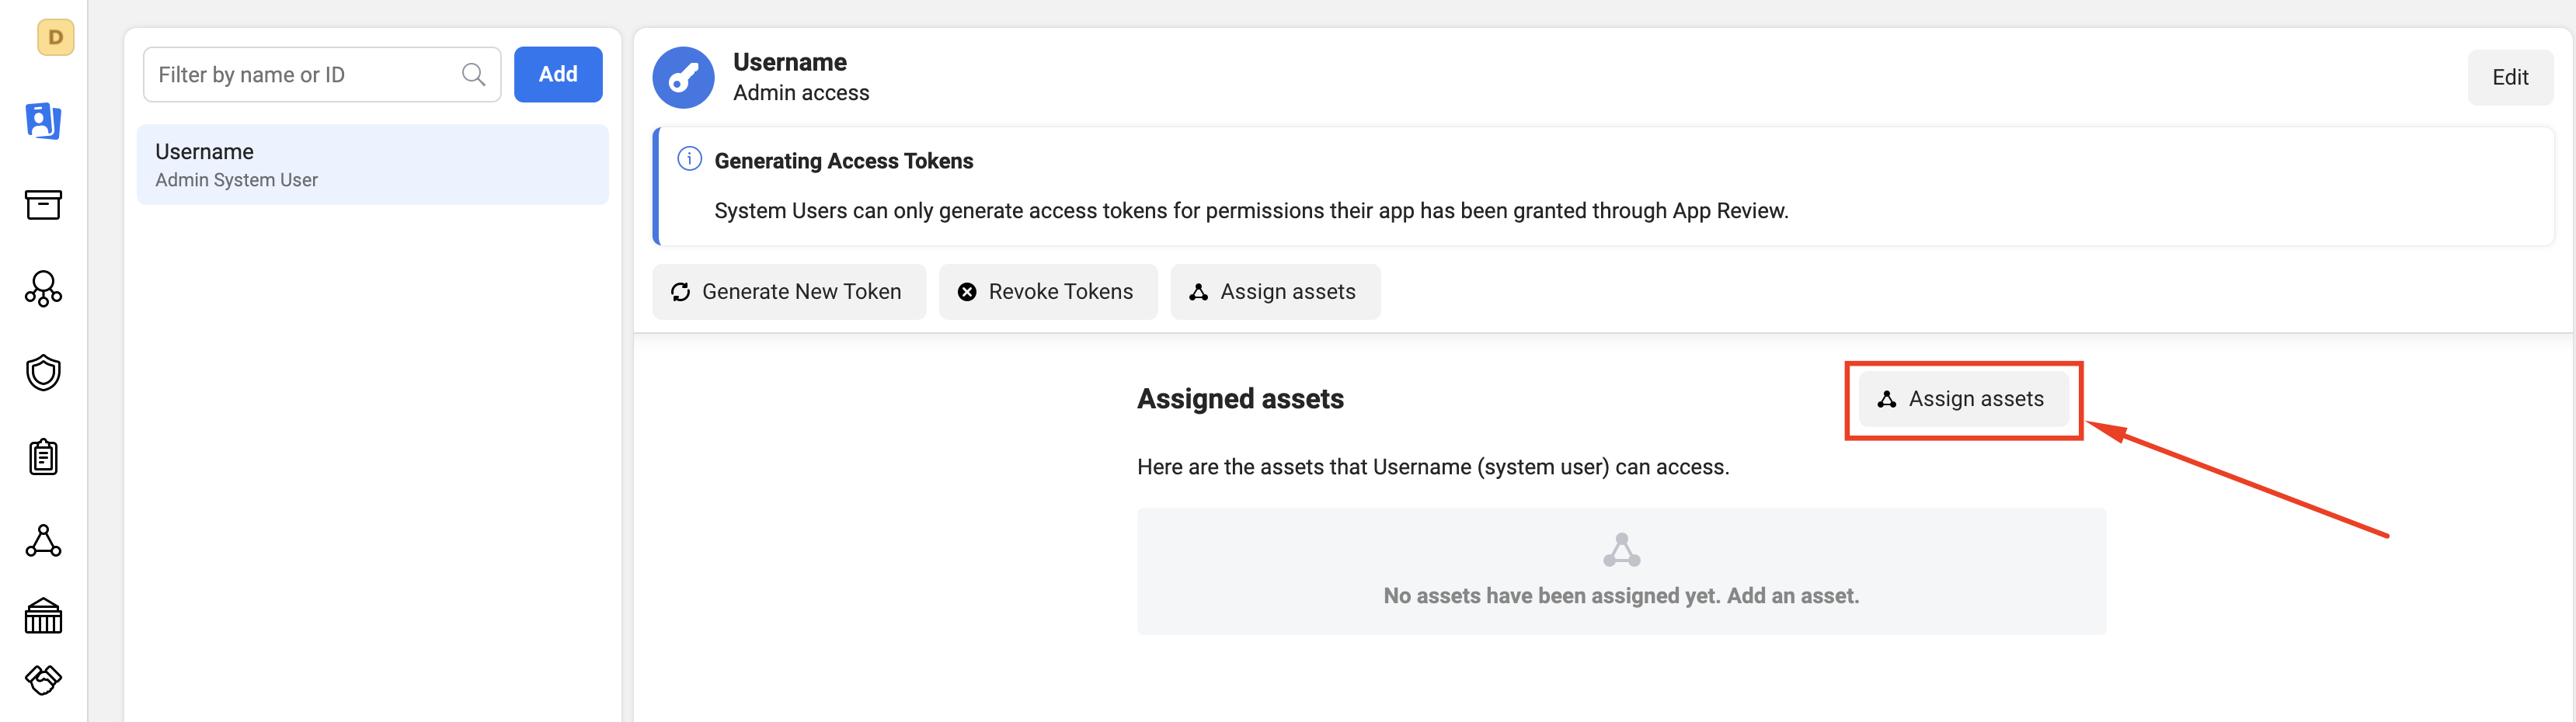
Now you need to grant access to your app for the new system user.
Click “Add Assets” (Fig. 15).
-
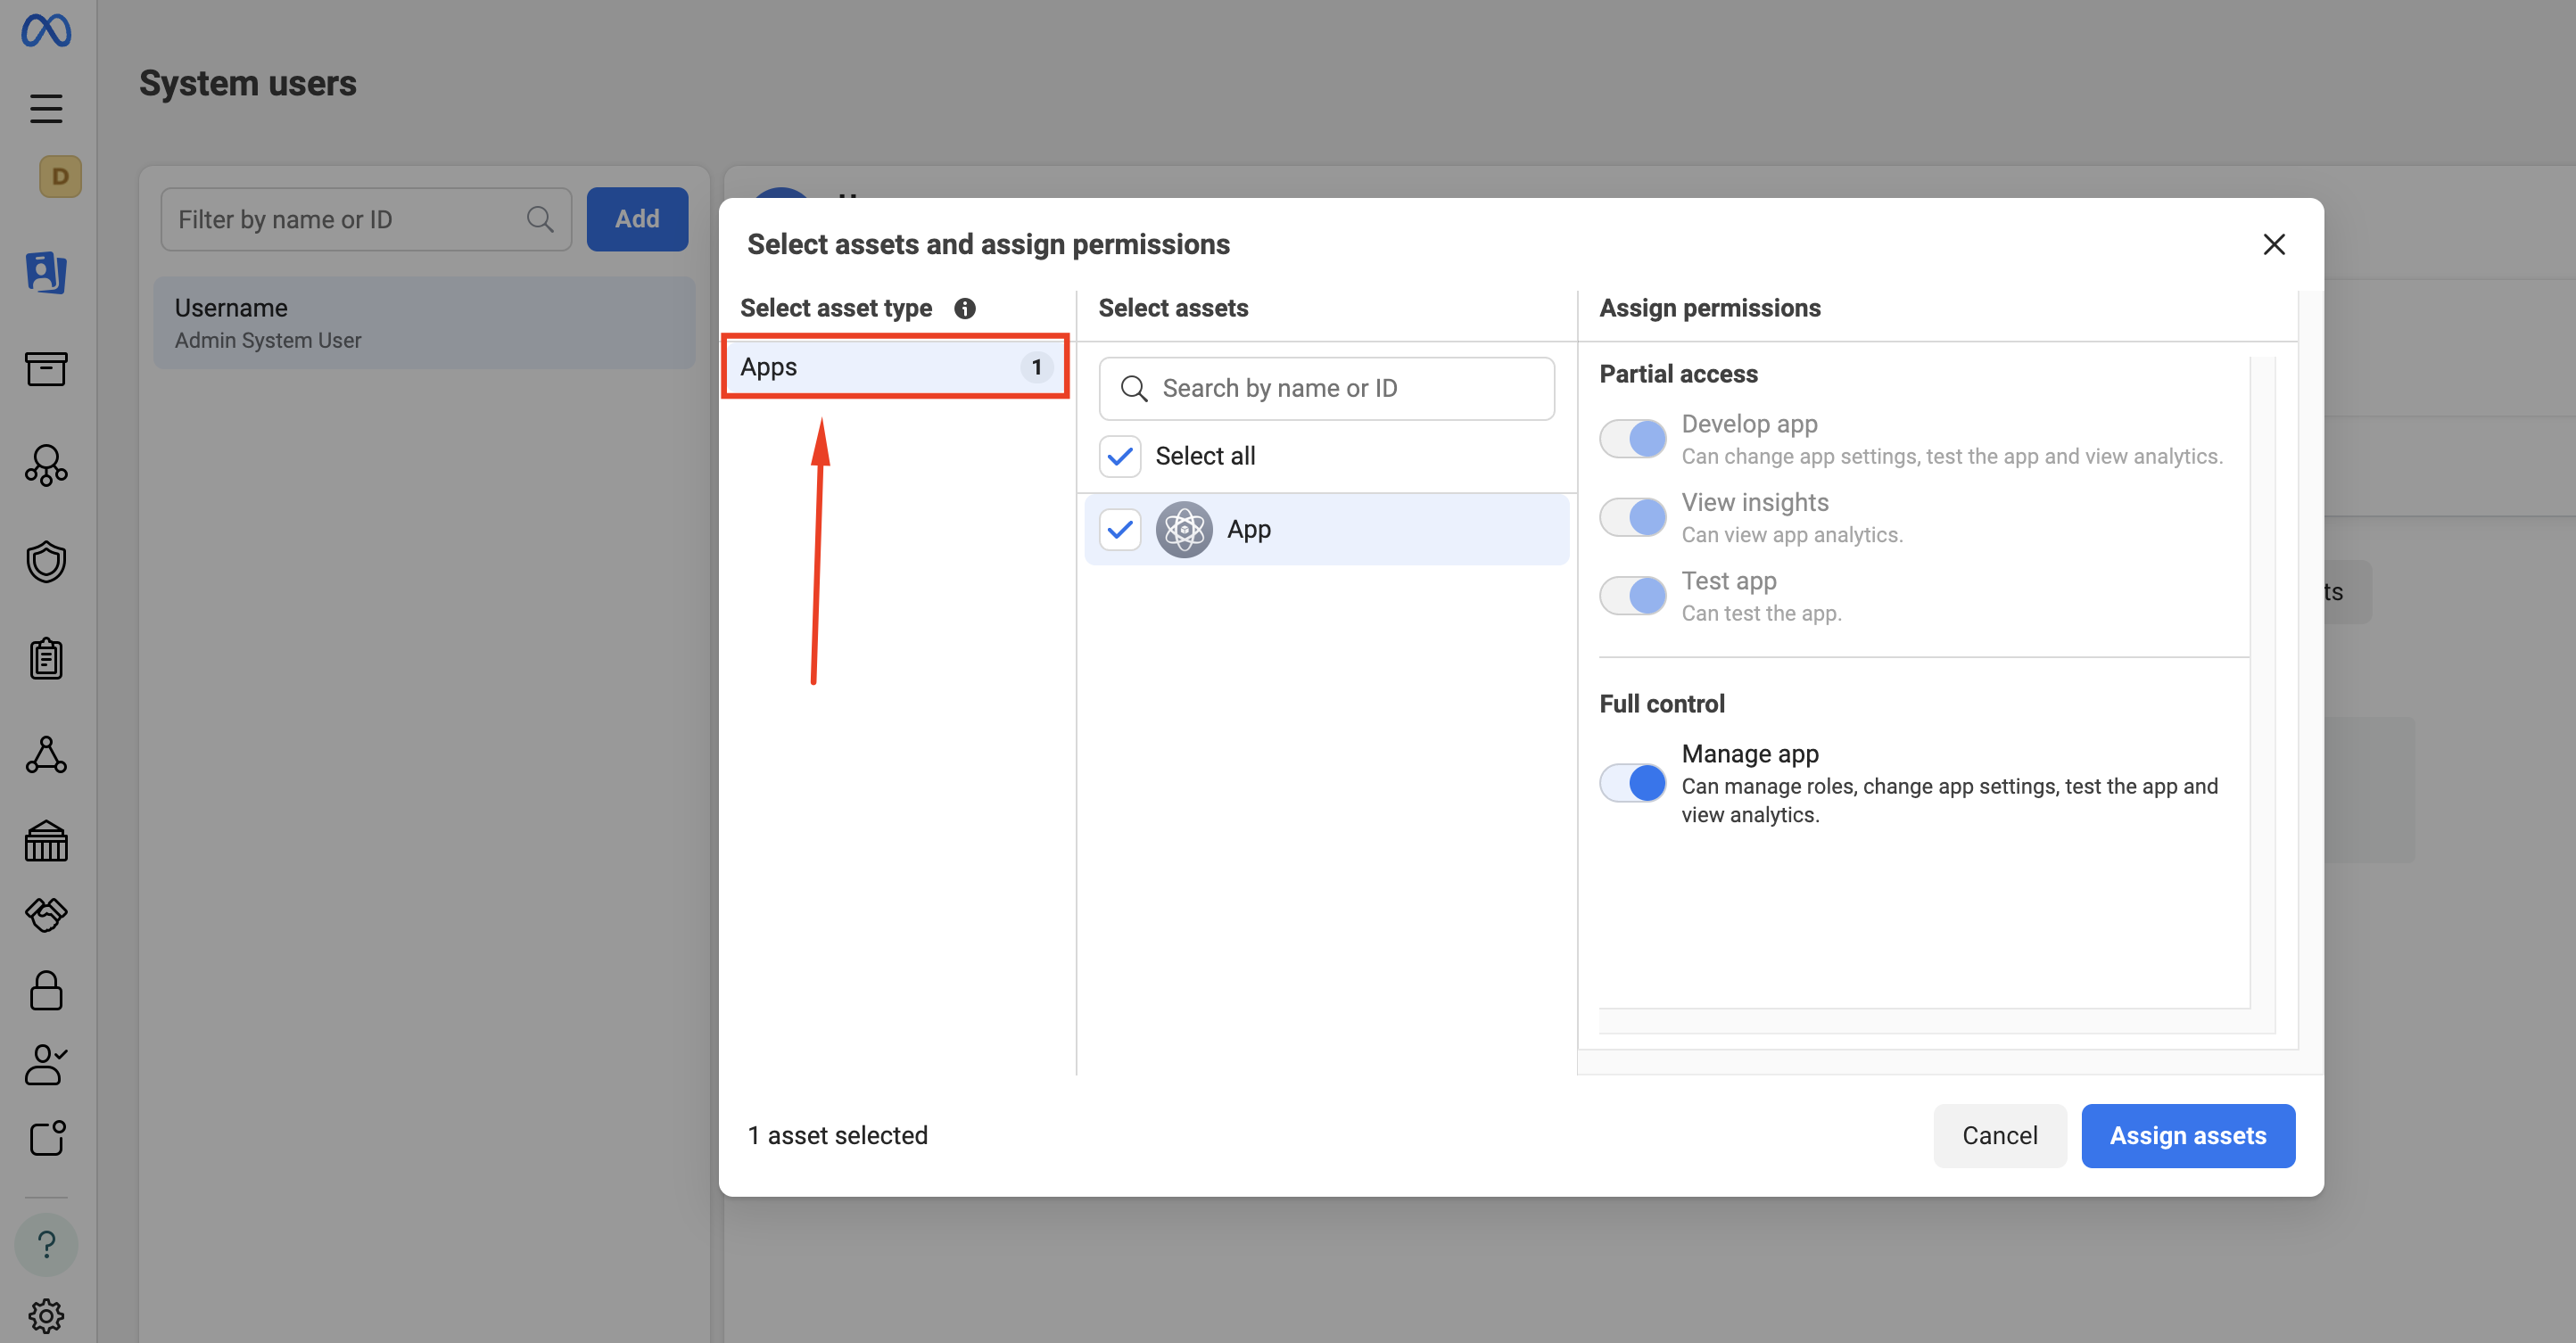
The “Assign assets to user…” modal window opens.
-
Asset type: “Apps”.
-
Select the connected app.
-
Grant access level: “Manage App”.
-
Click “Save Changes”.
-
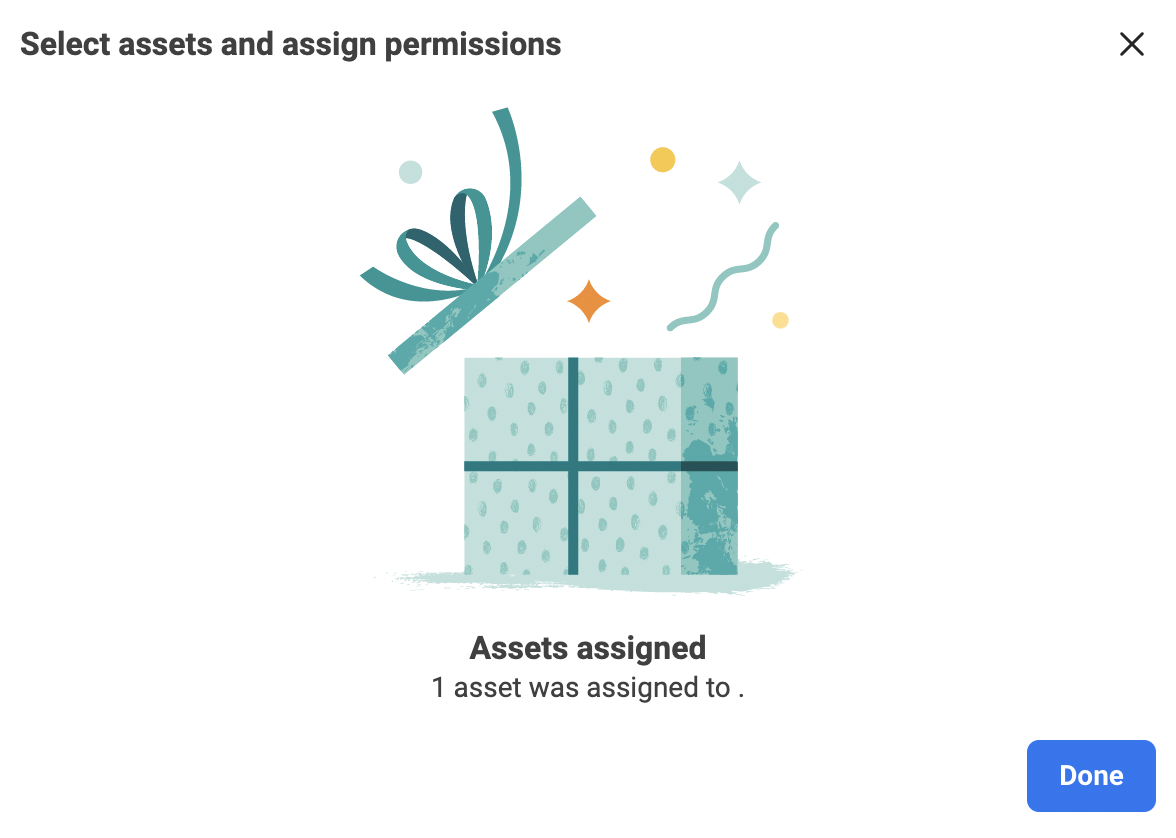
A modal window opens with a notification about resource addition (Fig. 17). Click “Done”.
-
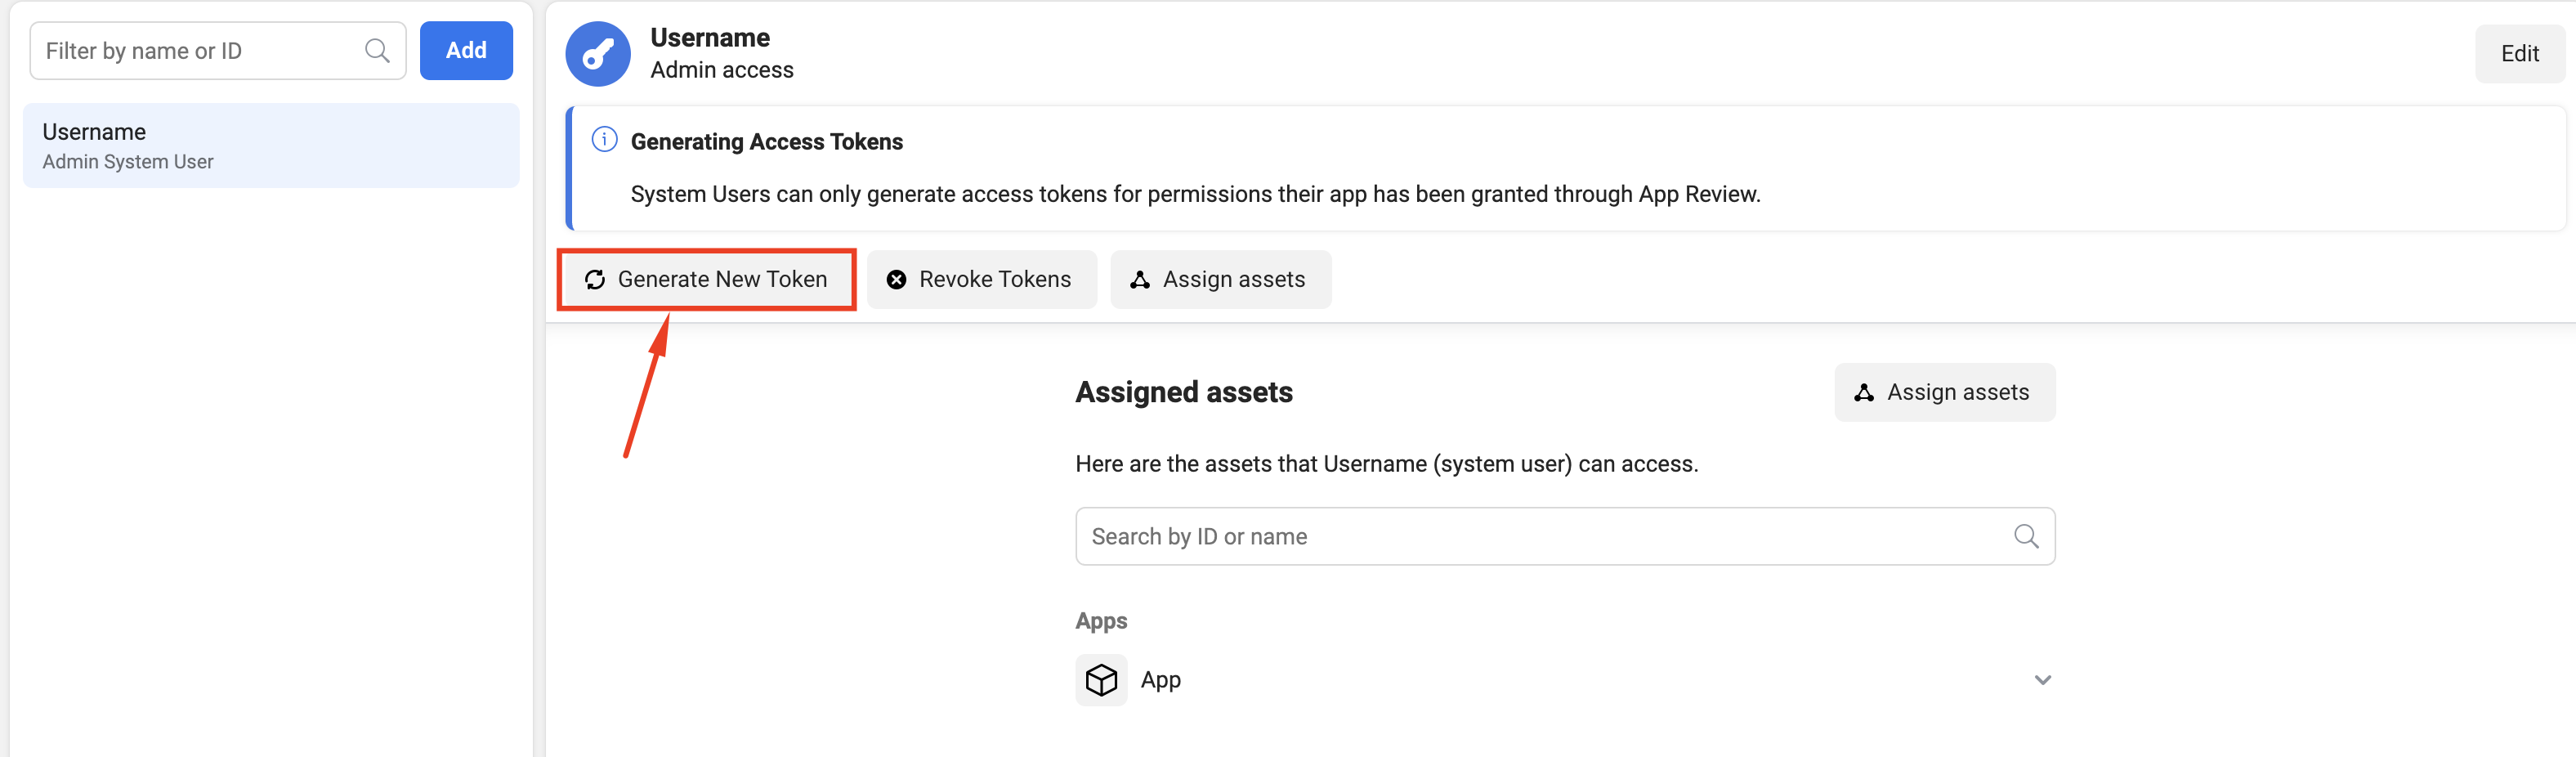
The modal closes. On the System Users page, click “Generate New Token” (Fig. 18).
-
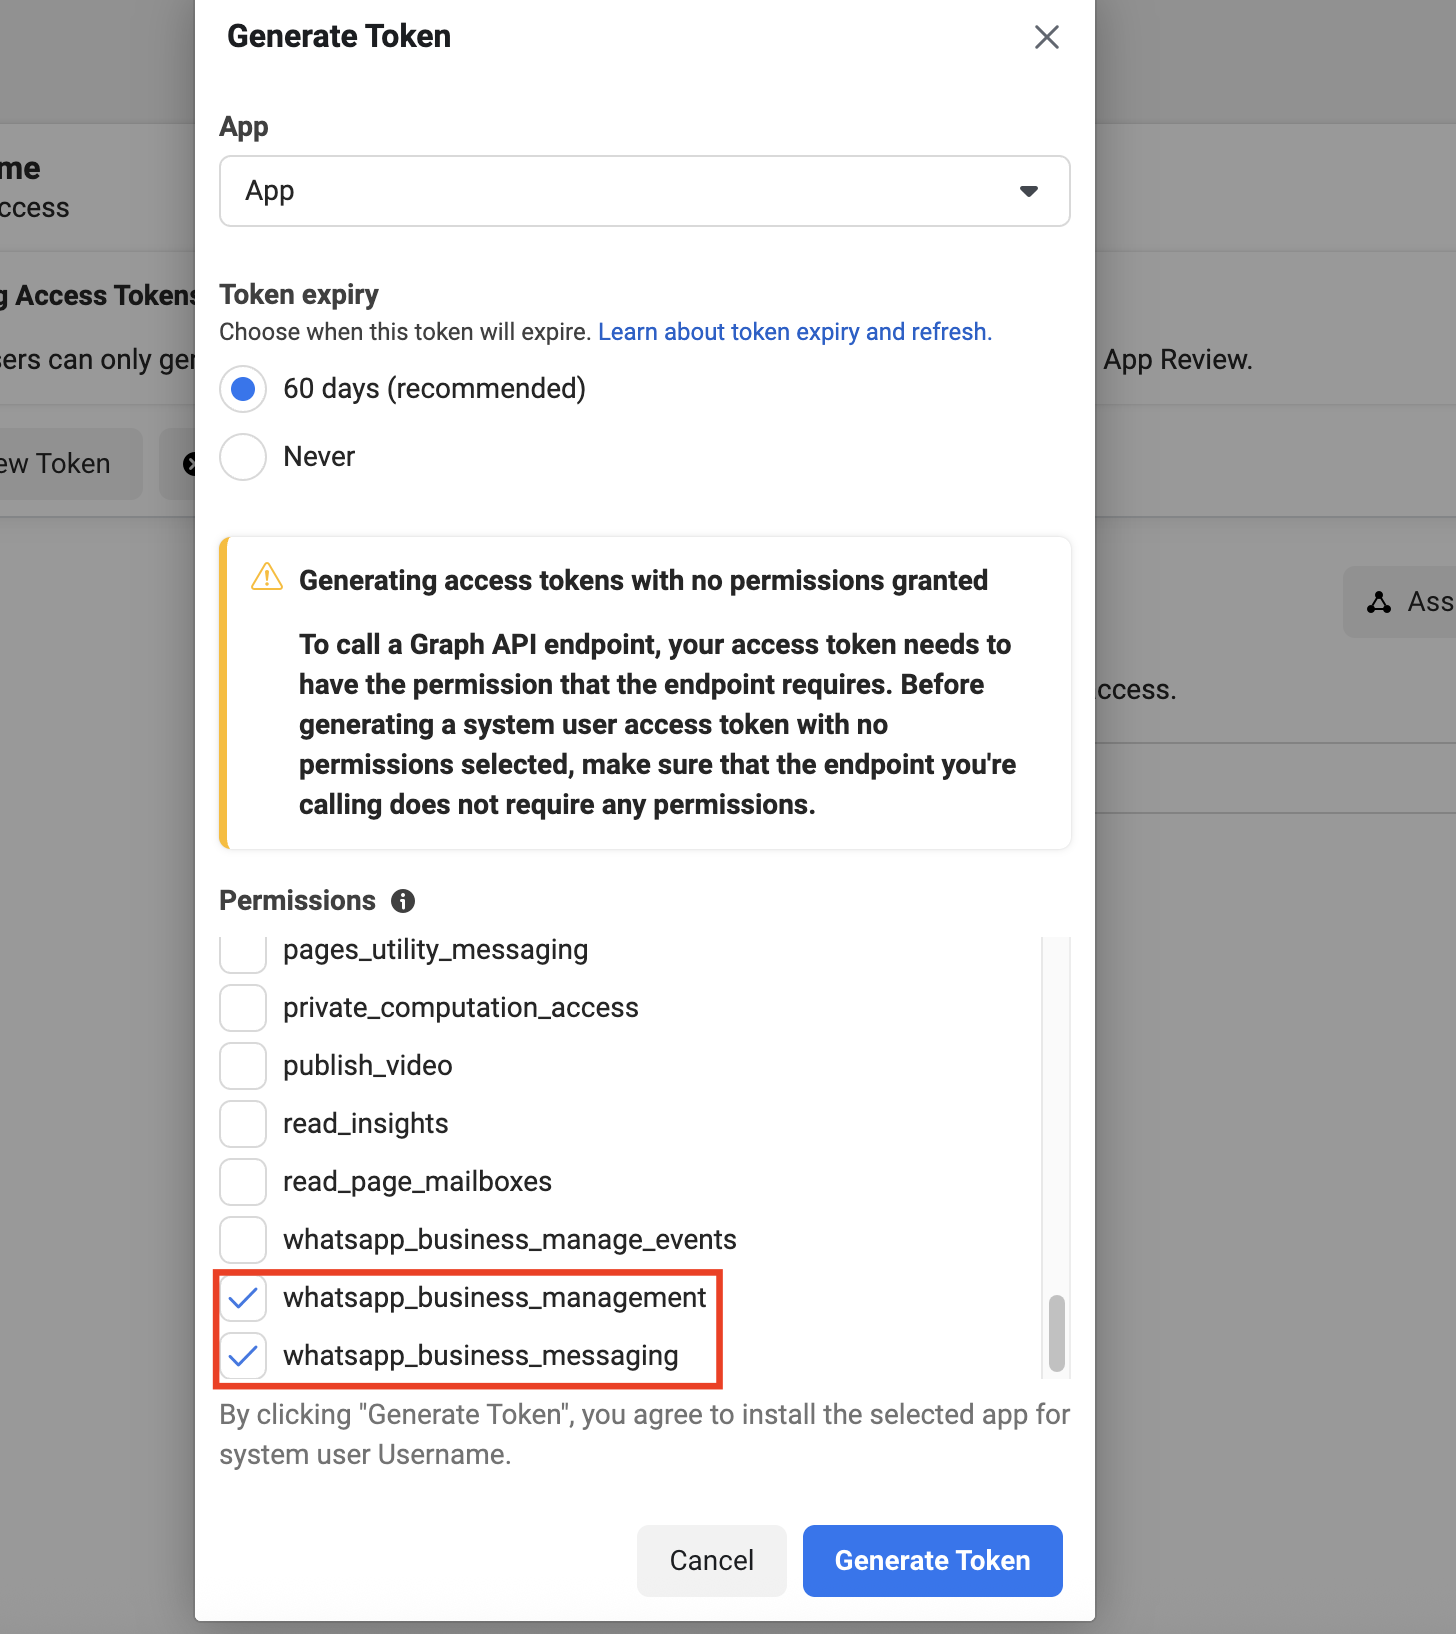
The “Generate Token” modal window opens. Select the required app from the drop-down list.
Available permissions appear, select:
-
whatsapp_business_management
-
whatsapp_business_messaging
Click “Generate Token” (Fig. 19).
-
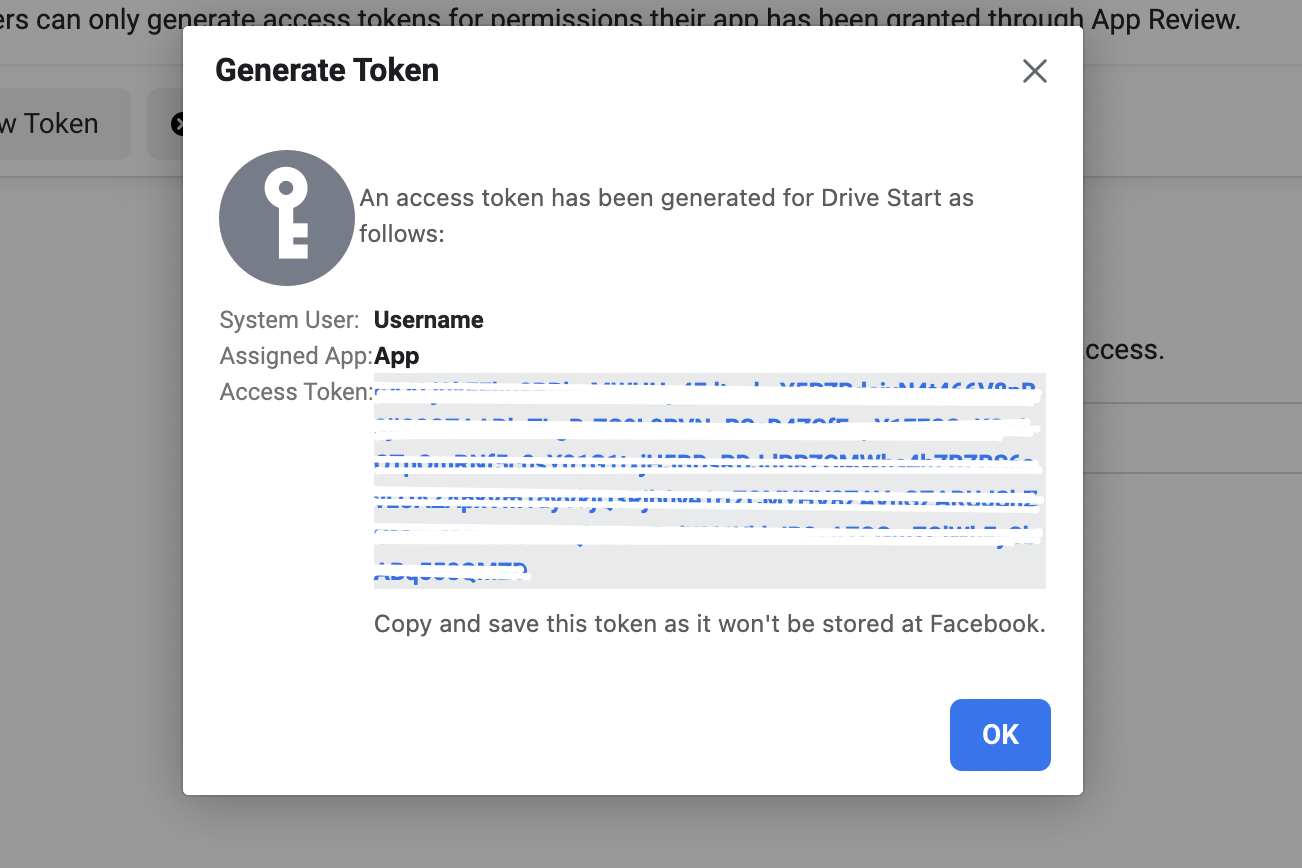
The “Generate Token” modal window opens. Copy the access token for further use in Webitel (Fig. 20).
The generated token must be copied. After closing the window, it will no longer be available for viewing.
This access token allows you to connect/disconnect only those WhatsApp accounts that you grant access to via the app on behalf of your business.
-
To integrate with Webitel, you need to create a text gateway of type Meta.
-
Open the “WhatsApp” tab in the text gateway (Fig. 21). Paste the copied access token (Fig. 20) into the “Token” field. Click “Save”.

-
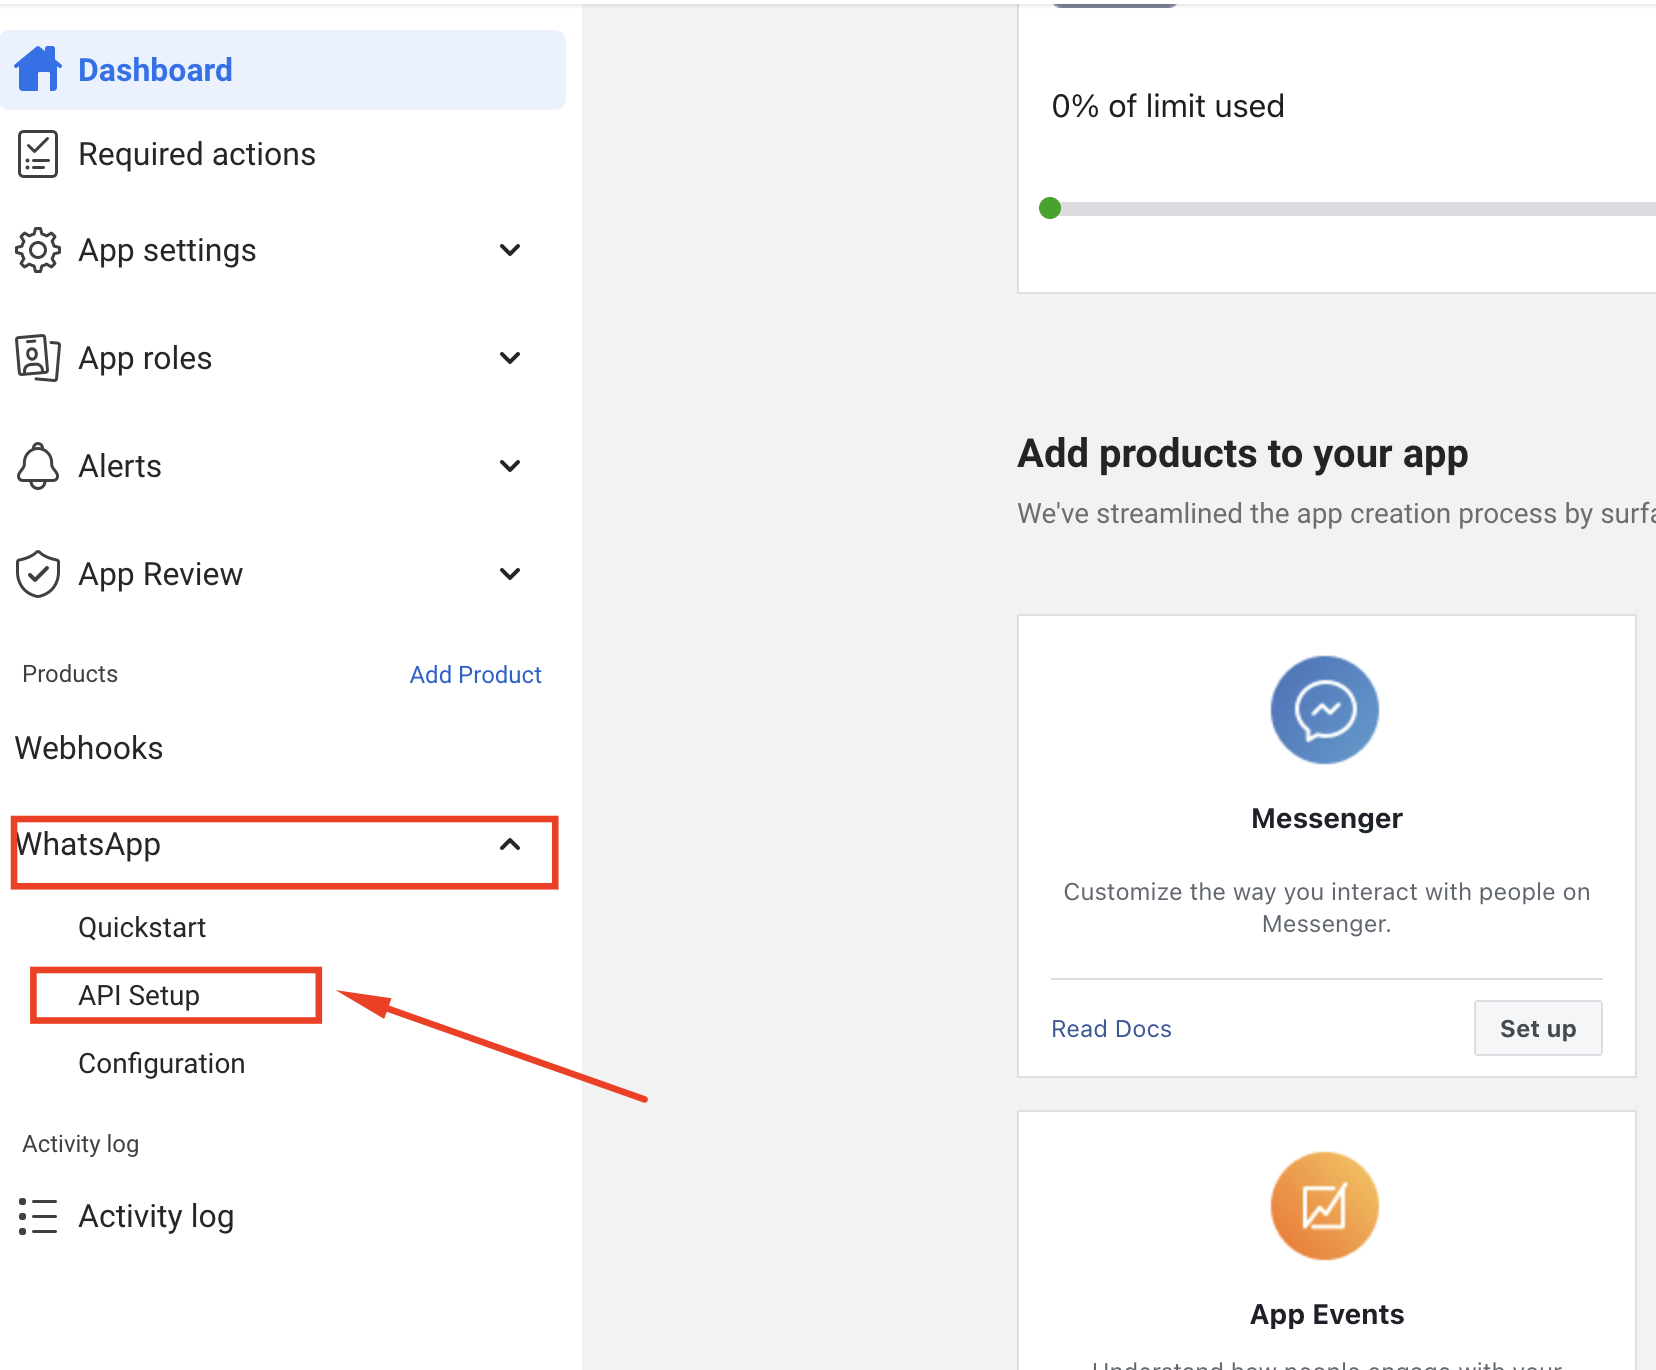
Go to https://developers.facebook.com/ , open My Apps, select the previously created WhatsApp app by clicking its name. In the left column, select WhatsApp – API Setup (Fig. 22).
-
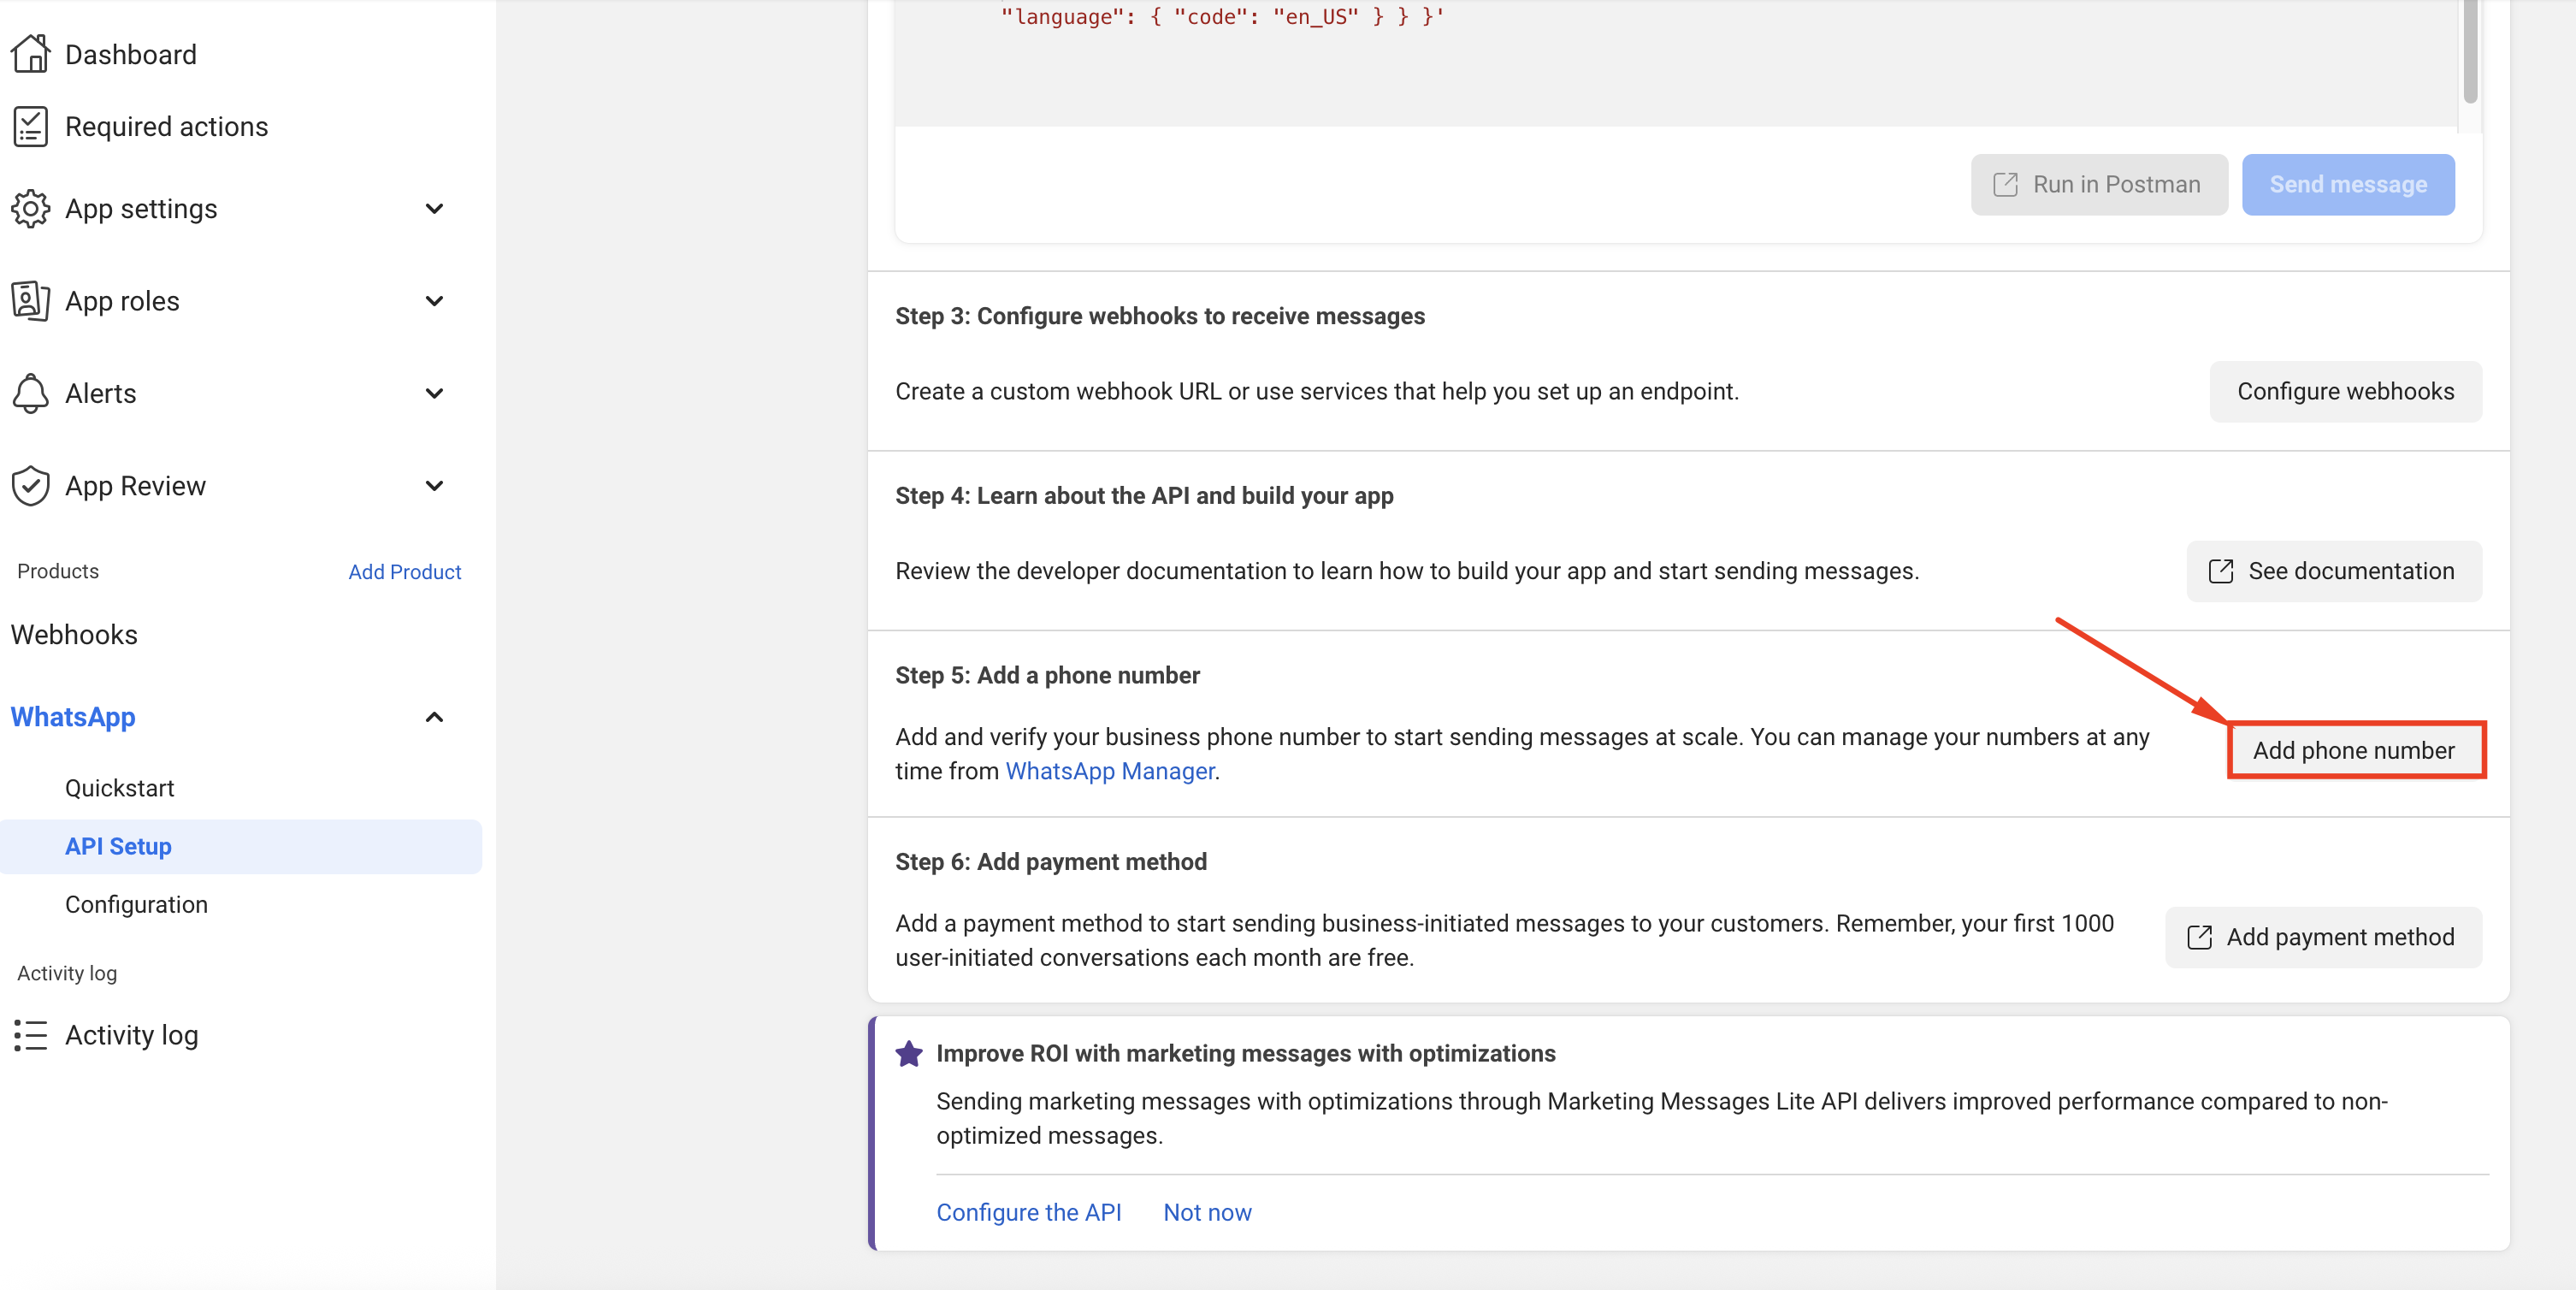
The “API Setup” page opens. Click “Add Phone Number”, located at the bottom of the page (Fig. 23).
-
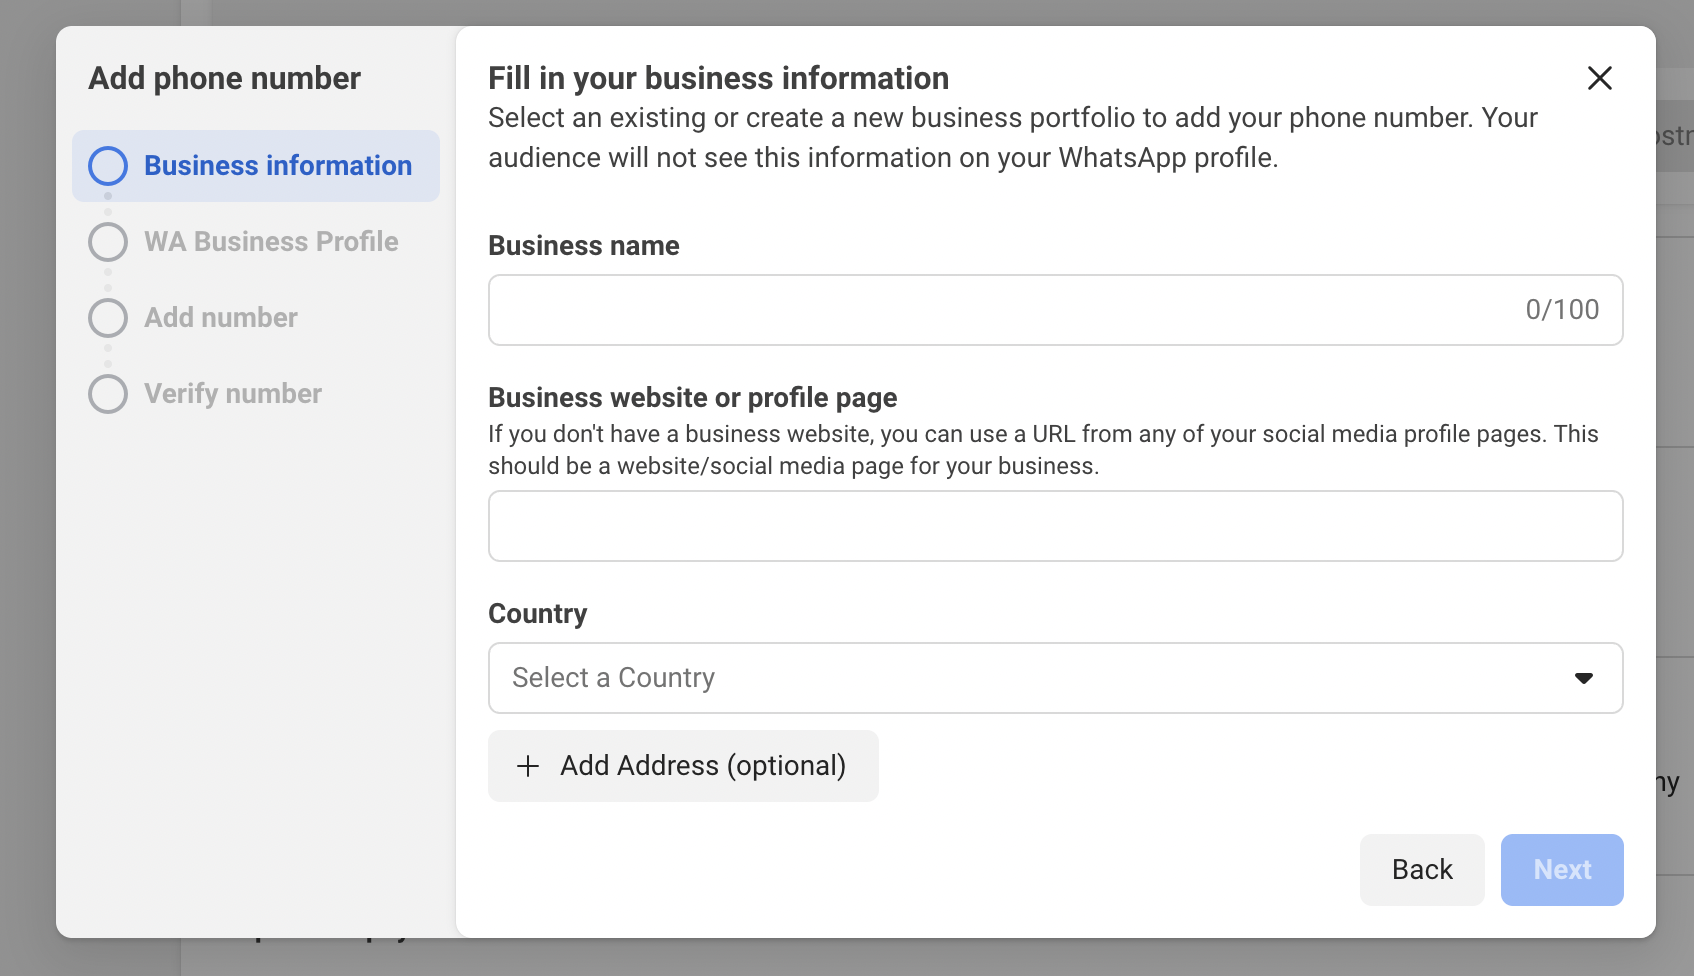
The “Provide information about your company” modal window opens (Fig. 24). Fill in the required fields with your company’s information. Click “Next”.
-
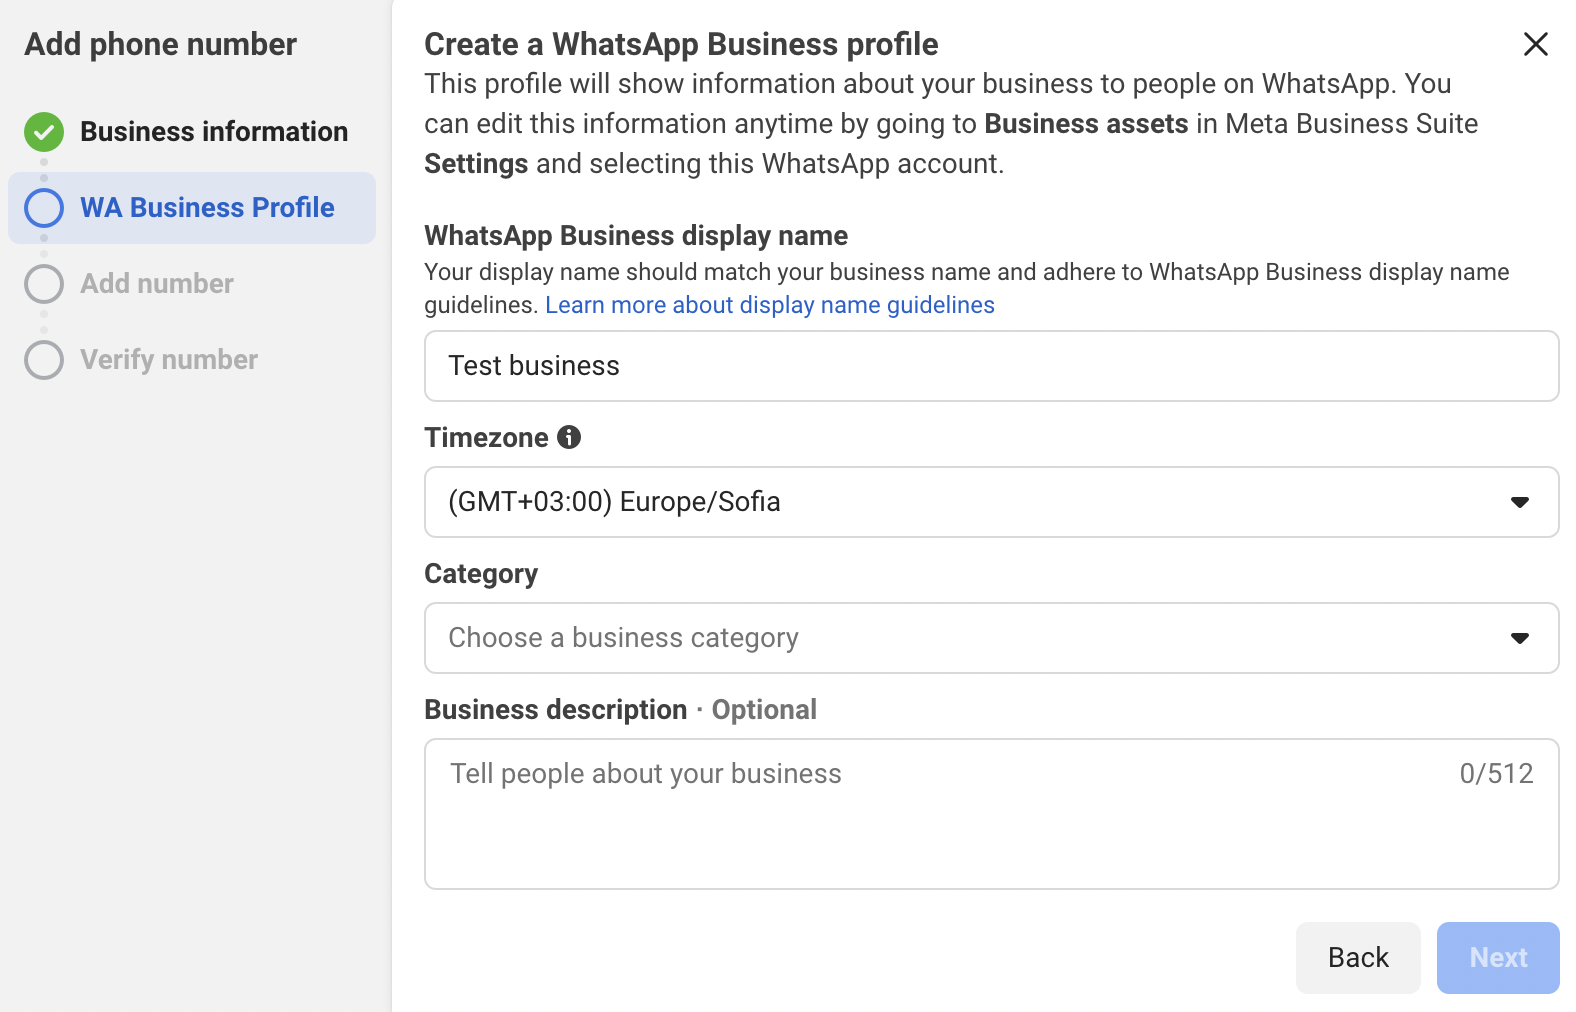
The “Create a WhatsApp Business Profile” modal window opens (Fig. 25). Enter the required data, click “Next”.
-
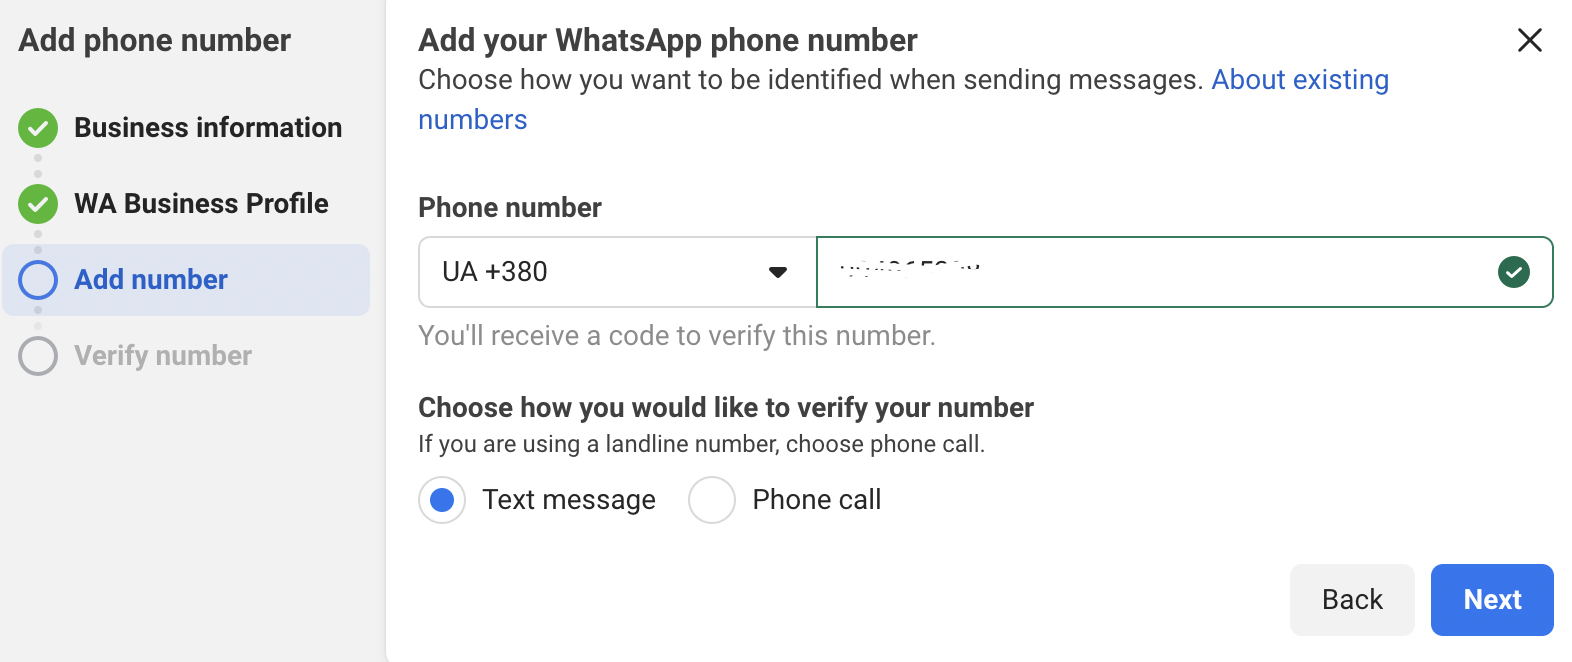
The “Add WhatsApp Phone Number” modal window opens (Fig. 26). Select the country code and enter the phone number. Choose a verification method. Click “Next”.
-
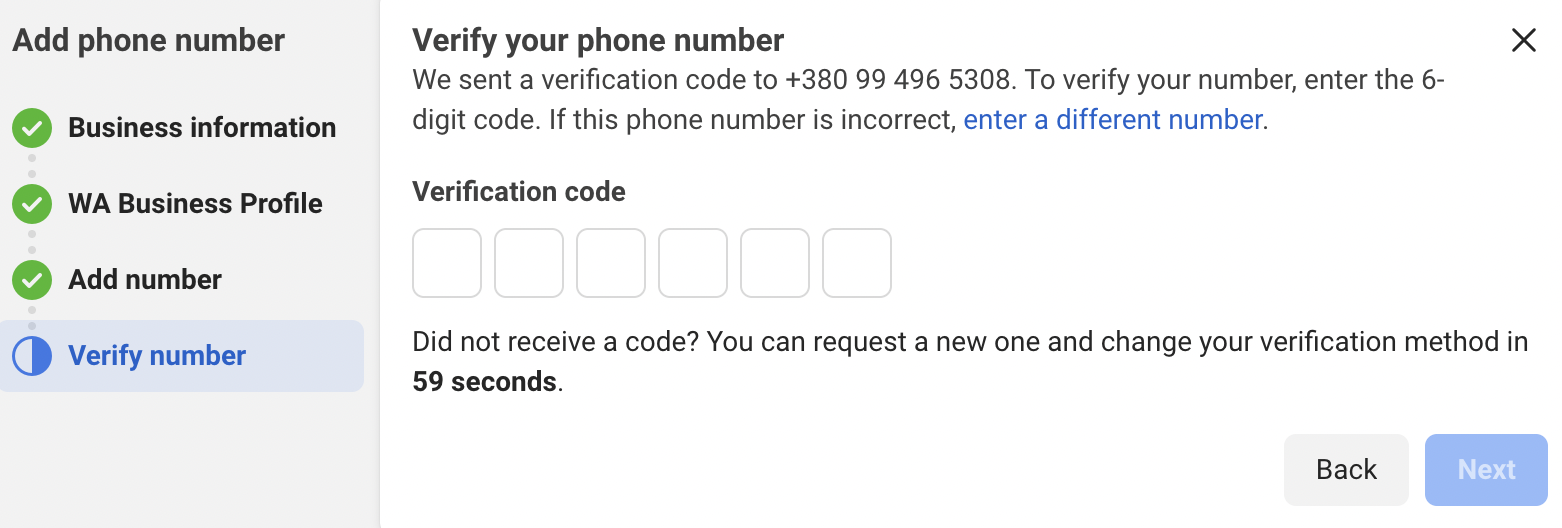
The “Verify Phone Number” modal window opens. Enter the verification code received via SMS (Fig. 27). After entering the code, the “Next” button becomes active — click it.
-
The modal window closes. The “API Setup” page is displayed.
-
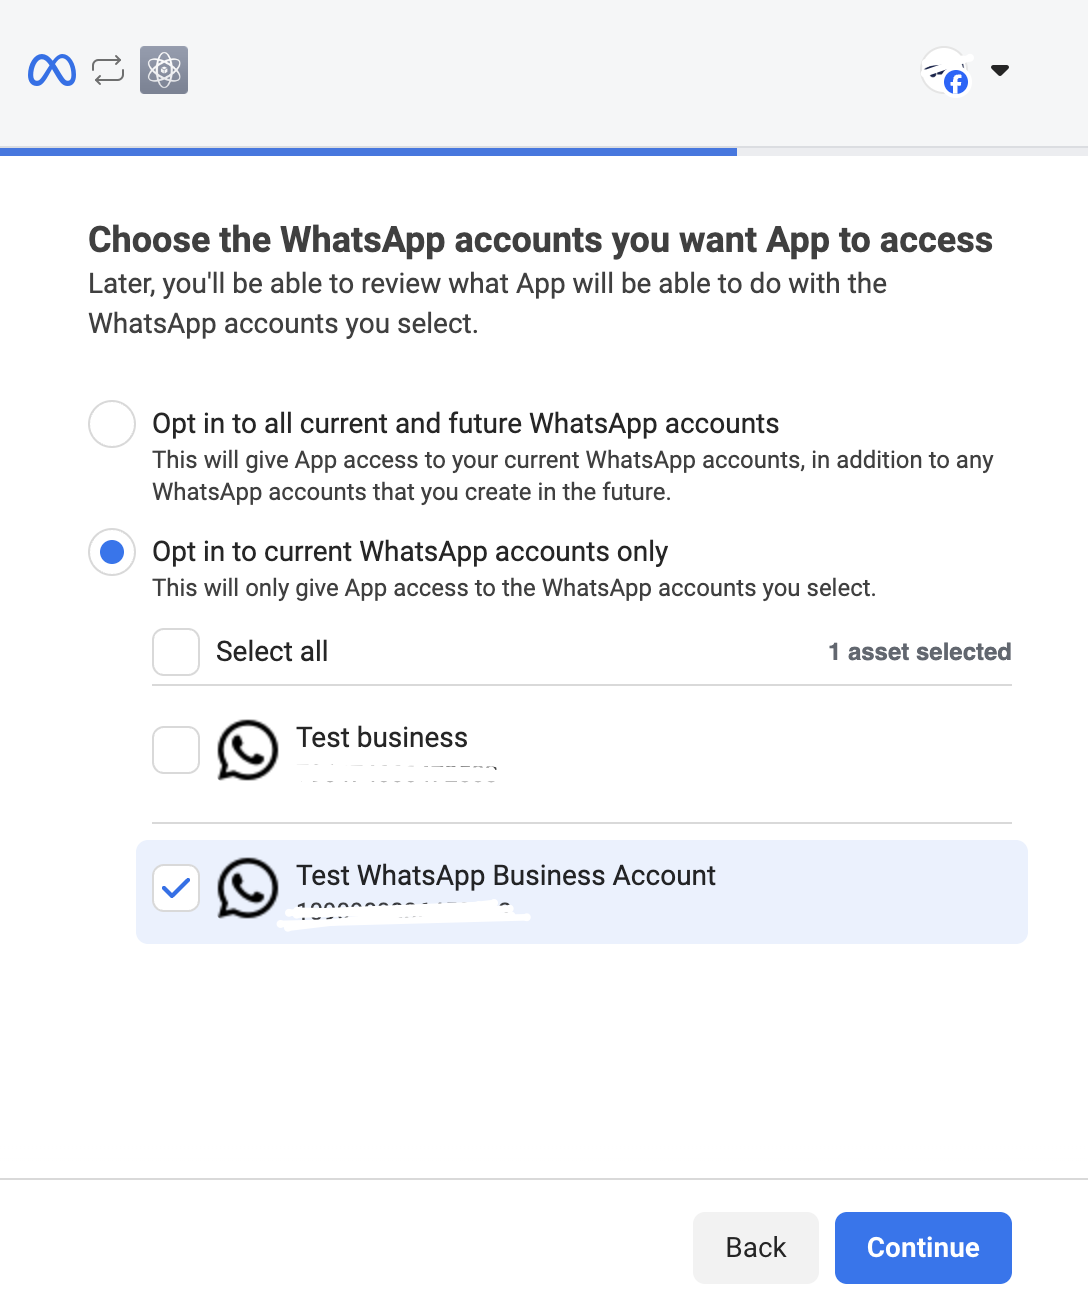
Go to Webitel. Open the “WhatsApp” page in the text gateway (Fig. 21). Click the “Add or remove pages” button. The Facebook login window opens. Log in. The window “Choose the WhatsApp accounts you want App to access modal window” opens (Fig. 28). Select the previously created account. Click “Next”.
-
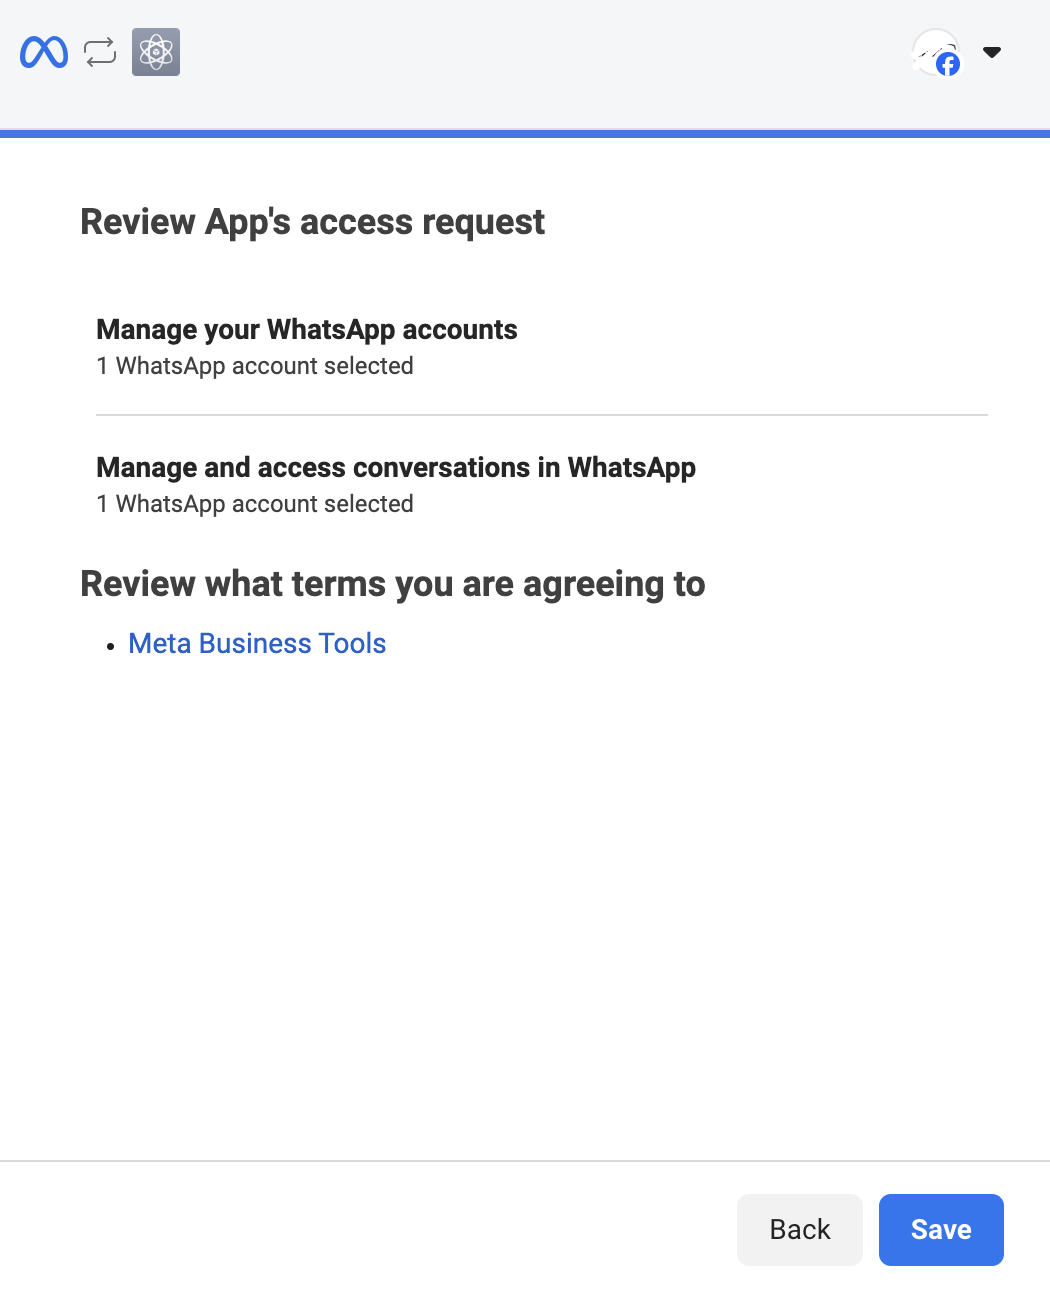
The “Review App’s access request” window opens (Fig. 29). Enable both switches. Click “Done”.
-
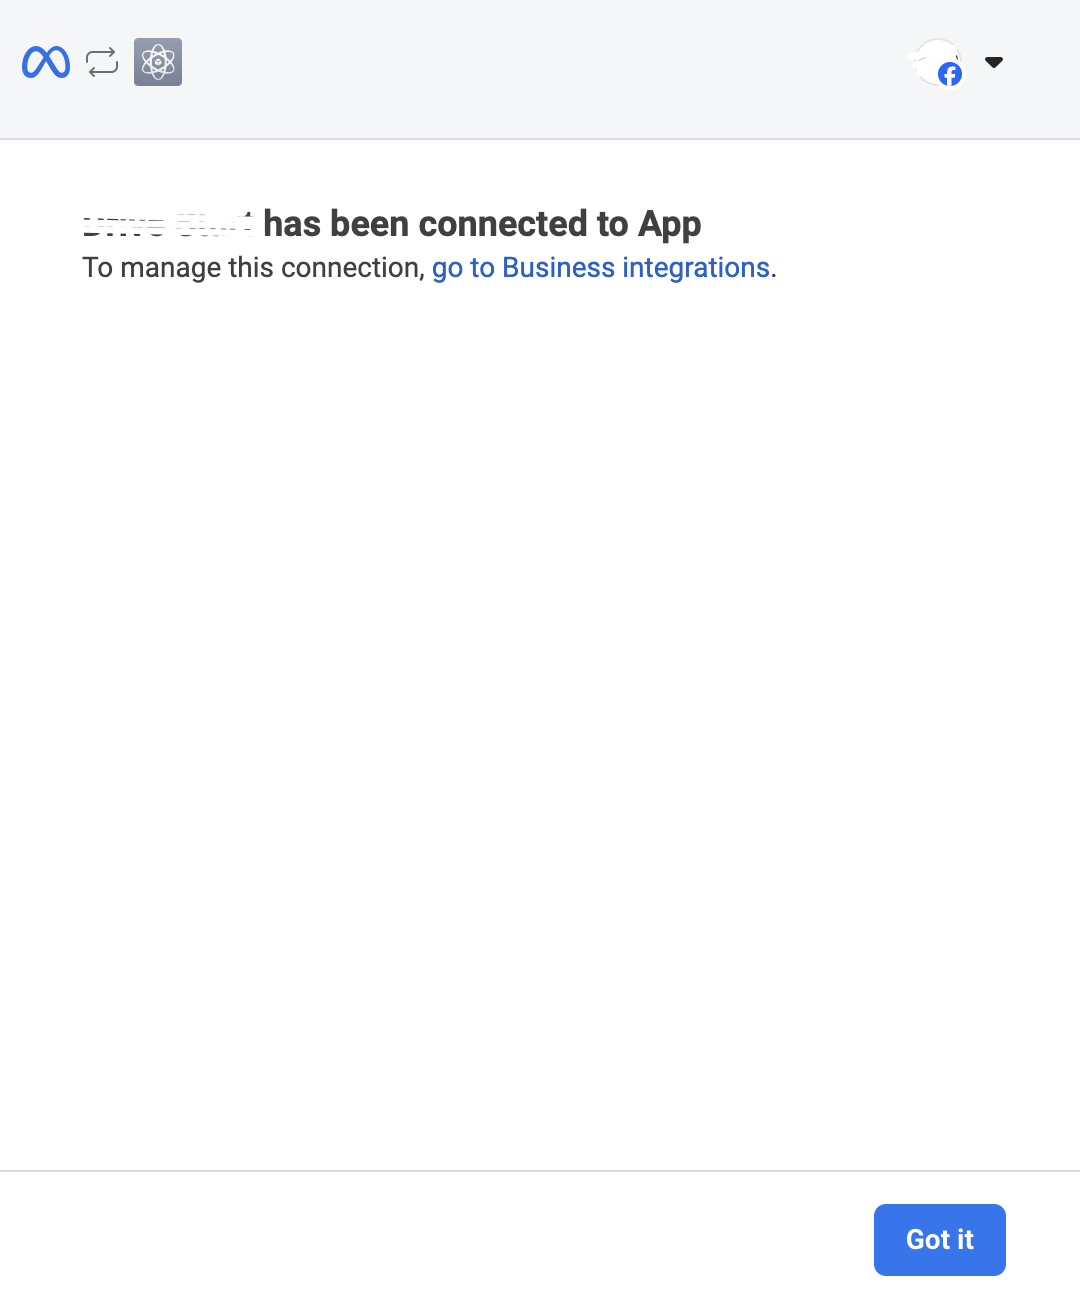
The app linking confirmation window opens (Fig. 30). Click “Got it”.
-
The window closes, and the records registry data on the “WhatsApp” page is updated. The added number is displayed in the registry. Switch the “Enabled” toggle to active. Go to the “Chat gateways” page, find the gateway where WhatsApp was configured, and switch the “Status” toggle to active.