1. Description
Chats are displayed in the left panel under the chats tab.
There are such lists in the chat tab:
-
Active chats;
-
Self-assigned chats;
-
Closed chats.
The red indicator on the "Chats" 
1.1. Active chats
When chat is automatically allocated to an Agent, an audible alarm accompanies an inbound chat.
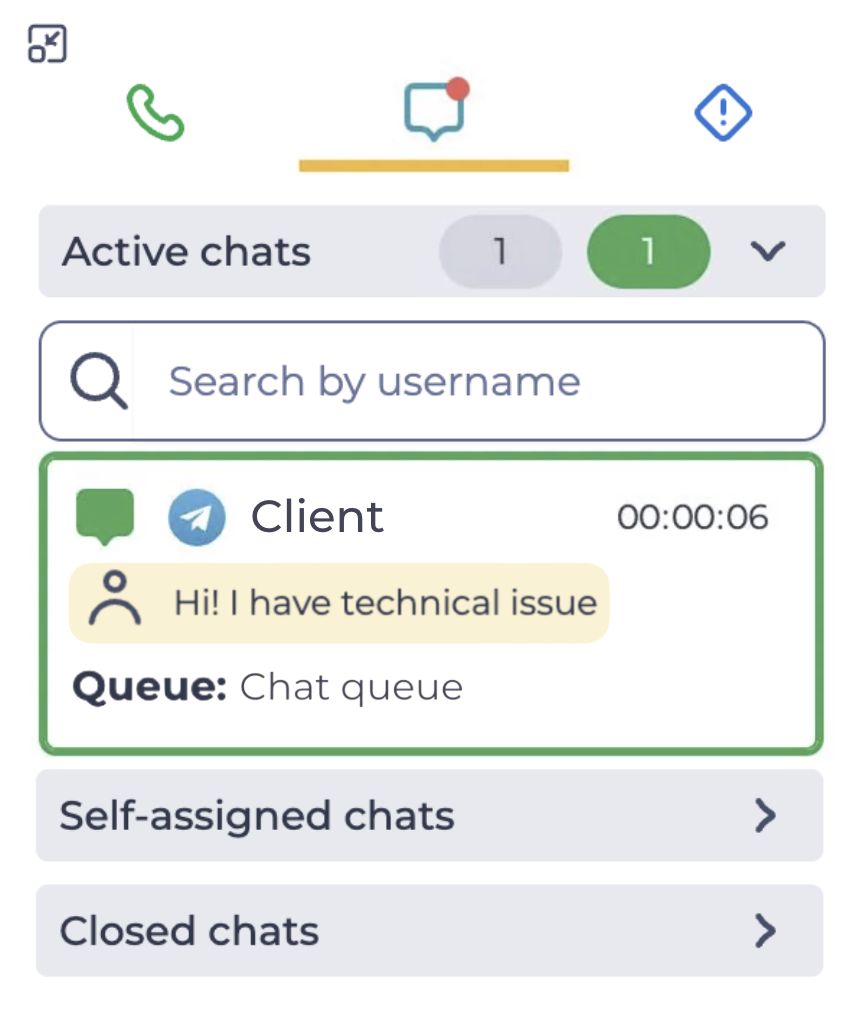
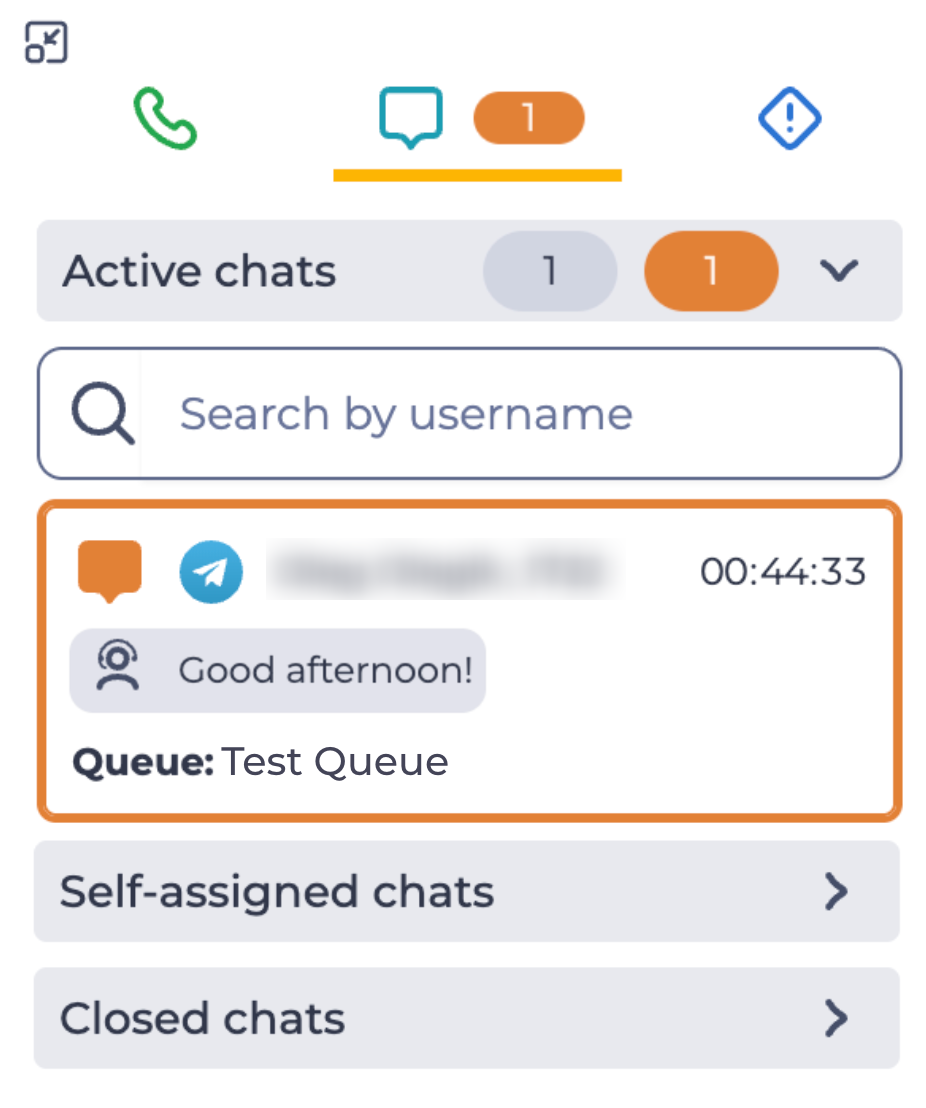
In the left panel, the chat currently open in the central panel is highlighted with a thick border. The border color depends on the chat status:
-
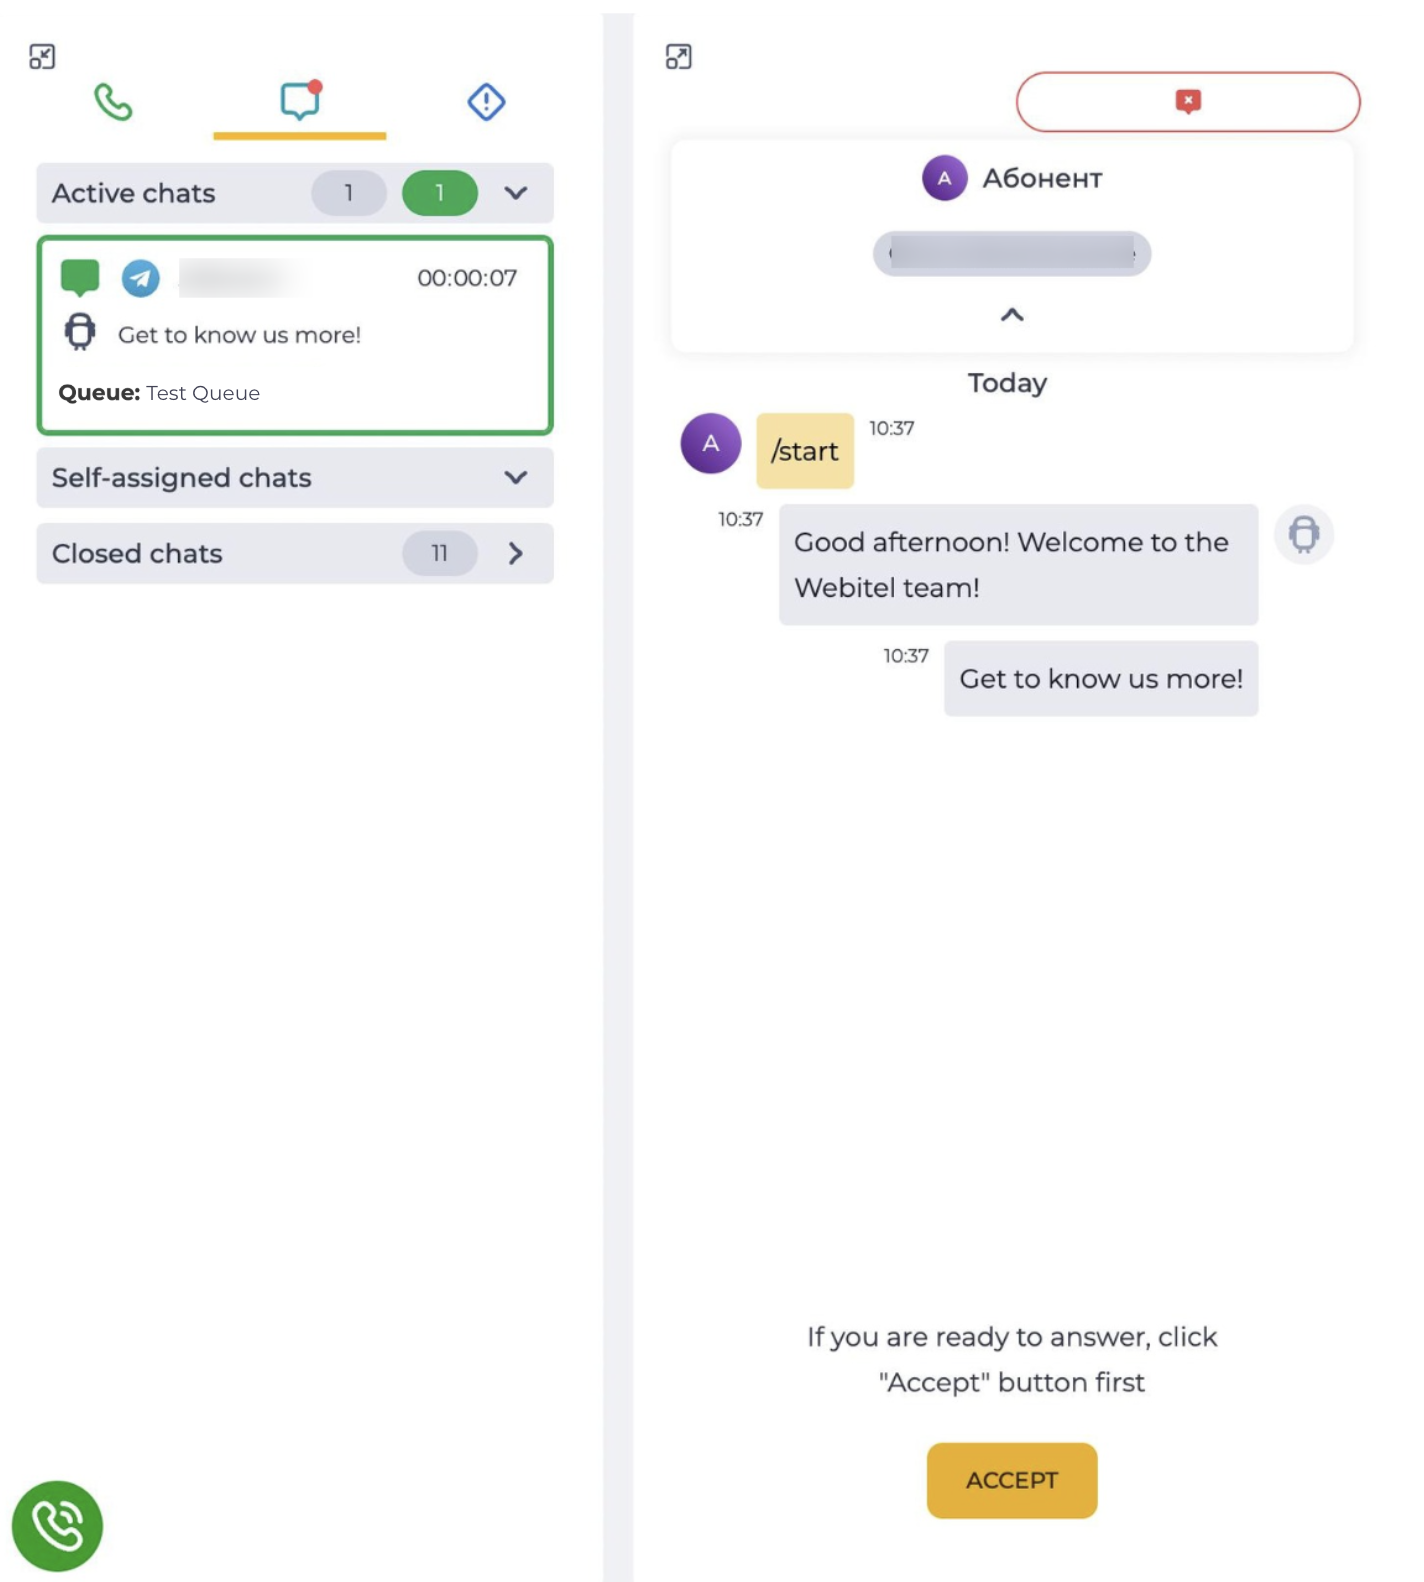
New chat — green border with a filled chat icon (Fig. 1).
-
Active chat — orange border with a filled chat icon (Fig. 2).
|
|
|---|
Next to the Active chats list name, three counters are displayed:
-
gray
-
orange
-
green
A similar orange counter is displayed next to the Chats 
Note!
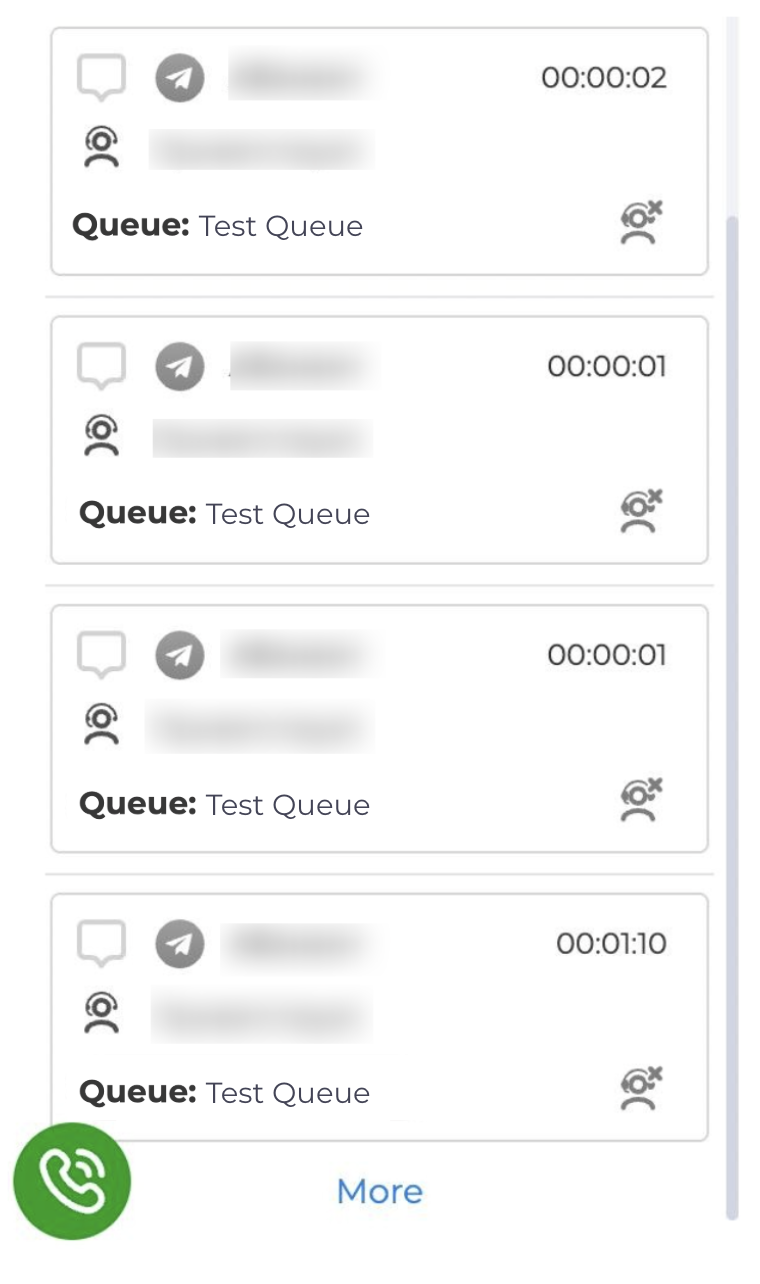
After refreshing the page in the Workspace interface, only 10 active chats are displayed. If there are more than 10 active chats, a More button is displayed below the list (Fig. 3) — clicking it loads the next 10 chats.
On the next page reload, the system again loads only 10 chats.
This limitation applies exclusively to the display of chats in the interface and does not affect the actual number of active chats that an Agent can handle.
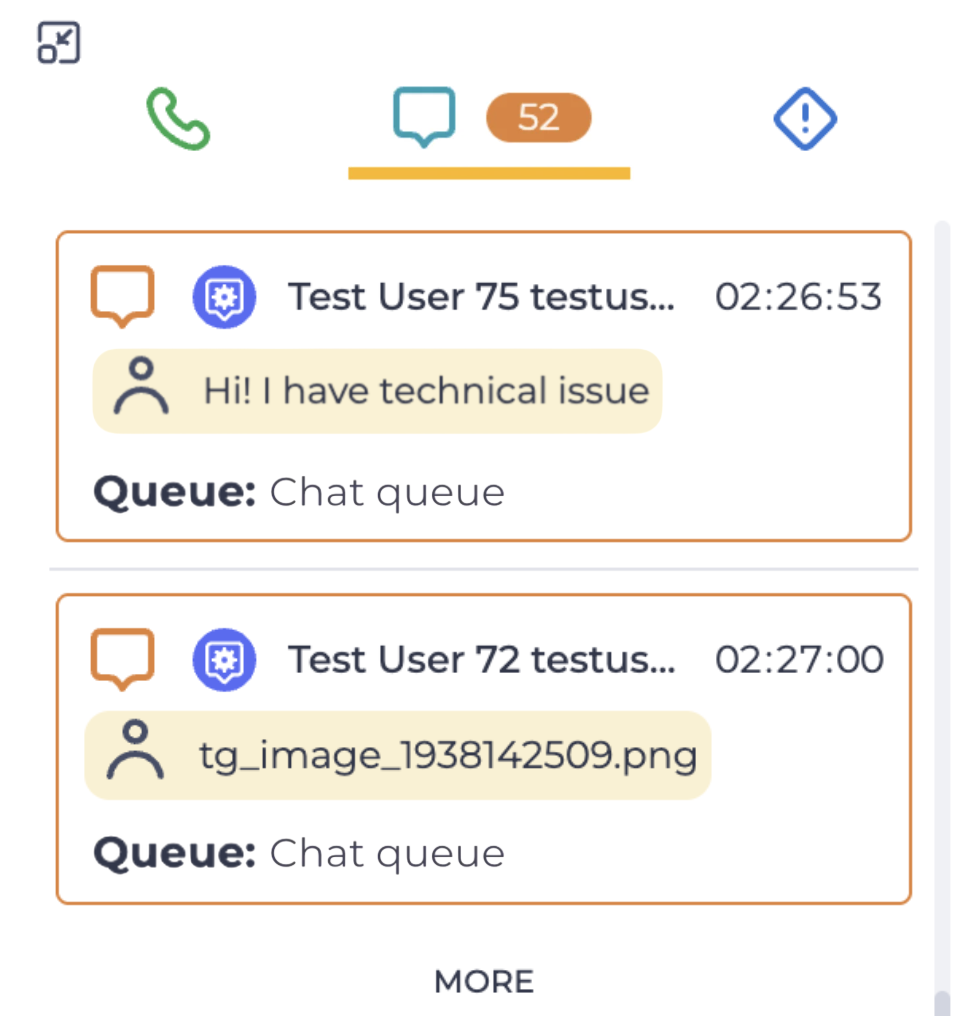
The header of the chat card in the left panel displays the client's name from the connected messenger (username).
Agent names, including those who participated in the chat transfer, are not displayed in the left panel.
Above the list of active chats there is a search field (Fig. 4).
The search is performed by the client's name, which is displayed in the chat card header.
After entering a value, the list displays only chats whose client name matches the entered query.
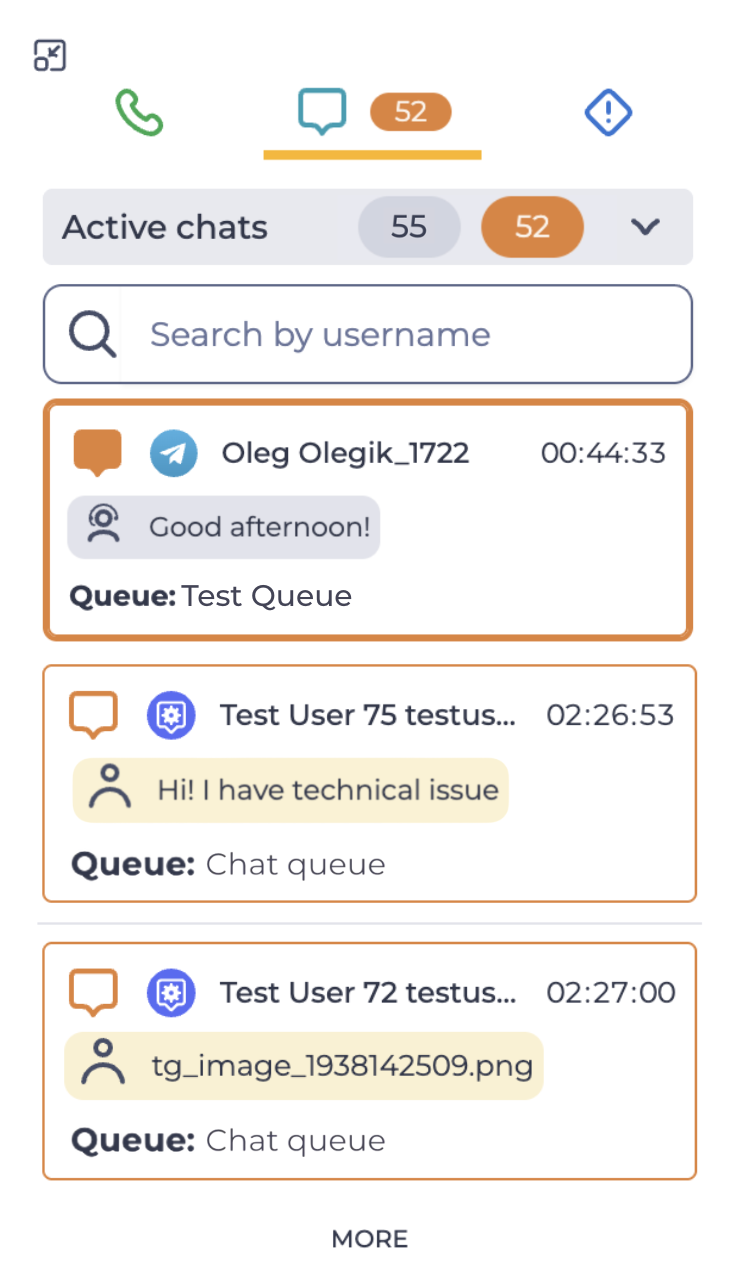
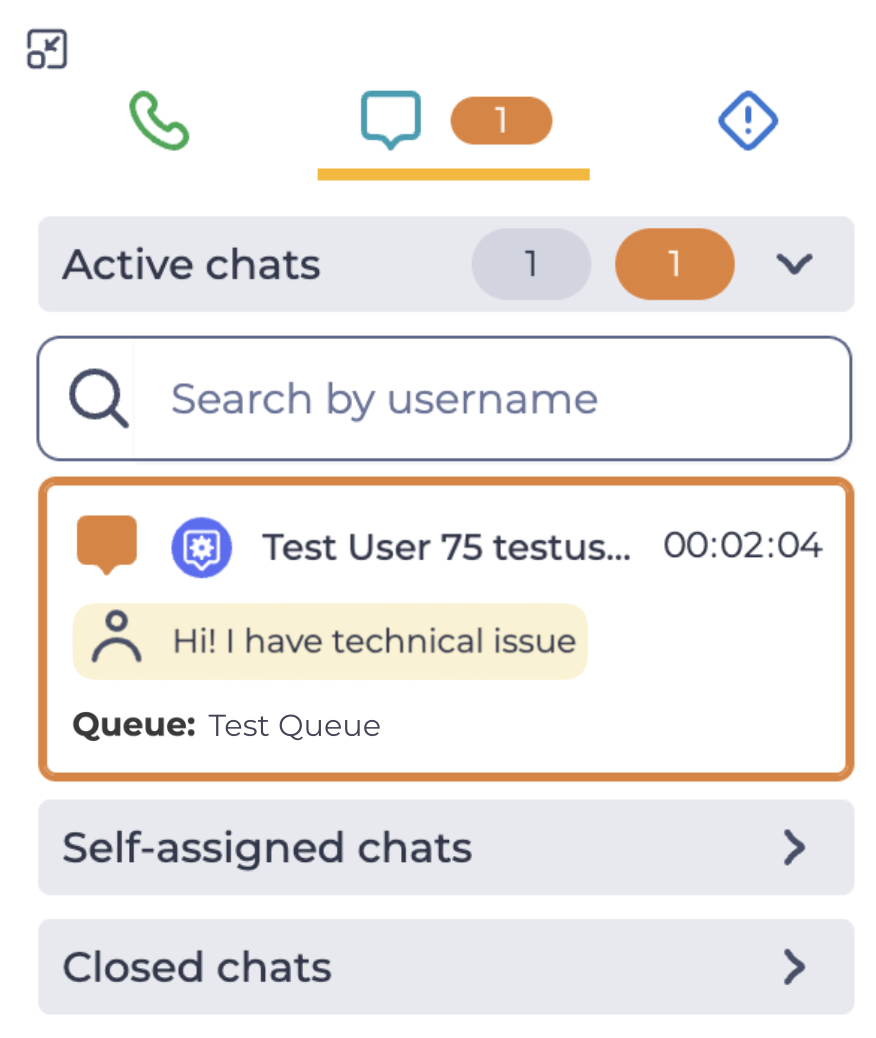
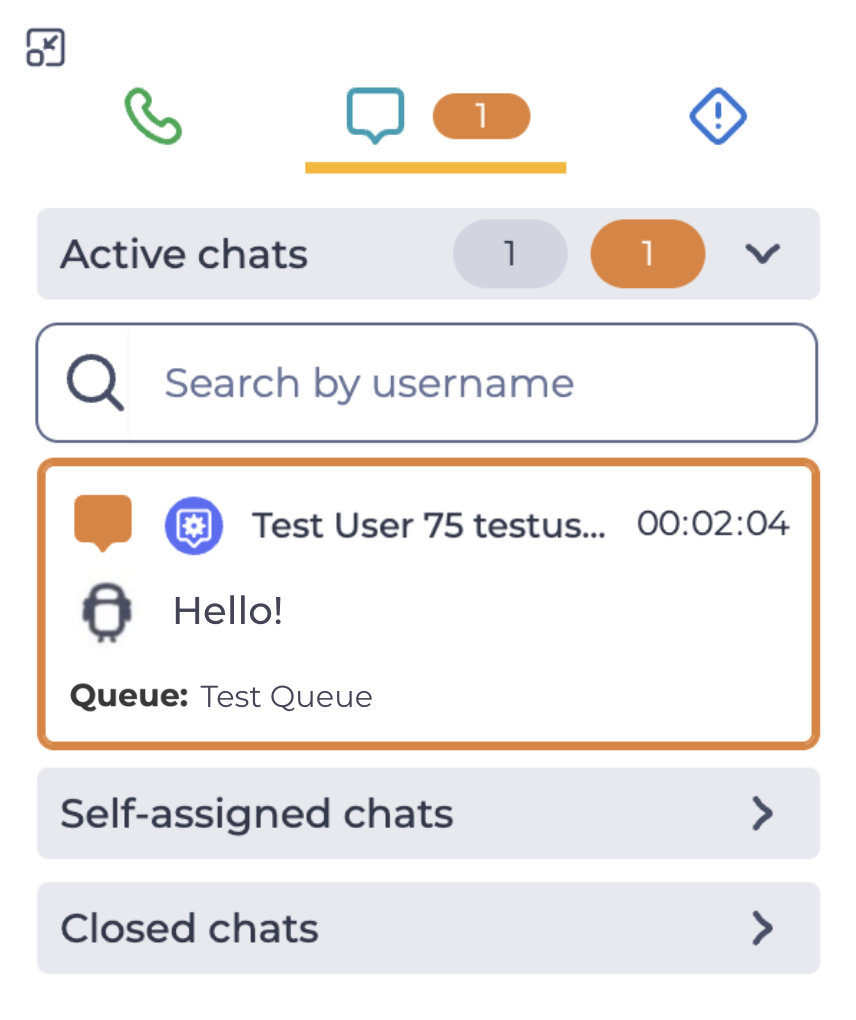
The background color of the message text in the chat preview corresponds to the sender of that message:
-
yellow — message from the client (Fig. 5);
-
gray — message from the Agent (Fig. 6);
-
white — message from the bot (Fig. 7).
|
|
|
|---|
The following options for chat acceptance can be outlined:
-
Automatic chat acceptance;
-
Manual chat acceptance.
When a Contact is identified, the central panel shows the full message history linked to that Contact. Chats from all connected messengers are visible. The Contact's information appears on the right panel.
If several Contacts are found, the Agent chooses the Contact to link the chat to. After linking, the chat history of the selected contact is displayed.
The chat history displays all chats, regardless of which Agents participated in the conversation.
When hovering over the icon 
1.1.1. Automatic chat acceptance
In case of automatic chat acceptance, the chat received by the Agent is accepted as soon as it arrives — without clicking the acceptance button.
Set the variable wbt_auto_answer: true on the Variables tab of the Queue to automatically connect chat with the Agent (without the Agent clicking the Accept button). Self-assigned of chat must be switched off.
1.1.2. Manual chat acceptance
If automatic chat acceptance is not configured, chats are accepted by clicking the Accept button in the centre panel.
Inbound chat is displayed in the left panel, and the message history of this chat is displayed in the central panel. To accept such a chat, click the Accept button in the central panel (Fig. 8).
The top of the active chat's central panel shows a bar with the names of the conversation participants:
-
if the contact is identified — the bar shows the contact's name. The contact's name takes priority over the client's name from the connected messenger — even if they differ, the contact's name is shown. Clicking it opens that contact's page;
-
if the contact is not identified — the bar shows the client's name from the connected messenger. It's not possible to open the contact's page from it.
If the chat was transferred to another agent — the bar additionally shows, separated by commas, the names of the agents who previously took part in the chat, except for the agent currently handling it.
If the chat was not transferred — the bar does not show any agent names.
If a problem occurs while sending a message, a notification will appear on the screen stating that the message was not sent.
1.2. Self-assigned chats
This list is displayed to all Agents of this Queue, i.e. any Agent can select any waiting chat for connection. If a chat has been accept by any Agent servicing this Queue, this chat is removed from this list (Fig. 9).
In the left panel, the chat is highlighted with a grey border. When clicked, the border becomes thick and the chat opens in the central panel.
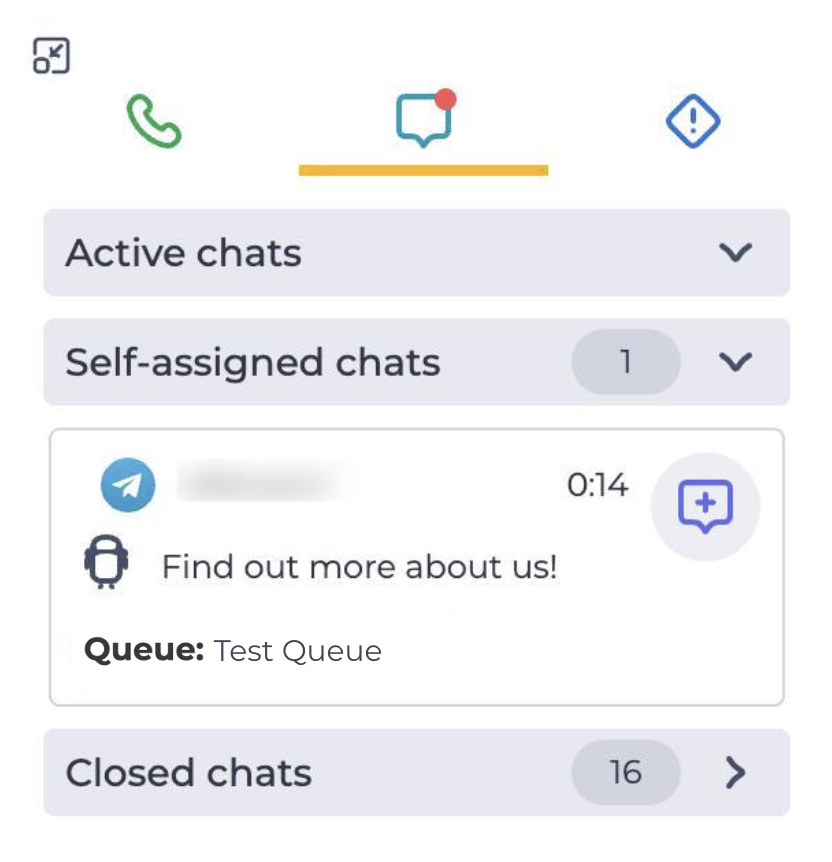
Unlike automatic chat distribution, adding a new chat to the list of chats waiting to be connected to the Agent is not accompanied by a sound signal.
To accept a chat, you need to click the 
The scale under the entry shows the waiting time of the Subscriber. The color changes depending on the percentage of the waiting time to the time entered in the Max wait time field of this Queue:
-
Green - < 50 %
-
Yellow - 51-75%
-
Red - 76% <
Self-assigned chats are enabled on the Parameters detail page of this Queue.
After accepting a chat, the central panel opens the history of communication between the Subscriber and the chatbot, the ability to send a message to the Subscriber, and other options.
After accepting a chat, it is listed in the Active chats section.
If self-assigned distribution is enabled, you can accept several chats. The maximum number of waiting chats is specified in the Max wait count field on this Queue's Parameters tab.
If there are any issues when sending a message, a notification will appear indicating that the message was not sent.
1.3. Closed chats
Here, closed chats in which the Agent participated are displayed.
In the left panel, the chat currently open in the central panel is highlighted with a thick grey border.
Only chats from the current day are displayed.
A counter is also displayed — the number of closed chats for the current shift (Fig. 10).
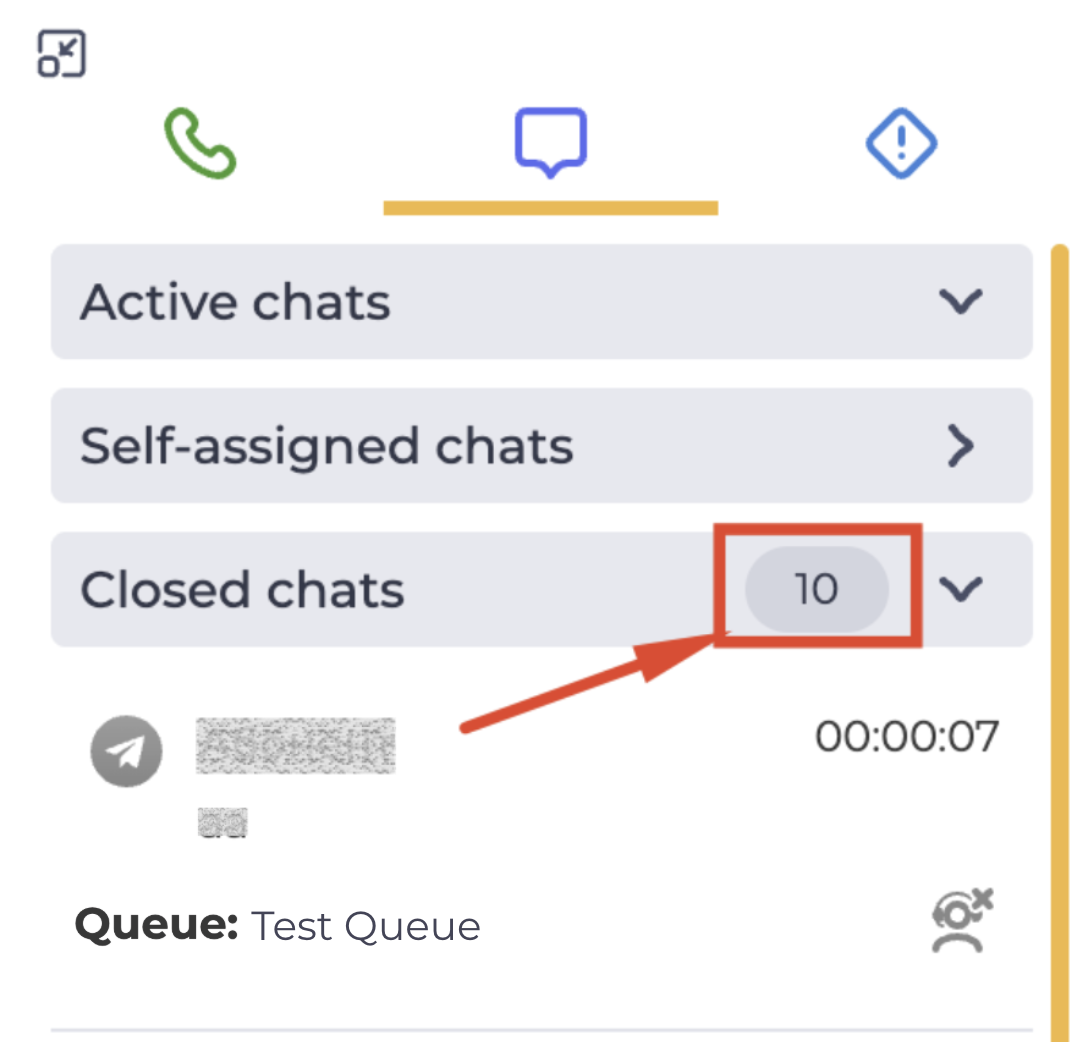
The header of the chat card in the left panel displays the client's name from the connected messenger (username).
Agent names, including those who participated in the chat transfer, are not displayed in the left panel.
In the central panel, if the contact is identified — the chat bar shows the contact's name. The name is not clickable.
If the contact is not identified — the chat bar shows the client's name. The name is not clickable.
Agents who took part in the chat are not shown in the central panel's bar for a closed chat.
Reasons for closing the chat:
-

-

-

Clicking on an entry opens the message history in the central panel,
If the chat was closed by the Subscriber or the response time expired, you need to click the 
The list is sorted by the time the chat was closed, in descending order. The 10 most recently closed chats are displayed first. If there are more than 10 closed chats, a More button appears (Fig. 11). After clicking the More button, the next 10 closed chats appear.