
1. Description
Used to create, view, edit, and delete custom lookups, as well as manage their content.
Custom lookups can be used to populate values in custom fields of the Case or Contact cards, as well as when configuring post-processing forms or other configurations where selecting a value from a predefined list is required.
After creation, the lookups appear in CRM → Configuration → Lookups.
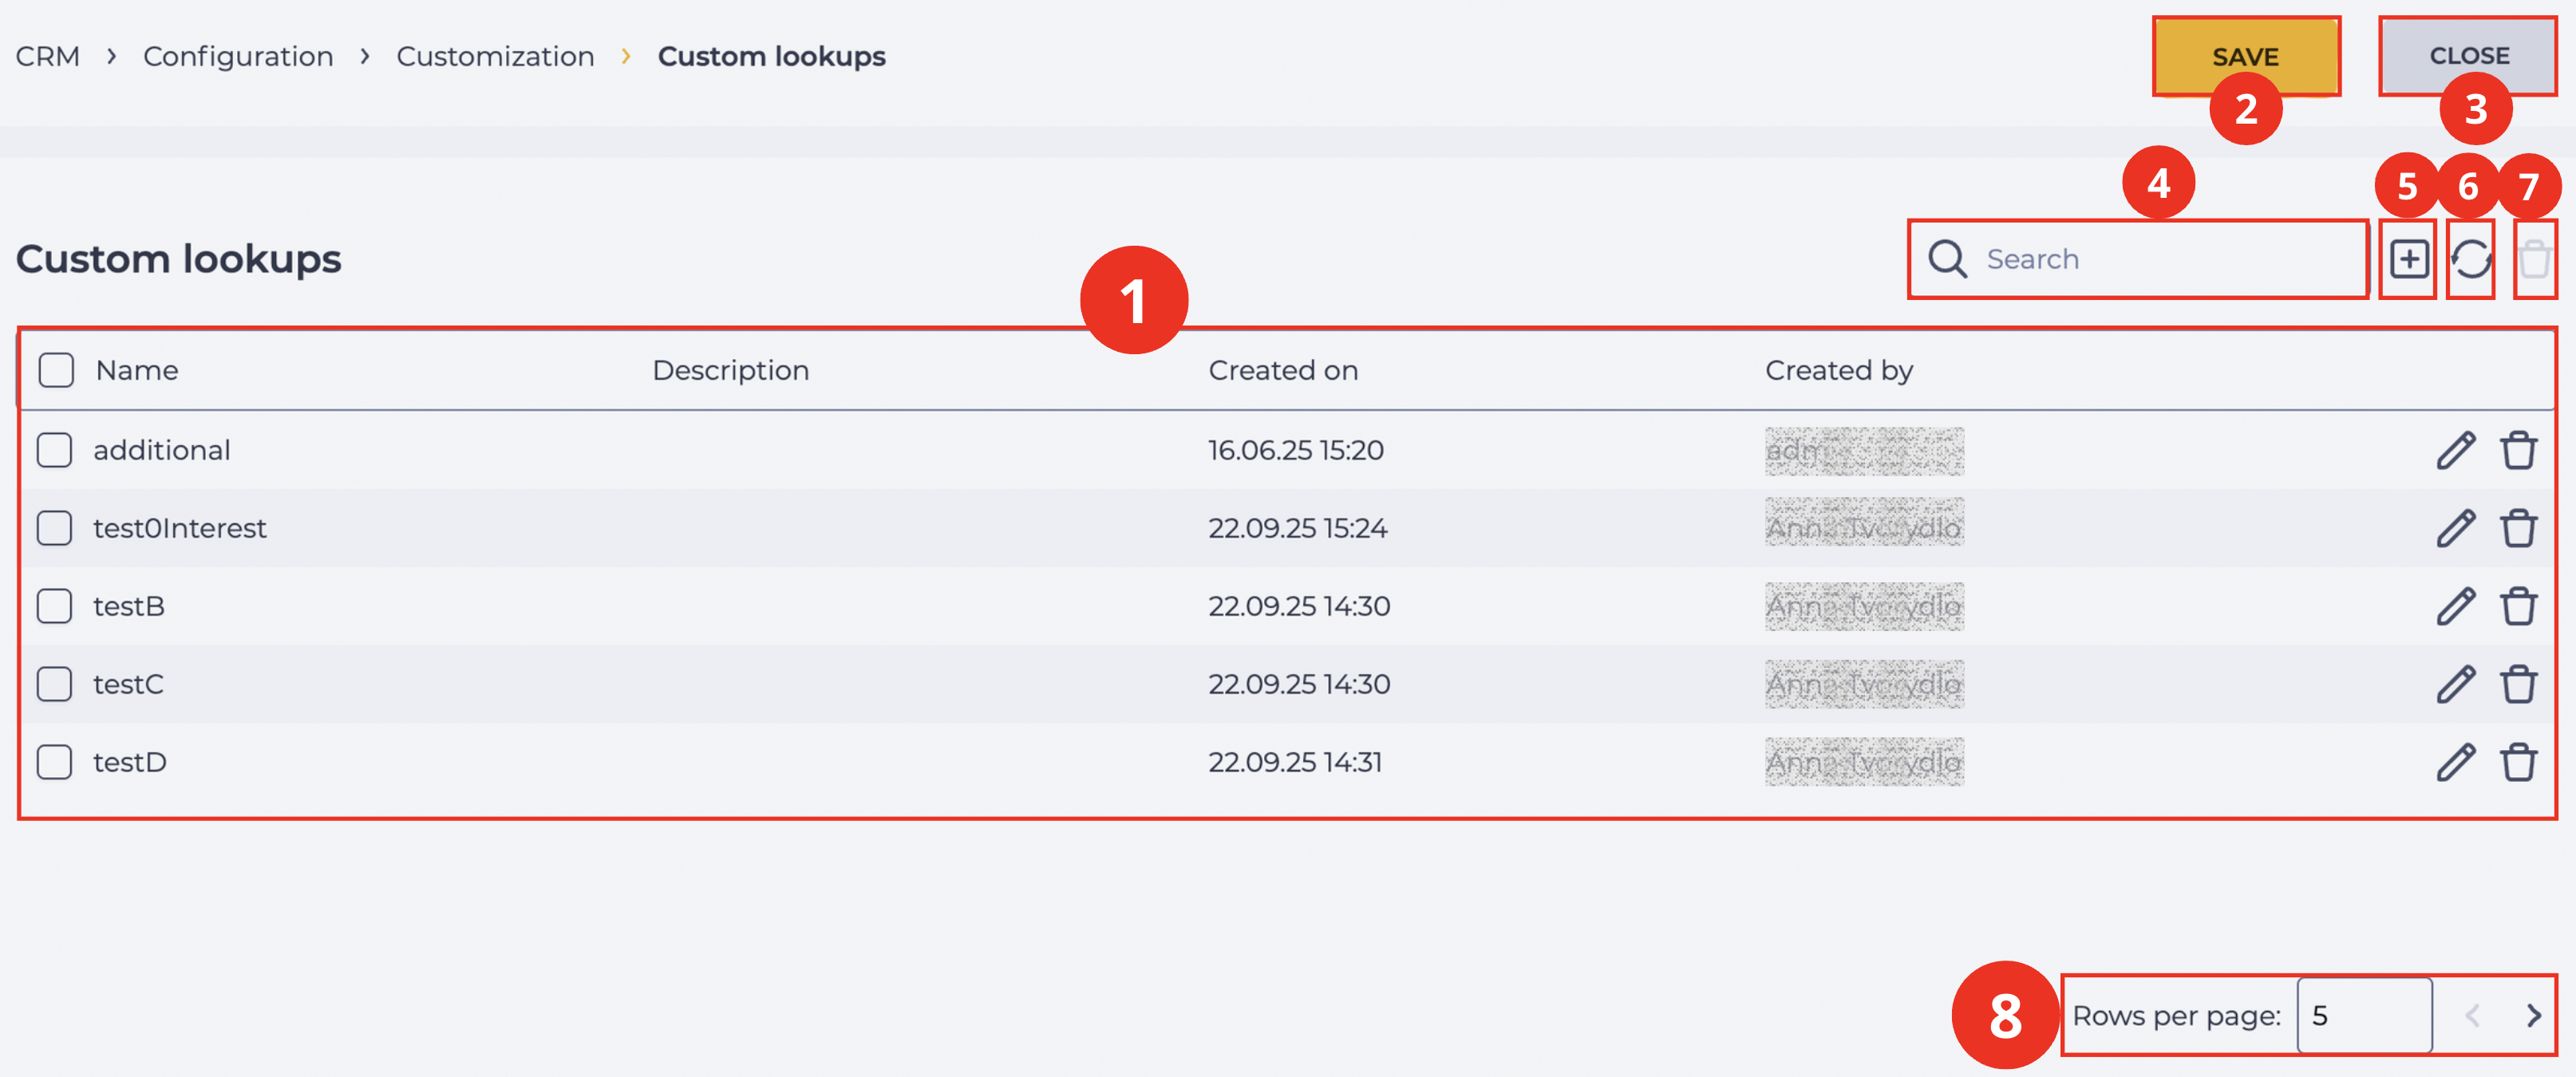
The page consists of the following elements:
-
Records registry (Fig. 1.(1));
-
Save button (Fig. 1.(2));
-
Close button (Fig. 1.(3));
-
Search panel (Fig. 1.(4));
-
New lookup creation tool (Fig. 1.(5));
-
Refresh button (Fig. 1.(6));
-
Deletion tool (Fig. 1.(7));
-
Pagination (Fig. 1.(8)).
1.1. Records registry
The table (Fig. 1.(1)) displays a list of all created custom lookups with the following parameters:
-
Checkbox;
-
Name;
-
Description;
-
Created date;
-
Created by;
-
Edit tool;
-
Deletion tool.
Note. Sorting in the registry is alphabetical. When clicking a column name, sorting icons (ascending 

Important! Sorting is supported for all columns except fields of the Multiselect type.
1.1.1. Checkbox
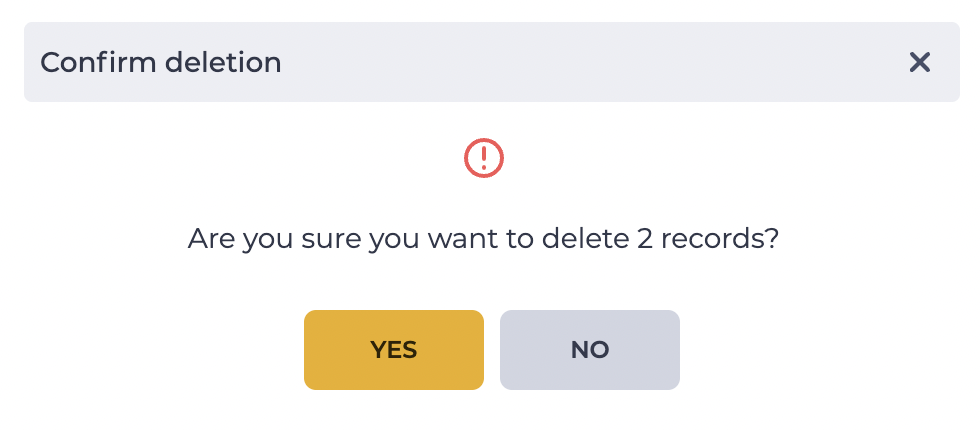
Used to select one or more entries. An additional removal tool appears next to the search field after selecting one or more entries. Information about the number of entries chosen for deletion appears when you hover over this tool. When you click on it, a modal confirmation window appears.
It contains the Yes, No, and close ( 
-
Clicking the Yes button deletes the entries.
-
Clicking the No button closes the modal window, and the entries are not deleted.
All records on the page will be selected if you select the checkbox in the header.
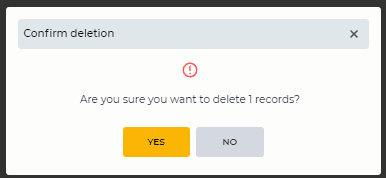
Fig. 2. Confirm deletion modal window
1.1.2. Name
Displays the lookup name. Clicking the name opens the view/edit page.
1.1.3. Description
A short description of the lookup (if specified).
1.1.4. Created on
Displays the date and time when the lookup was created.
1.1.5. Created by
Displays the user who created the lookup
1.1.6. Edit tool
The icon 
1.1.7. Deletion tool
The icon
1.2. Save button
After making changes, click the Save button (Fig. 1.(2)). Changes are not saved until this button is pressed.
Important! If no changes were made, the Save button is not displayed.
1.3. Close button
The Close button (Fig. 1.(3)) closes the section and returns the user to the Configuration page.
1.4. Search panel
The search field (Fig. 1.(4)) allows you to quickly find the required custom lookup by its name.
1.5. New lookup creation tool
The icon 
1.6. Refresh button
Updating the register table is performed by clicking on the refresh button - 
1.7. Deletion tool
The icon
1.8. Pagination
It consists of the Rows per page field, which indicates the number of entries (it is possible to set from 1 to 1000) per page, and forward and backward buttons for switching pages.