
Description
This section describes how to work with calls in the Creatio system using the Webitel CallManager product.
Glossary
|
Term |
Description |
|---|---|
|
СRM user |
A user of the Creatio system. Such a user does not have the ability to make or receive calls from the system. |
|
Webitel user |
The user of Webitel telephony system. In addition to using CRM, he can make and manage calls from the CTI panel (CTI or communication panel is one of the telephony tools in Creatio CRM system. A Webitel user can receive incoming and outgoing calls, both internal and external, directly in the system). |
1. Manual outbound call
To make an outgoing manual call, you need to open the communication panel (Fig. 1) by clicking on the cellphone icon (1).
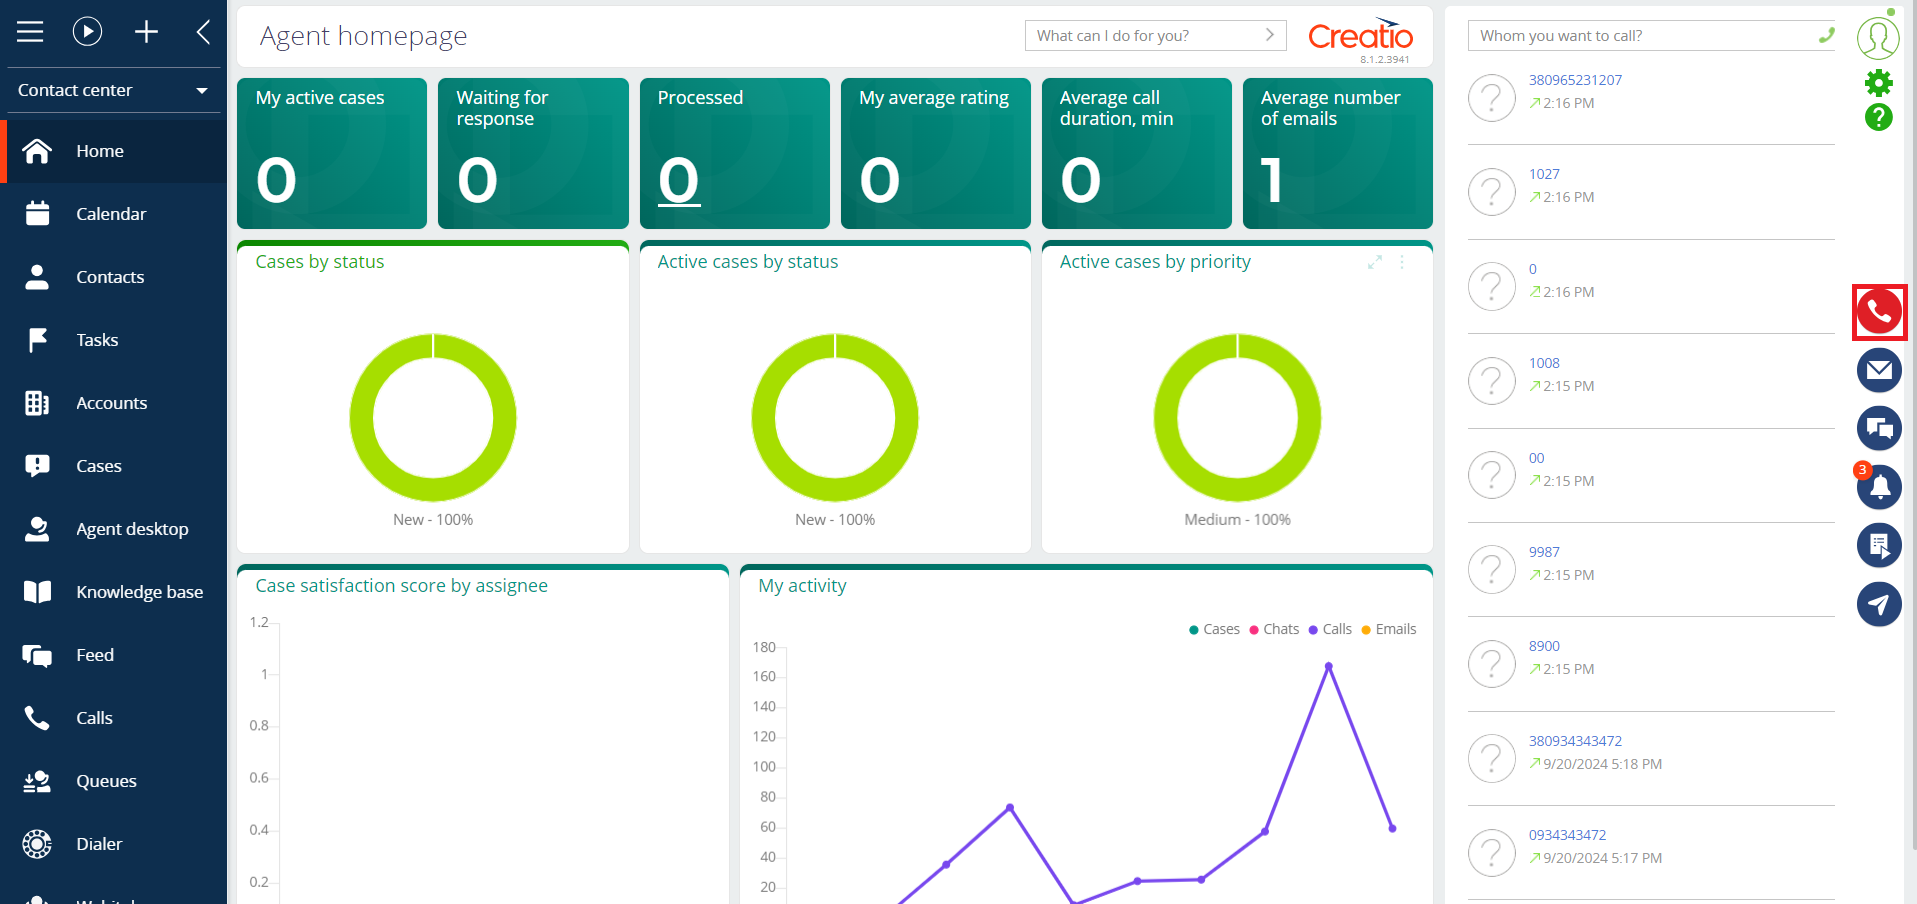
Fig. 1. Opening the communication panel
After that, you can enter the phone number in the field (1), click on the cellphone icon (2) in the upper right corner (Fig. 2), or Enter on the keyboard.
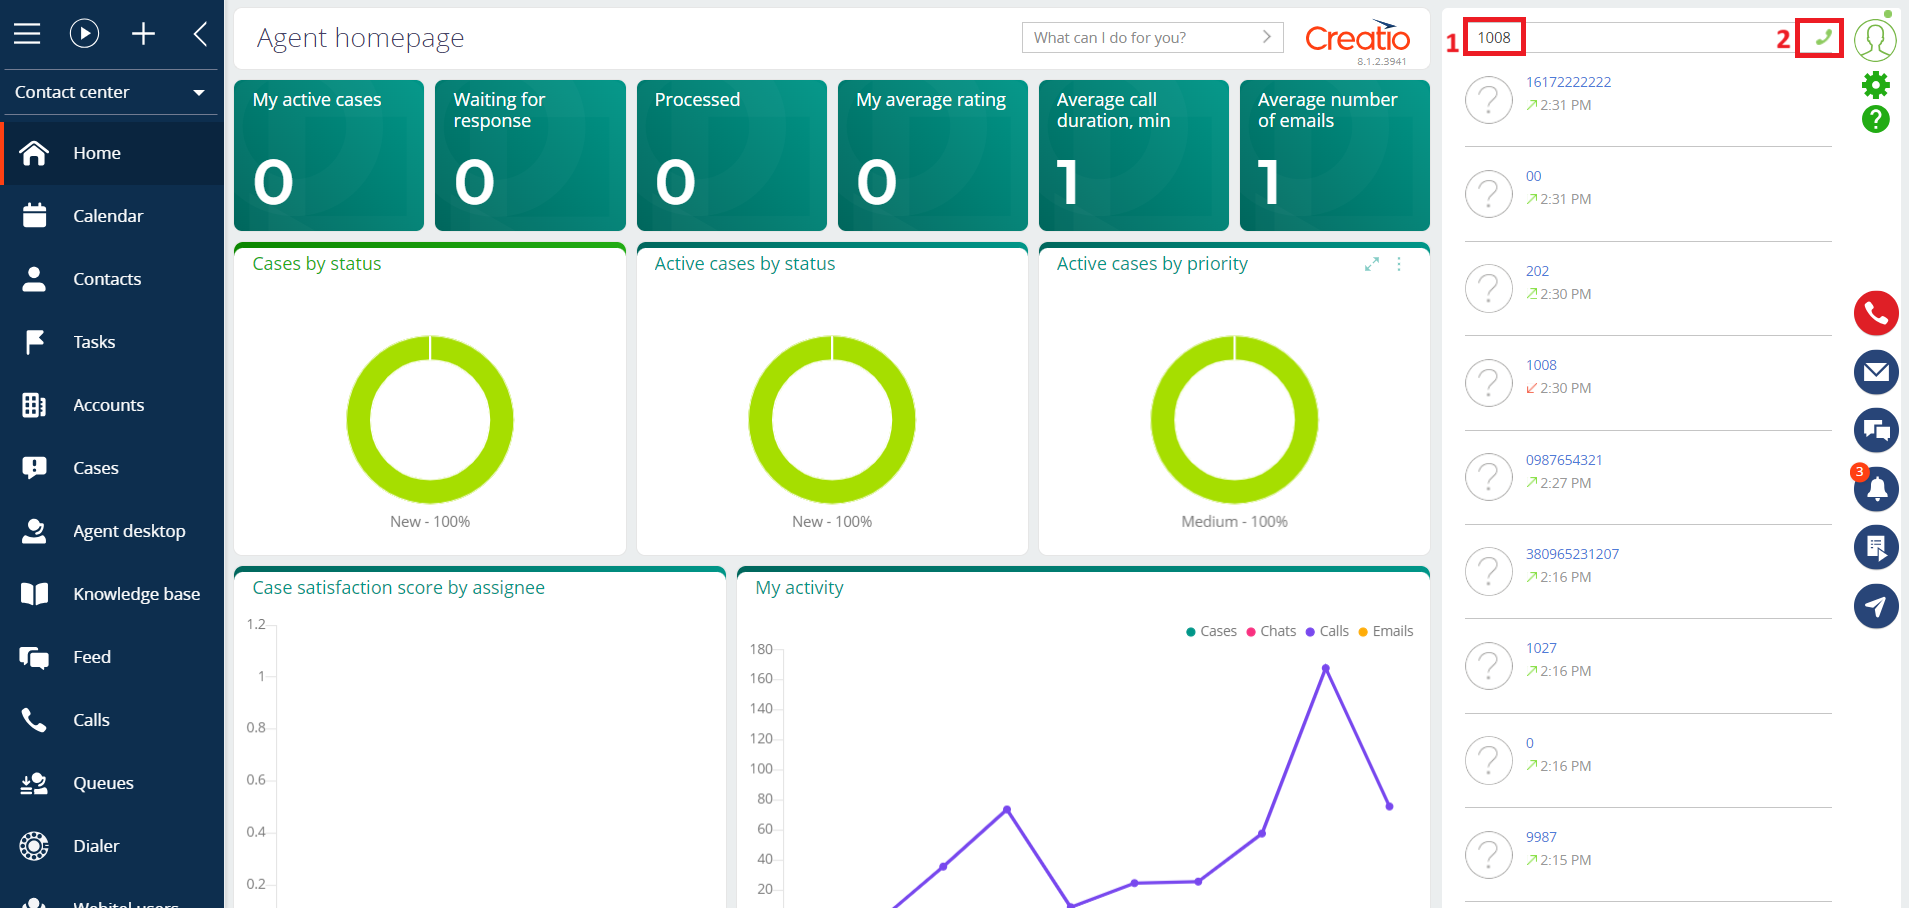
Fig. 2. Dialling a number
The dialling is in progress (Fig. 3).
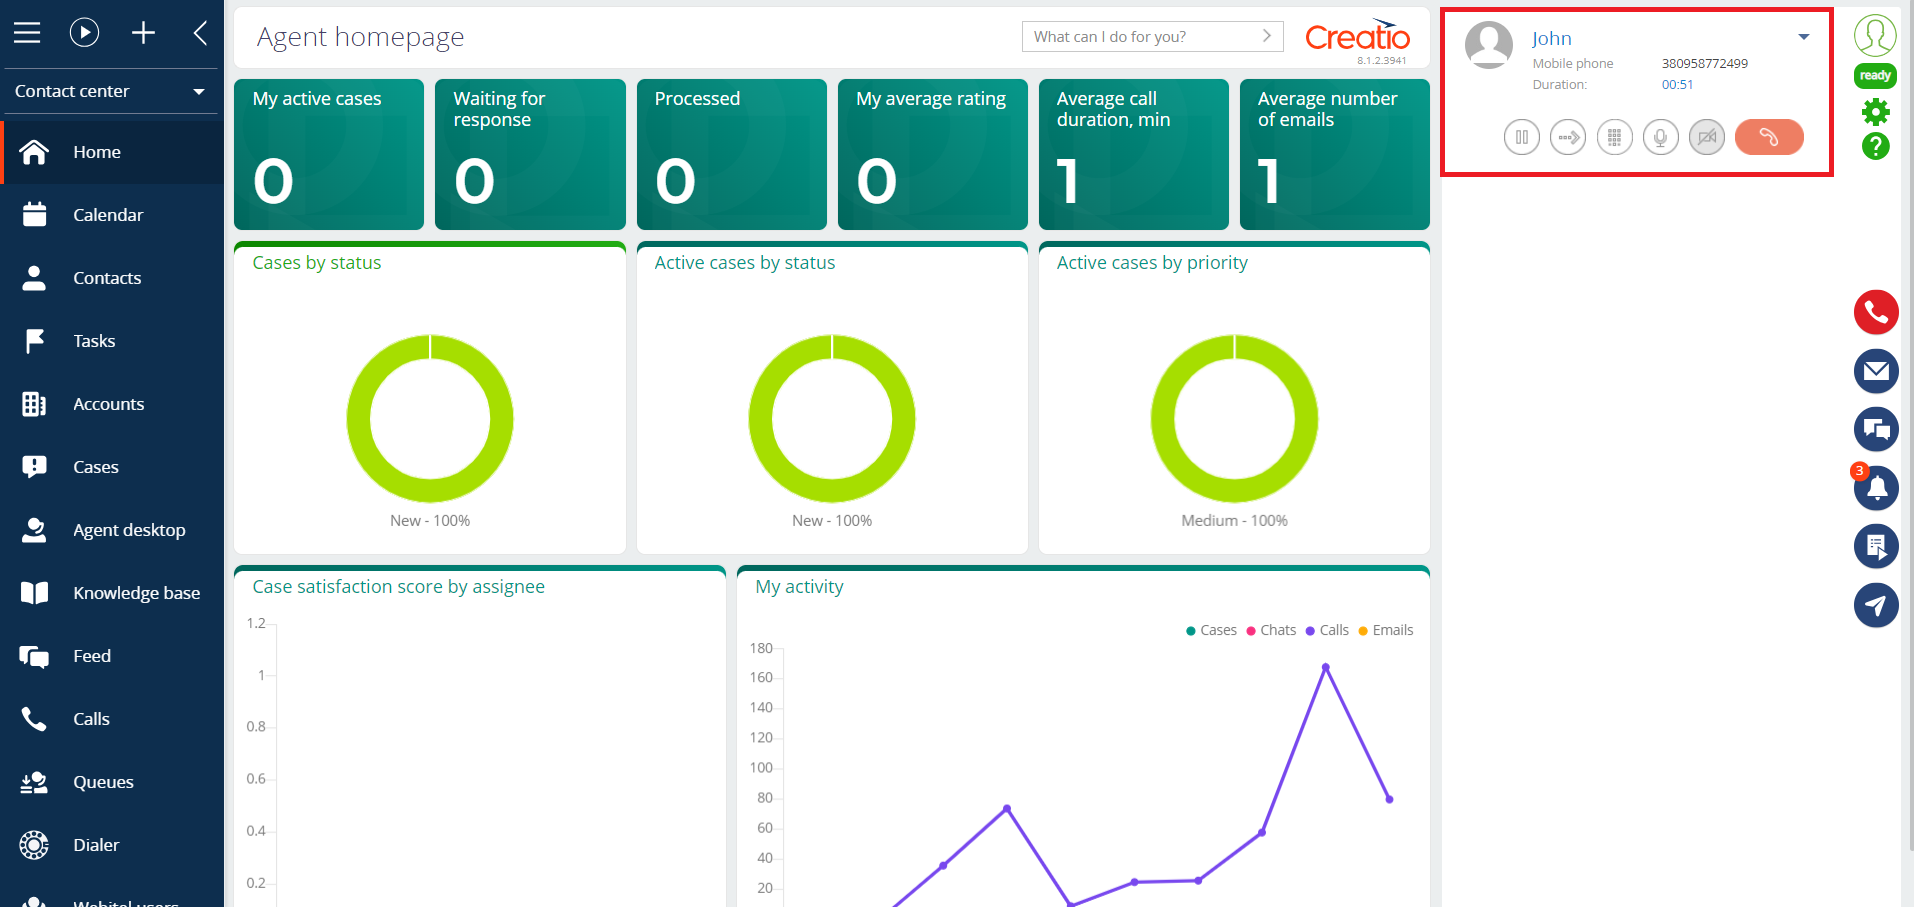
Fig. 3. Dialling window
To dial a specific user (Fig. 4), you can search for his Contact by name in the field (1), and then dial the needed number by clicking on the cellphone icon (2) next to it.
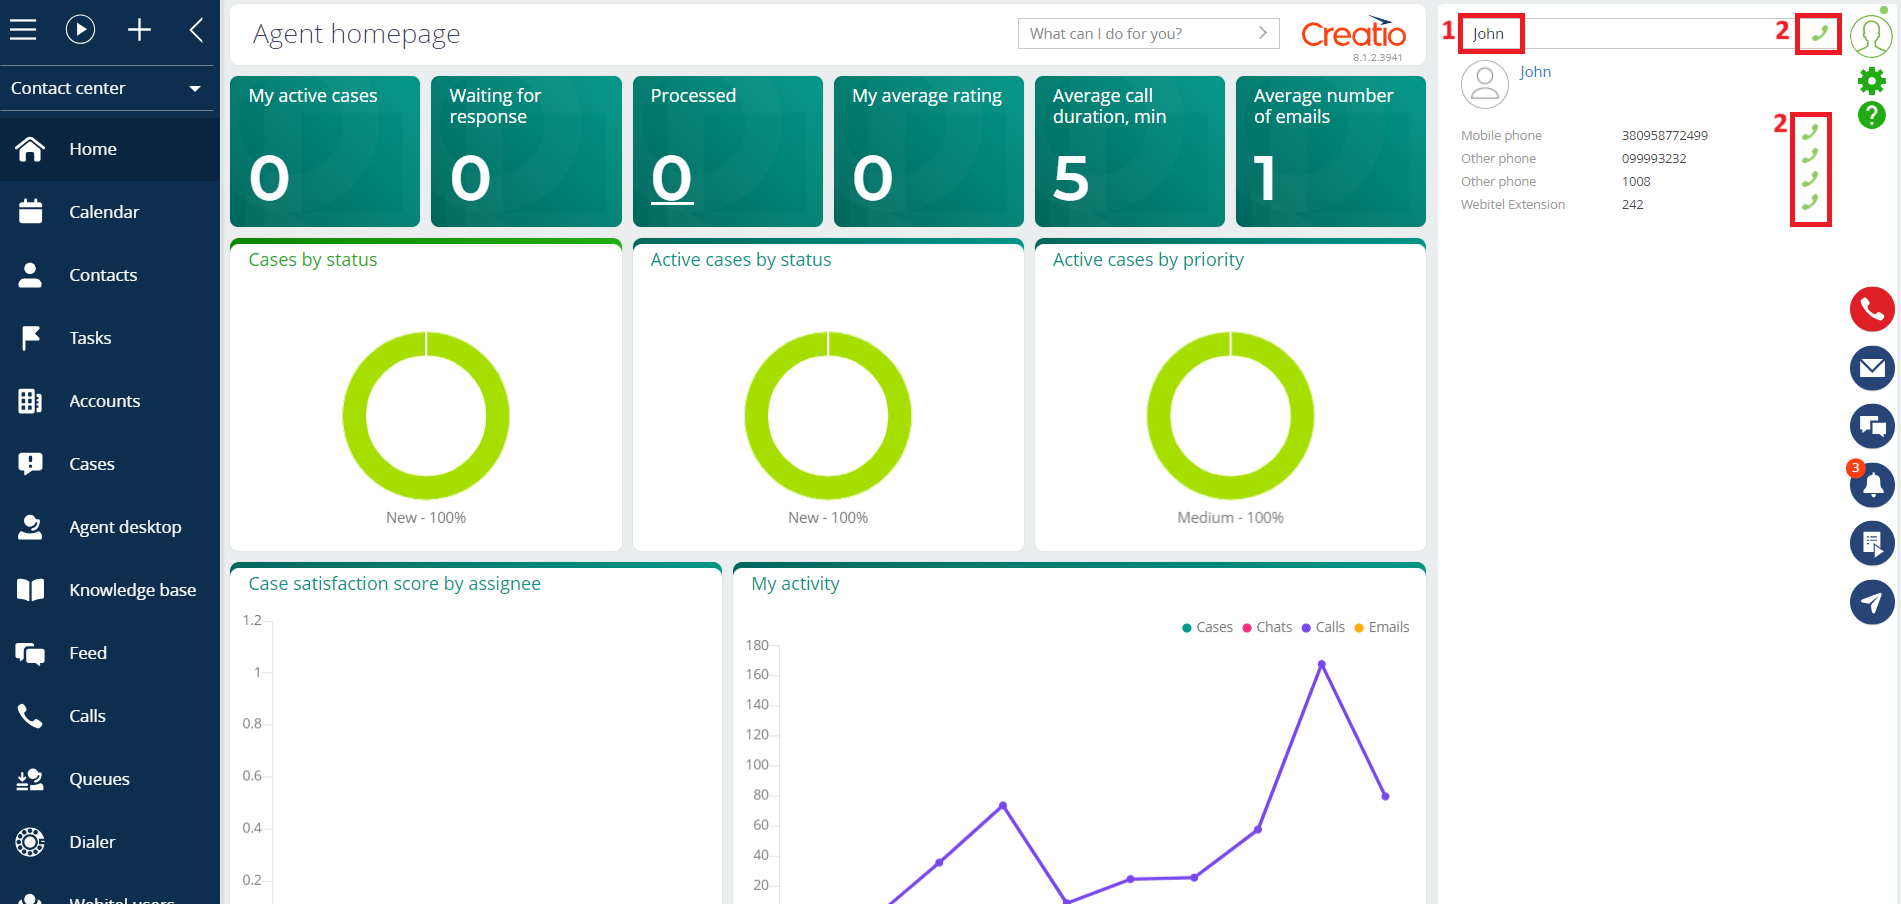
Fig. 4. Dialling the user by name
You can also use the recent calls (1) if the desired subscriber has been dialled recently (Fig. 5).
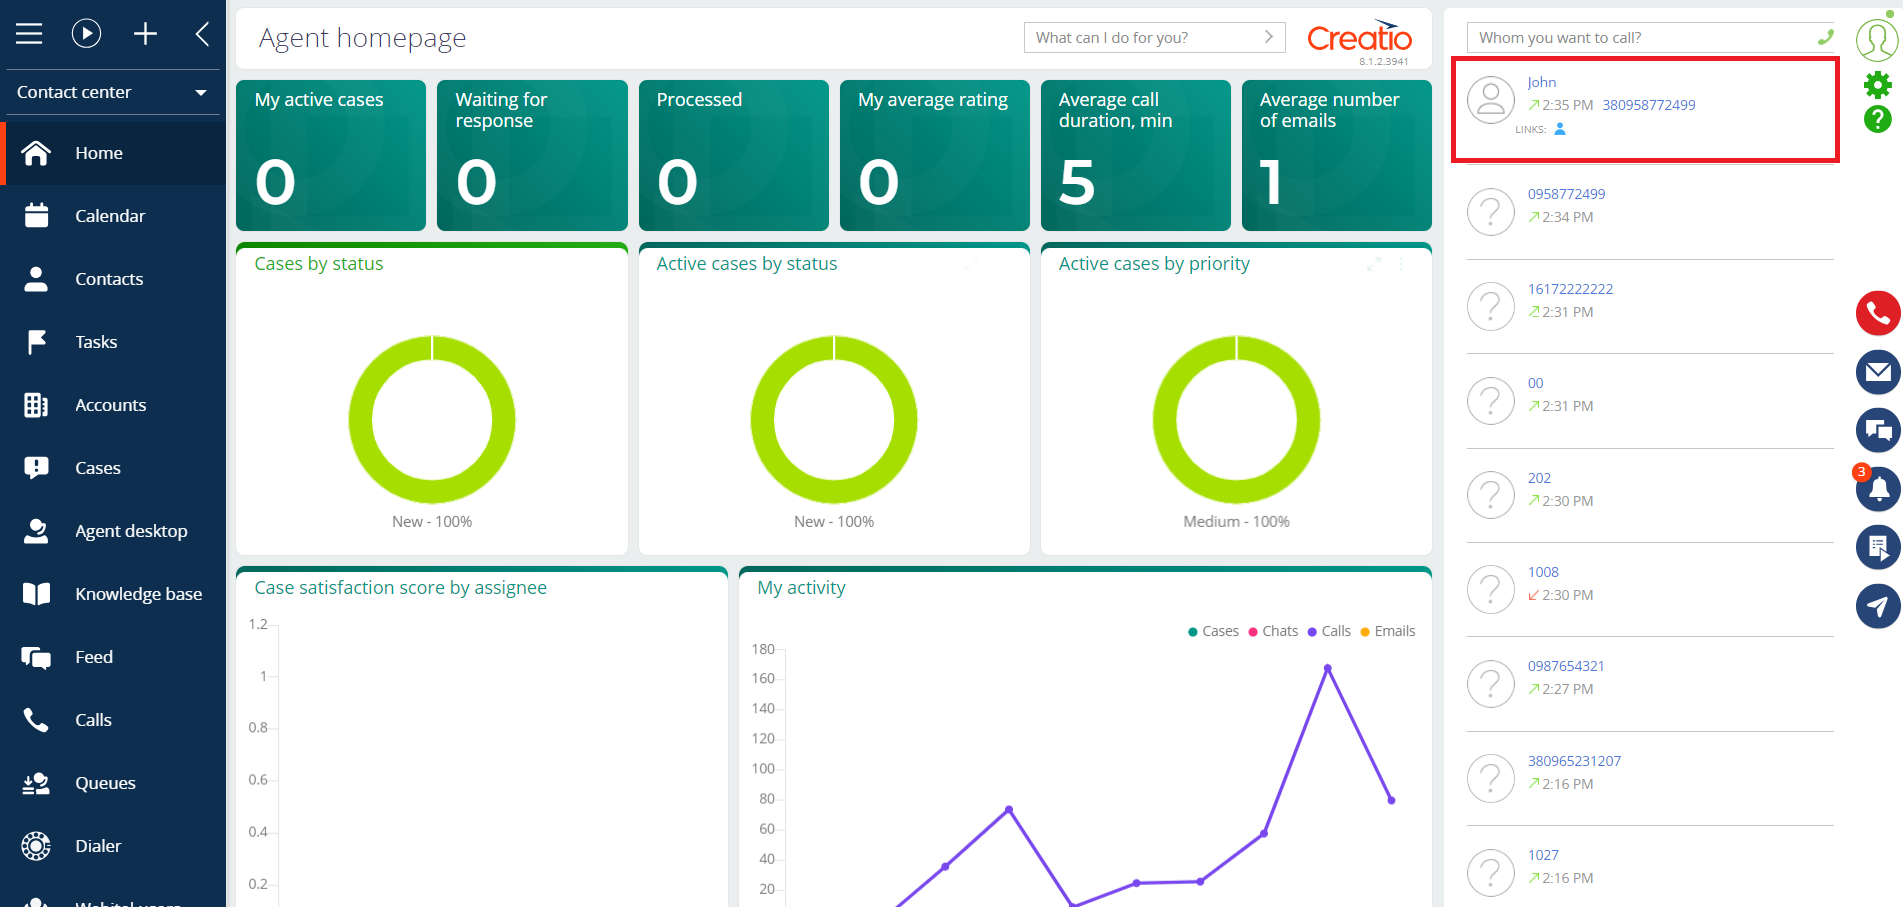
Fig. 5. Recent call log
2. Accept/reject an incoming call
During an incoming call, the call panel displays the name of the caller (if an entry with such a number was found in the "Contacts" section). If a contact with that number is not found, the caller's phone number will be displayed. To accept an incoming call (Fig. 6), you need to press the green button (1), to reject– the red button (2).
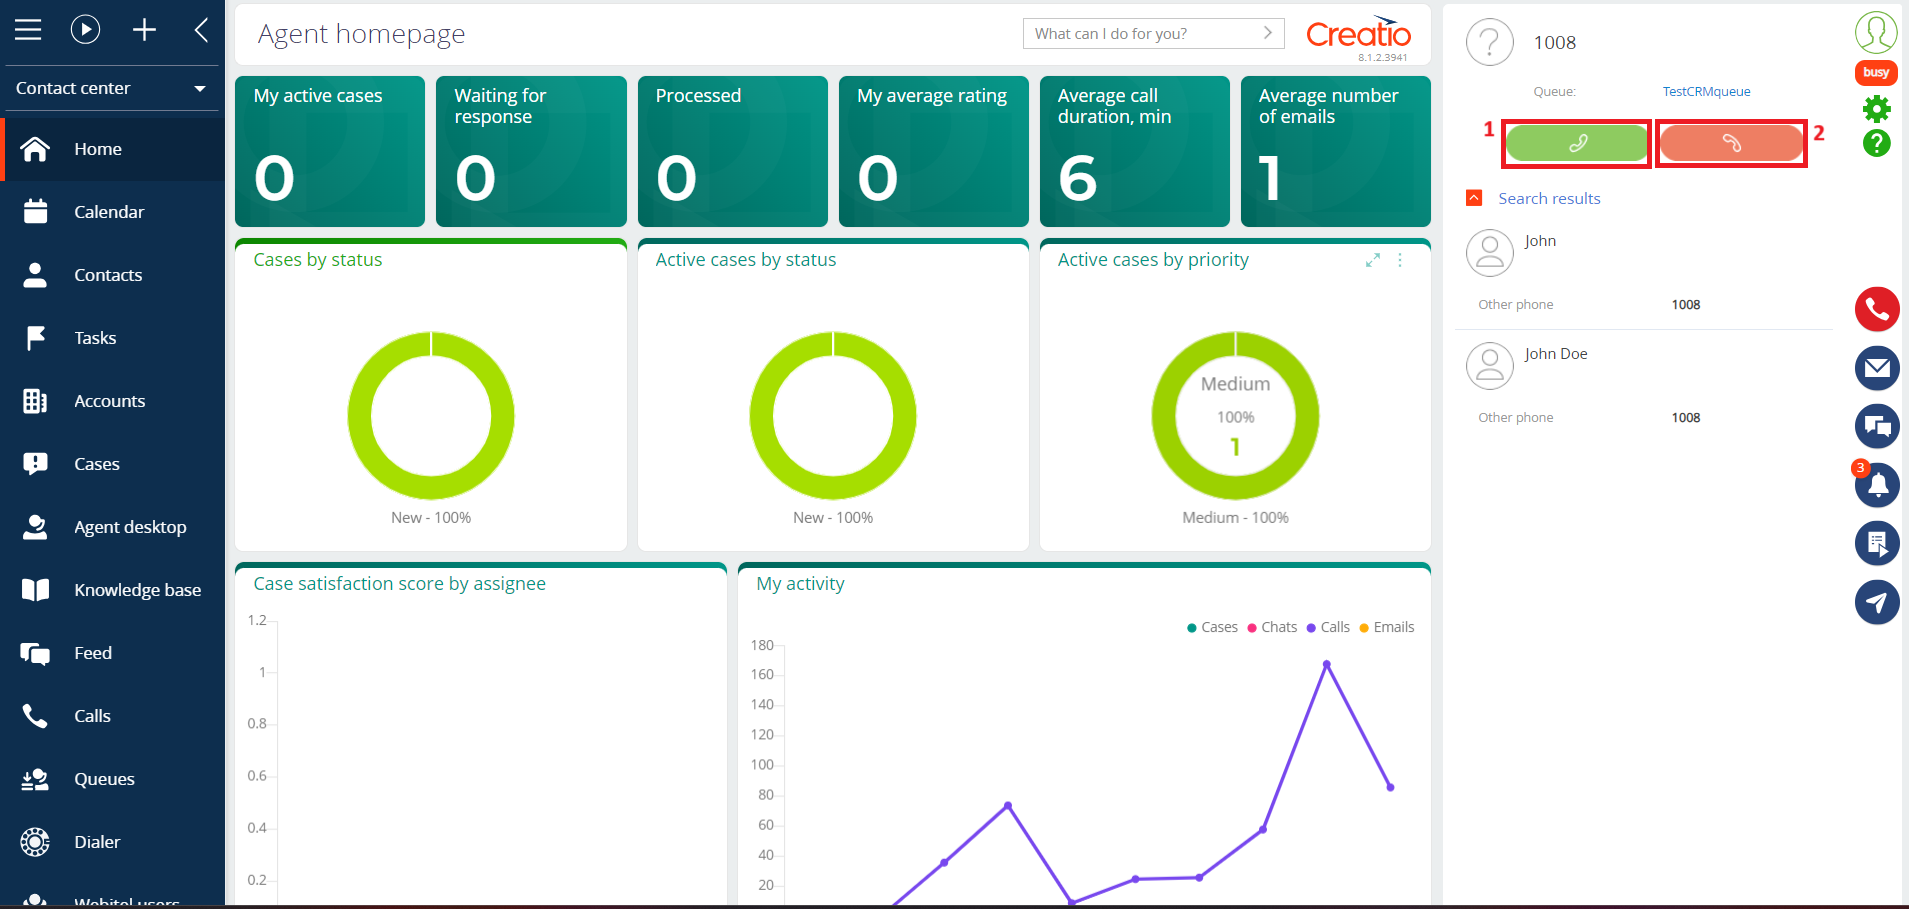
Fig. 6. Incoming call window
3. Client identification
In Creatio, when making an incoming or outgoing call, the subscriber is identified by matching the phone number.
If, during an incoming or outgoing call, a subscriber (Contact or Account) is identified by a phone number, then information about him will be displayed on the call panel (Fig. 7).
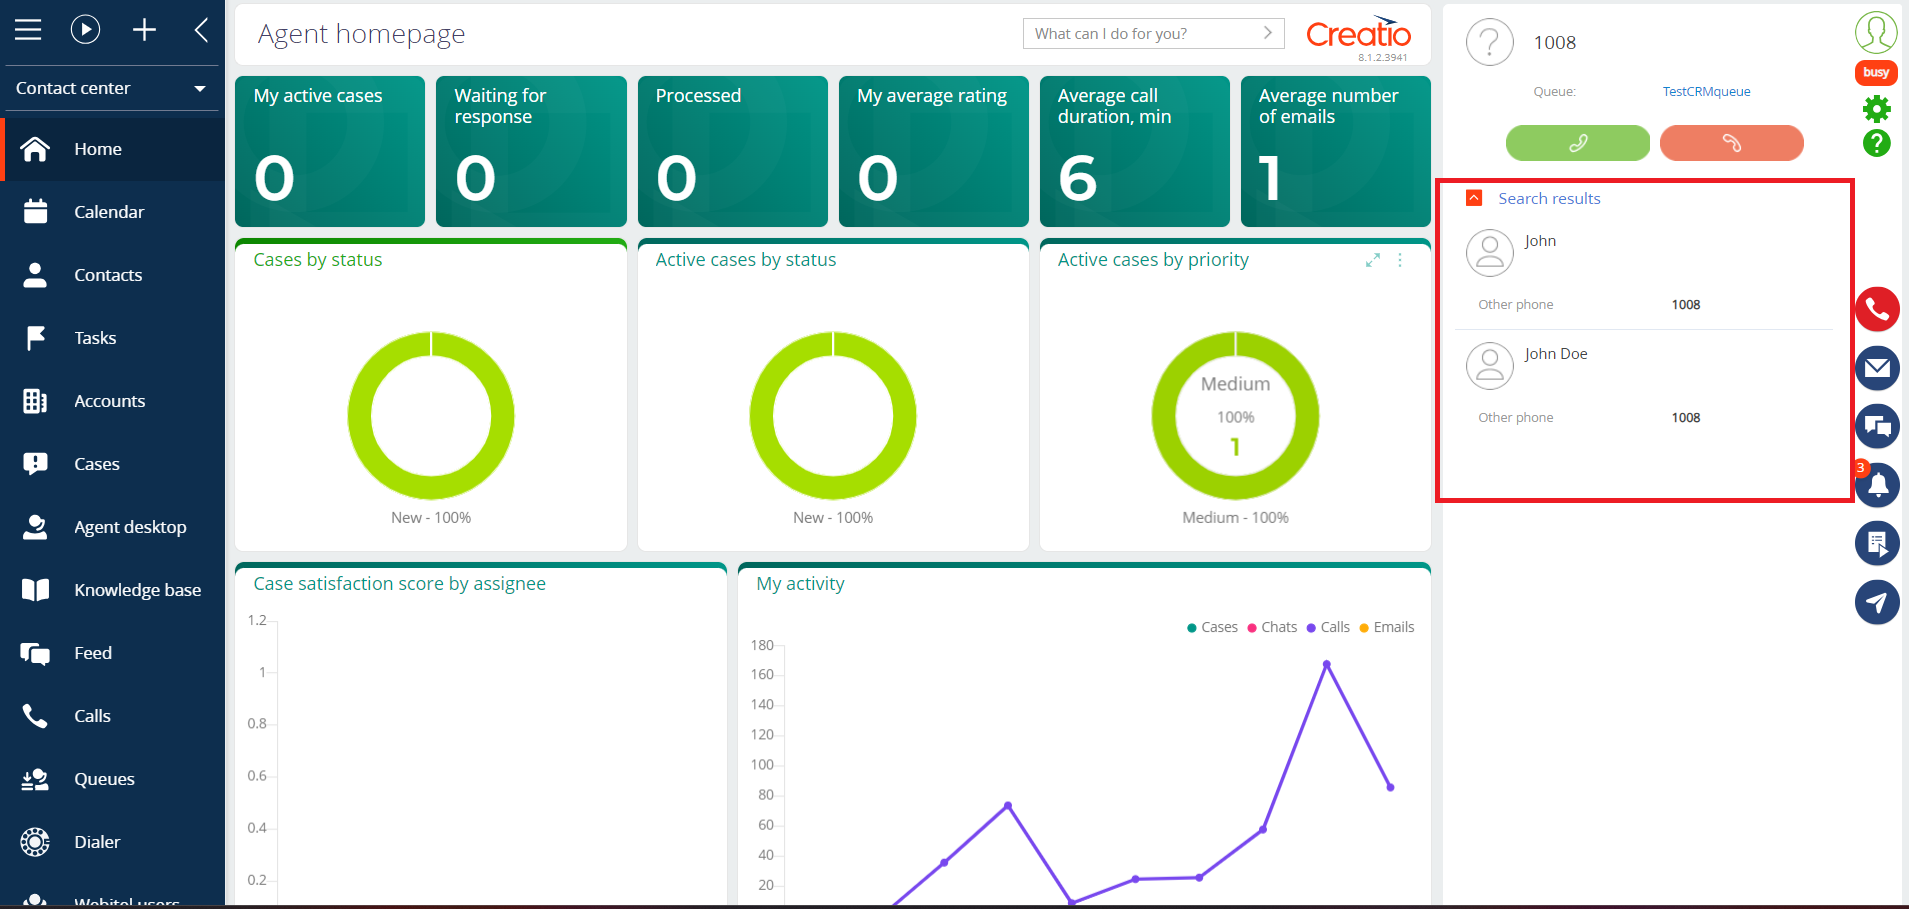
Fig. 7. Subscriber identification
If more than one Contact or Account with this phone number is registered in the system, then the list of found subscribers will be displayed on the call panel. To select a subscriber, click on the required entry in the list (Fig. 8).
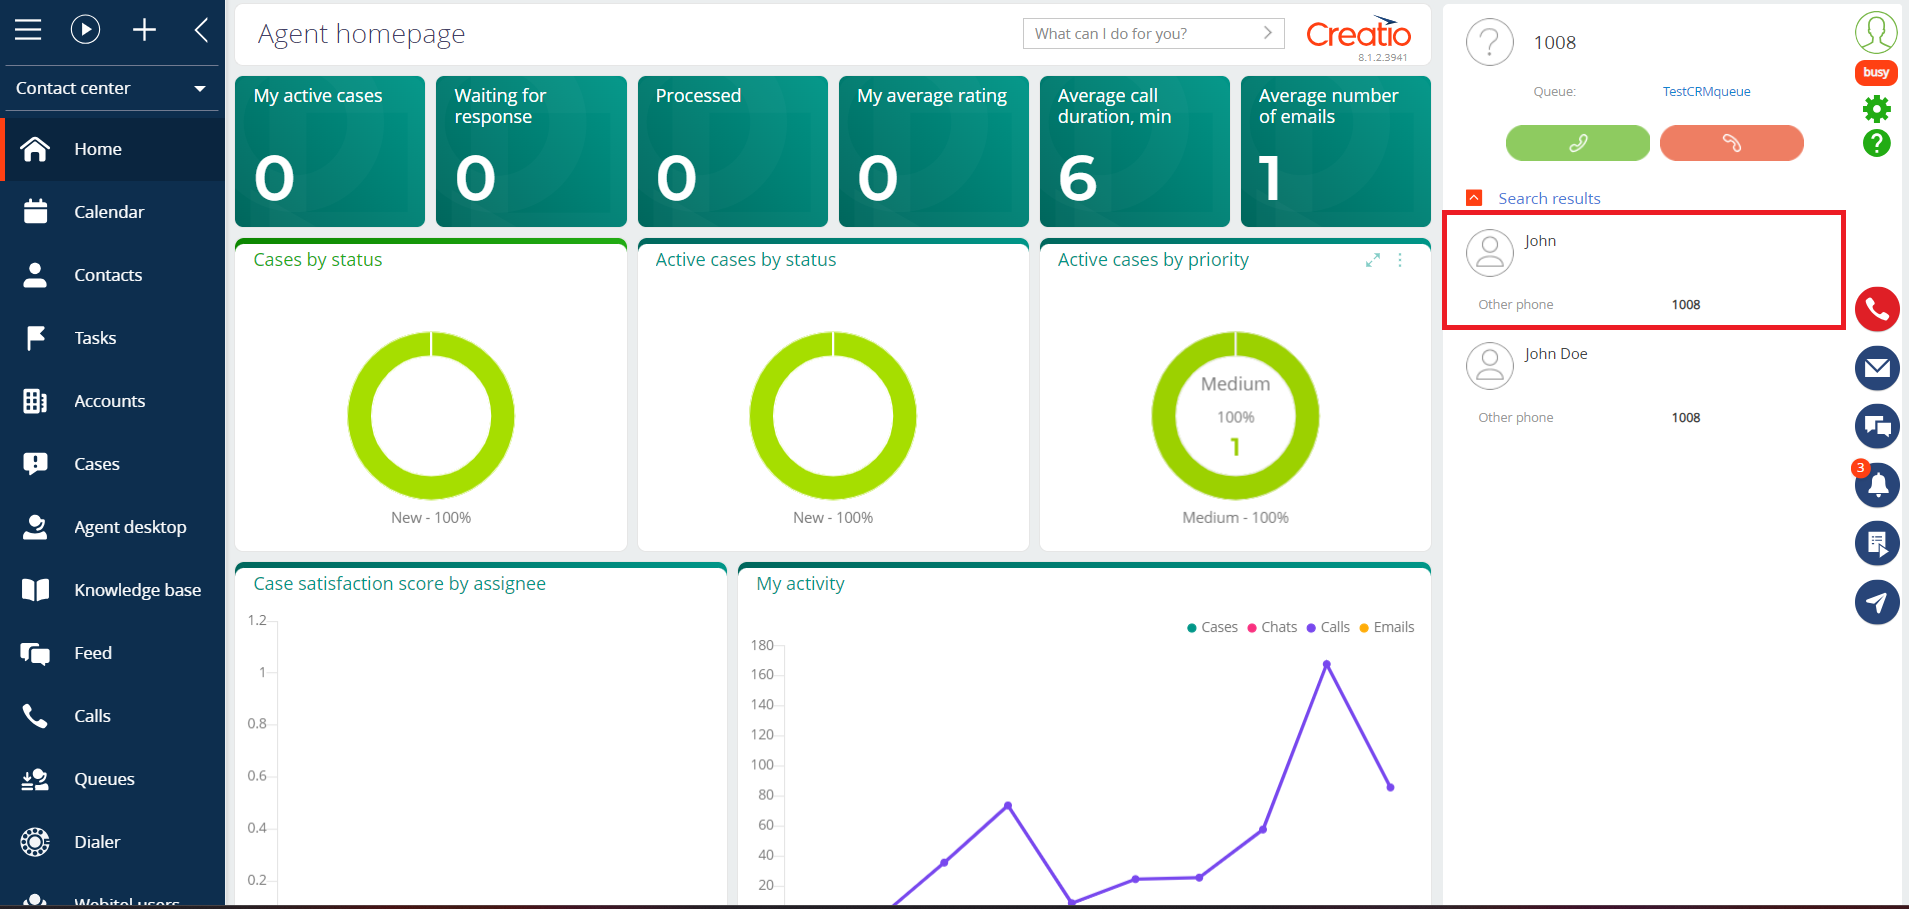
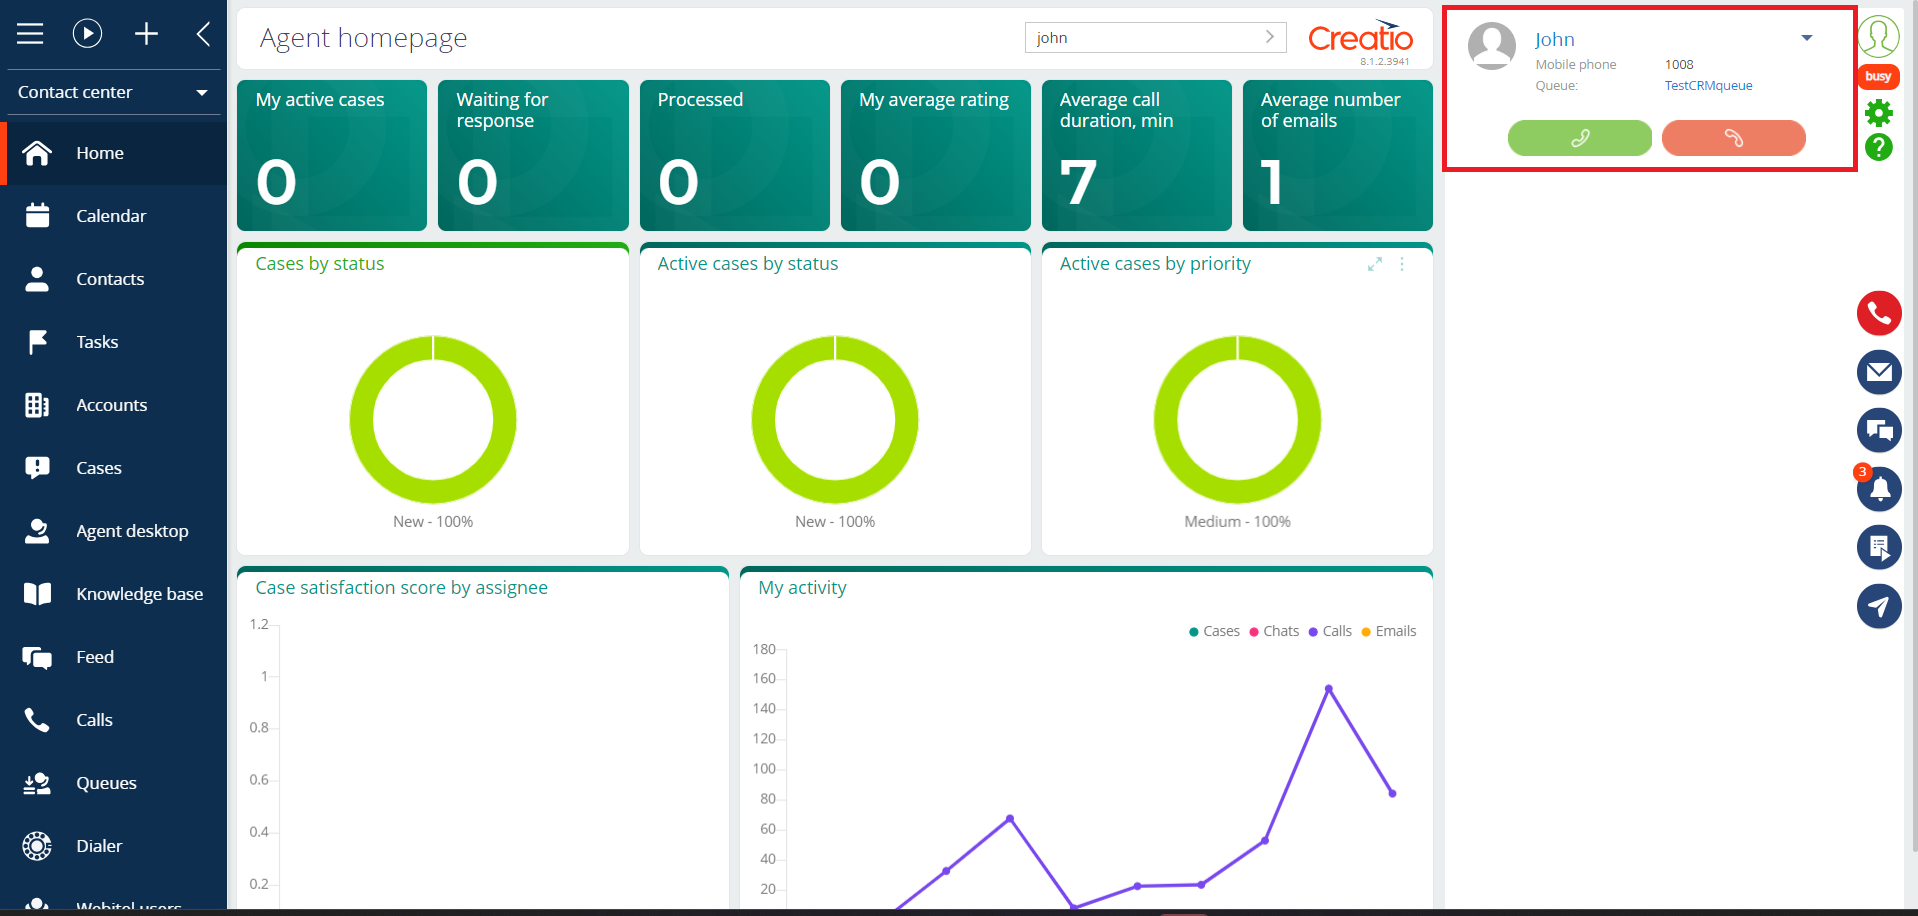
Fig. 8. Selecting one contact from several found by phone number
If you need to change the selected subscriber (Fig. 9), open the additional menu (1).
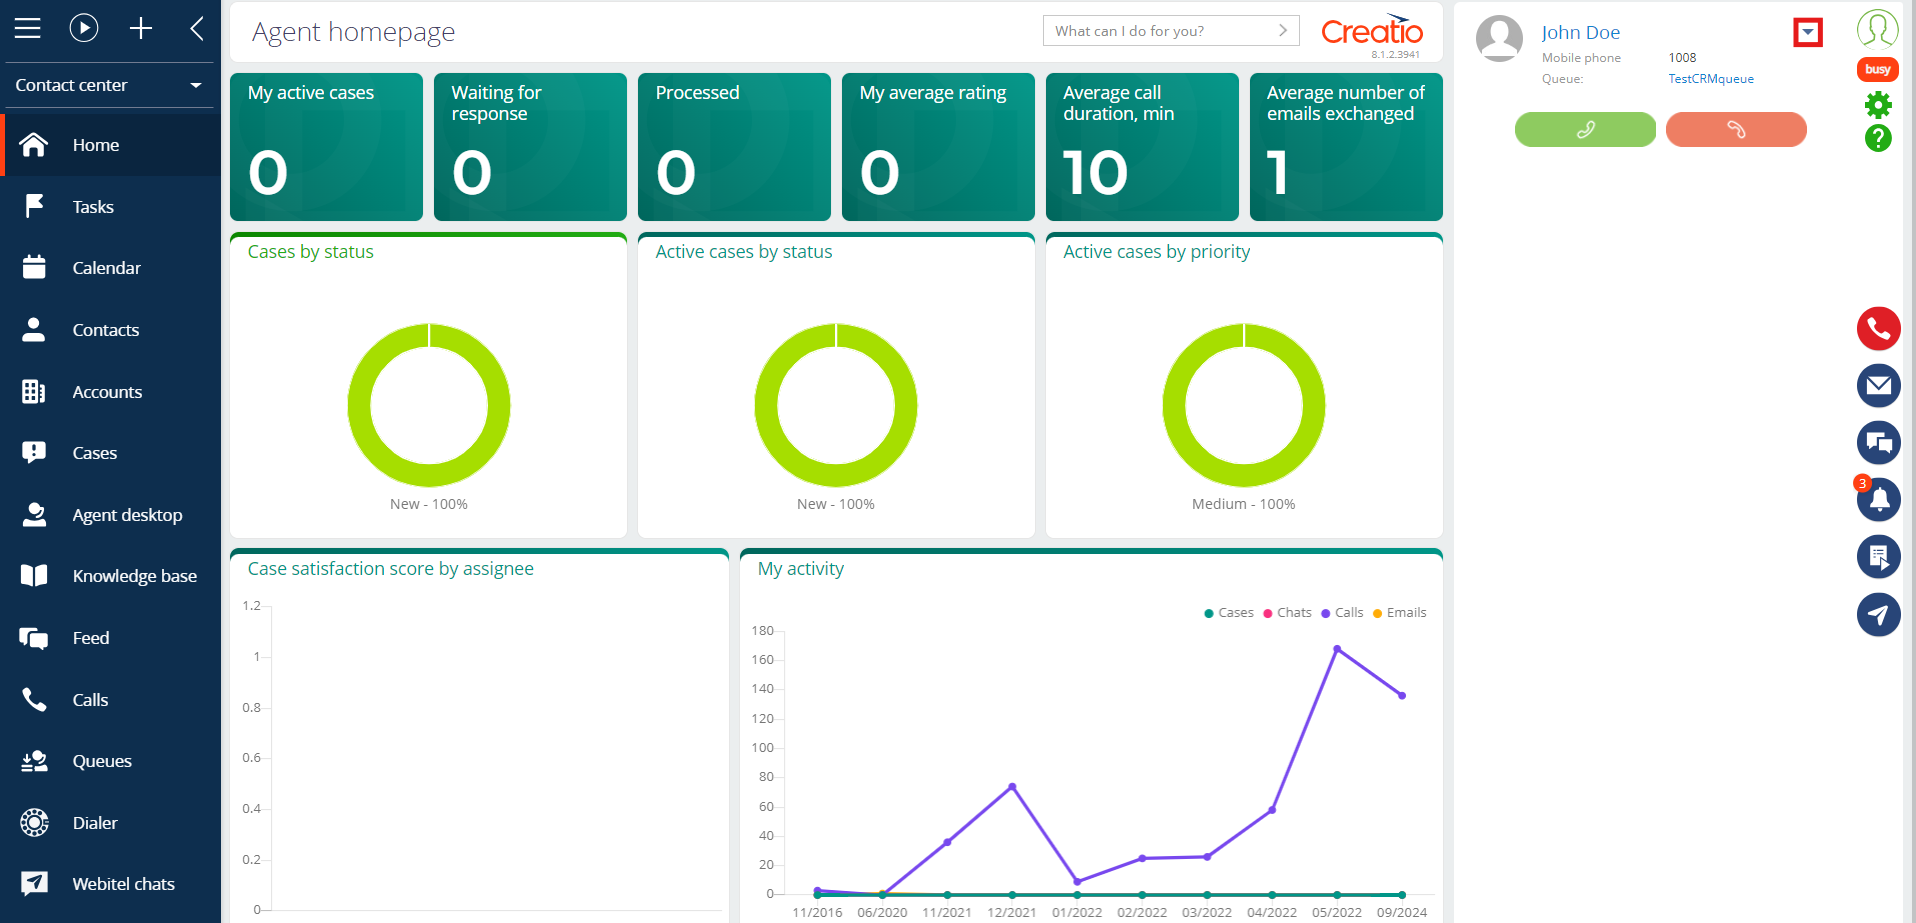
Fig. 9. Open dropdown
Next to the name of the subscriber, click on the option "Select another record" (2) (Fig. 10).
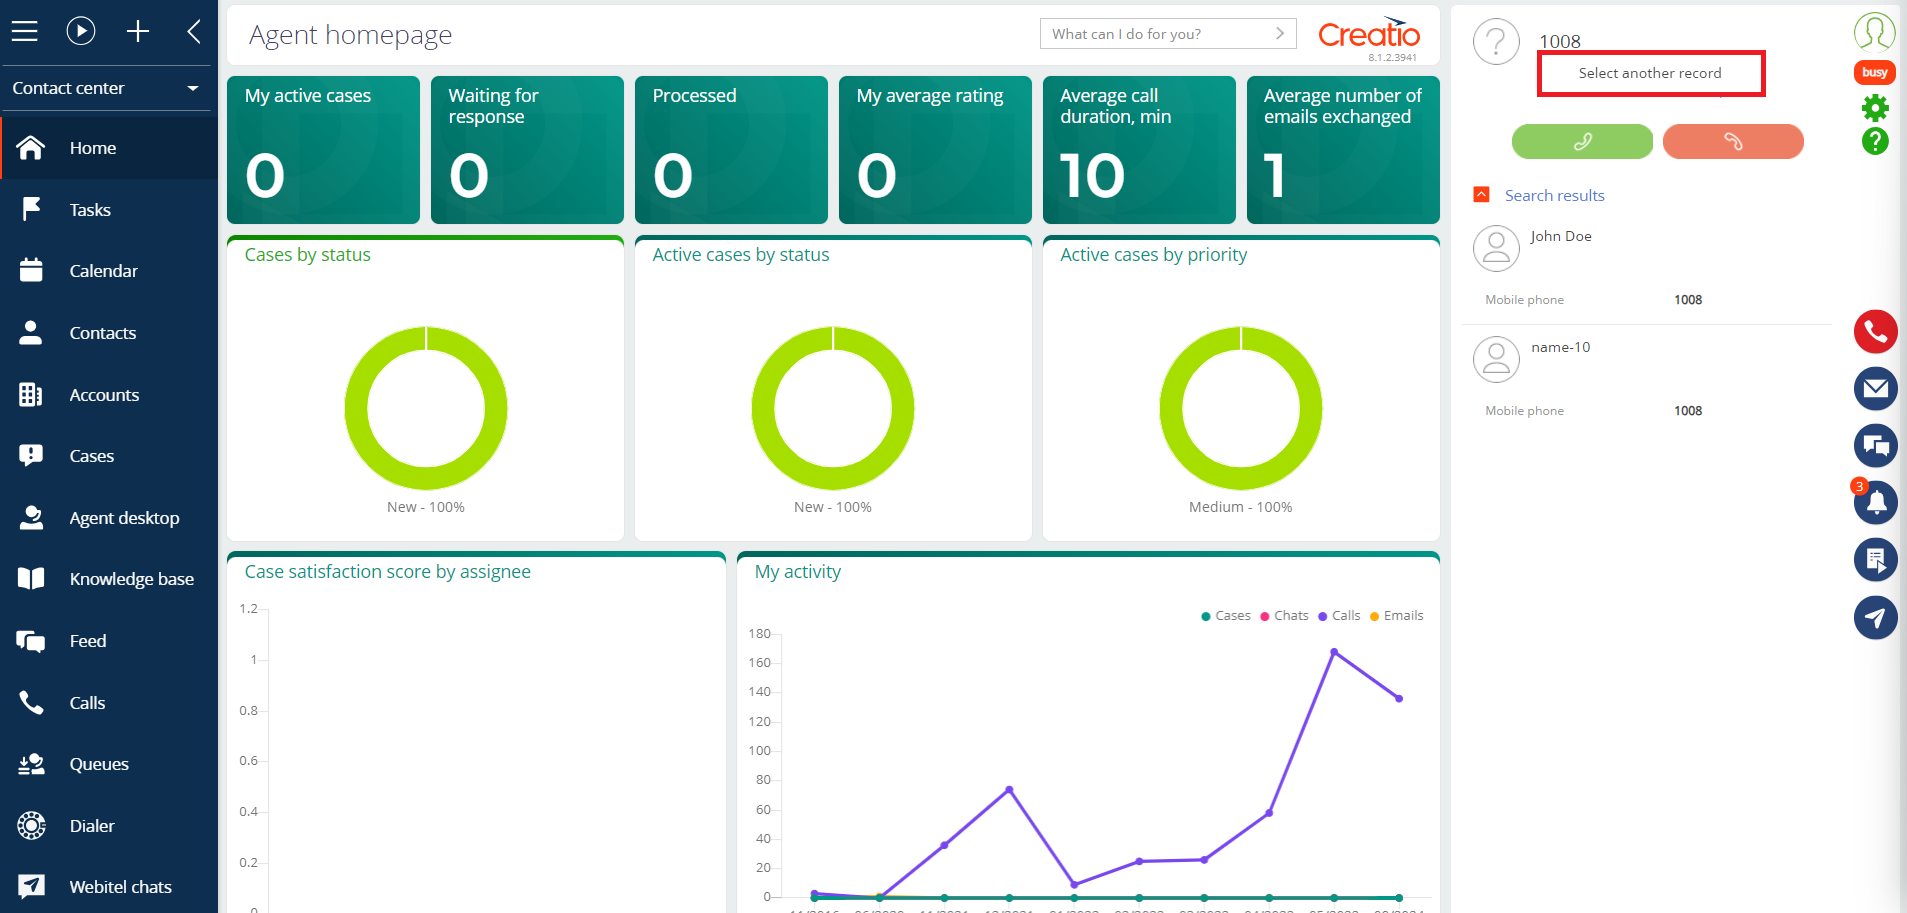
Fig. 10. Choosing another contact
Note: In the "Calls" section, a record will be created with reference to the selected subscriber. Also, all information about the call will be downloaded from the Webitel telephony server and stored in the "CDR" section.
If the subscriber is not identified by phone number during an incoming or outgoing call, you can create a Contact or Account after the conversation is over. You can link the call to an existing Contact or Account as well.
Lear more about client identification here.
4. Active call
4.1. Put the call on hold
If during a conversation (Fig. 11) you click on the pause icon (1), the call is put on hold. In this mode, the subscriber will not hear the user's speech, a melody will be played to him.
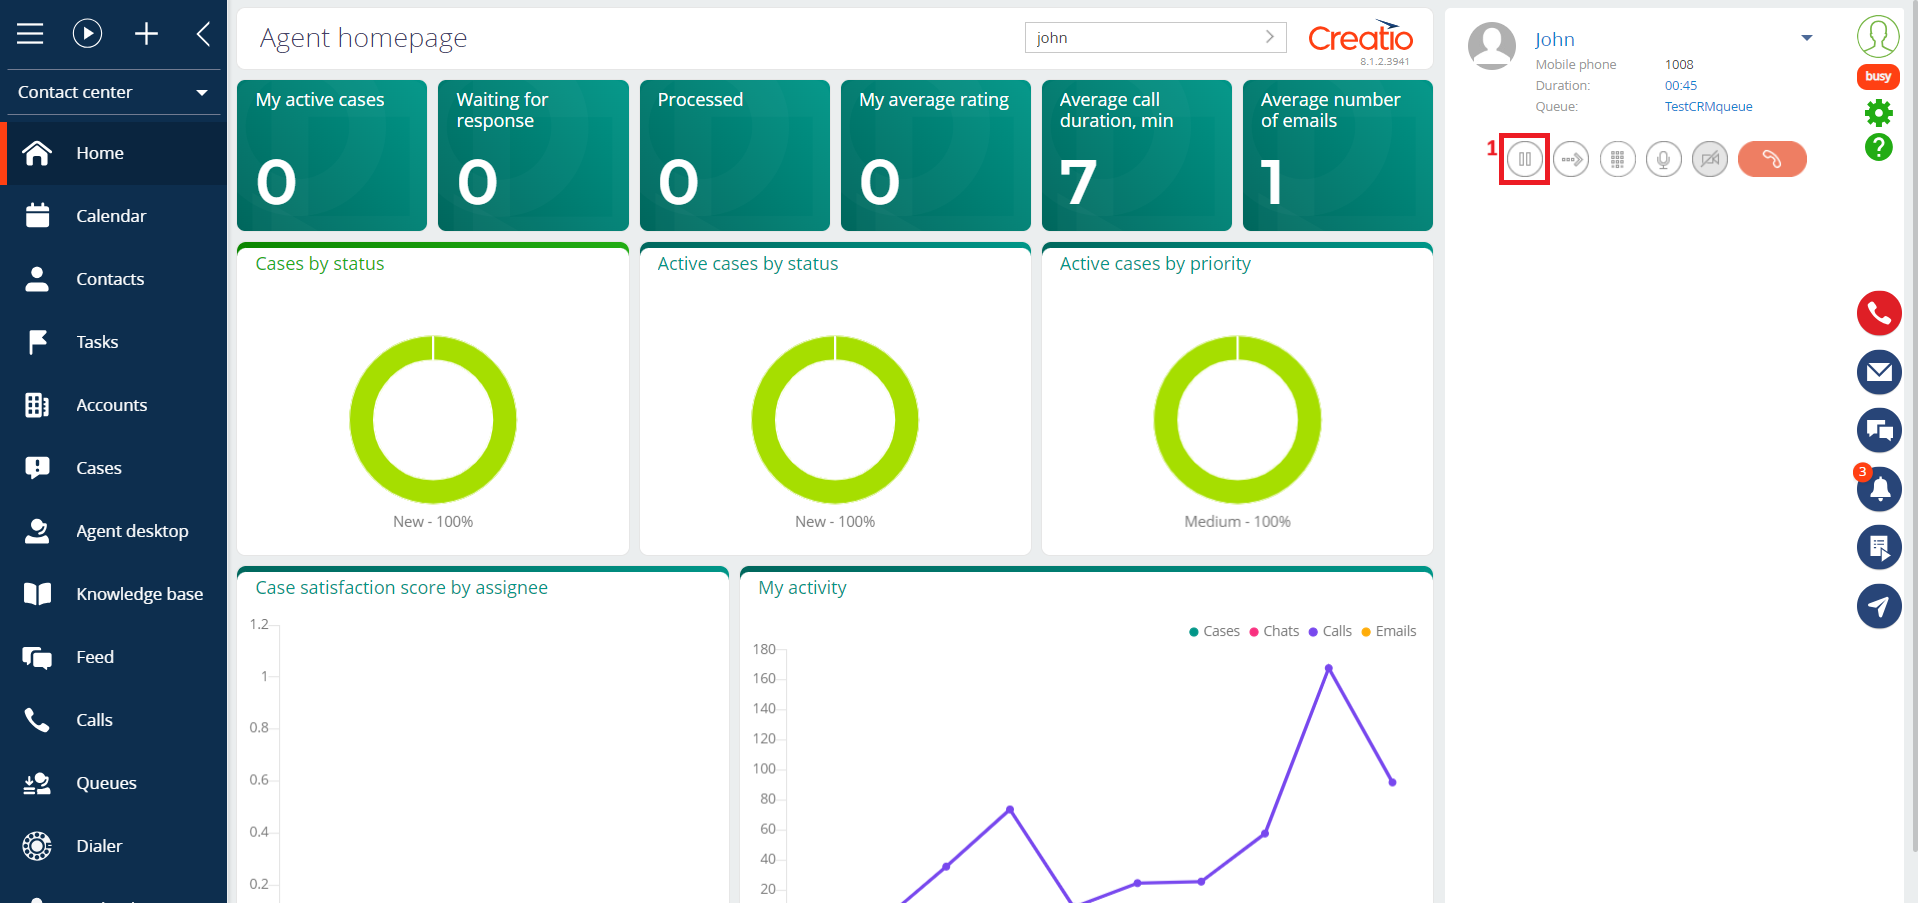
Fig. 11. Active call window
4.2. Call transfer
To transfer an active call to another number (Fig. 12), you need to click on the call transfer icon (1), and then select the type of transfer:
-
Blind transfer (2) (without consultation, or unconditional) – allows you to immediately transfer the call to another user. After selecting this option, a list of contacts opens, where you can choose one to transfer the call to, or enter the desired destination number in the input field (1).
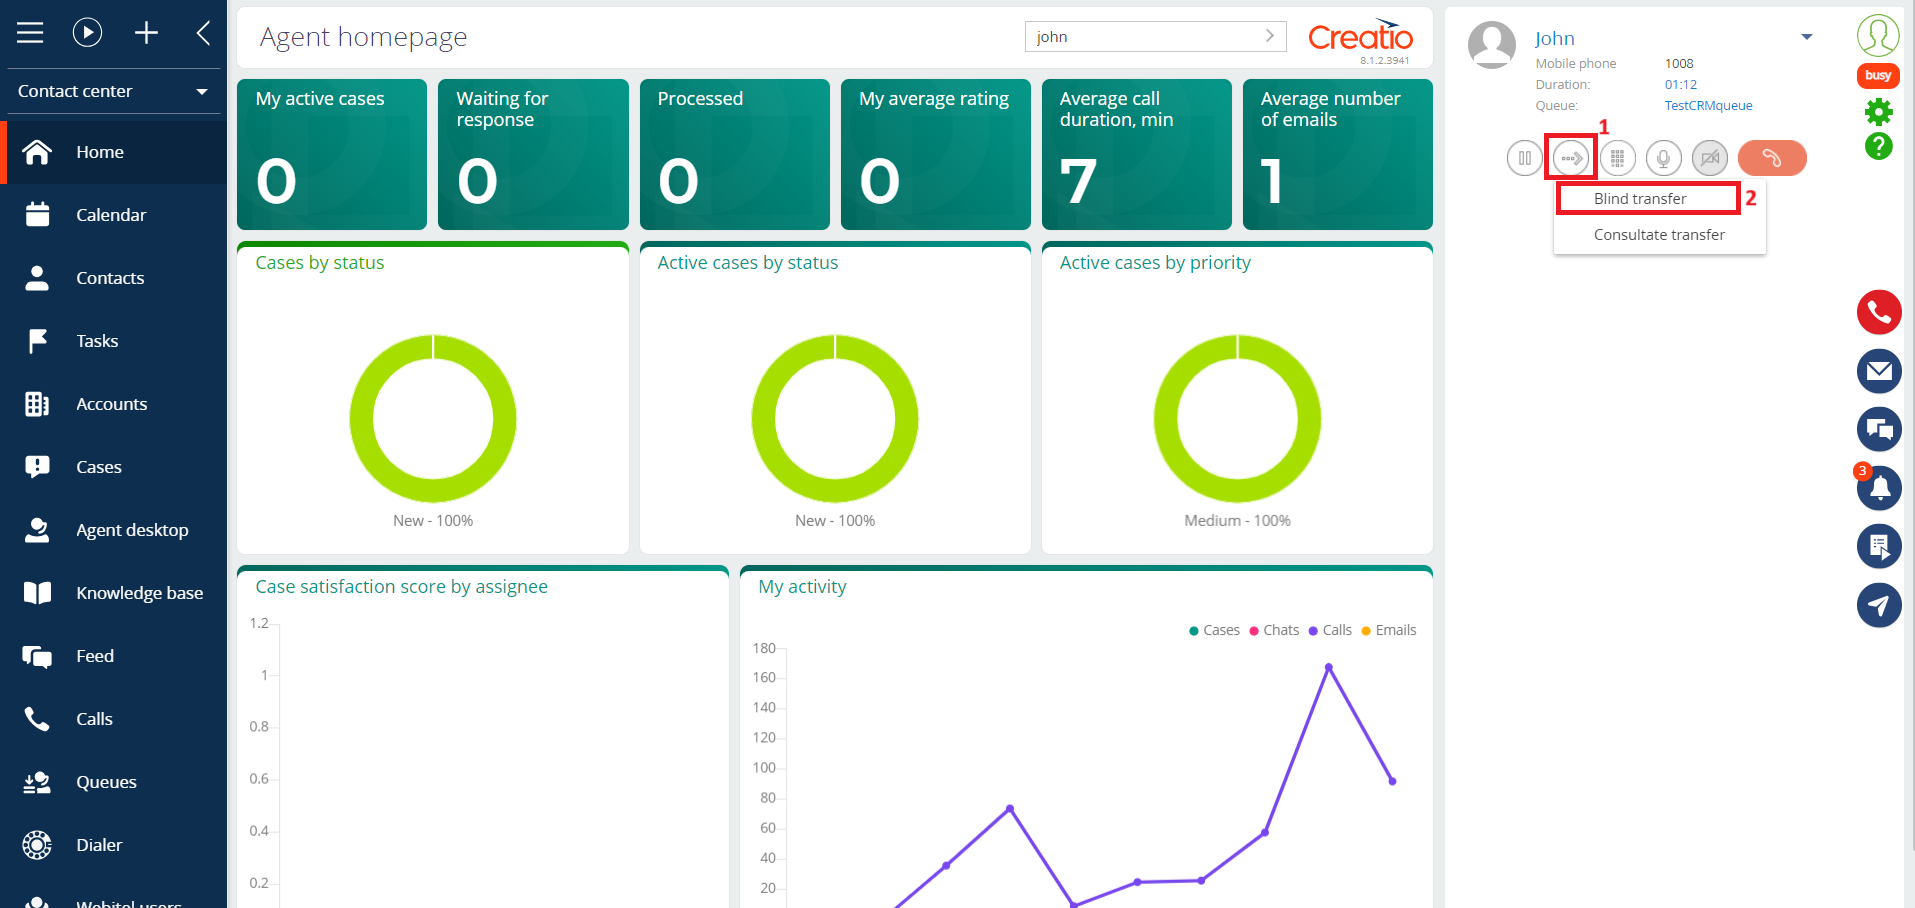
Fig. 12. Call transfer
Note: if the "Use only blind transfer" mode (1) is set in the telephony settings, then the "Consult transfer" mode will not be available for selection (Fig. 13).
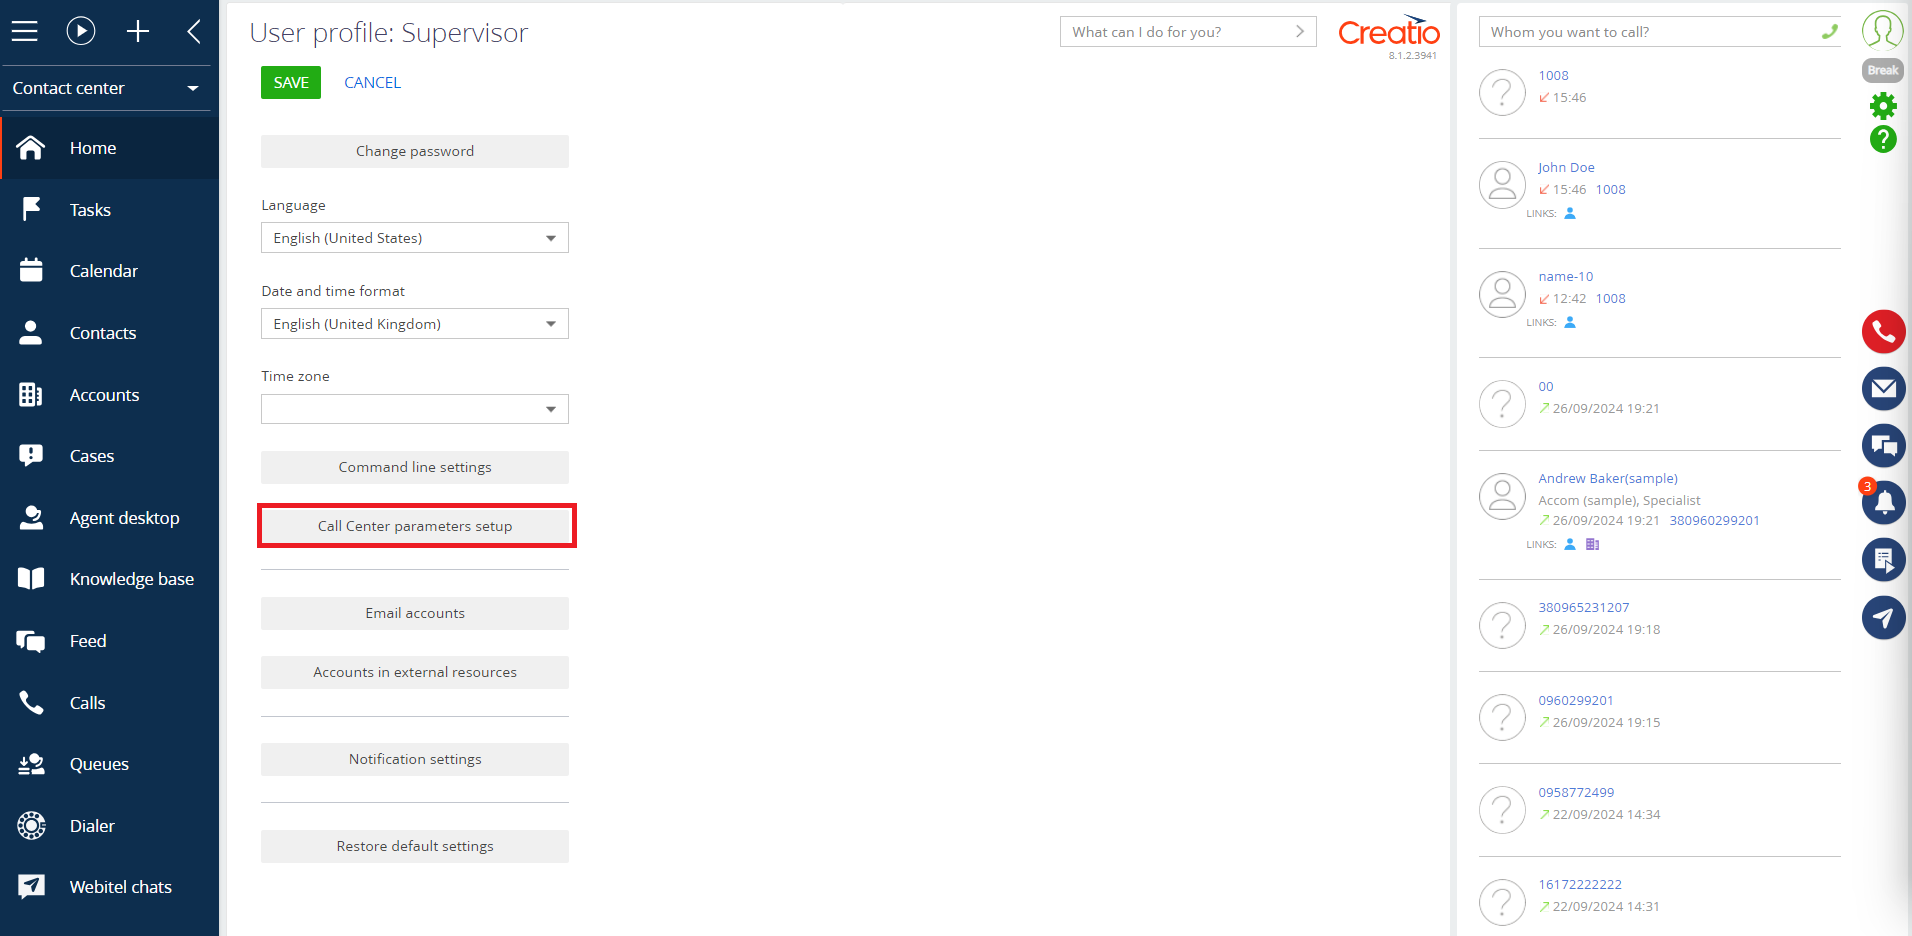
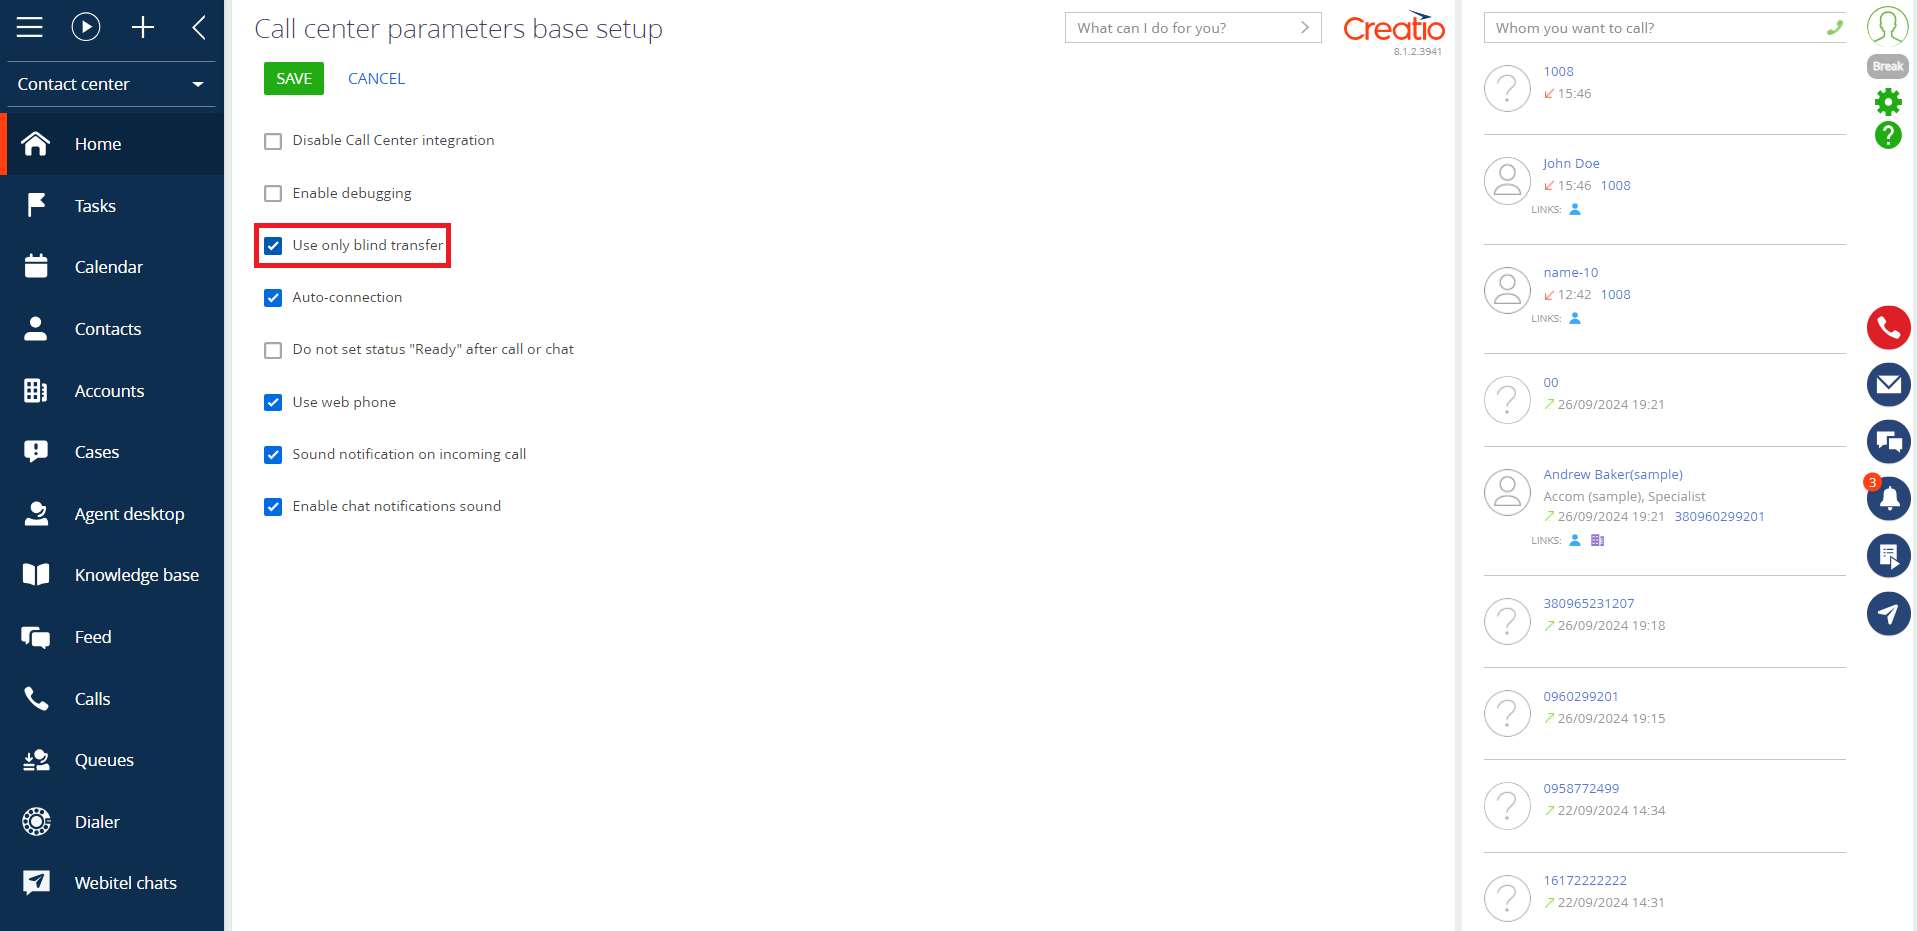
Fig. 13. Telephony settings window
-
Consult transfer (3) (conditional) – allows you to speak with the other party before transferring the call. After selecting this option, a list of contacts opens, where you can transfer the call, or enter the desired destination number in the input field (1) (Fig. 14). Then you need to press the cellphone icon (2) to make a call.
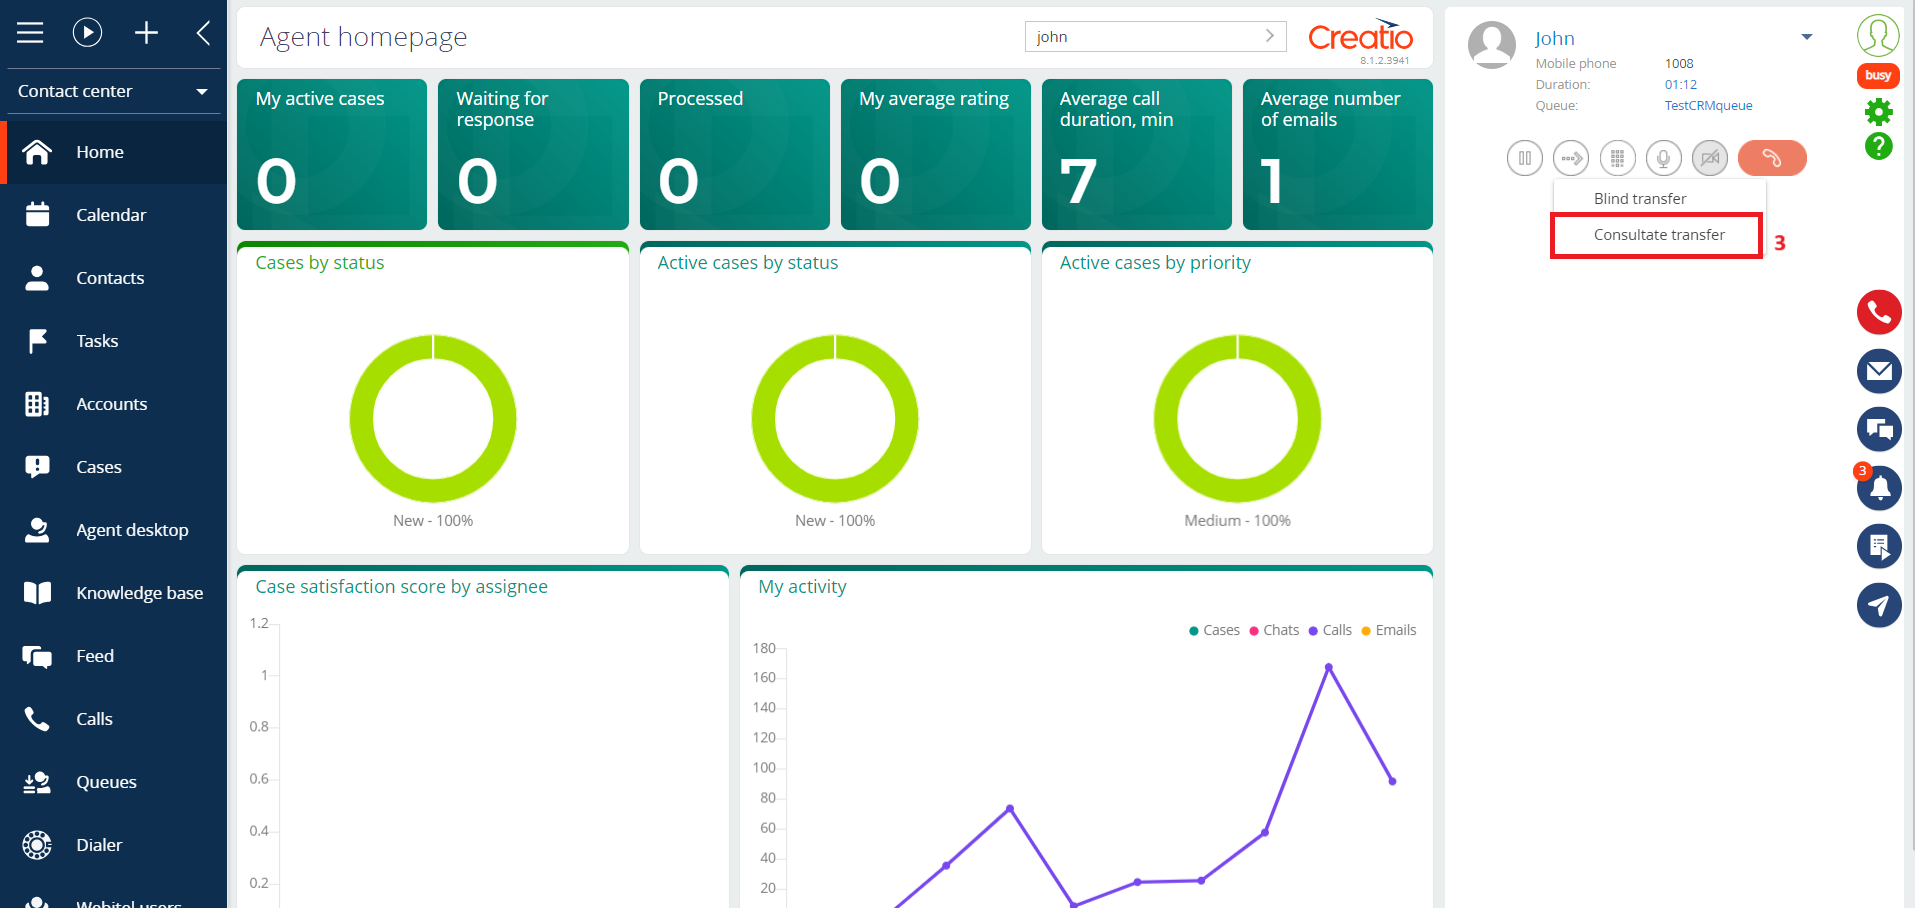
Fig. 14. Number input field for consult call transfer
Once connected, Webitel users carry on a conversation while the client is on hold. Further, you can press the button (1) to transfer the active call of the client to user 2 (Fig. 15), for user 1 the call will be completed. Or press the button (2) to return to the conversation with the client. The conversation will continue after the call is resumed.
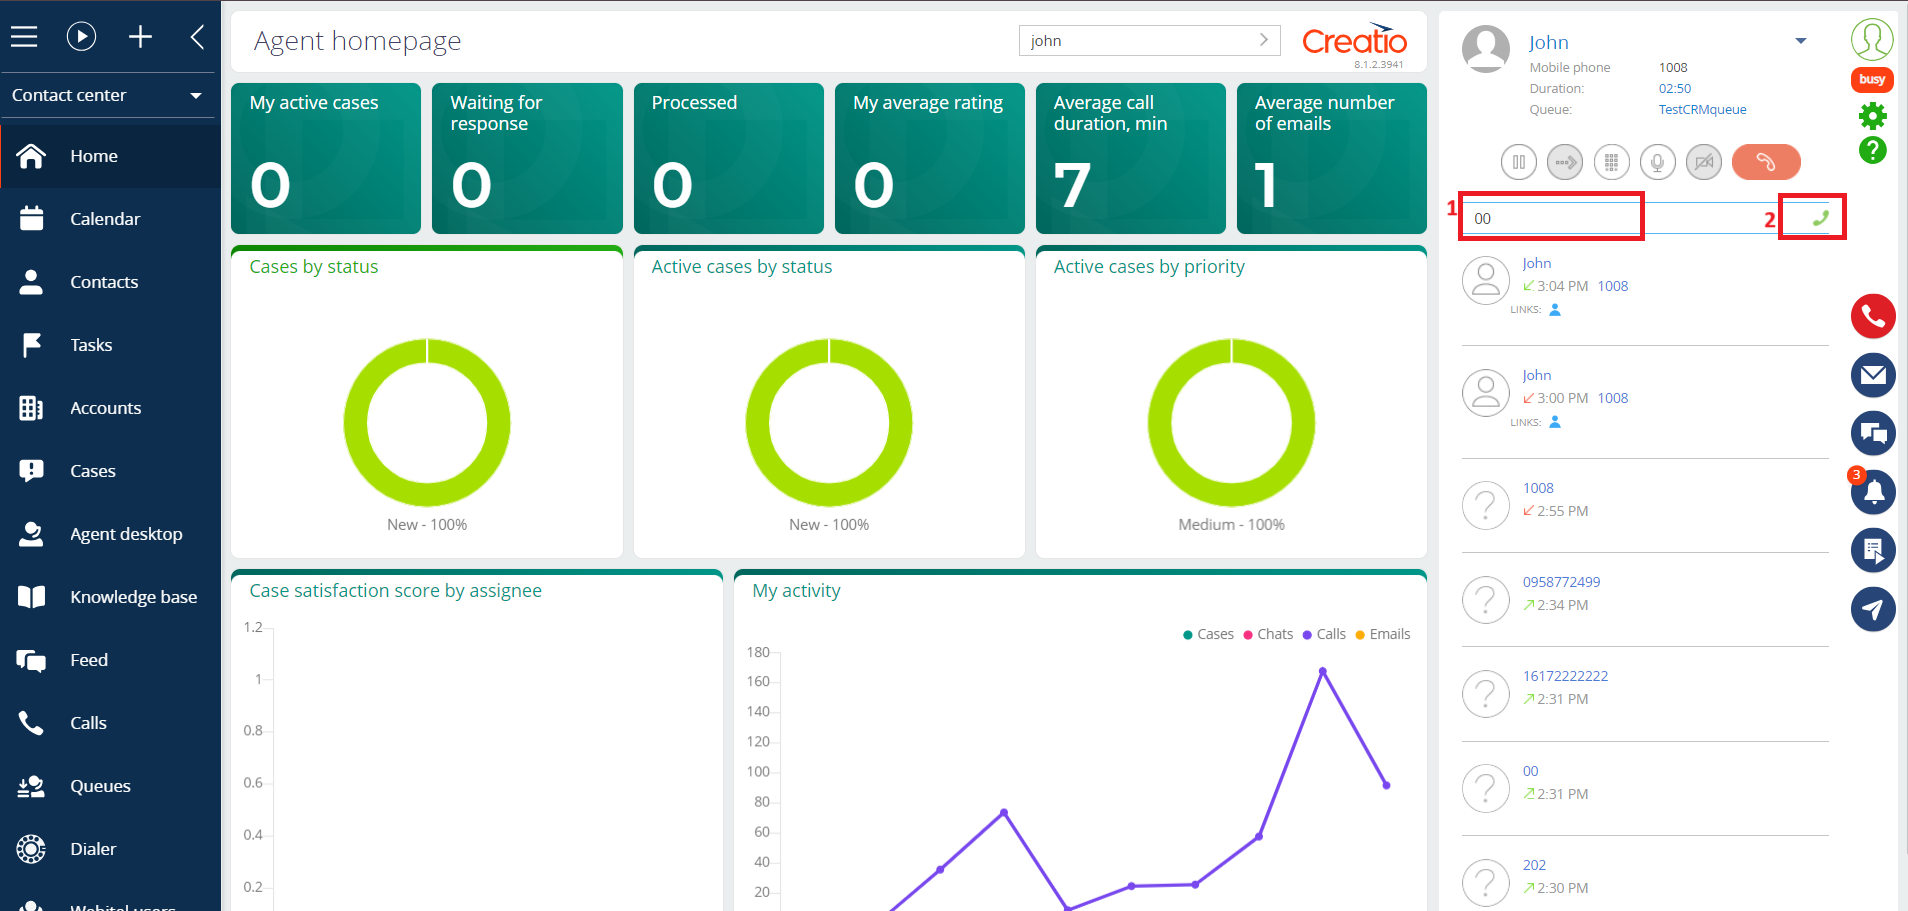
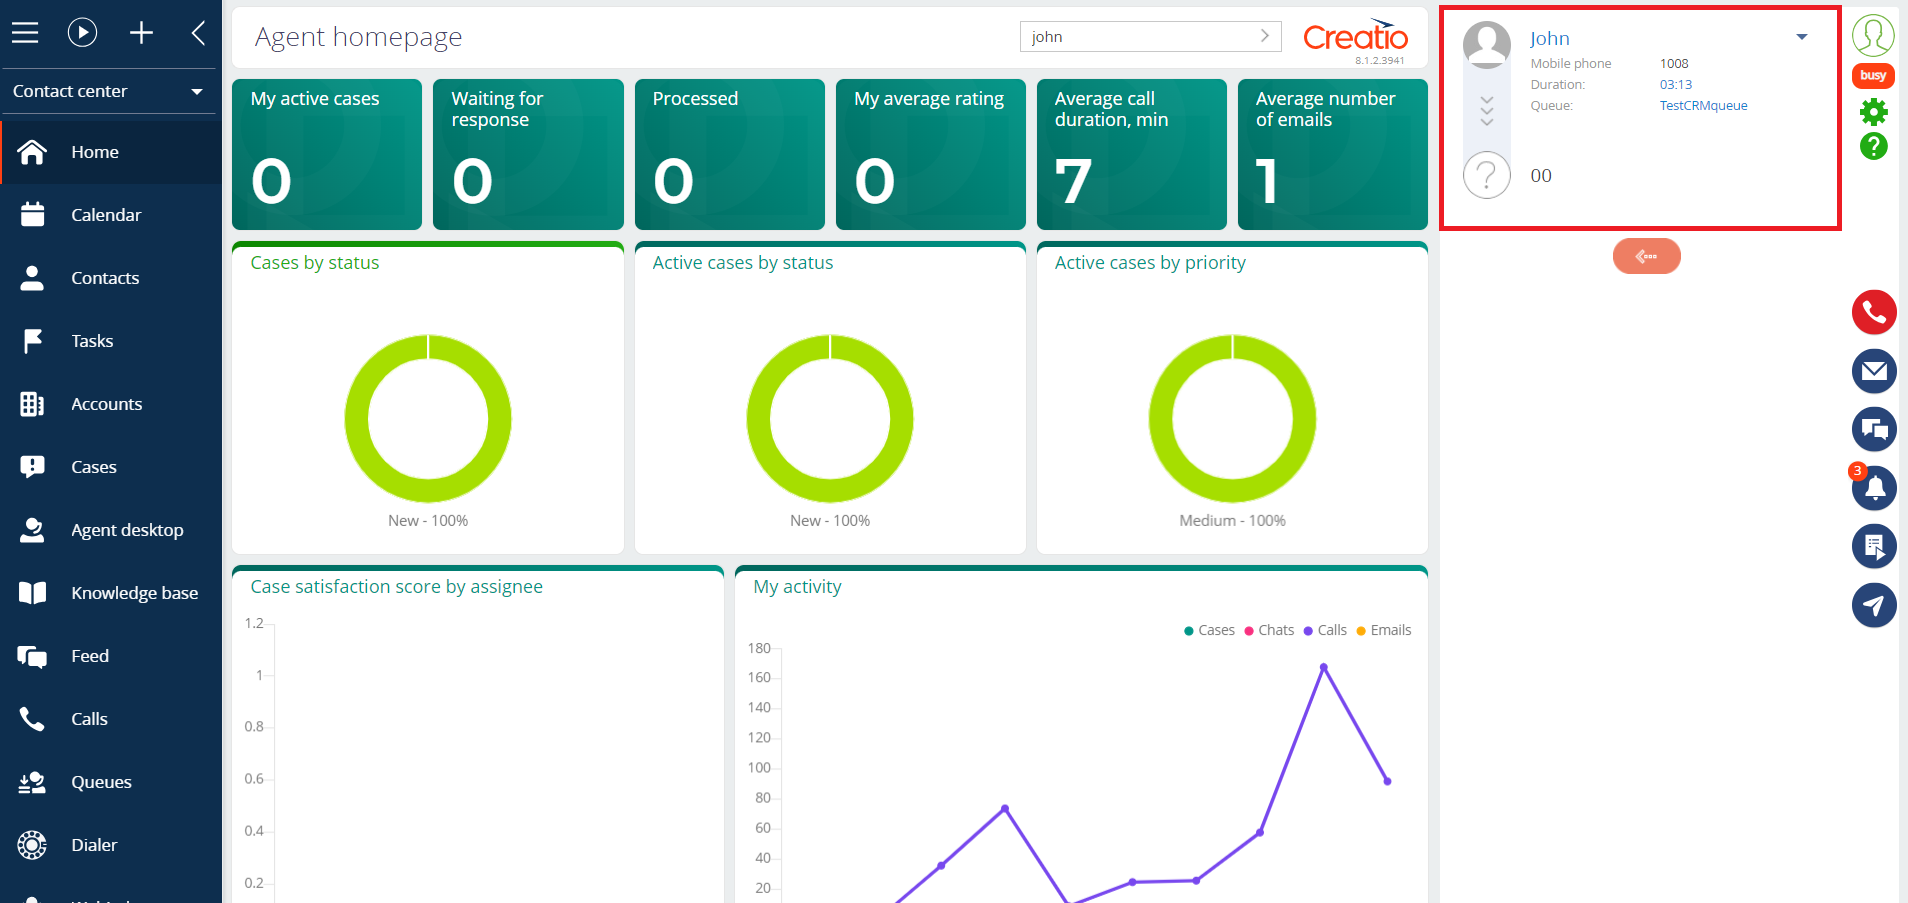
Fig. 15. Consultative transfer window
4.3. Dialpad / Mute microphone
To display the digital menu (Fig. 16) you need to press the icon (1), to turn off the microphone – the icon (2).
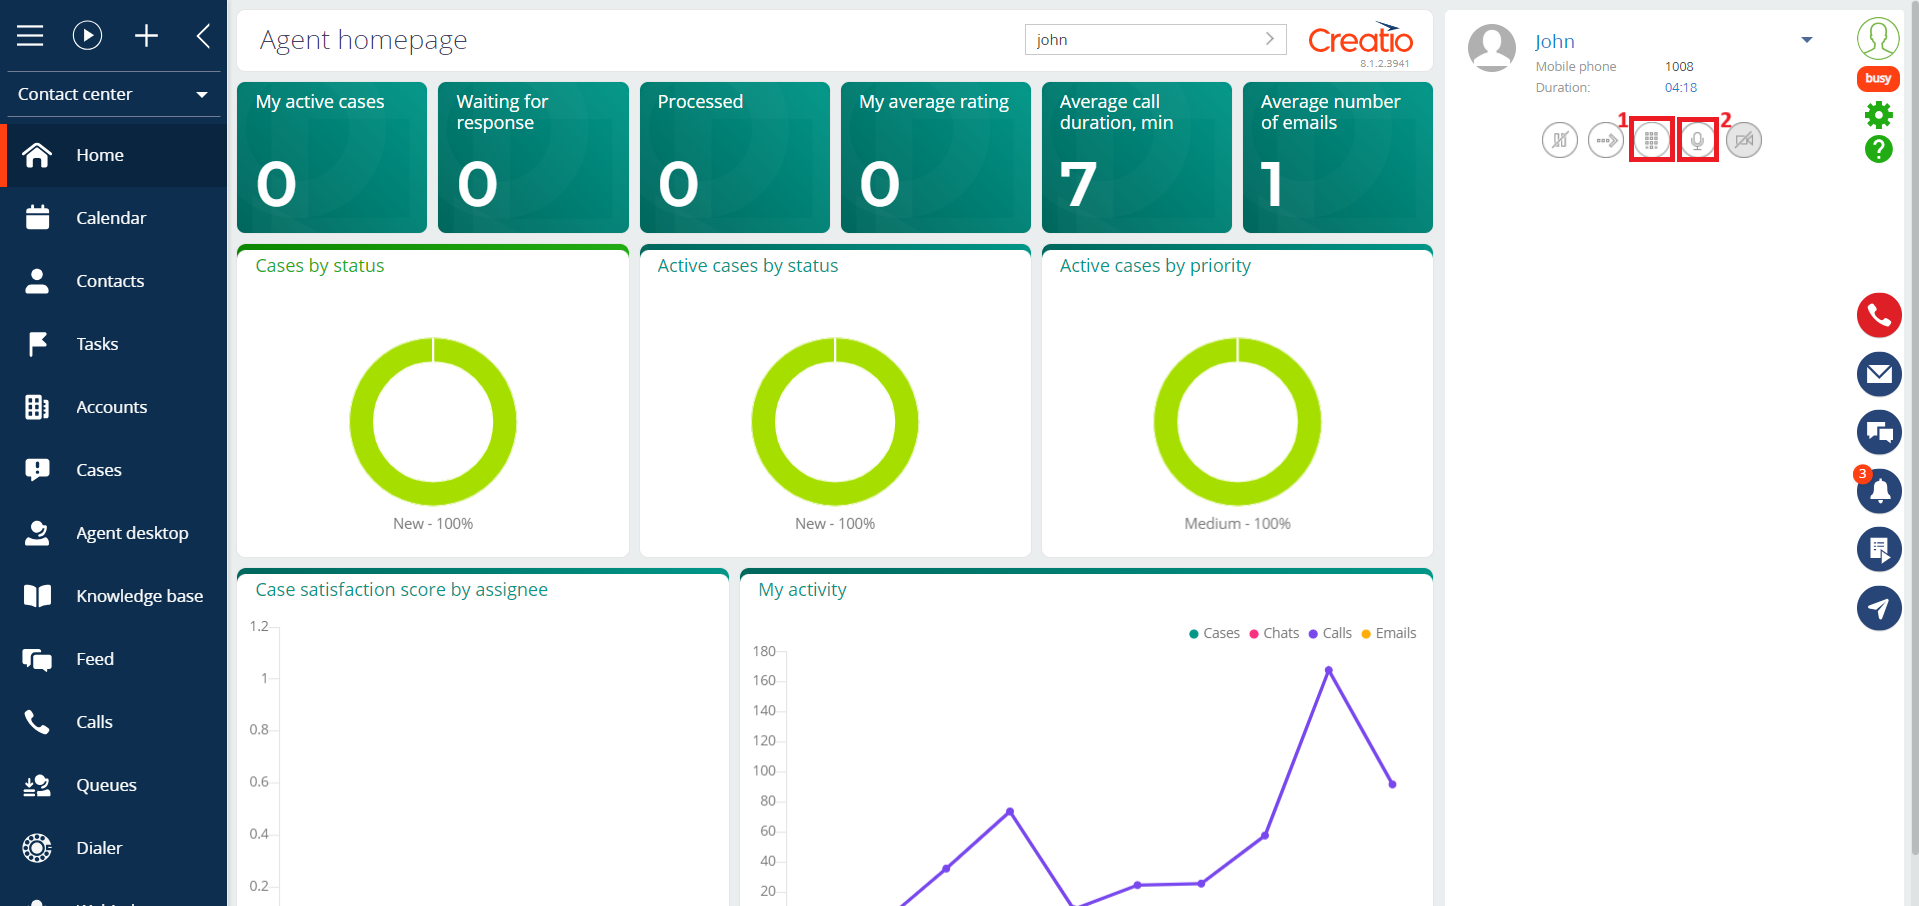
Fig. 16. Active call window