
1. Description
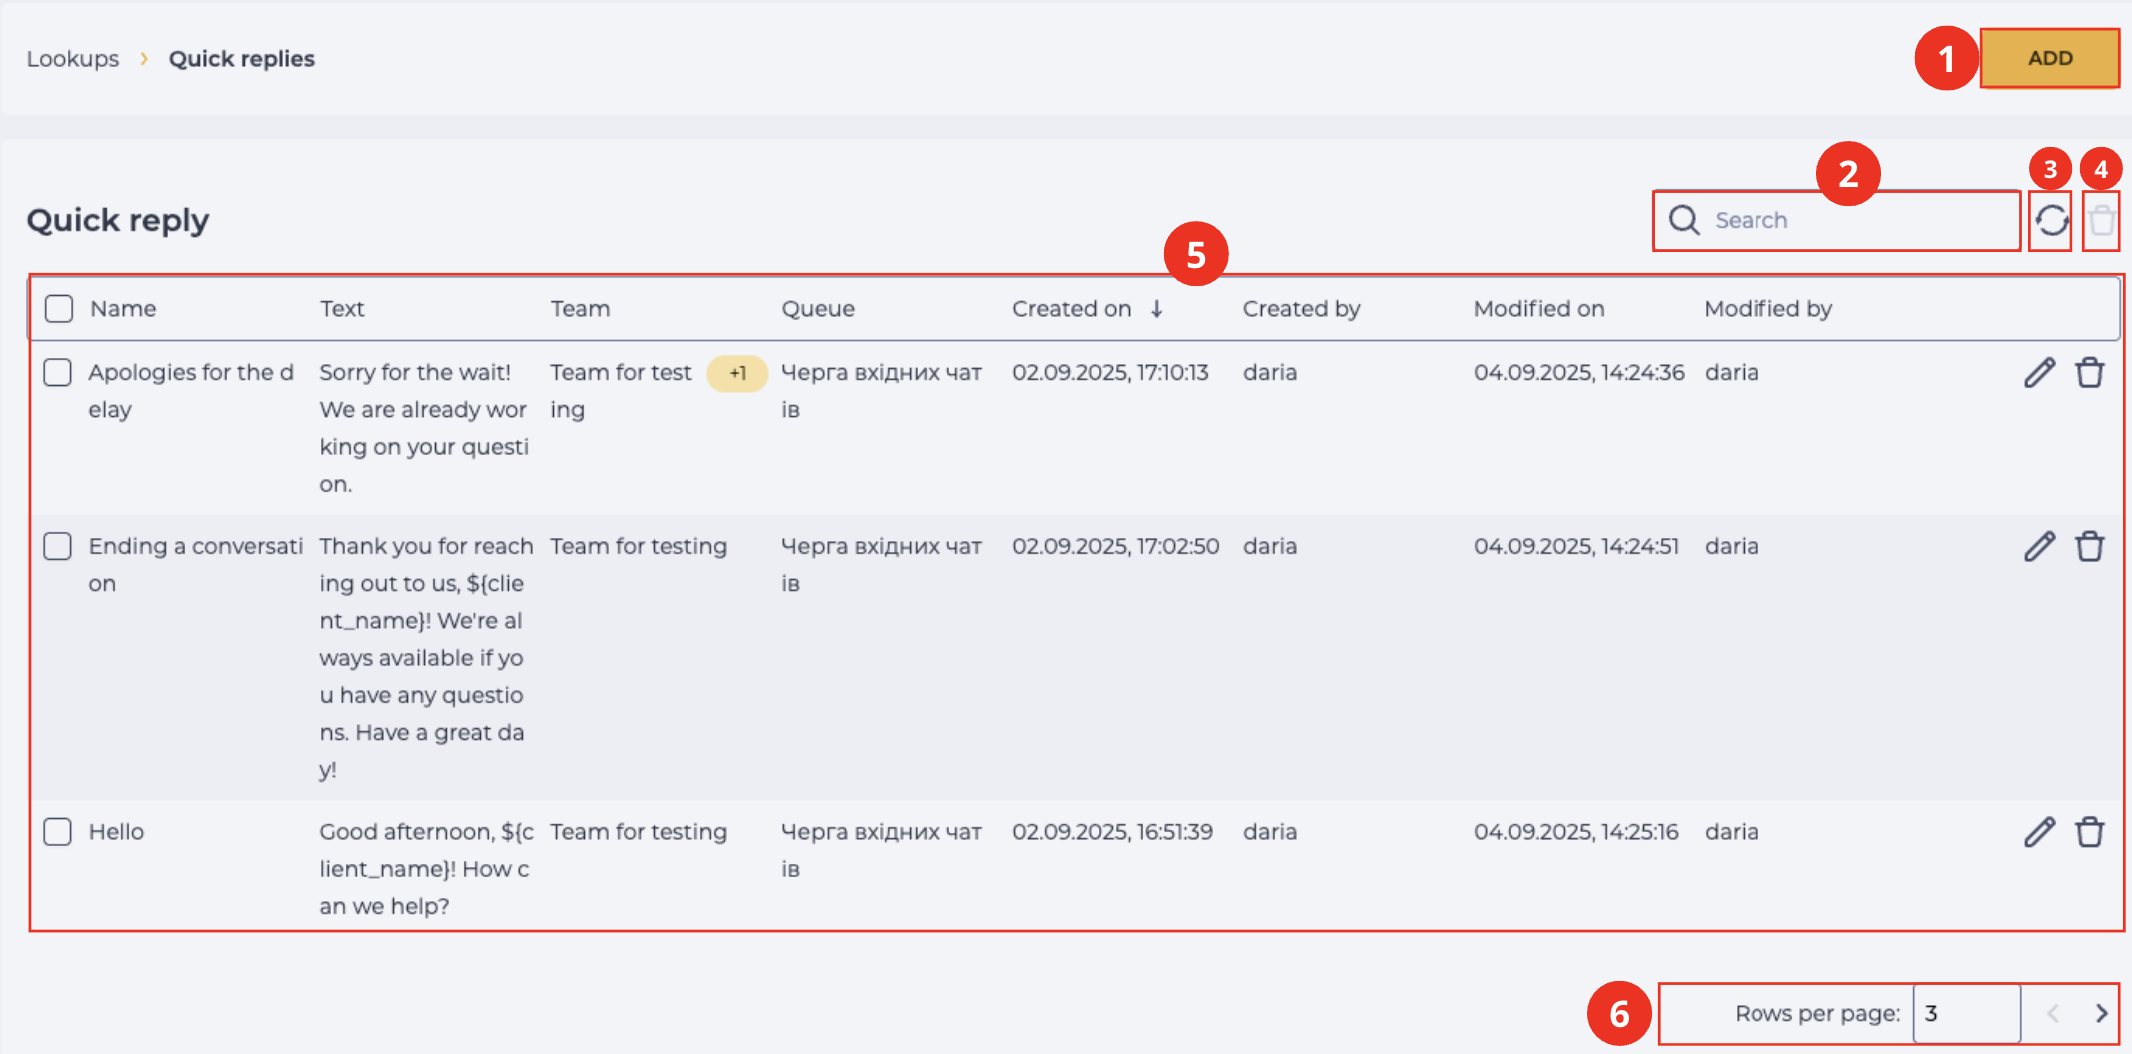
The Quick Replies directory is designed for creating text message templates that operators can use when working with chats in Webitel Workspace.
It consists of the following elements:
-
Creation tool (Fig. 1.(1));
-
Search field (Fig. 1.(2));
-
Registry refresh tool (Fig. 1.(3));
-
Multiple record deletion tool (Fig. 1.(4));
-
Records registry (Fig. 1.(5));
-
Pagination (Fig. 1.(6)).
1.1. Creation Tool
To create a new template, use the Add button (Fig. 1.(1)).
After clicking, the General details page opens.
An existing template can be opened using the Edit button (see p. 1.5.10).
1.2. Search Field
The search is performed by the Name column.
It consists of an input field and a close button ( 
The asterisk symbol * is used for partial word search. It can also be used to replace any number of characters.
1.3. Refresh Tool
Updating the register table is performed by clicking on the refresh button - 
1.4. Multiple Record Deletion Tool
This tool becomes active only after the user selects one or more records in the registry using the checkbox.
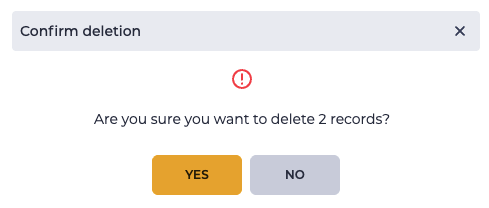
After clicking the button, a confirmation modal window appears (Fig. 2):
-
Clicking Yes deletes all selected records.
-
Clicking No closes the window without changes.
The modal window also displays information about the number of records selected for deletion.
1.5. Record Registry
The registry displays the list of all created quick reply templates.
Each record consists of the following fields:
-
Checkbox;
-
Column "Name";
-
Column "Text";
-
Column "Team";
-
Column "Queue";
-
Column "Created on";
-
Column "Created by";
-
Column "Modified on";
-
Column "Modified by";
-
Editing tool;
-
Removal tool.
1.5.1. Checkbox
Used to select one or multiple records. Once selected, the bulk delete tool becomes active. The confirmation modal (Fig. 3) displays the number of selected records.
1.5.2. Column "Name"
Contains the name of the quick reply template. Search in the registry is performed by this field.
1.5.3. Column "Text"
Displays the content of the quick reply, which will be inserted into the chat.
1.5.4. Column "Team"
Indicates which team the template is available to. If multiple teams are selected, a counter appears in the column; clicking it opens a dropdown list with all values.
1.5.5. Column "Queue"
Displays the queue whose operators have access to the template. The logic is similar to the "Team" column — if multiple values are selected, a counter appears with an option to view the full list.
1.5.6. Column "Created on"
Date and time the template was created. Generated automatically and not editable.
1.5.7. Column "Created by"
Displays the username of the person who created the template. The value is automatically set by the system.
1.5.8. Column "Modified on"
Date and time of the last template modification. Also generated automatically and cannot be edited manually.
1.5.9. Column "Modified by"
The username of the person who last modified the template.
1.5.10. Editing tool
The General tab opens after clicking on this button - 
1.5.11. Removal tool
Used to remove an object with confirmation through a modal window. When hovering over the delete button ( 
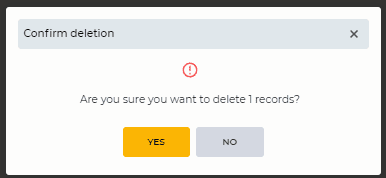
Fig. 3. Confirmation modal window "Confirm deletion"
1.6. Pagination
It consists of the Rows per page field, which indicates the number of entries (it is possible to set from 1 to 1000) per page, and forward and backward buttons for switching pages.
2. Opportunities
2.1. Create a new Quick Reply template
|
Goal |
Create a new Quick Reply template |
|---|---|
|
Preconditions |
|
|
Steps
|
|
|
Result |
The data is saved. |
2.2. Delete a Quick Reply template
|
Goal |
Delete an Quick Reply template |
|---|---|
|
Preconditions |
|
|
Steps
|
|
|
Result |
The modal window closes. The quick reply template is deleted. |

2.3. Delete several Quick Reply templates
|
Goal |
Delete several Quick Reply templates |
|---|---|
|
Preconditions |
|
|
Steps
|
|
|
Result |
The modal window closes. The selected quick reply templates are deleted. |
2.4. Editing quick reply template parameters
|
Goal |
Edit a Quick Reply template |
|---|---|
|
Preconditions |
|
|
Steps
|
|
|
Result |
Data saved. |