
1. Description
This instruction describes the process of adding a pre-recorded personal greeting (audio file) for a specific Agent by the system administrator.
Note! The personal greeting is played during an incoming call to the Agent. The feature is activated using the Allow greeting agent switch on the Parameters tab of the Queue.
1.1. Audio File Requirements
Before uploading, make sure the file meets the following requirements:
-
format: WAV;
-
sample rate: 8 kHz;
-
bit depth: 16 bit;
-
channel: mono.
1.2. Uploading the Media File
Before assigning a personal greeting to the Agent, the audio file must be uploaded to the system.
-
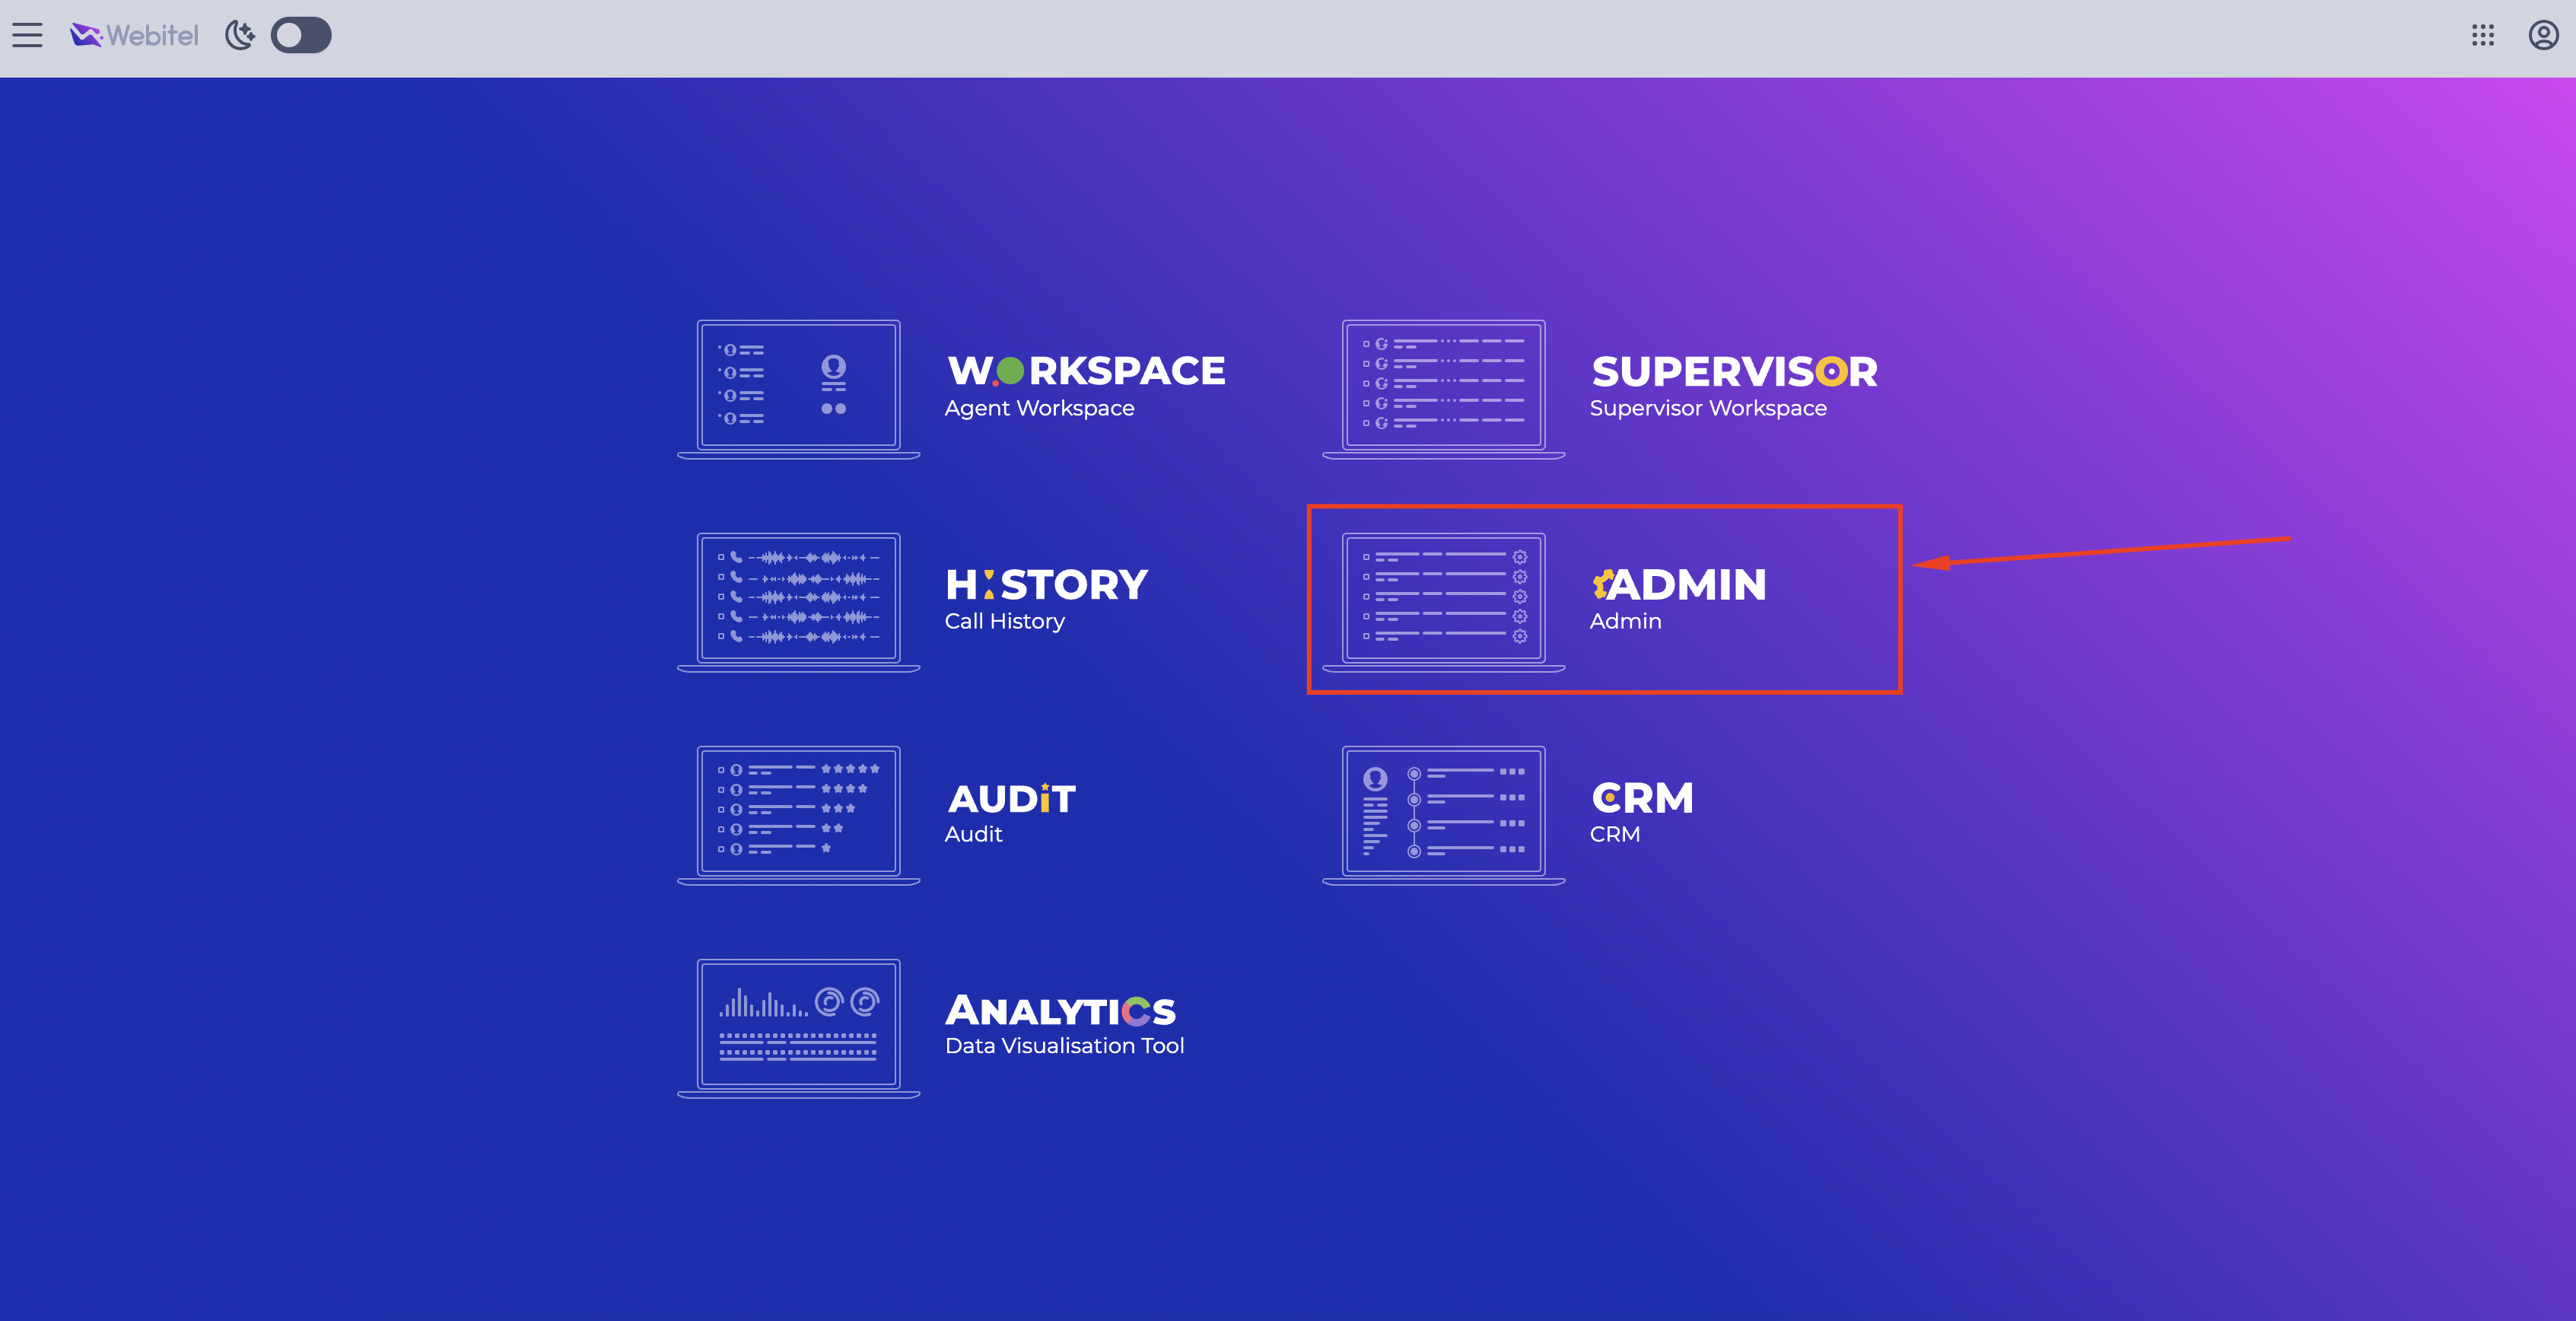
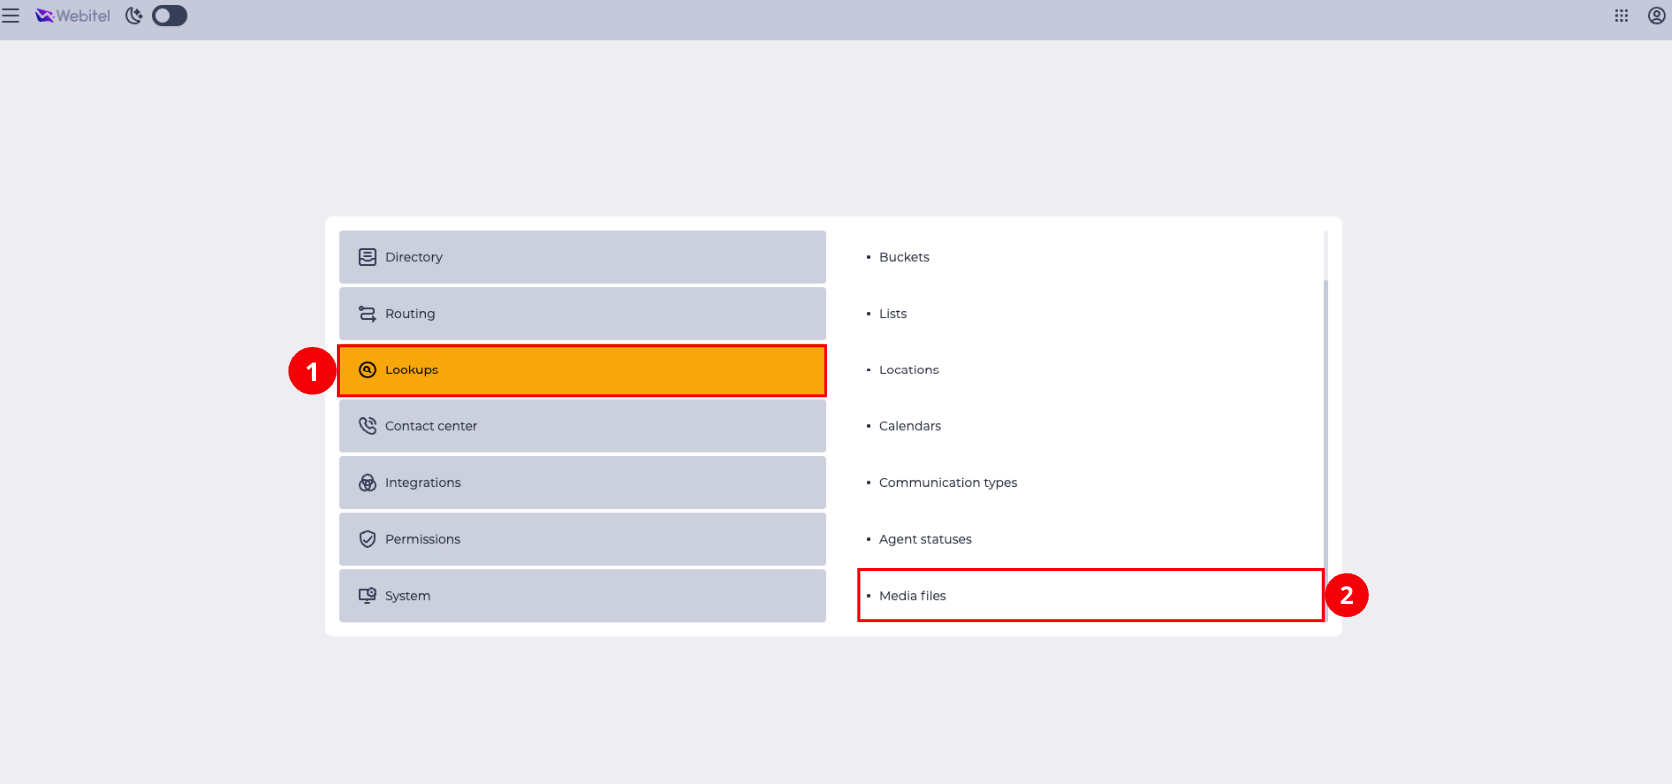
Navigate to Admin (Fig. 1) → Lookups (Fig. 2.(1)) → Media files(Fig. 2.(2)).
-
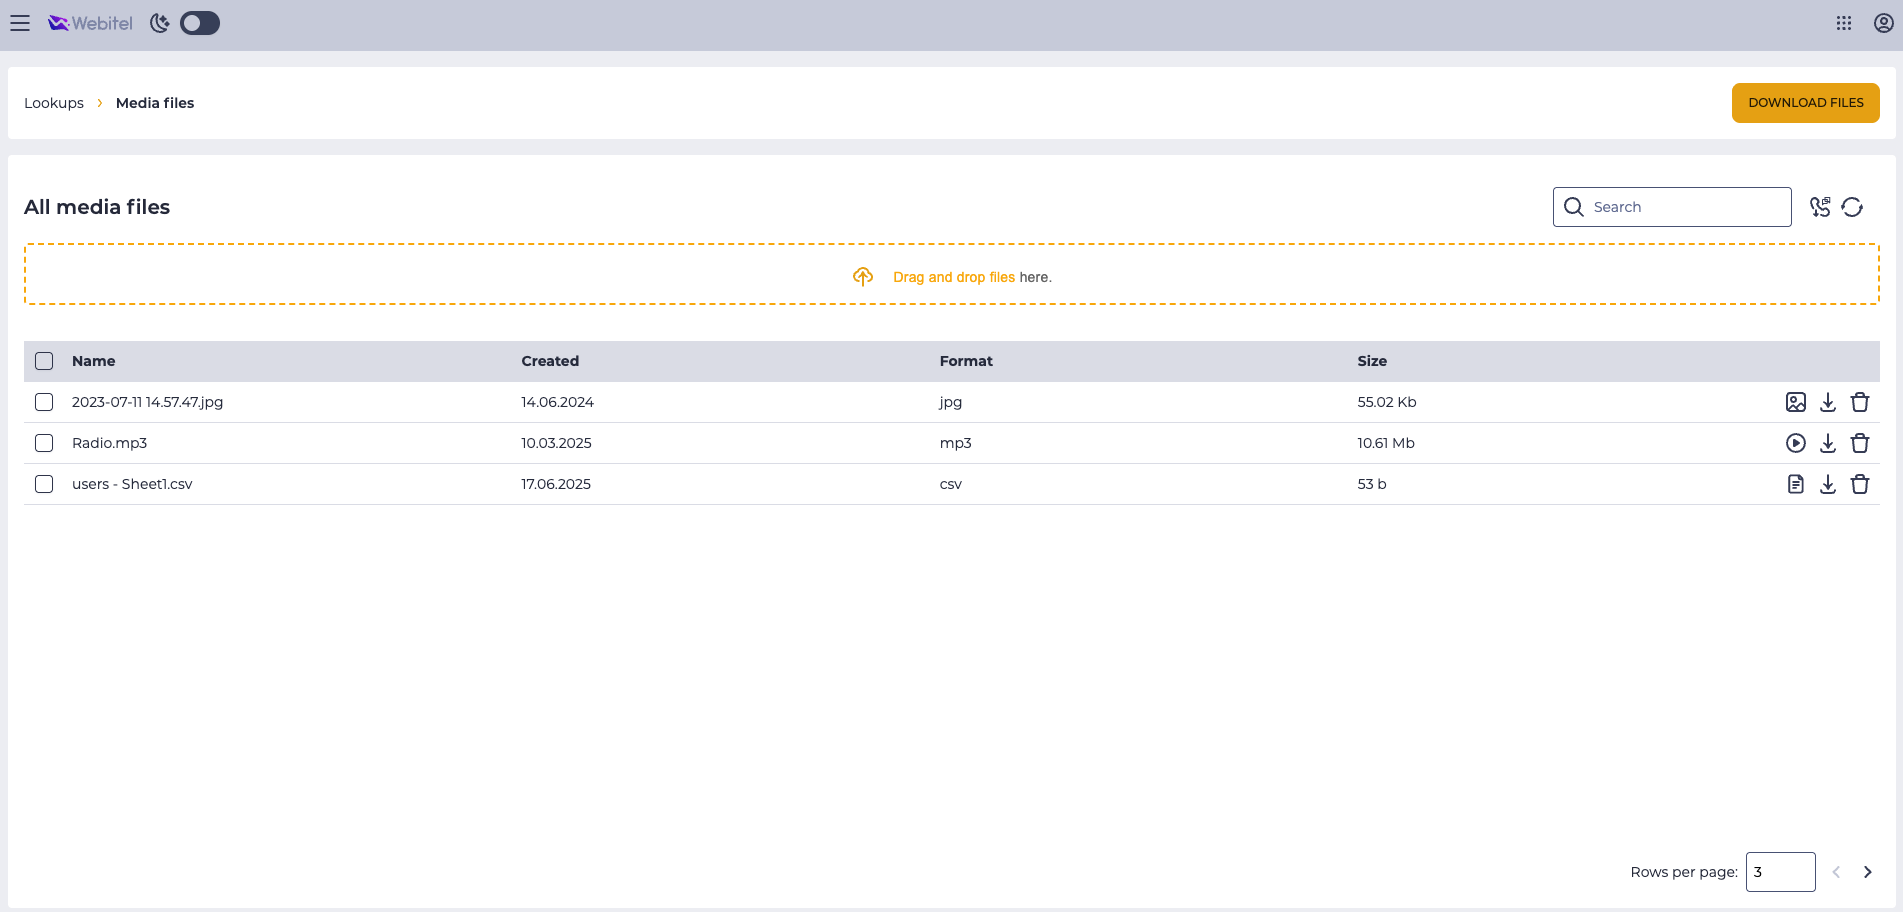
After navigating, the Media files page will open (Fig. 3).
-
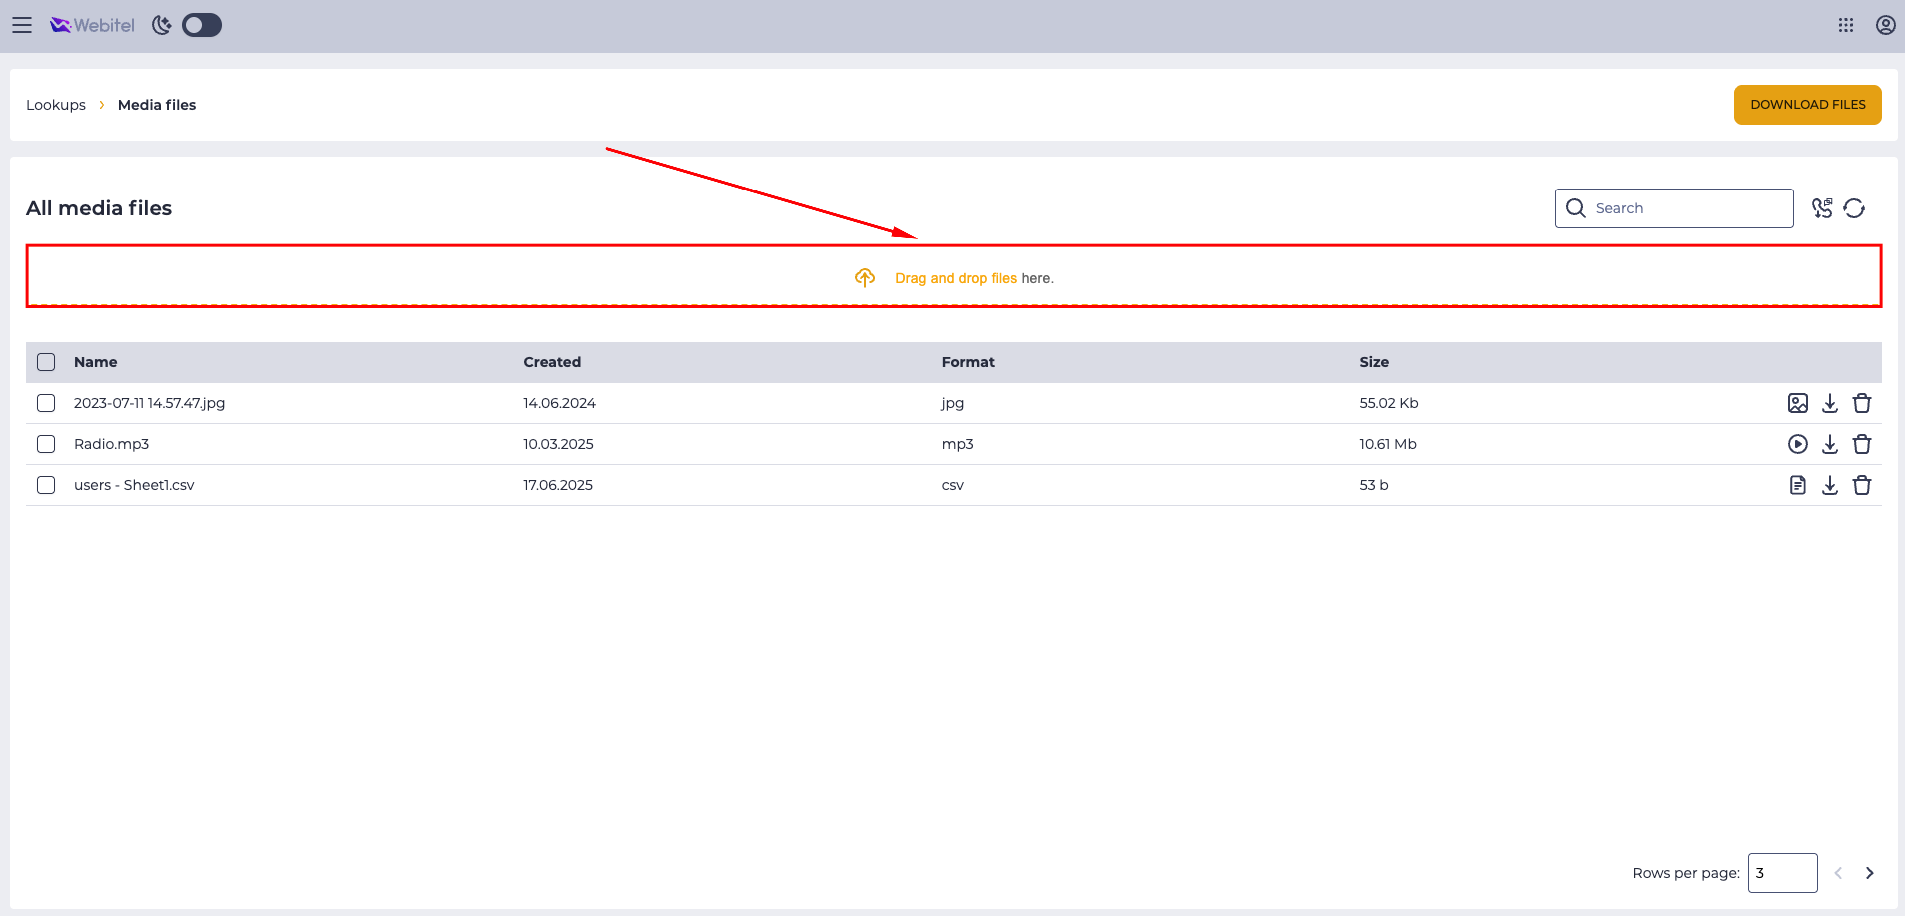
On the Media files page, click the Drag and drop files here. area at the top of the page (Fig. 4).
-
Select the prepared audio file on your device.
-
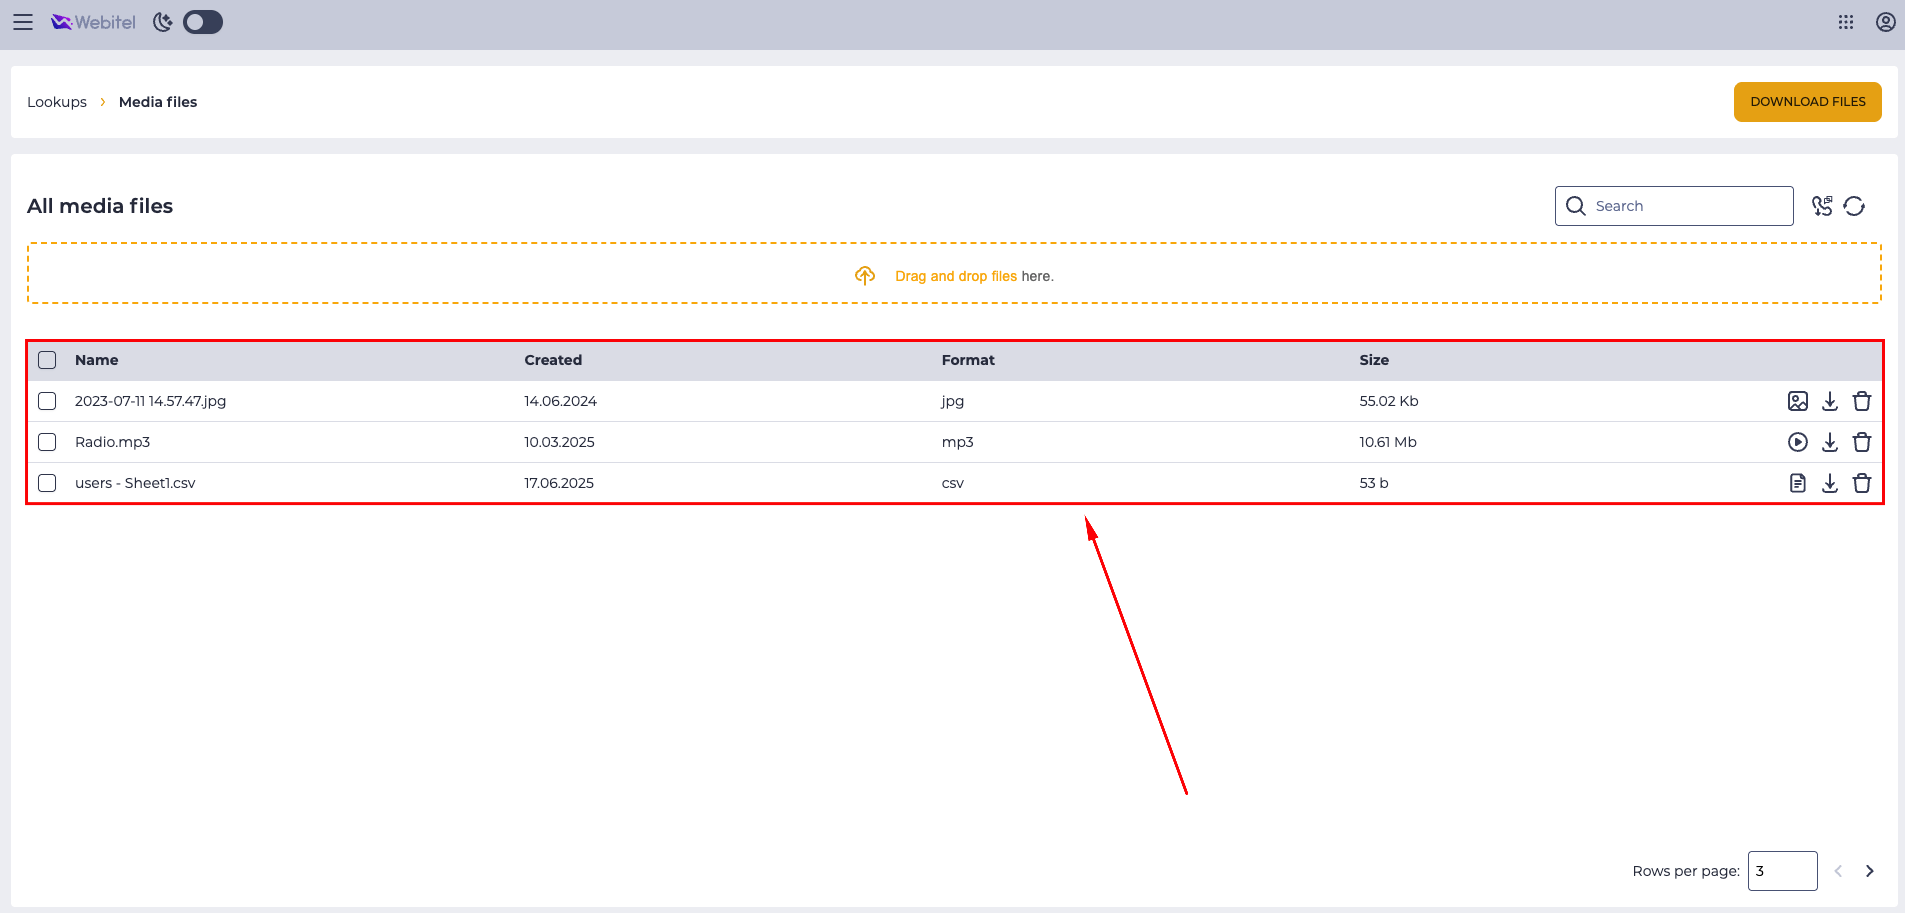
Wait for the upload to complete — the file will appear in the registry (Fig. 5).
1.3. Assigning the Media File to the Agent
Navigate to Admin → Contact Center → Agents (Fig. 6-7).
.png?cb=30de8a518609314a5bb90a410d7ba660)
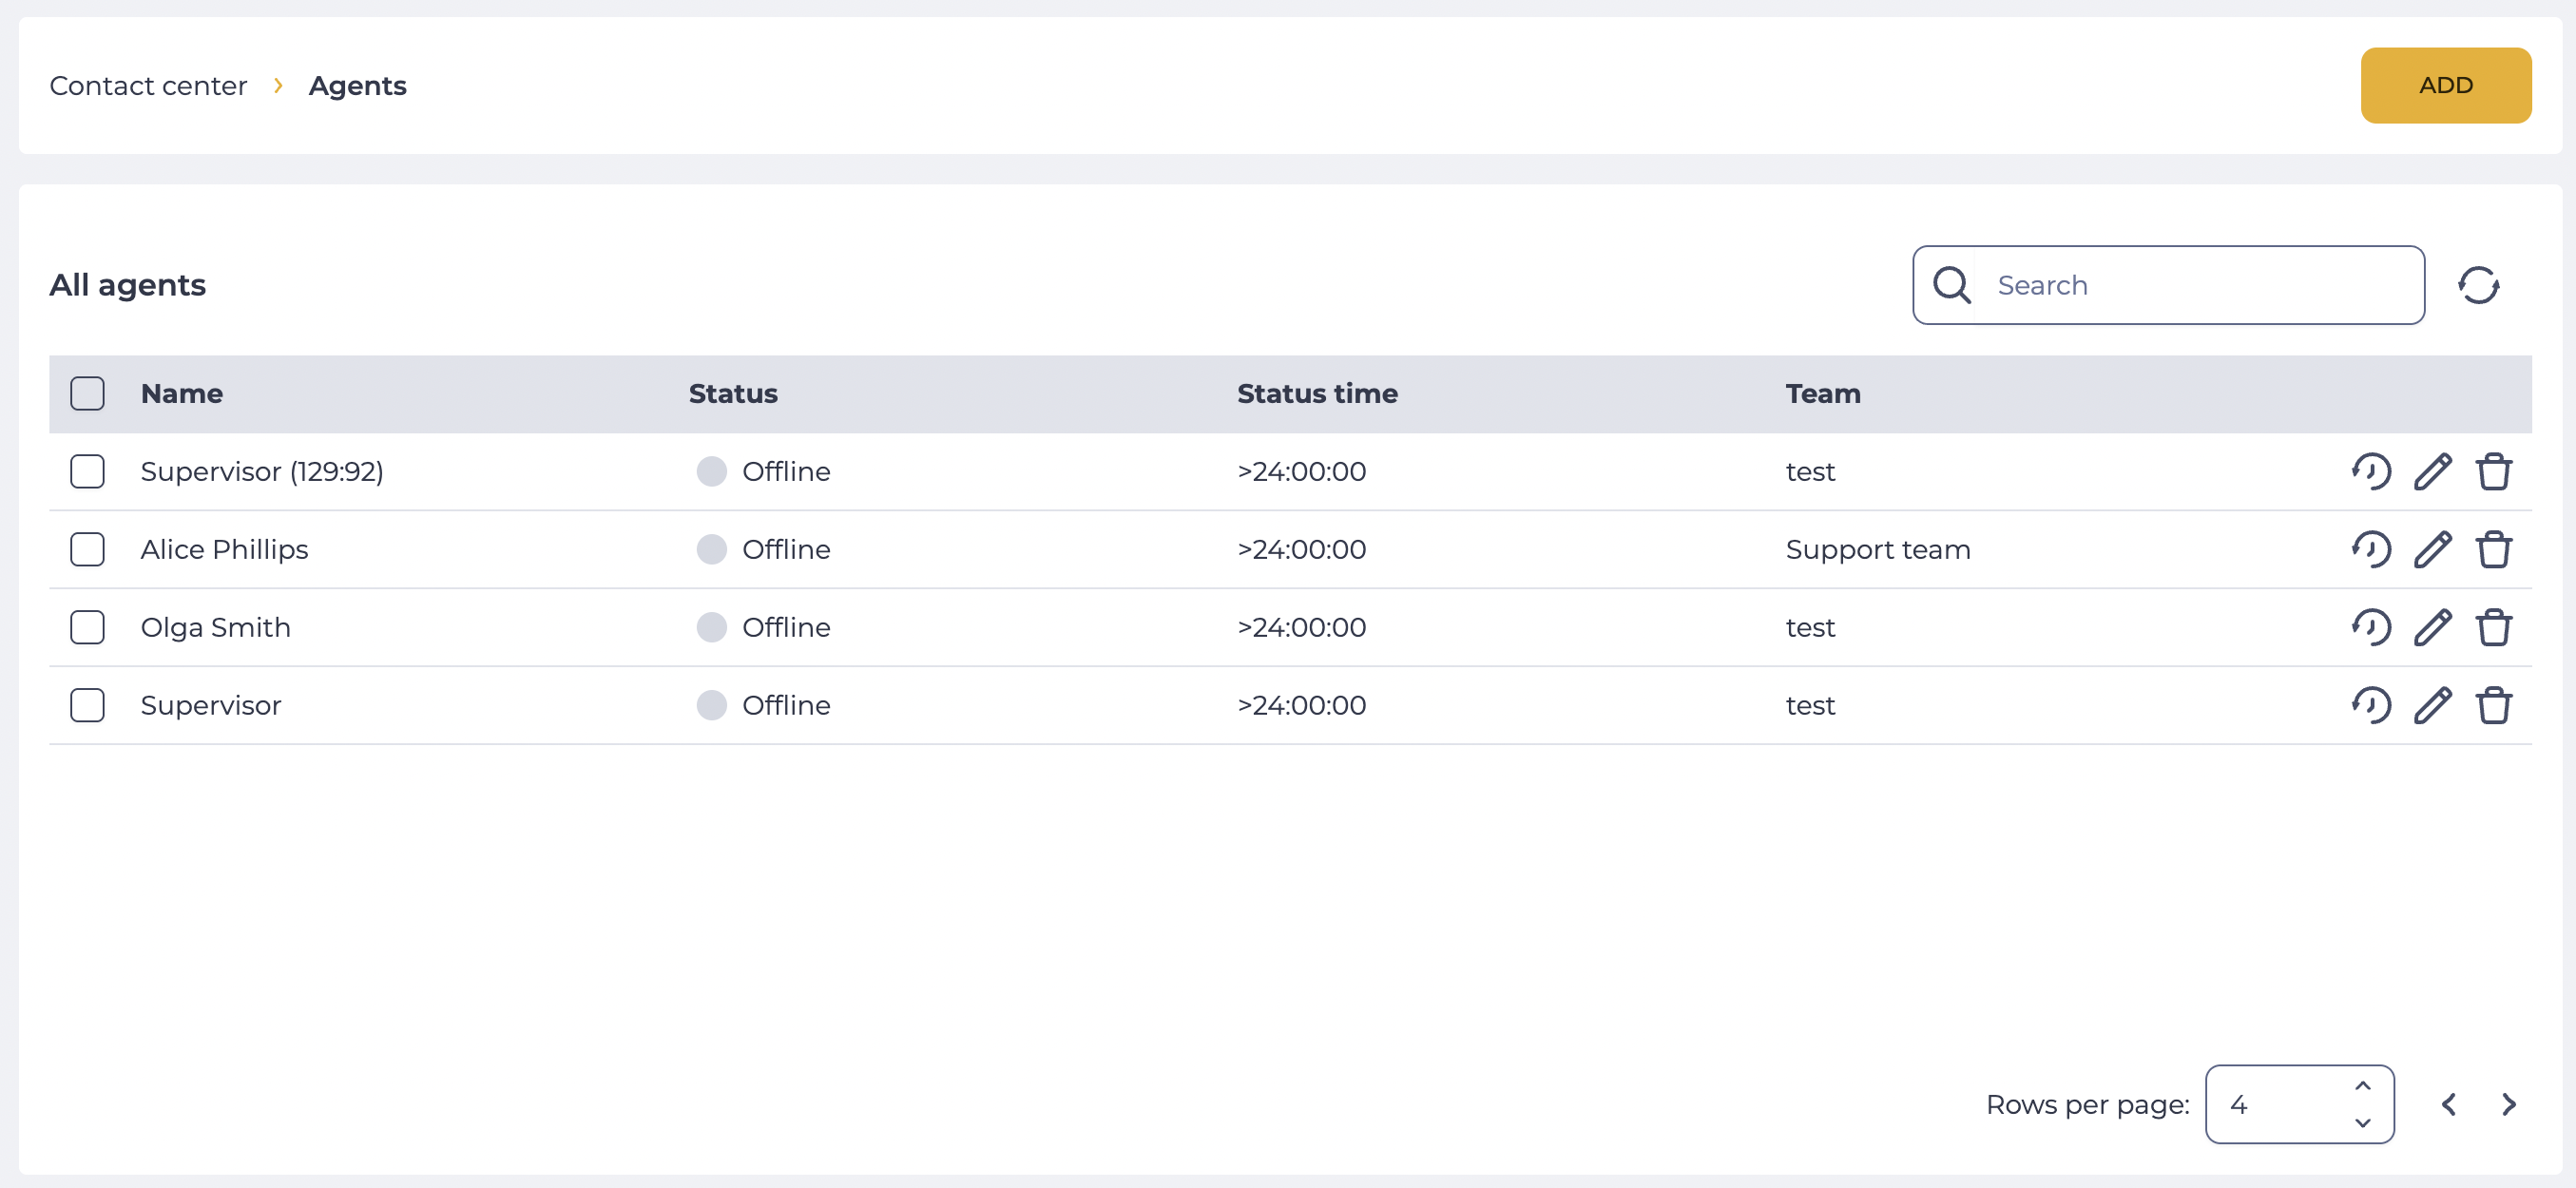
From the list of Agents, select the required Agent by clicking on their name (Fig. 8).
-
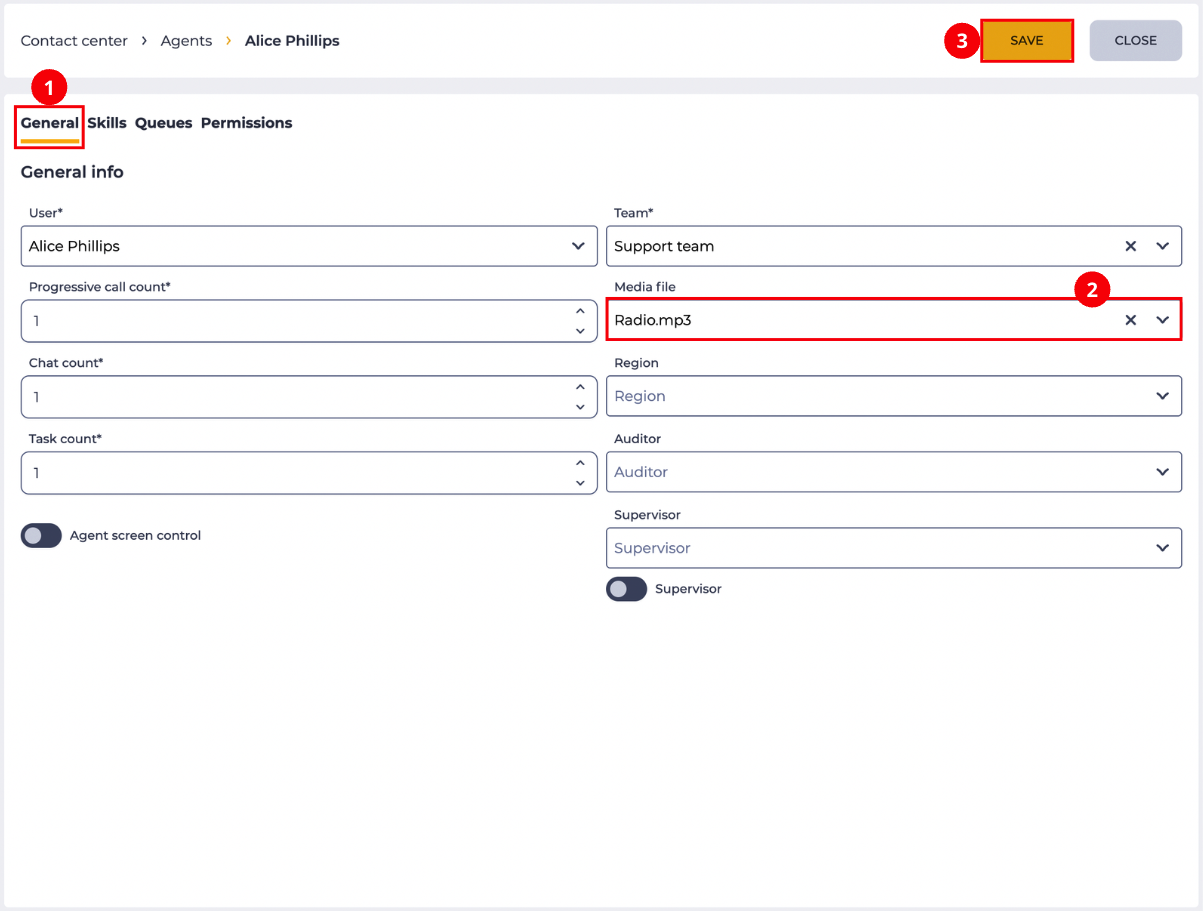
Open the General tab (Fig. 9.(1)).
-
Click on the Media file field — a drop-down list will open. Select the previously uploaded audio file. If the file is not displayed, use the field as a search — enter part of the file name (Fig. 9.(2)).
-
Click the Save button (Fig. 9.(3)).
As a result, the personal greeting is assigned to the Agent. During the next incoming call (provided that the Allow greeting agent parameter is enabled in the Queue) the system will play the specified audio file. Both the client and the Agent will hear the greeting recording.