
1. Description
The Active Calls section is designed for monitoring operators’ ongoing calls in real time. Here you can view call details, filter calls, adjust data display, and use functions such as listening, whisper, and conference.
2. Main interface functionality
The Active calls page contains the following elements:
-
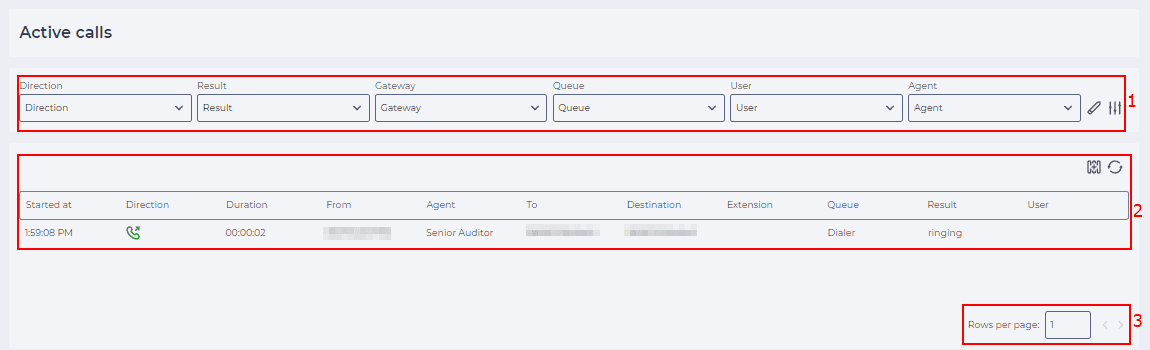
Filter block (Fig. 1.(1)) — allows you to limit the display of calls by various parameters: Queue, Agent, Team, Result, and others. Convenient to use for targeted analysis.
-
Registry (Fig. 1.(2)) — the main table displaying data about active calls: Direction, Duration, Participants, Status, etc. It is updated automatically every 10 seconds.
-
Pagination (Fig. 1.(3)) — controls for managing the number of rows displayed and navigating between the table pages.
2.1. Working with the Active calls table
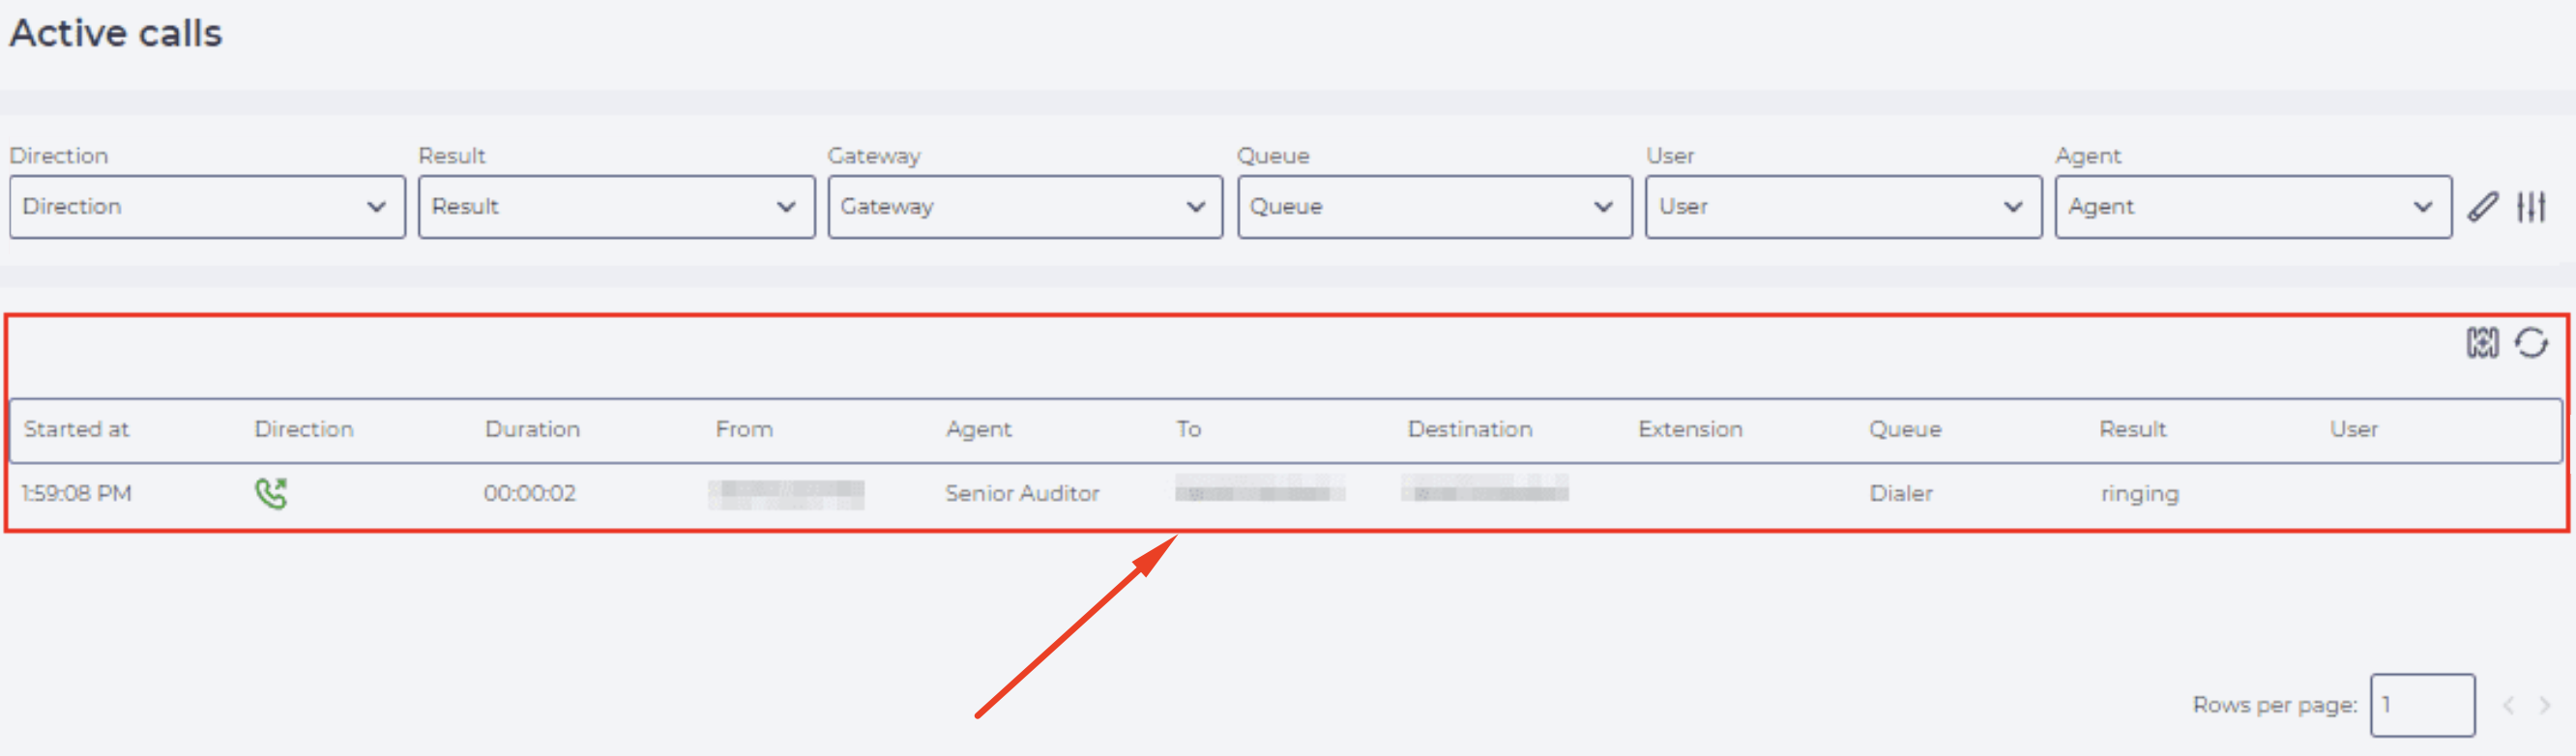
In the central part of the page, a table with current active calls is displayed (Fig. 2). The data is updated automatically every 10 seconds.
The User can only see those calls that they have access to, according to the assigned Role.
The following columns are displayed in the table:
-
Started at — records the time the call began.
-
Direction — type of call: inbound or outbound.
-
Duration — total call duration from the moment it began.
-
From, To, Destination, Extension — values depend on the type of call (see the table below).
-
Agent — the name of the Agent participating in the call. In the case of an internal call, the initiator is displayed here.
-
Queue — the name of the Queue from which the call was received.
-
Result — the current state of the call:
-
Ringing — dialing is in progress (to the Subscriber or Agent).
-
Active — connection established, but participants are not yet bridged.
-
Bridge — an active connection between the Agent and Subscriber, a conversation is in progress.
-
Hold — the call is on hold.
-
Hangup — the call has ended.
-
User — the account from which the call is made.
-
Blind transfer — displays the fact of a transfer without prior consultation.
Note: The values in the From, To, Destination, and Extension fields depend on the call type. In different scenarios (inbound, outbound, dialer, internal call), the roles of the caller and the recipient change — therefore, for correct data interpretation, it is important to consider which type of call is being displayed.
|
|
Сolumns |
|||
|---|---|---|---|---|
|
Call type |
From |
To |
Destination |
Extension |
|
Inbound |
Subscriber number |
Webitel User number (filled in after the User has picked up the phone) |
The number dialed by the Subscriber |
|
|
Outbound IVR |
The number that is entered in the settings of the Resource through which the call is made |
The number of the Subscriber to whom the call is being made (after modification, if digits were taken away or added) |
Subscriber's number |
|
|
Preview dialer |
User Extension (Webitel) |
The number of the Subscriber to whom the call is being made (after modification, if digits were taken away or added) |
Subscriber's number |
User Extension (Webitel) |
|
Progressive dialer |
The number that is entered in the settings of the Resource through which the call is made |
|
Subscriber's number |
|
|
Predictive dialer |
The number that is entered in the settings of the Resource through which the call is made |
|
Subscriber's number |
|
|
Outbound |
User Extension (Webitel) |
The number of the Subscriber to whom the call is being made (after modification, if digits were taken away or added) |
The number dialed by Webitel User/Agent |
User Extension (Webitel) |
|
Internal between Users |
User Extension (initiator of the call) |
User Extension (recipient of the call) |
User Extension (recipient of the call) |
User Extension (initiator of the call) |
Tab. 1. Display data depending on the type of call
These data make it possible to track active calls in real time, understand their current status, and, if necessary, apply the available tools for monitoring or intervention.
2.2. Configuring Data Display and Filtering on the Page
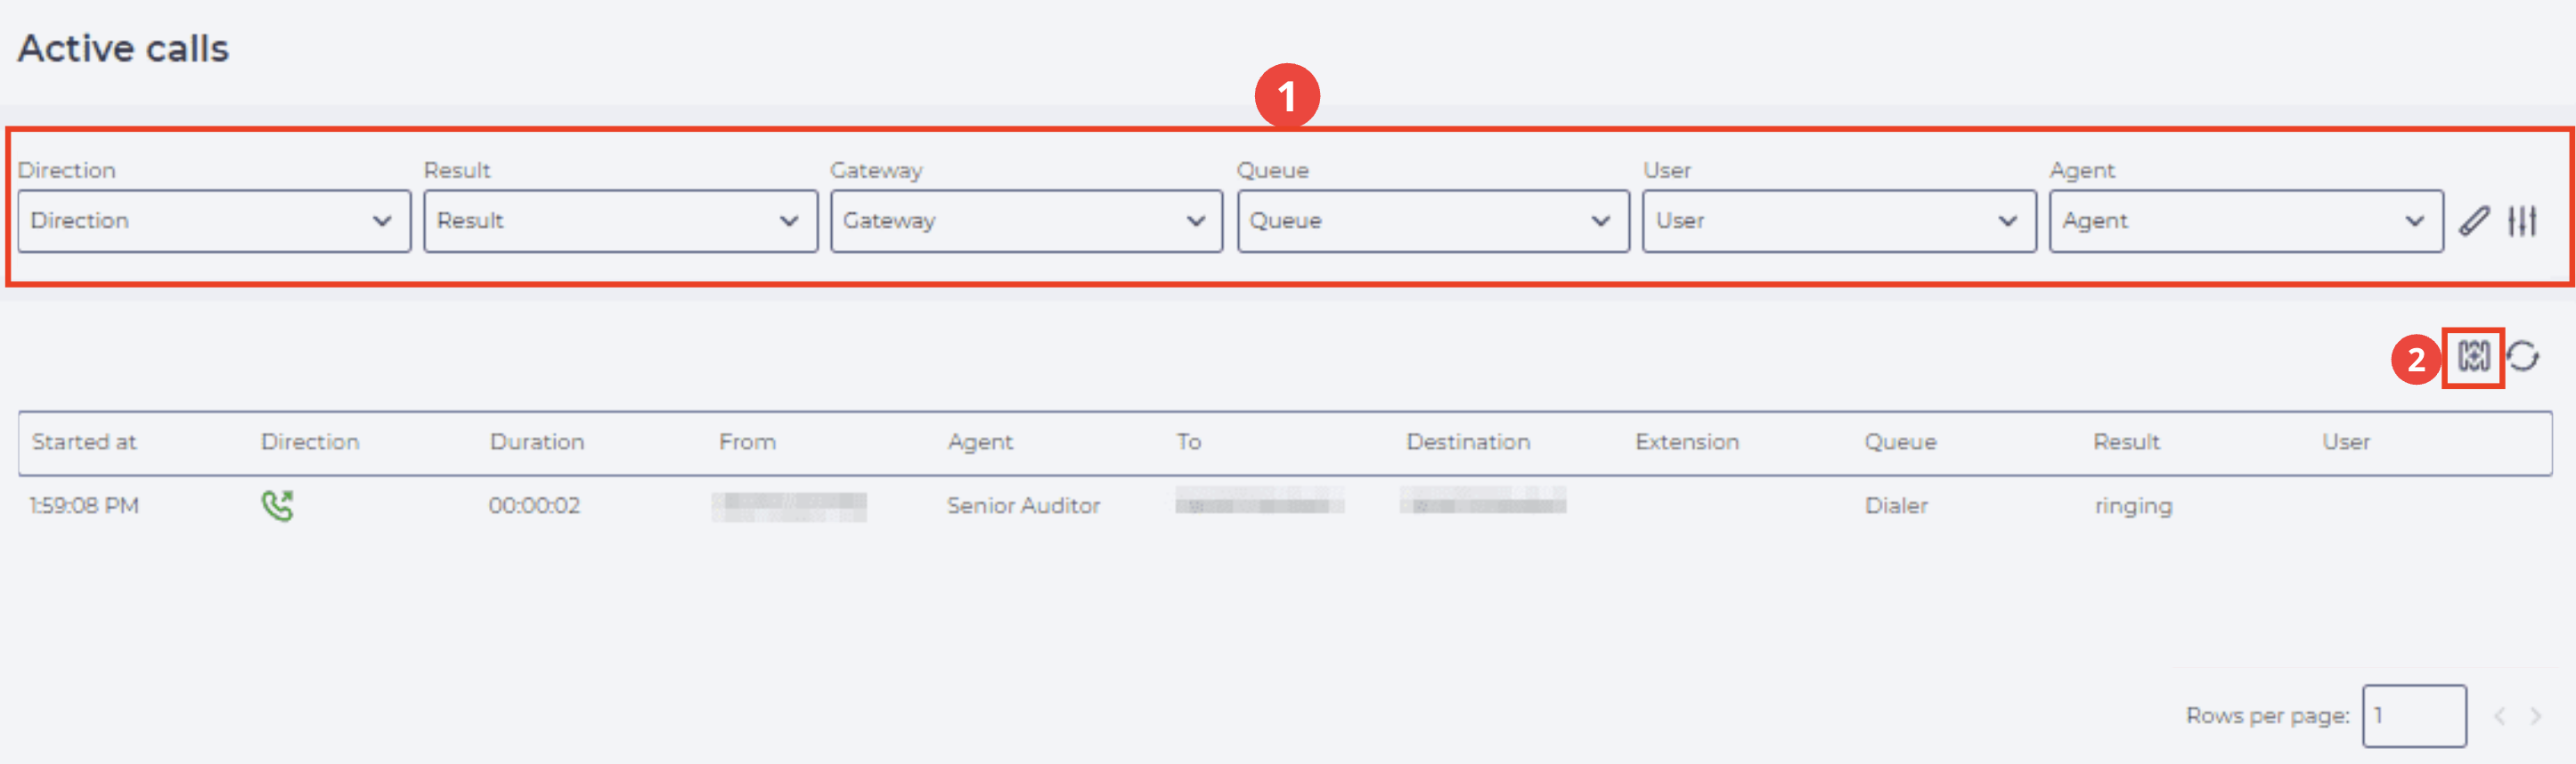
The page interface allows you to adapt the displayed information to specific tasks by using:
-
data filtering by key parameters (Fig. 3.(1));
-
configuring the set of displayed columns (Fig. 3.(2)).
2.2.1. Data Filtering
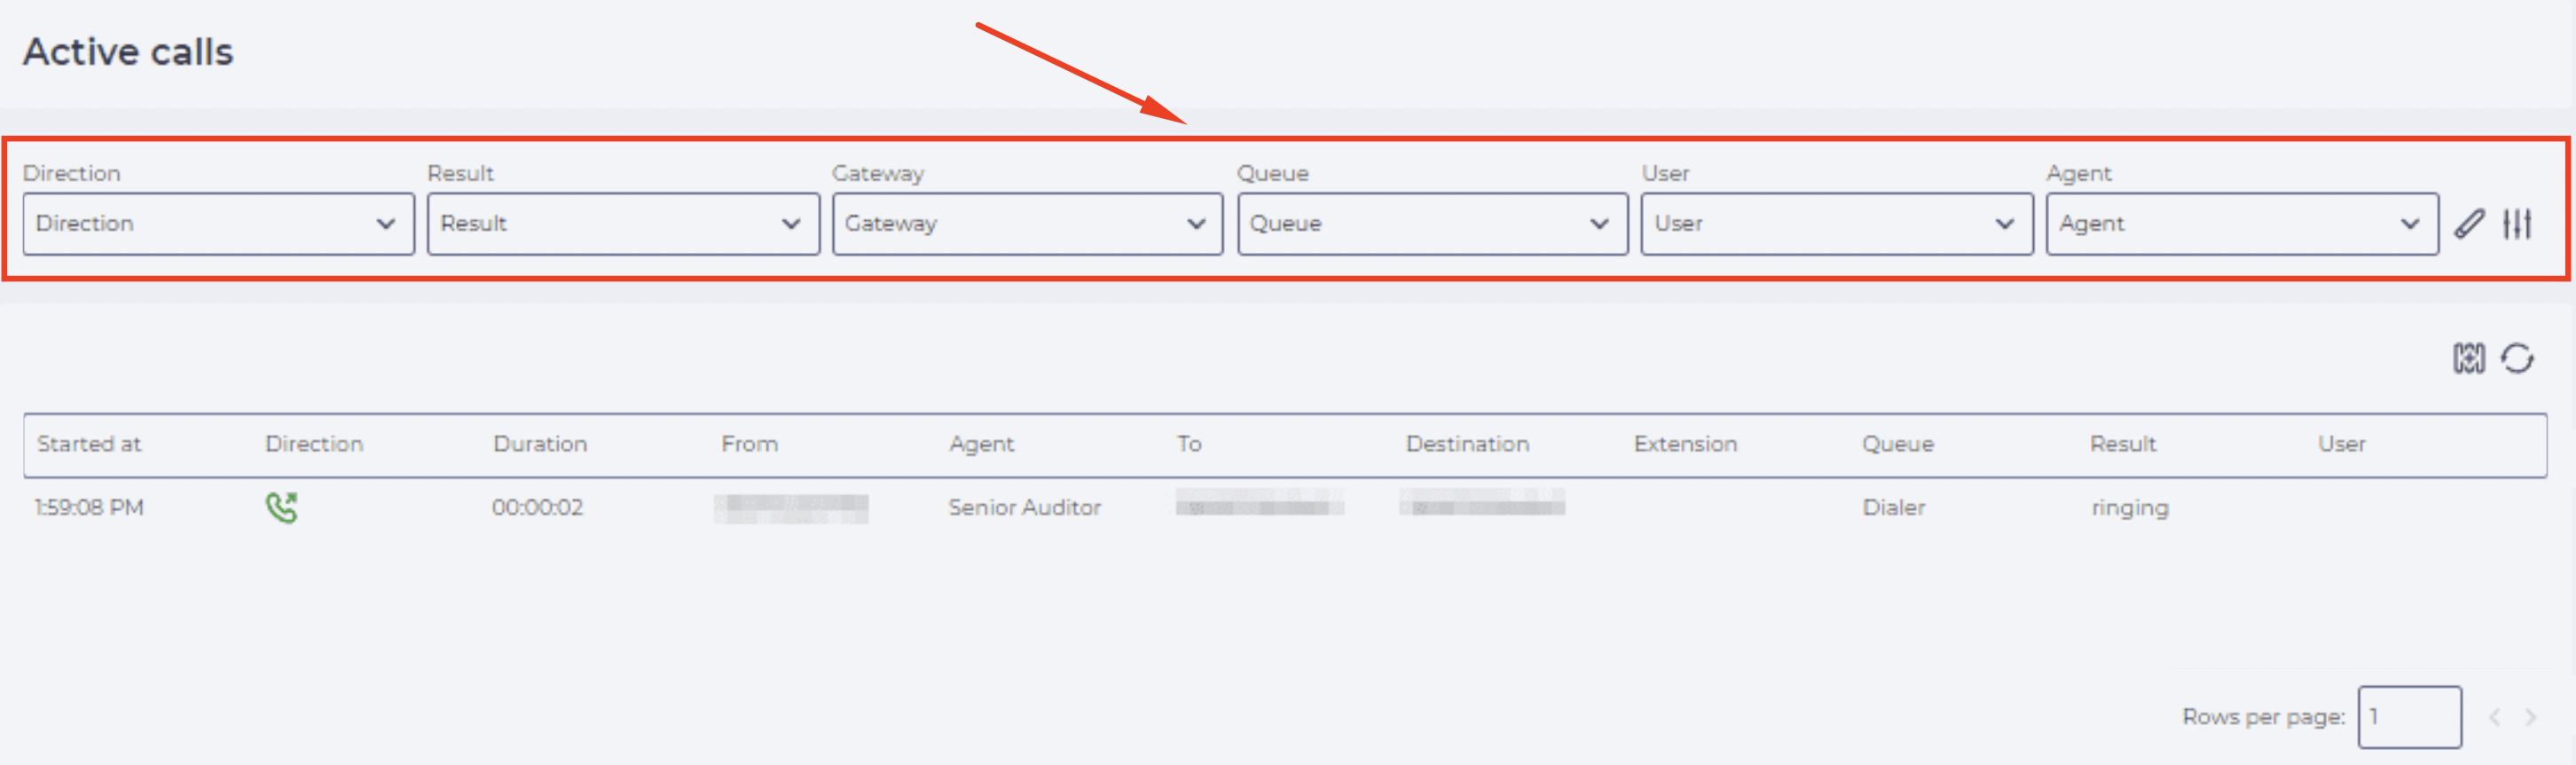
The filter block is always displayed — even when there are no active calls. It allows you to select the required records by the following parameters: Result, Gateway, Queue, User, Agent, Supervisor, Team.
-
Use the filter block at the top of the page (Fig. 4).
-
Select values from the drop-down lists — if necessary, use the field as a search box.
-
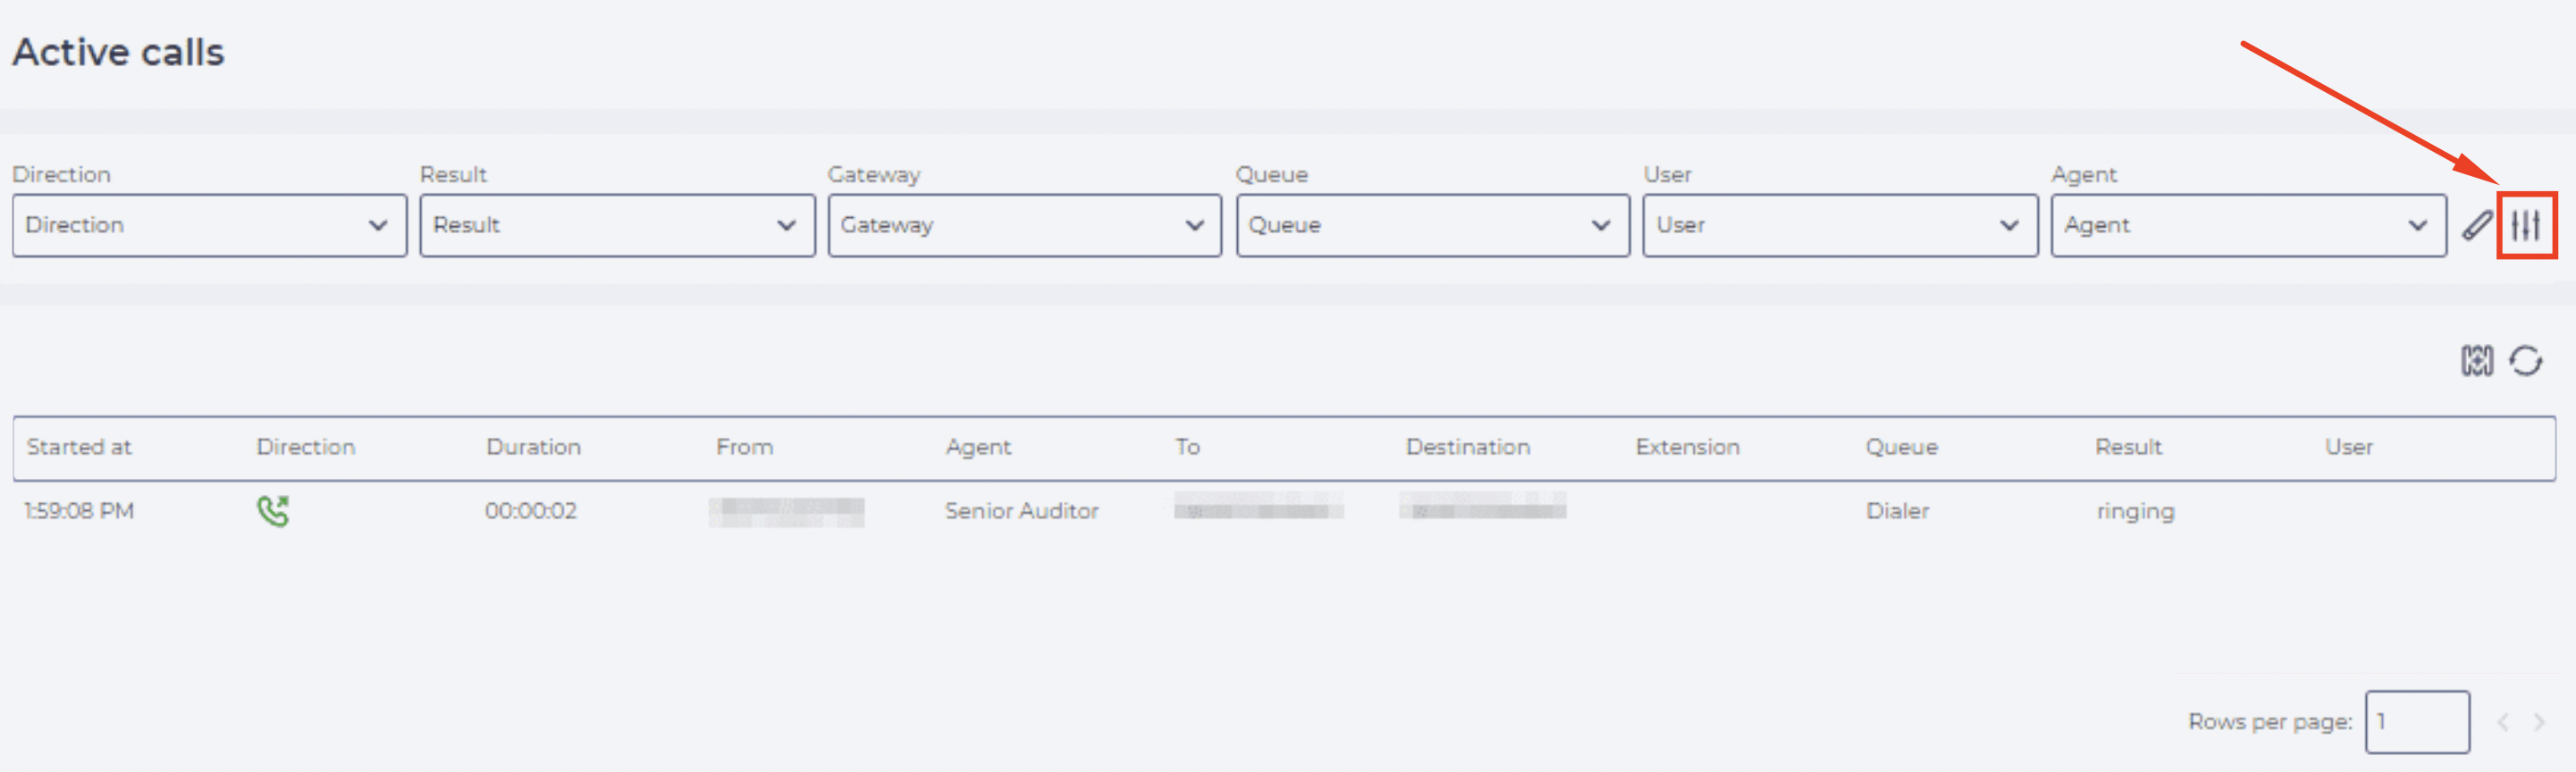
To expand additional filters, click the expand filters icon (Fig. 5).
-
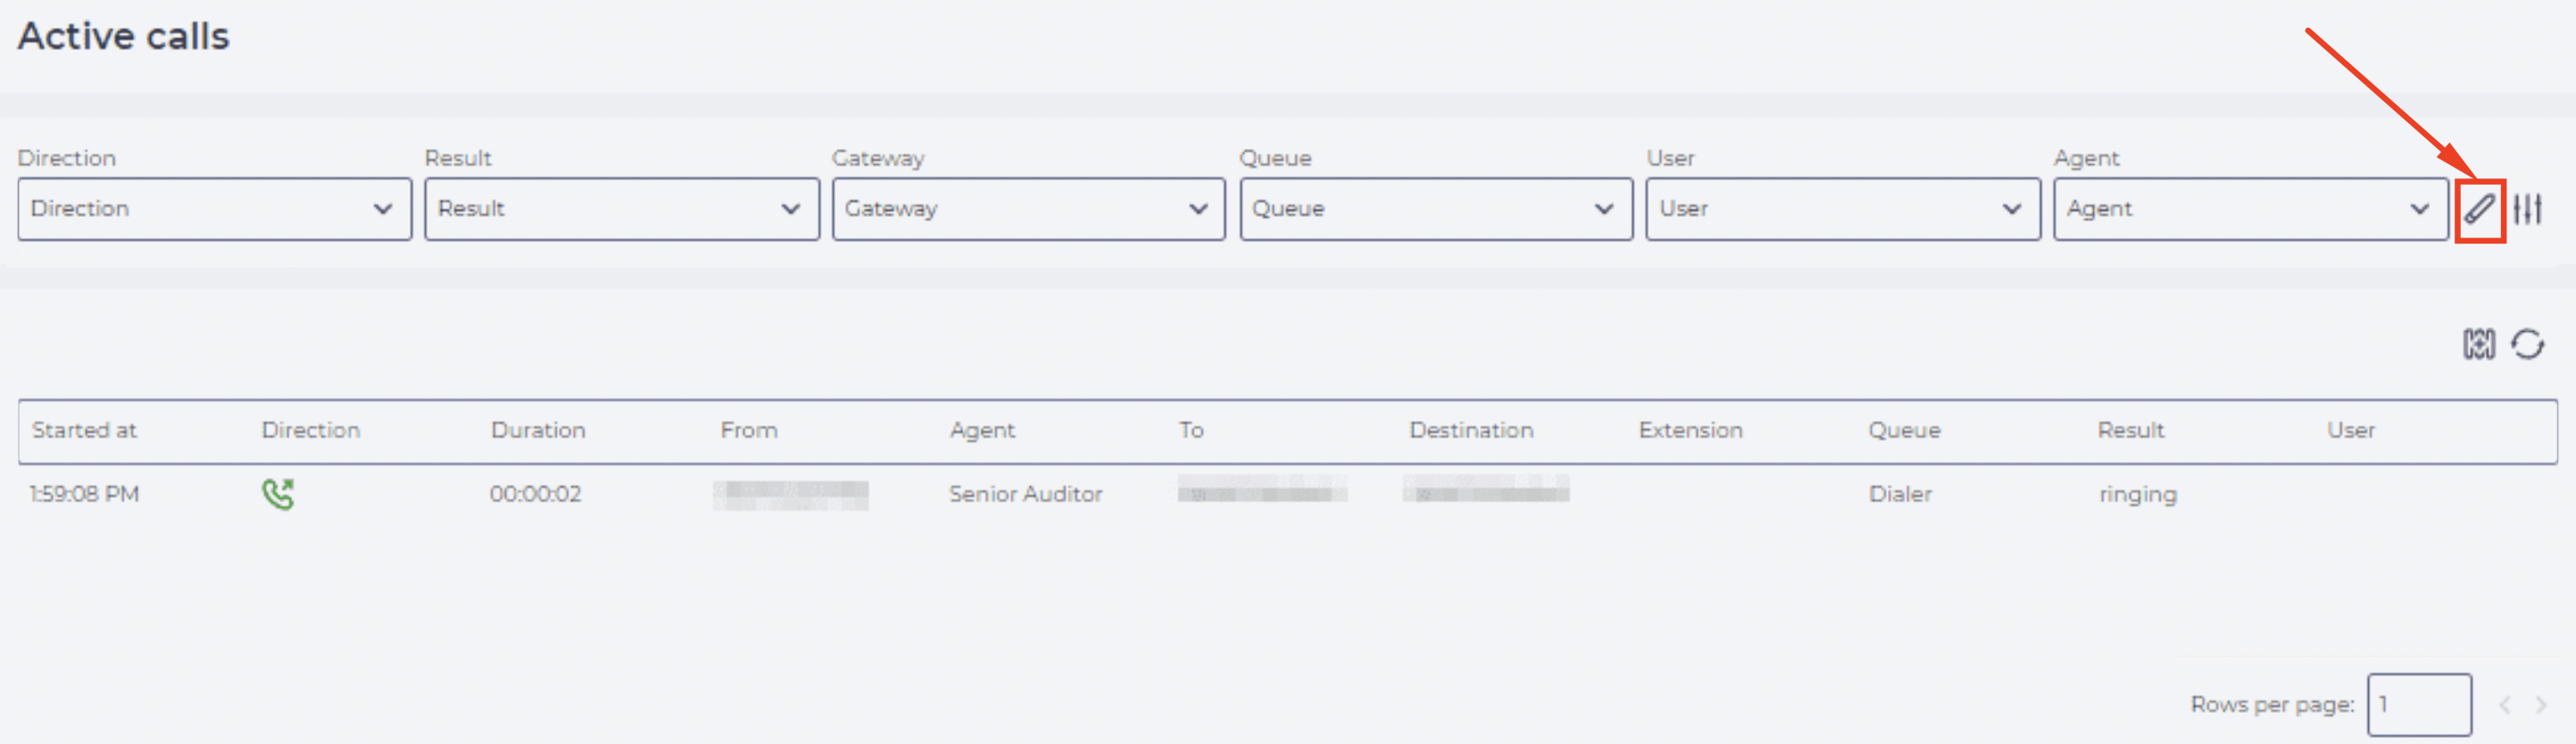
To reset the parameters, click the reset filters icon (Fig. 6).
Important! The set of available filters may differ depending on your access rights.
2.2.2. Configuring Visible Columns
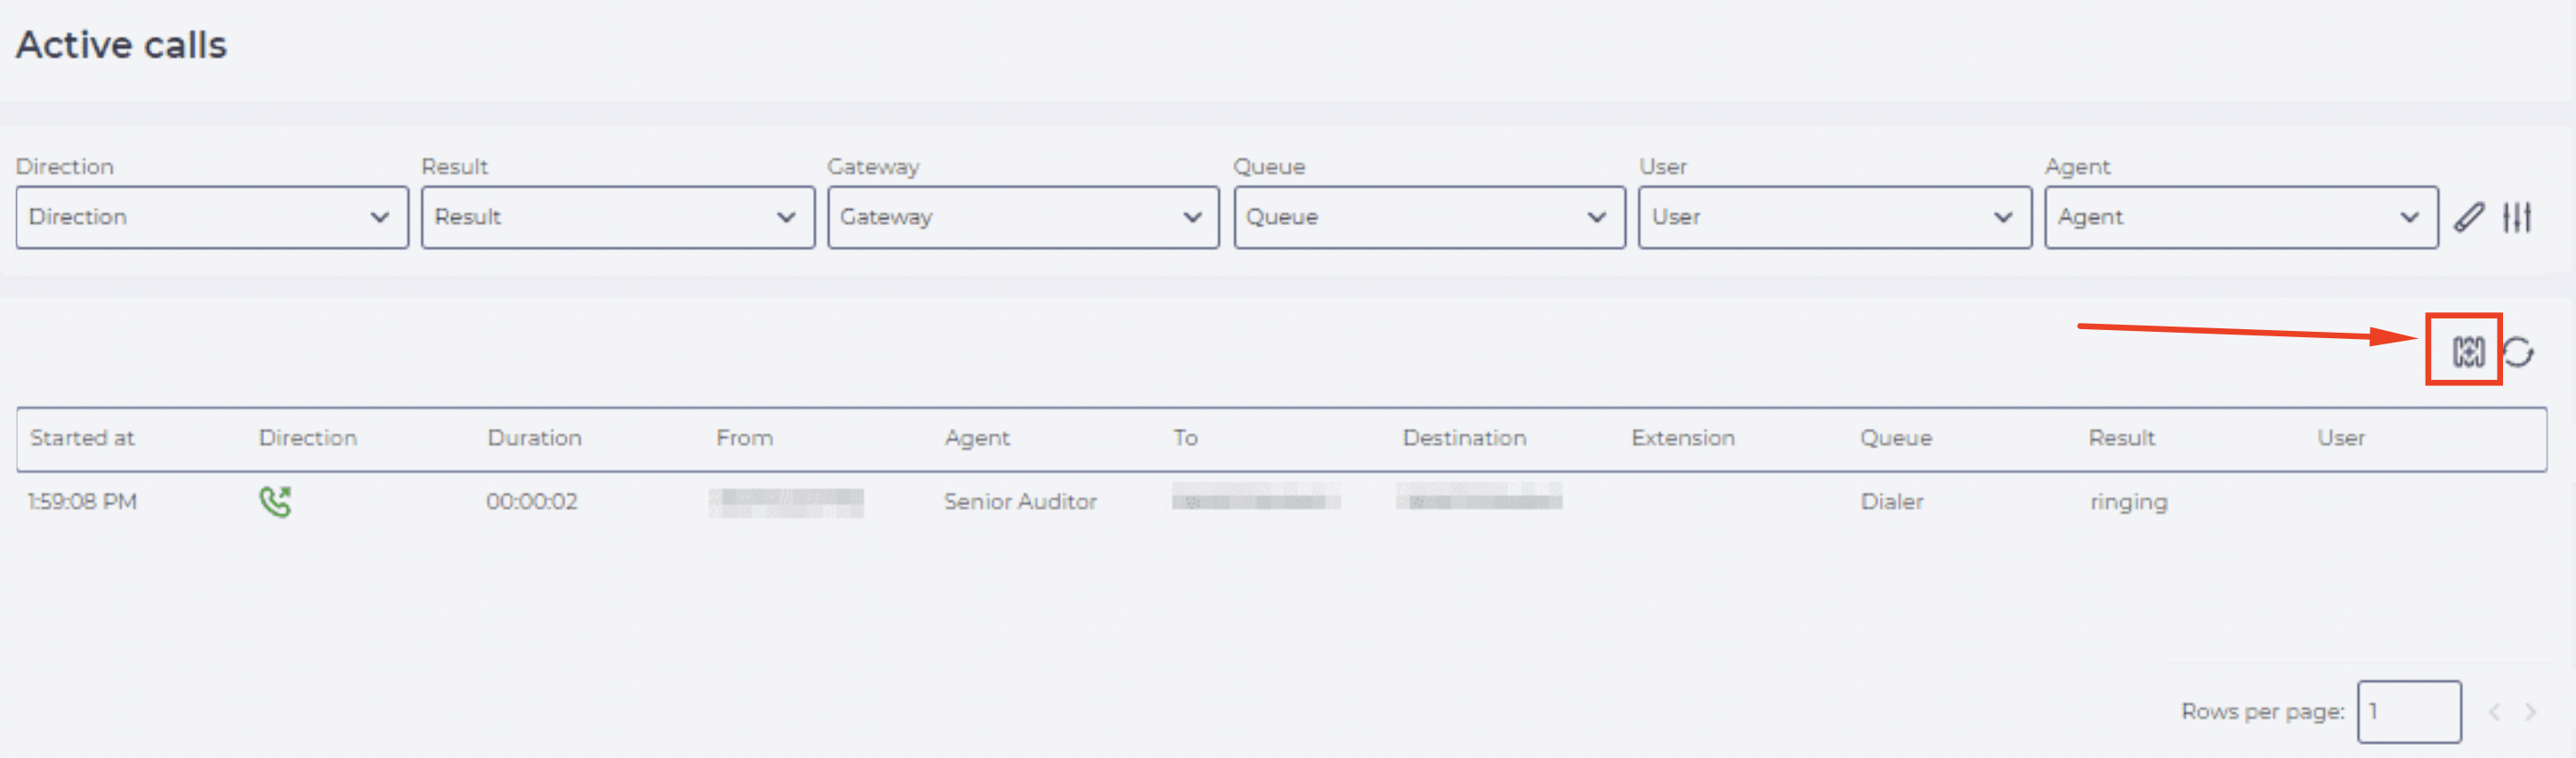
The column visibility settings icon appears only when there are active calls in the registry.
It allows you to select which columns of the table should be visible.
-
In the upper-right corner of the table, click the column settings icon (Fig. 7).
-
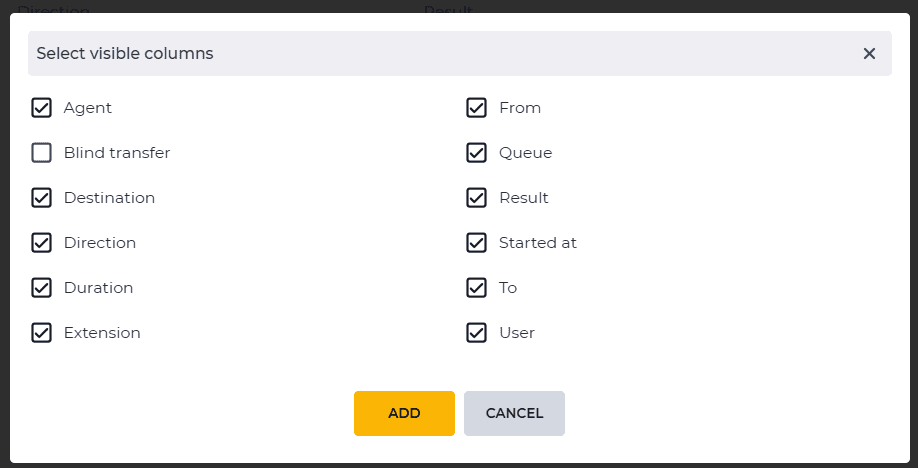
In the opened “Select visible columns” window, check or clear the boxes next to the required fields.
-
A checkbox selected — this column is displayed in the registry table.
-
A checkbox cleared — this column is not displayed in the registry table.
-
After closing the window, the table will be updated according to the selected parameters.
2.3. Manual Table Refresh
By default, the data in the Active Calls table is updated automatically. However, if necessary, you can refresh it manually — without reloading the page.
To do this, click the refresh icon located above the table (Fig. 9).
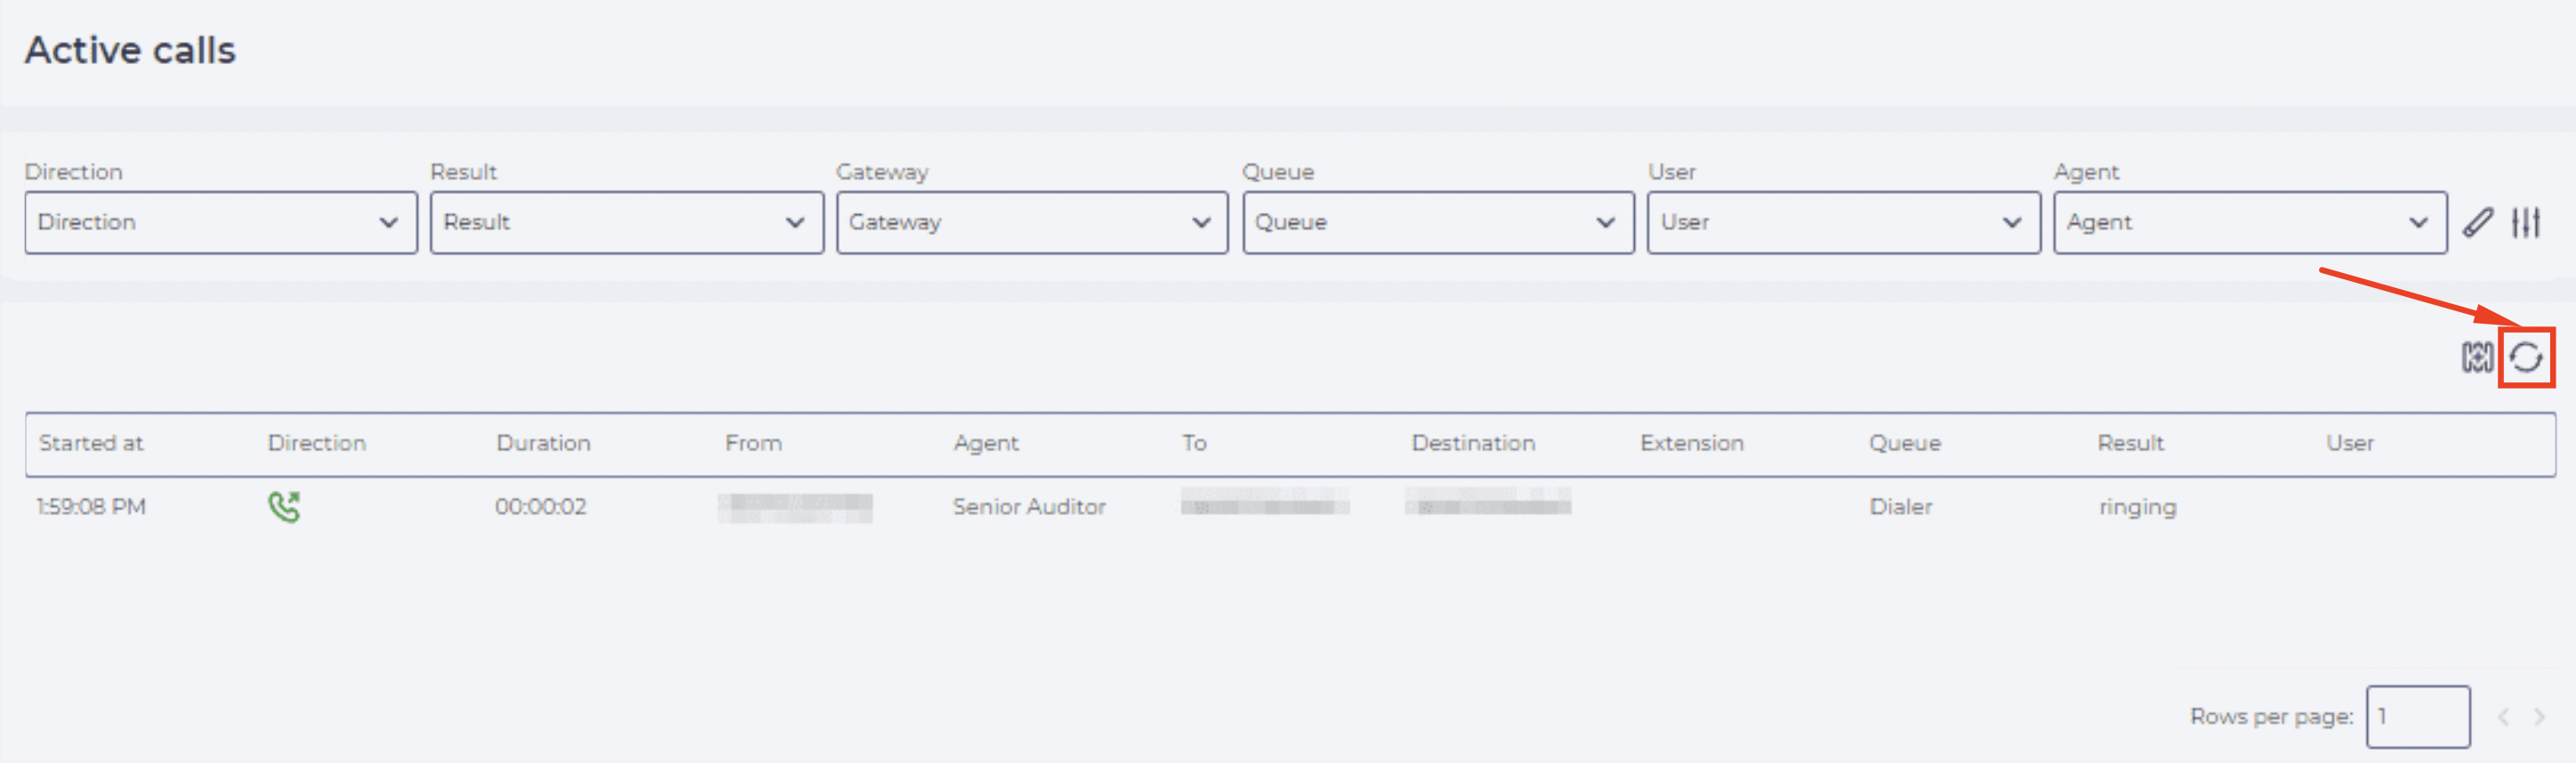
After clicking, the current data will be reloaded, including new calls, changes in statuses, and duration.
2.4. Active Call Listening
If you have listening permissions and the call is in the Bridge status, you can connect to the conversation in real time.
To start listening:
-
Find the row with the call that has the Bridge status in the Result column.
If the icon is unavailable, make sure the call is really in the required status and that you have the necessary access rights.
-
Click the icon next to the status (Fig. 10).

-
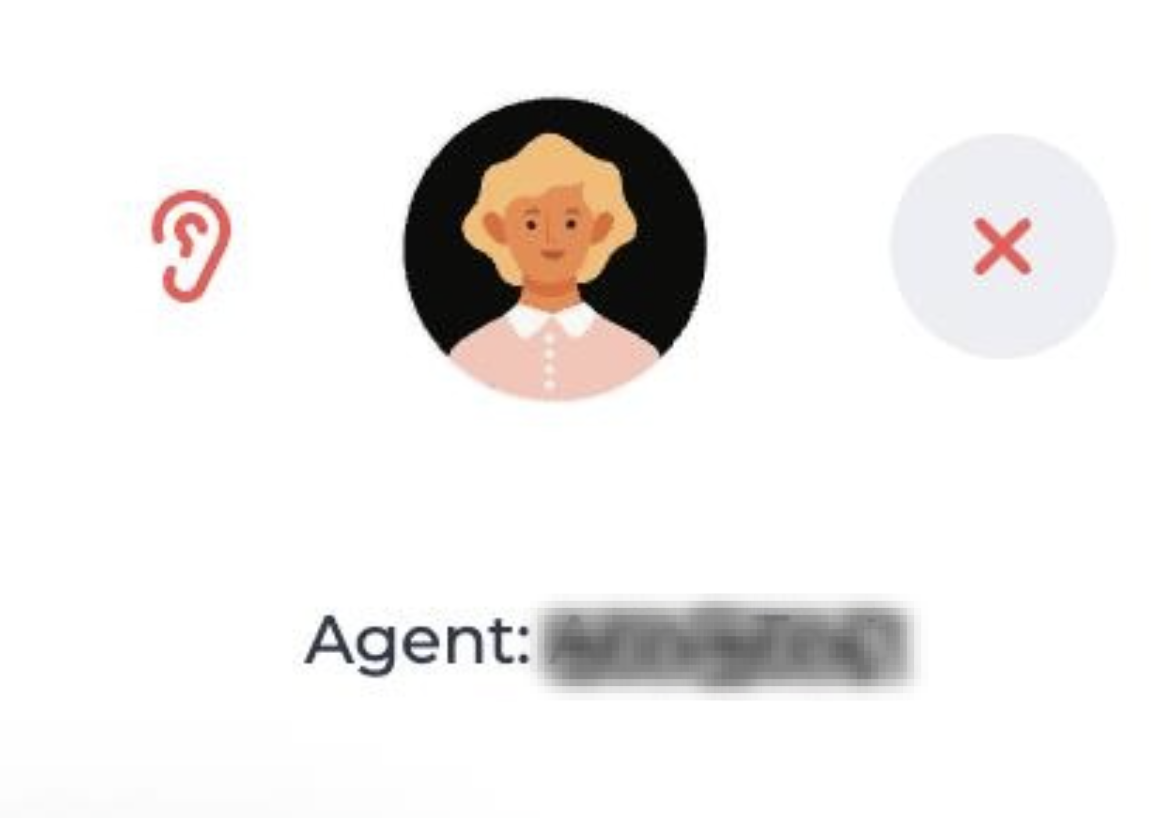
A minimized window will open, where the listening takes place (Fig. 11).
-
When hovering over the window, it expands (Fig. 12).
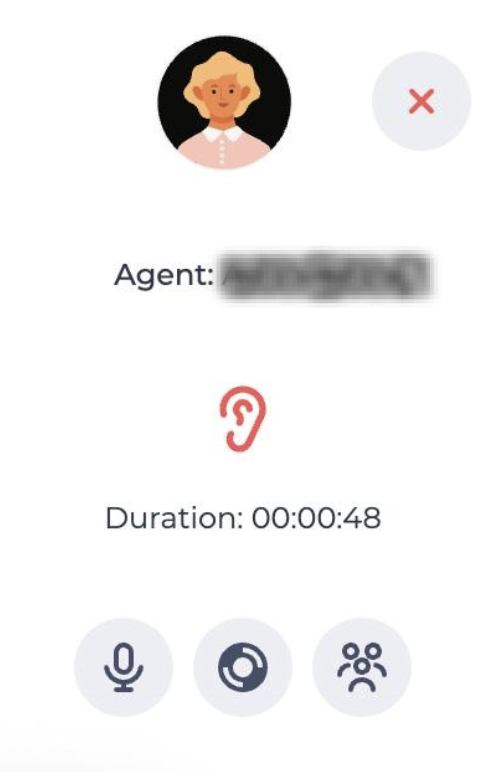
In the expanded window, you can view more detailed information, namely:
-
the Agent’s name;
-
the amount of time spent in active call listening mode.
Clicking the icon 
2.5. Whisper and Conference Modes
After connecting to a call in listening mode, you can change the level of participation by switching to whisper mode or conference mode. To do this, use the microphone icon in the listening window.
Switching modes:
-
In the listening window, click the microphone icon:
-

-

-
Next, select the required mode.
2.5.1. Whisper Mode
In this mode, only the Agent can hear your voice. The Subscriber cannot hear you.
-
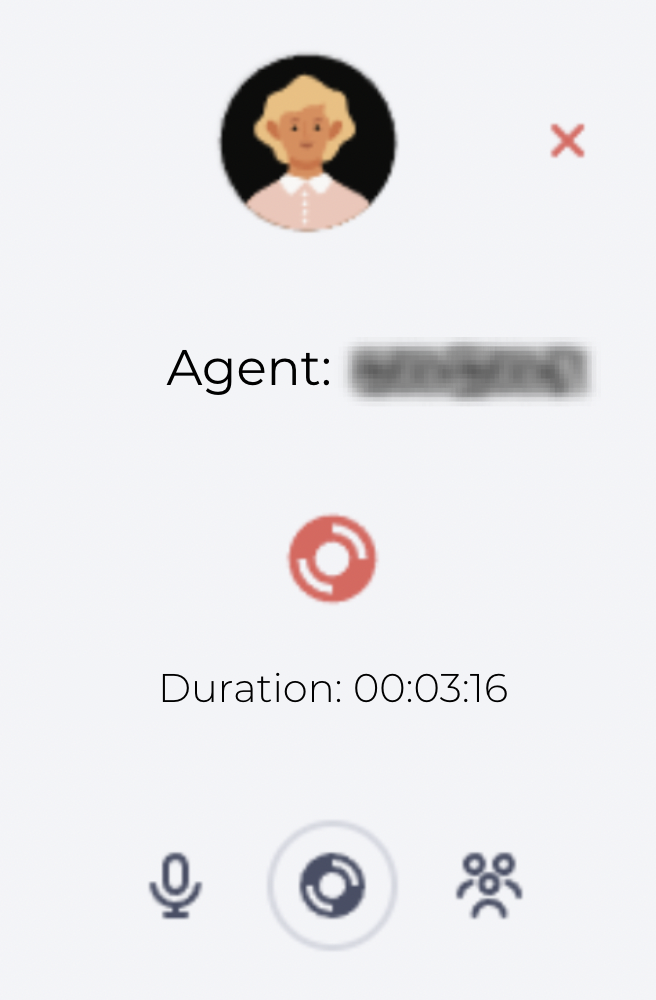
To enable — click the Whisper icon at the bottom of the window

-
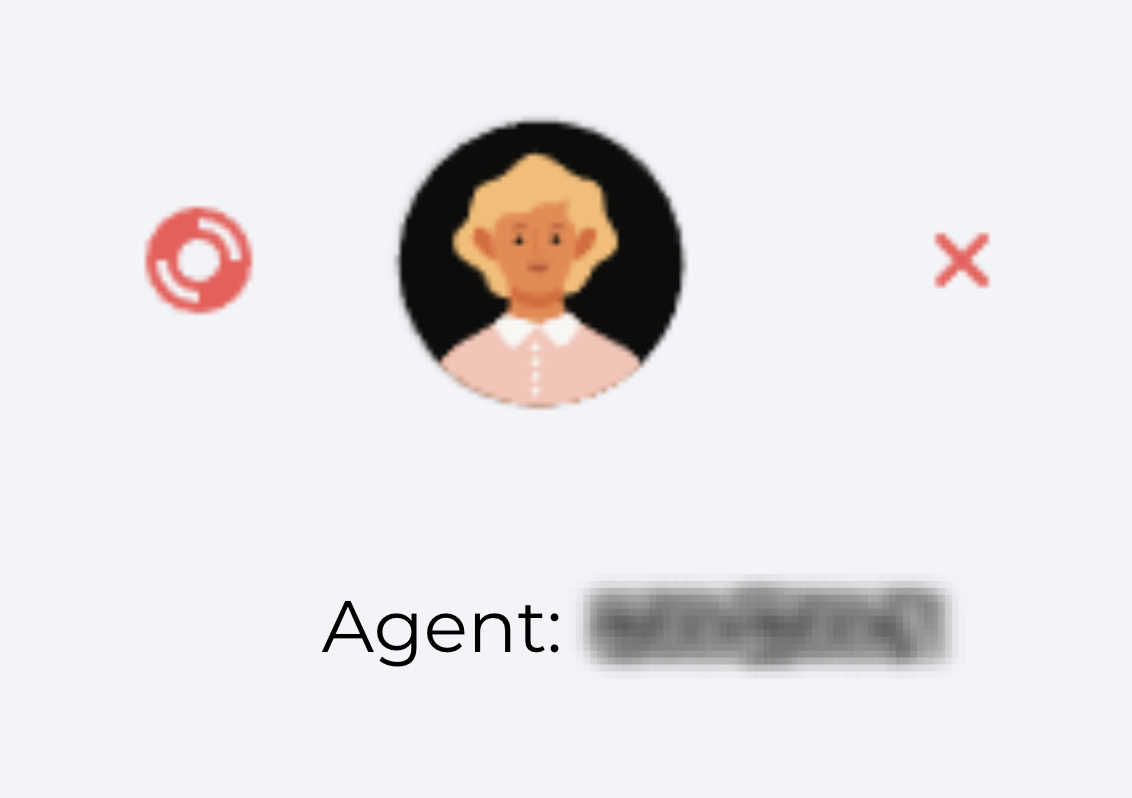
If you move the cursor away from the listening window, the minimized window in whisper mode will look as follows (Fig. 14):
2.5.2. Conference Mode
In this mode, both sides — the Agent and the Subscriber — can hear your voice.
-
To enable — click the Conference icon

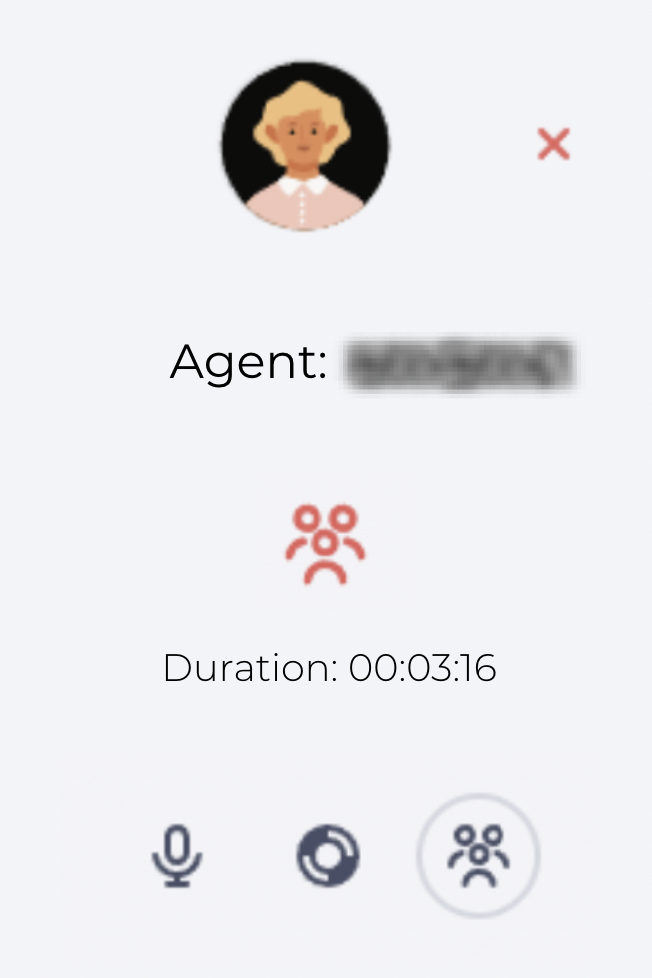
-
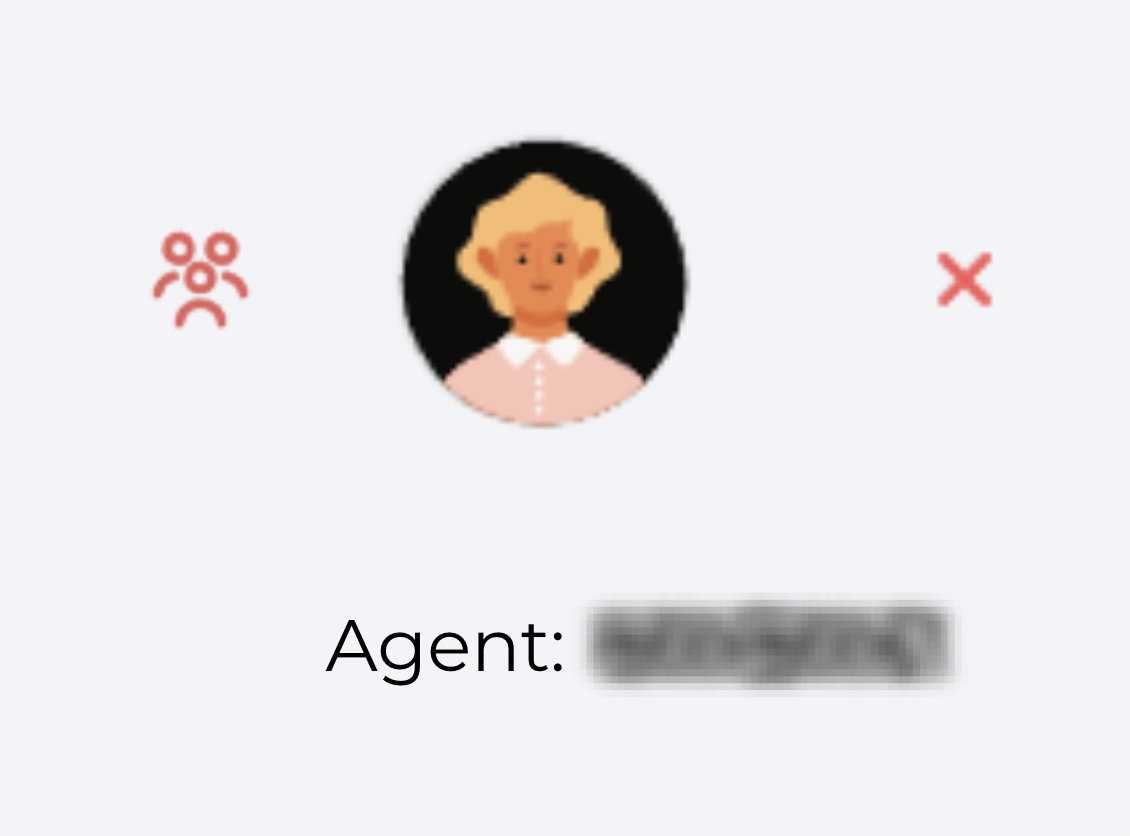
If you move the cursor away from the listening window, the minimized window in conference mode will look as follows (Fig. 16):
To exit any participation mode, click the microphone icon again — you will return to Listening mode.
2.6. Table pagination
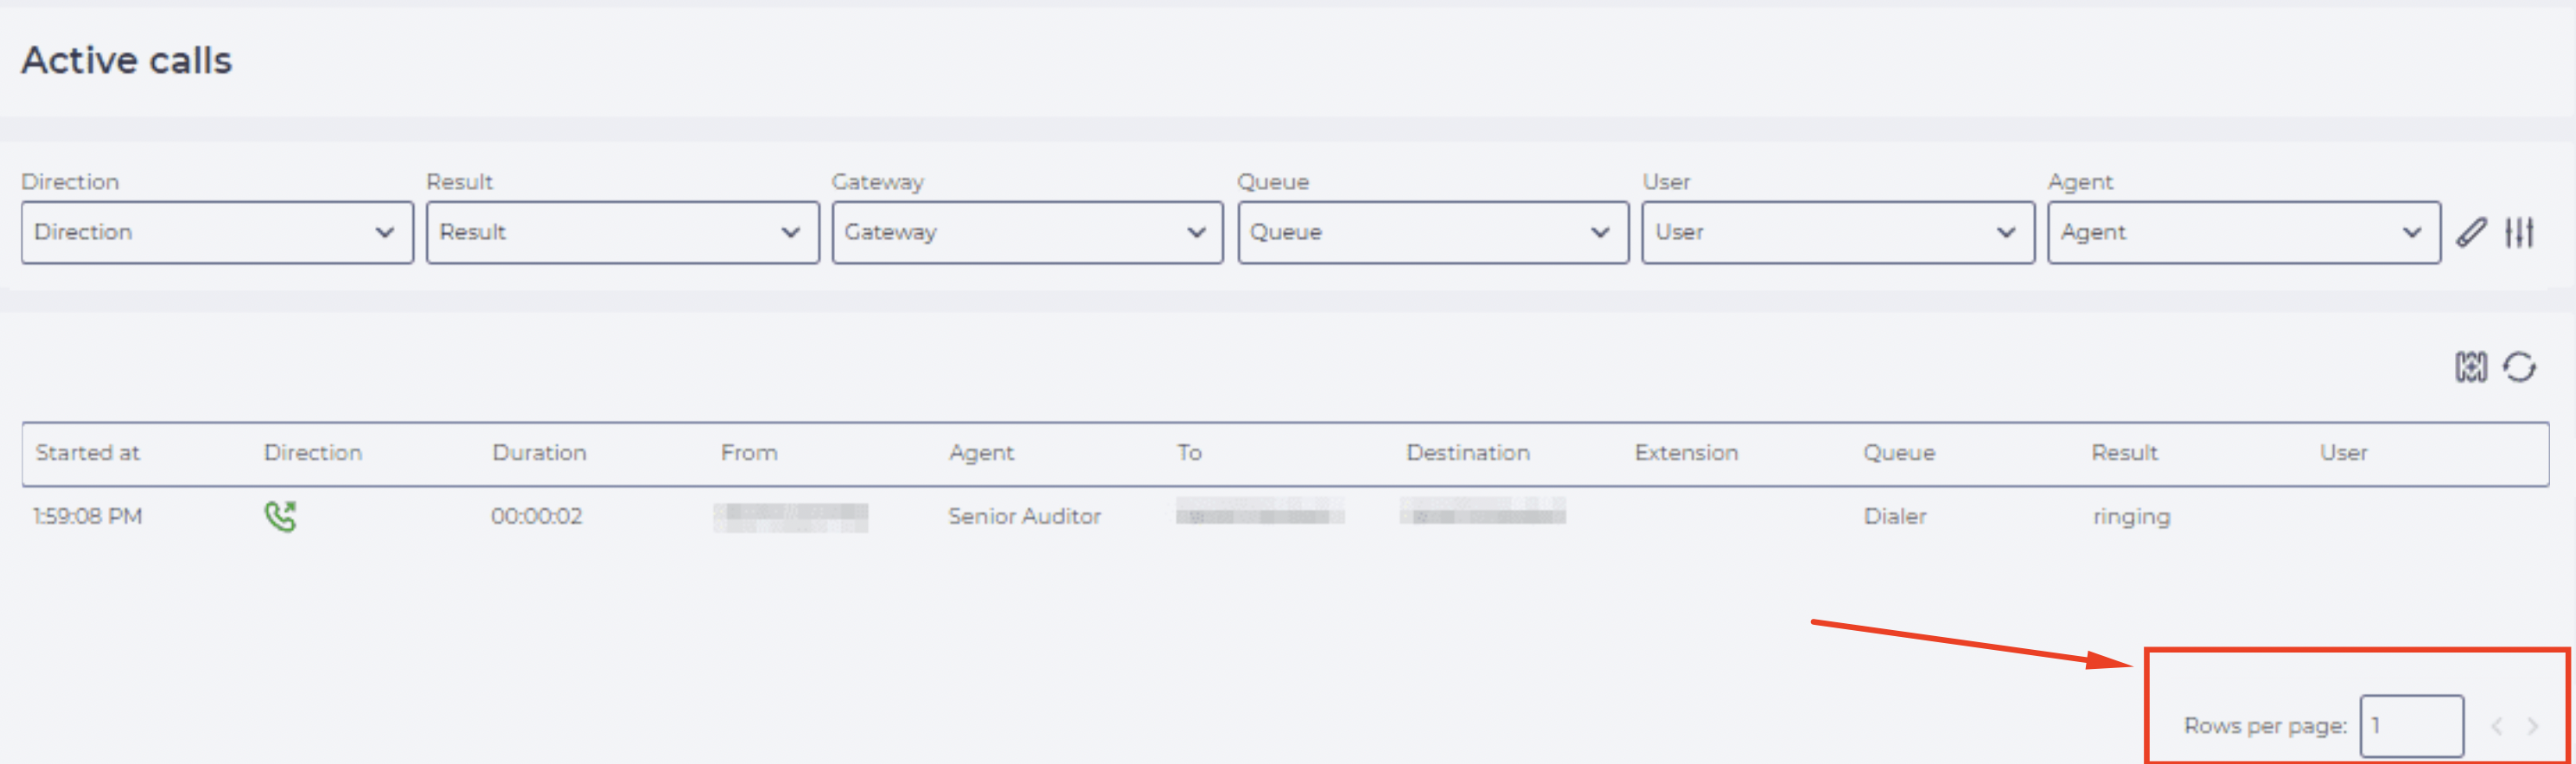
If there are many calls displayed in the table, use pagination at the bottom of the screen for convenient data browsing (Fig. 17).
To do this:
-
click the “


-
in the Records per page field, enter the required number of records (for example, 10, 50, 100).
The table will update immediately and display calls within the selected range.
3. Useful links
-
Supervisor — main page of the application.
-
Active calls (Supervisor) — description of the active calls monitoring functionality.