
1. Description
Used to create multi-level classifications for cases.
This lookup is used to configure services (i.e., categories and subcategories) for cases. These services can be selected by an operator during manual case processing or assigned automatically by the system.
Lookups represent the first level.
A case is created with a catalog. Within the catalog, a service is selected, and the corresponding subservices (services) are automatically linked to it.
In the Service catalogs lookup, a link to a Team can be configured. In this case, operators of a specific team will see the services from that team’s catalog while processing a case.
The system can contain multiple Service catalogs lookups.
A lookup can have multiple levels of hierarchy. The main levels are the first three: catalog, service, subservice.
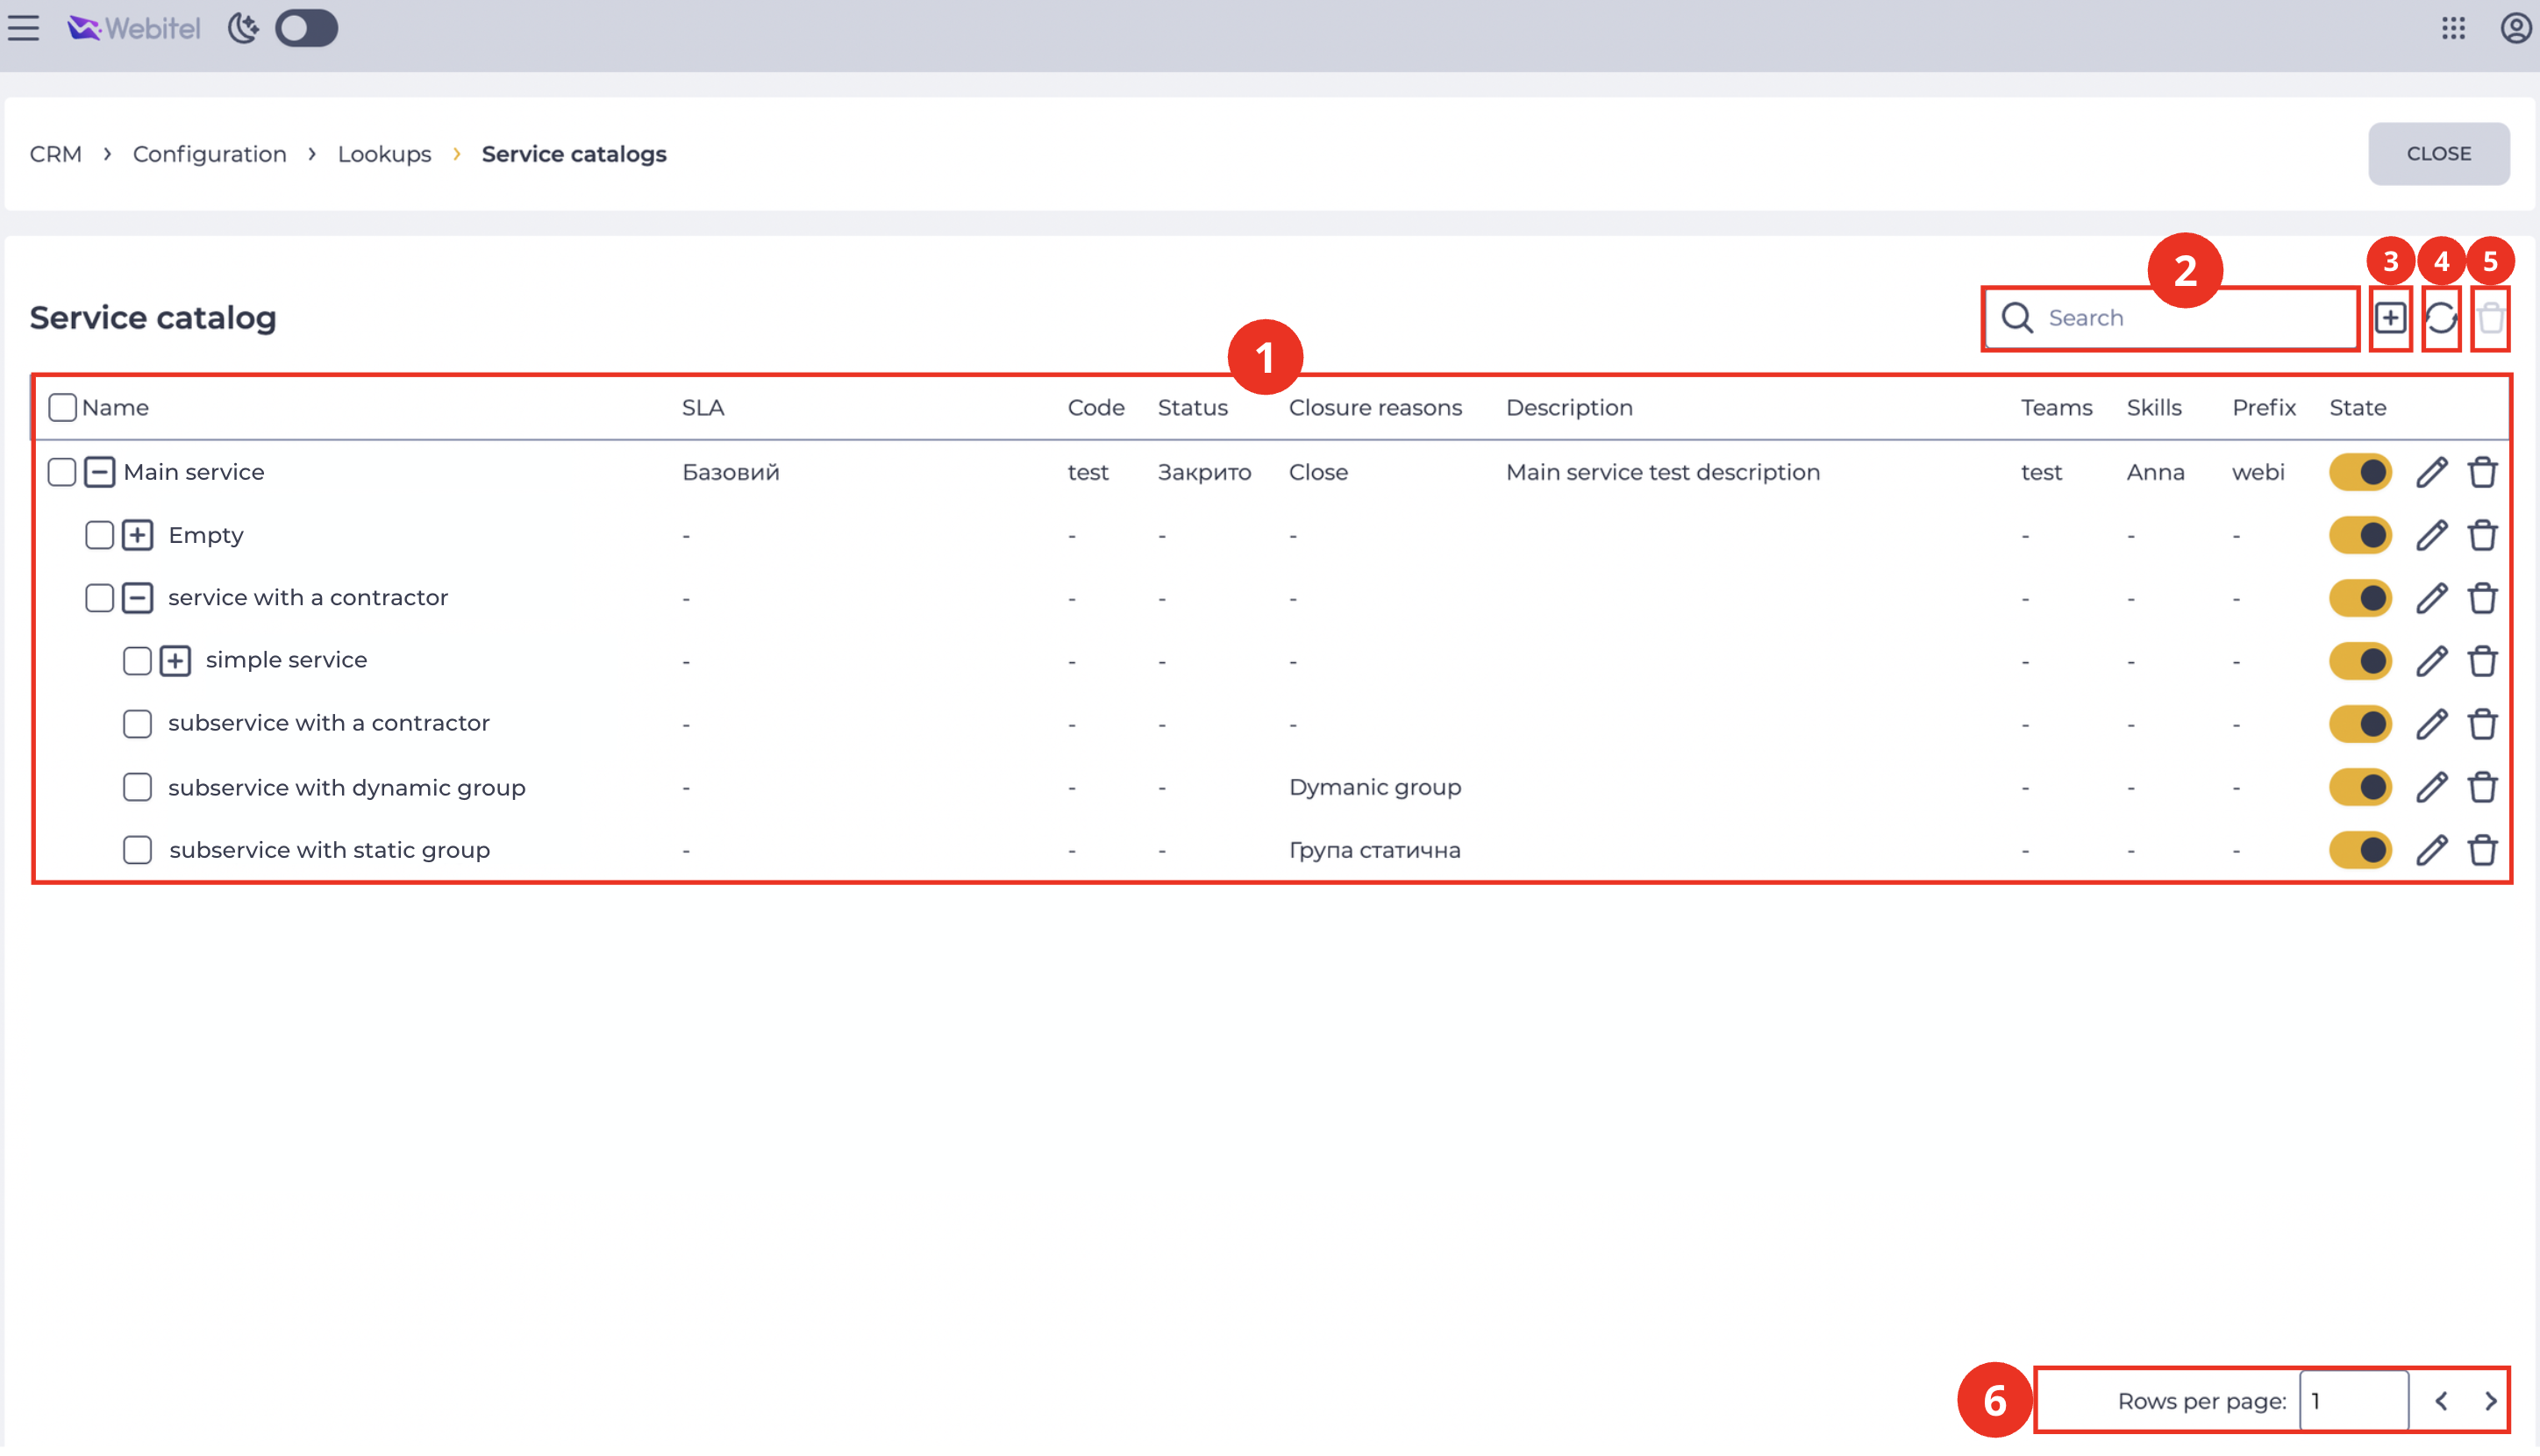
The page consists of the following elements:
-
Registry of records (Fig. 1.(1));
-
Search field (Fig. 1.(2));
-
Add tool (Fig. 1.(3));
-
Refresh button (Fig. 1.(4));
-
Delete tool (Fig. 1.(5));
-
Pagination (Fig. 1.(6)).
1.1. Records registry
The registry is a list of records of the existing objects in this section. Each record consists of the following fields:
-
Checkbox;
-
Name column;
-
SLA column;
-
Code column;
-
Status column;
-
Closure reasons column;
-
Description column;
-
Teams column;
-
Skills column;
-
Prefix column;
-
State column;
-
Editing tool;
-
Removal tool.
1.1.1. Checkbox
Used to select one or more entries. An additional removal tool appears next to the search field after selecting one or more entries. Information about the number of entries chosen for deletion appears when you hover over this tool. When you click on it, a modal confirmation window appears.
It contains the Yes, No, and close ( 
-
Clicking the Yes button deletes the entries.
-
Clicking the No button closes the modal window, and the entries are not deleted.
All records on the page will be selected if you select the checkbox in the header.
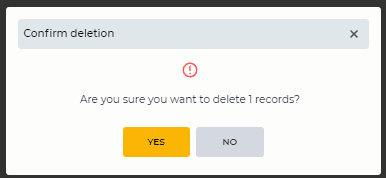
Fig. 2. Confirm deletion modal window
Icon – 

1.1.2. Name column
Displays the names of catalogs and services.
-
Clicking the catalog name opens the catalog page.
-
Clicking the service name opens the service page.
1.1.3. SLA column
Displays the lookup created on the SLA page. Depending on the case catalog (if the case is not classified at a lower level) and the selected SLA, the case resolution time and response time will be calculated.
1.1.4. Code column
Identifier of a specific lookup value. It can be used during integrations or configurations. Thus, changing the name will not require changes in the existing configurations.
1.1.5. Status column
Displays the lookup created on the Statuses page. Cases created using this catalog can have one of the statuses from the linked lookup.
1.1.6. Closure reasons column
Displays the lookup created on the Closure reasons page. Cases created using this catalog will be closed by selecting a reason from this linked lookup.
1.1.7. Description column
A field used to enter a description of the service catalog.
1.1.8. Teams column
Displays the lookup created on the Teams page.
1.1.9. Skills column
Displays the lookup created on the Agent skills page. If multiple skills are assigned, the name of one skill and the number of the remaining ones are displayed.
1.1.10. Prefix column
The case identifier created using this catalog is generated depending on the selected prefix.
1.1.11. State column
The switch defines whether the service catalog is active or inactive.
1.1.12. Editing tool
Opened by clicking the editing button ( 
1.1.13. Removal tool
Used to remove an object with confirmation through a modal window. When hovering over the delete button ( 
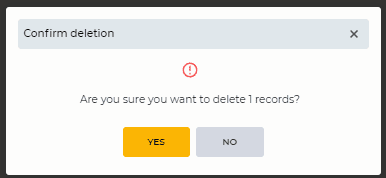
Fig. 3. Confirm deletion modal window
1.2. Search field
Search is performed by the Name column.
It consists of an input field and a close button ( 
1.3. Add tool
To add a new service catalog, click the Add button –
Access to the details of an existing object can be opened using the editing tool (see section 1.1.12).
1.4. Refresh button
Updating the register table is performed by clicking on the refresh button - 
1.5. Removal tool
The Delete button (Fig. 1.(5)) becomes active after selecting records using the checkbox. Clicking the button opens a confirmation modal window (Fig. 2).
1.6. Pagination
It consists of the Rows per page field, which indicates the number of entries (it is possible to set from 1 to 1000) per page, and forward and backward buttons for switching pages.
2. Opportunities
2.1. Create a new record
|
Goal |
Create a new record |
|---|---|
|
Preconditions |
|
|
Scenario:
|
|
|
Result |
The data is saved. |

2.2. Delete a record
|
Goal |
Delete a record |
|---|---|
|
Preconditions |
|
|
Scenario:
|
|
|
Result |
The modal window closes. The record is deleted. |

2.3. Delete multiple records
|
Goal |
Delete multiple records |
|---|---|
|
Preconditions |
|
|
Scenario:
|
|
|
Result |
The modal window closes. The records are deleted. |
2.4. Edit parameters
|
Goal |
Modify parameters |
|---|---|
|
Preconditions |
|
|
Scenario:
|
|
|
Result |
The data is saved. |