
1. Navigation
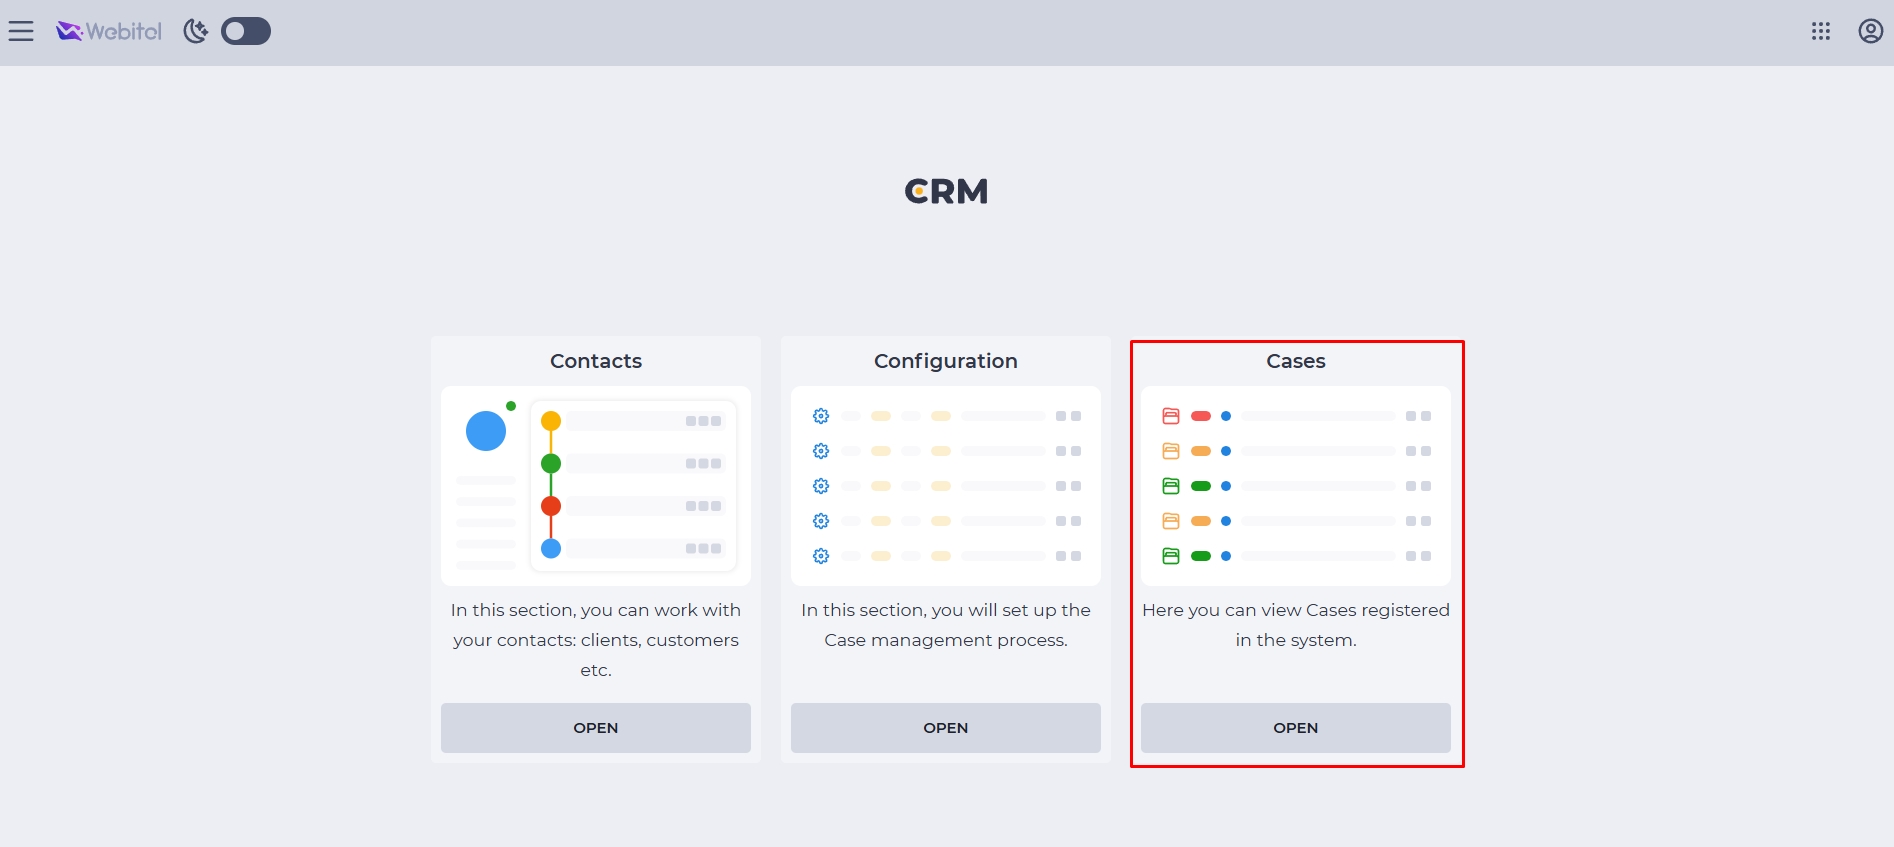
To start working with Cases, navigate to CRM → Cases.
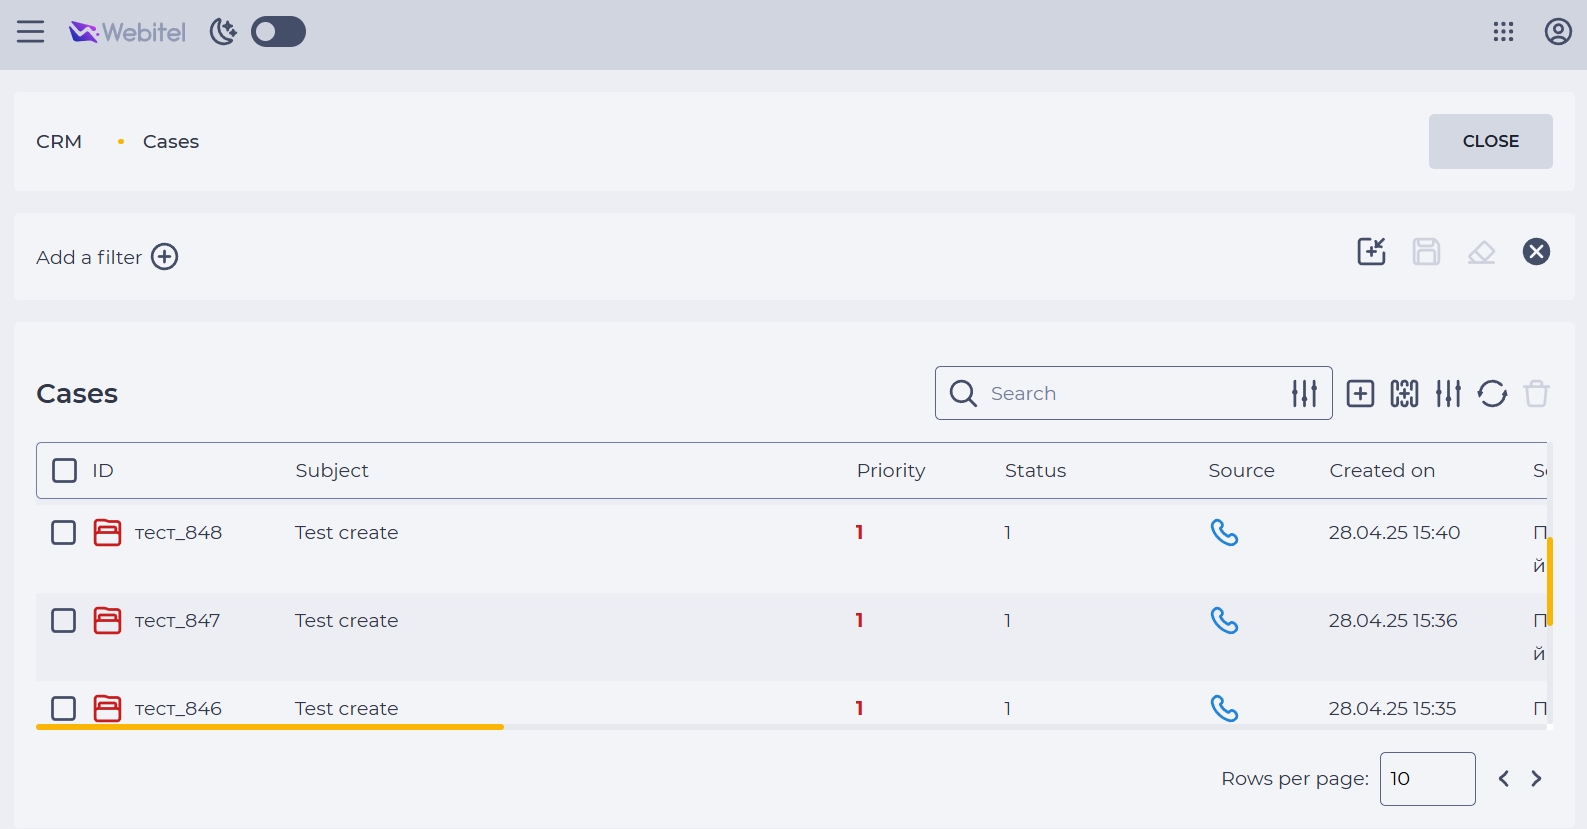
On the Cases page (Fig. 2), the following tools are available:
-
Filter block;
-
Preset apply tool;
-
Preset save tool;
-
Reset filters tool;
-
Close filters panel button;
-
Search panel;
-
Add tool;
-
Columns selection tool;
-
Filters tool;
-
Registry refresh tool;
-
Delete tool;
-
Records registry;
-
Pagination.
2. Creating a New Case
To create a new Case:
-
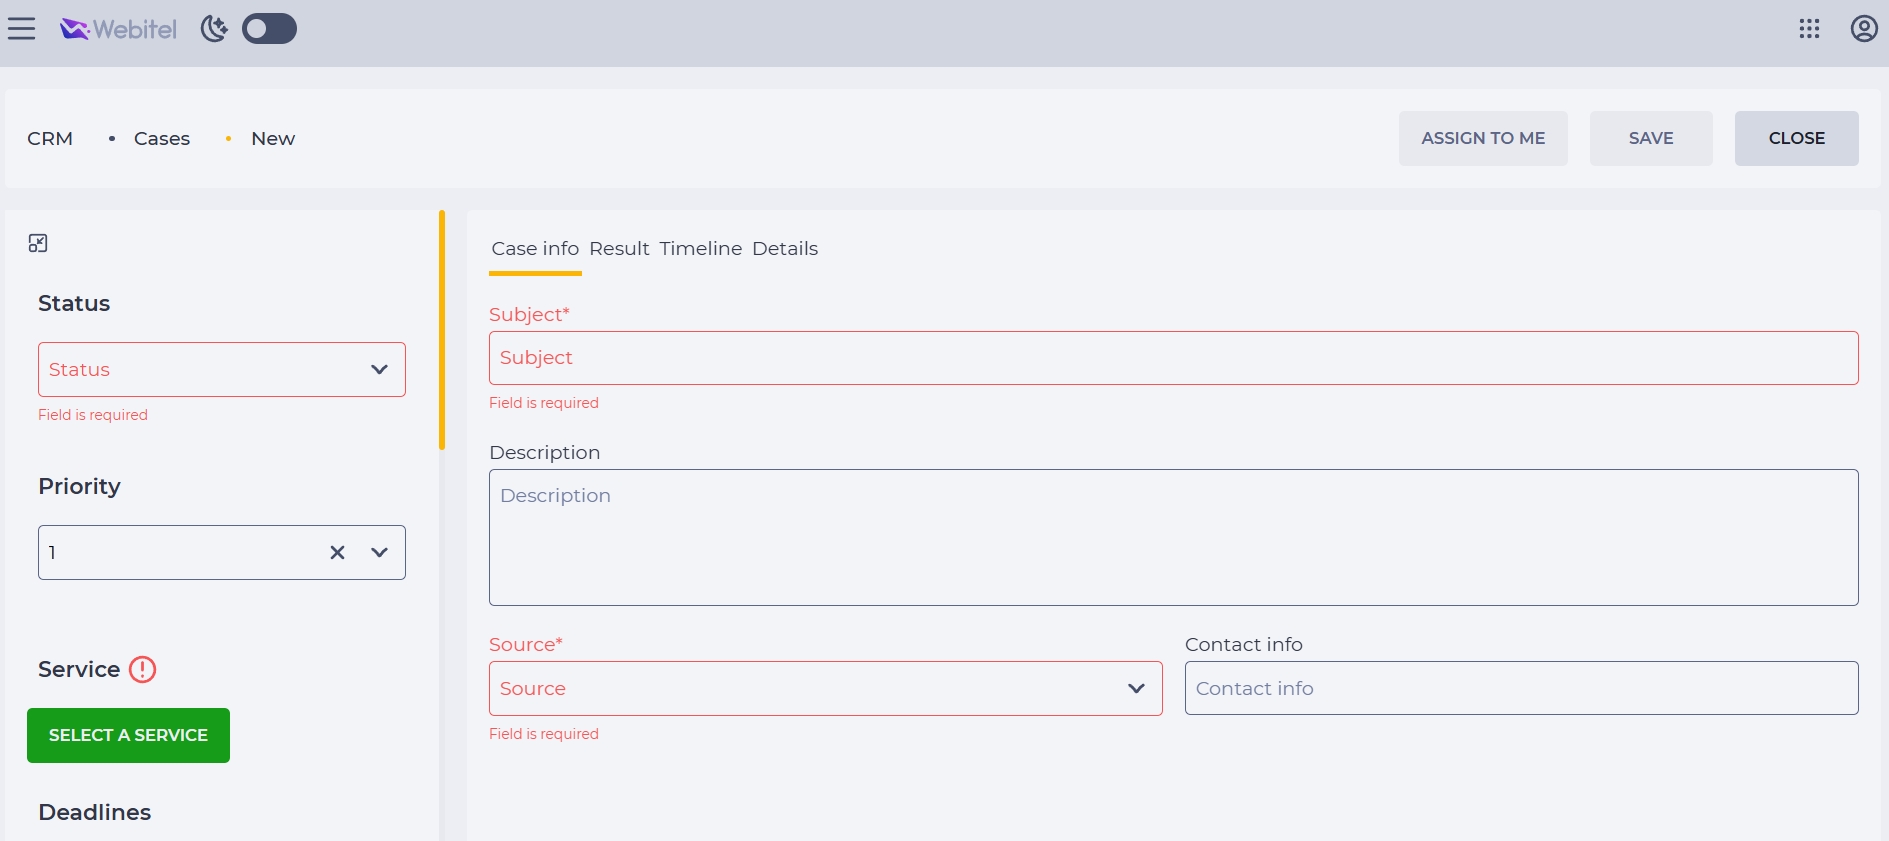
Click the Add button

-
The Case creation page will open (Fig. 3).
-
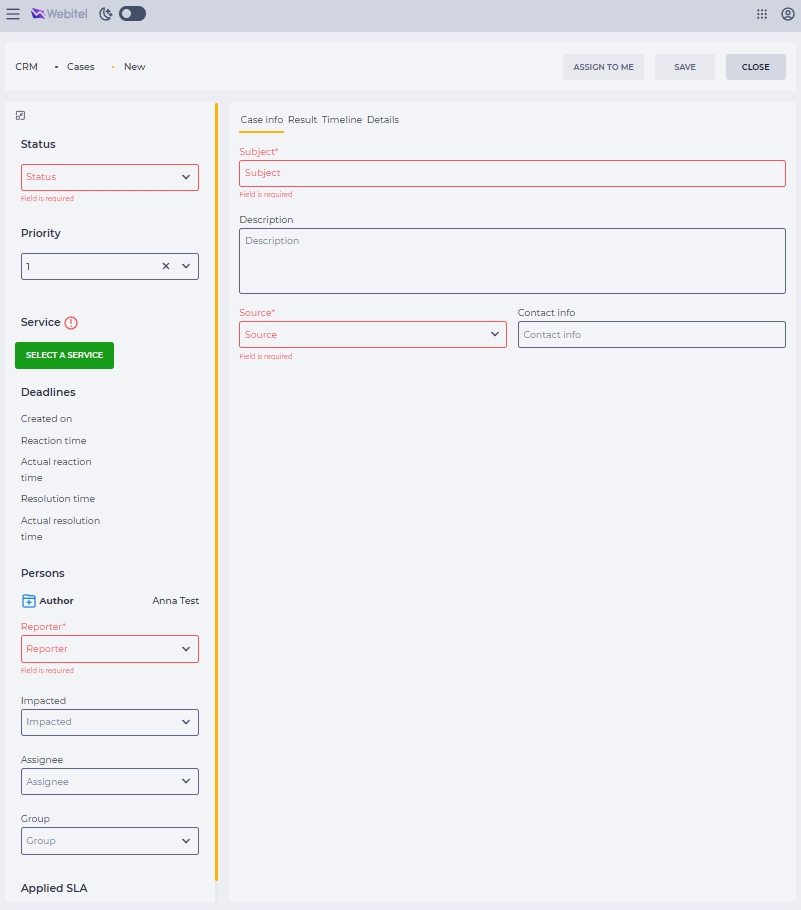
Fill in the fields on the Information tab (Fig. 4):
-
Subject — required, editable.
-
Description — optional, editable.
-
Source — required, editable.
-
Contact info — optional, editable. Filled in manually by the user, as it may differ from the main source.
-
-
Go to the right-side panel where other fields are filled or populated:
-
Status — set automatically (initial) when creating.
-
Priority — set manually or automatically, taken from the "Priorities" directory.
-
Service — selected manually from the lowest level of the "Service Catalogs" (Catalog → Service → Subservice).
-
Deadlines — deadlines related to the Case are calculated by the system:
-
Response time — calculated automatically based on creation time, SLA, and Calendar.
-
Actual response time — recorded when the status changes.
-
Resolution time — recorded when the final status is set.
-
-
Author — the user who creates the Case, or the system user (if created automatically).
-
Reporter — Webitel contact.
-
Impacted — optional. A contact to be informed can be specified.
-
Assignee — assigned automatically if defined in the Service settings.
-
Group — set automatically from the "Contact groups" directory linked to the Service.
-
Applied SLA — selected automatically according to the Service.
-
Click the Save button at the top panel to save the Case.
3. Editing a Case
To edit an existing Case, follow these steps:
-
In the Case registry, find the record you want to modify.
-
Click the pencil icon

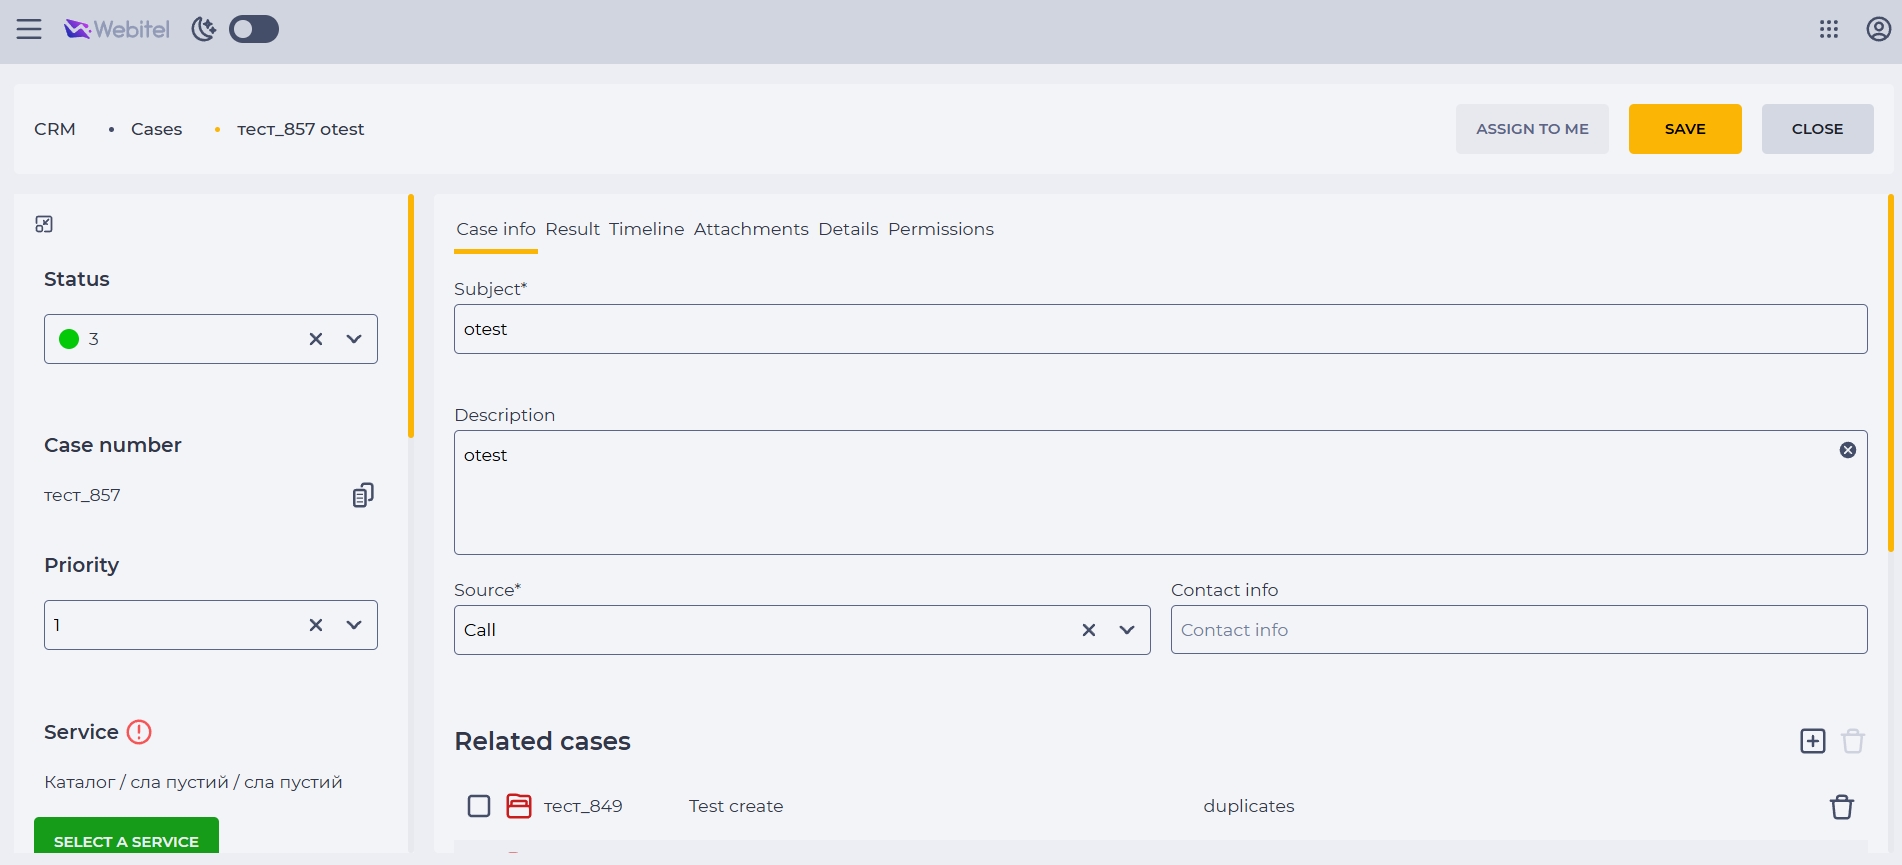
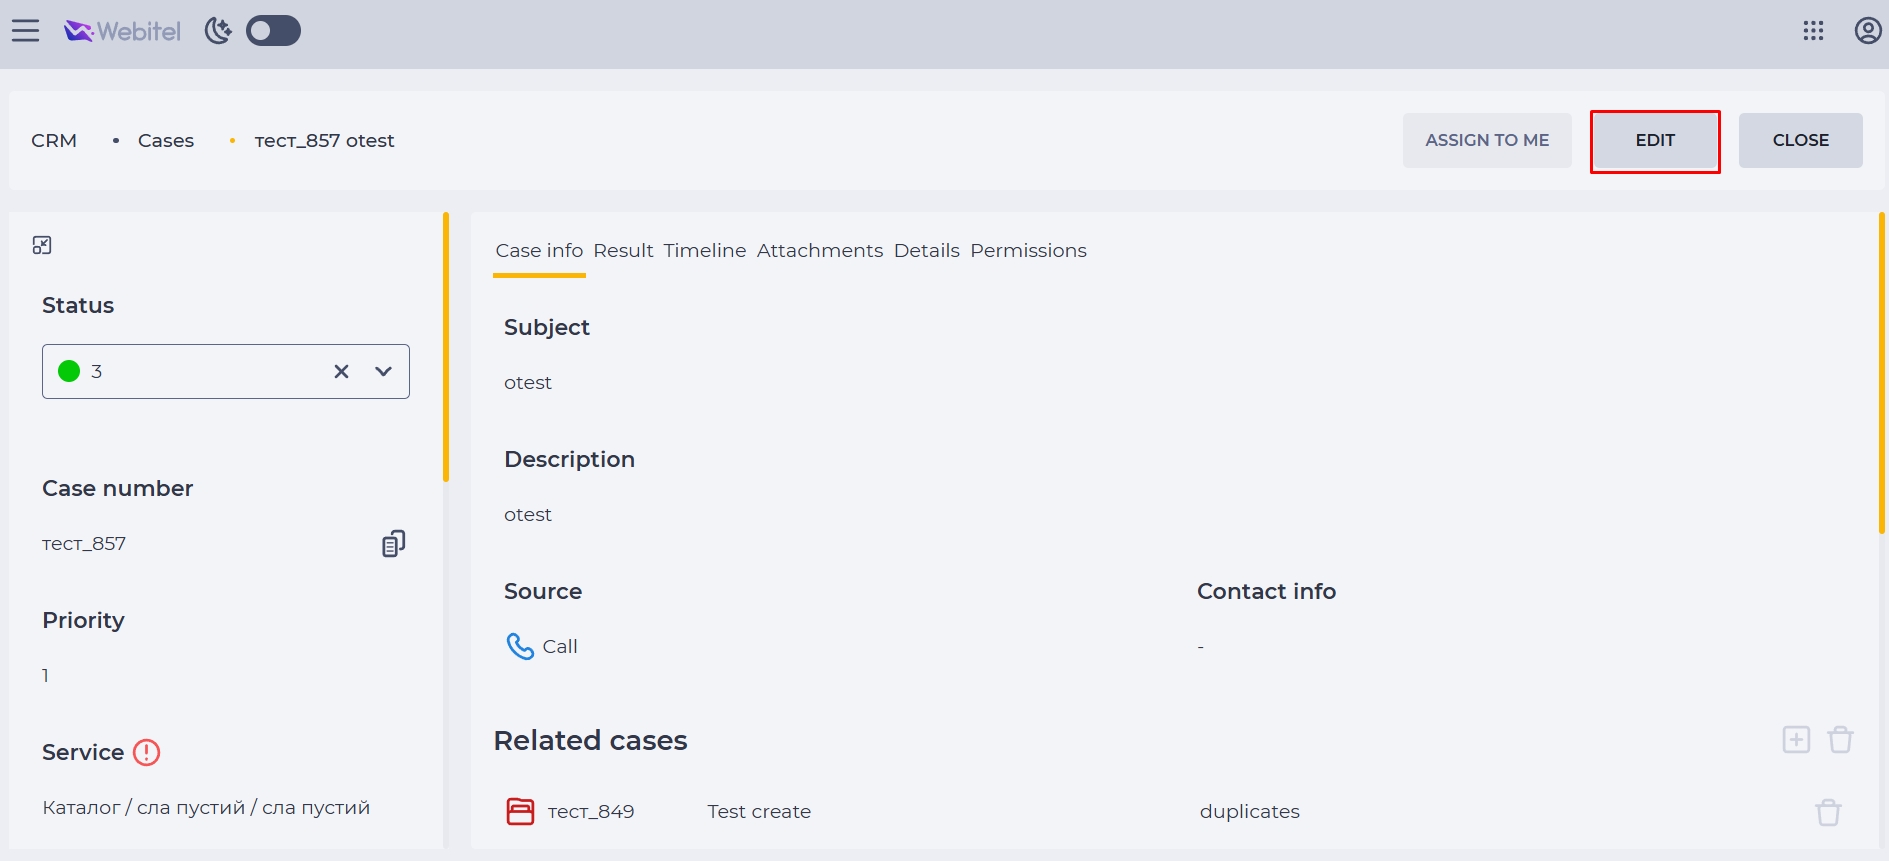
You can also open the Case page directly from the general registry by clicking on the record itself. On the Case page, click the Edit button (Fig. 6) in the top panel — the page will switch to editing mode (Fig. 5).
-
After making changes, click the Save button in the top panel.
3.1. What Can Be Edited
The availability of editing certain fields or tabs depends on the user's role and assigned permissions. If the user does not have the necessary permissions, some fields will be unavailable for editing.
-
Status — can be changed only after creation (once the Case has received an ID). The status is selected from the Statuses reference directory linked to the selected Service.
-
Fields on the "Information" tab:
-
Subject;
-
Description;
-
Source;
-
Contact info;
-
Related cases;
-
Comments.
-
-
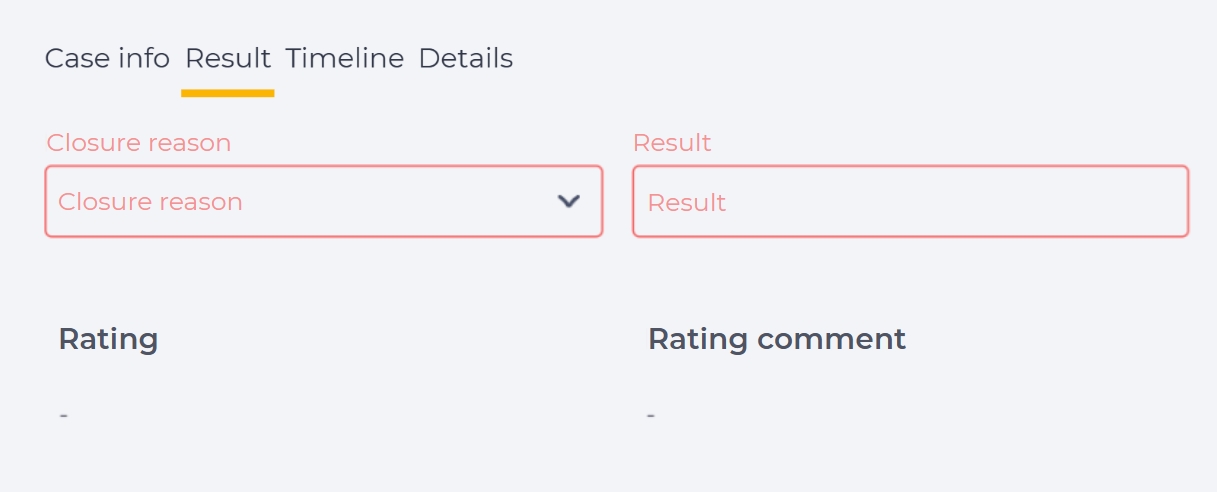
The "Result" tab (Fig. 7) — available for editing only when the Case is in the final status. The user can specify:
-
Closure reason (from the Closure reasons reference directory);
-
Text description of the result.
-
The fields Rating and Rating comment are not editable — users cannot change them manually. These fields are automatically populated by the system if the client provided feedback through a configured process (after a call or chat). If the client did not leave a rating or comment, only the headers will be displayed without values.
-
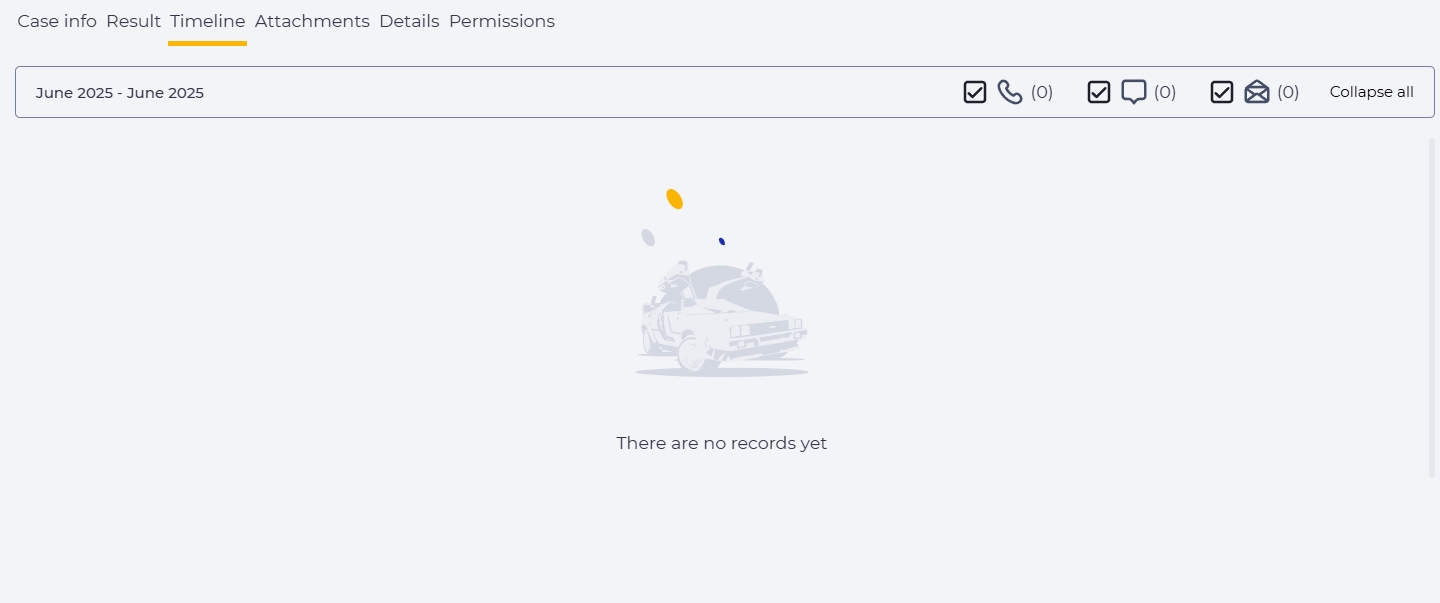
The "Timeline" tab (Fig. 8) — available for viewing only. It contains a history of interactions (calls, chats, tasks) related to this Case.
-
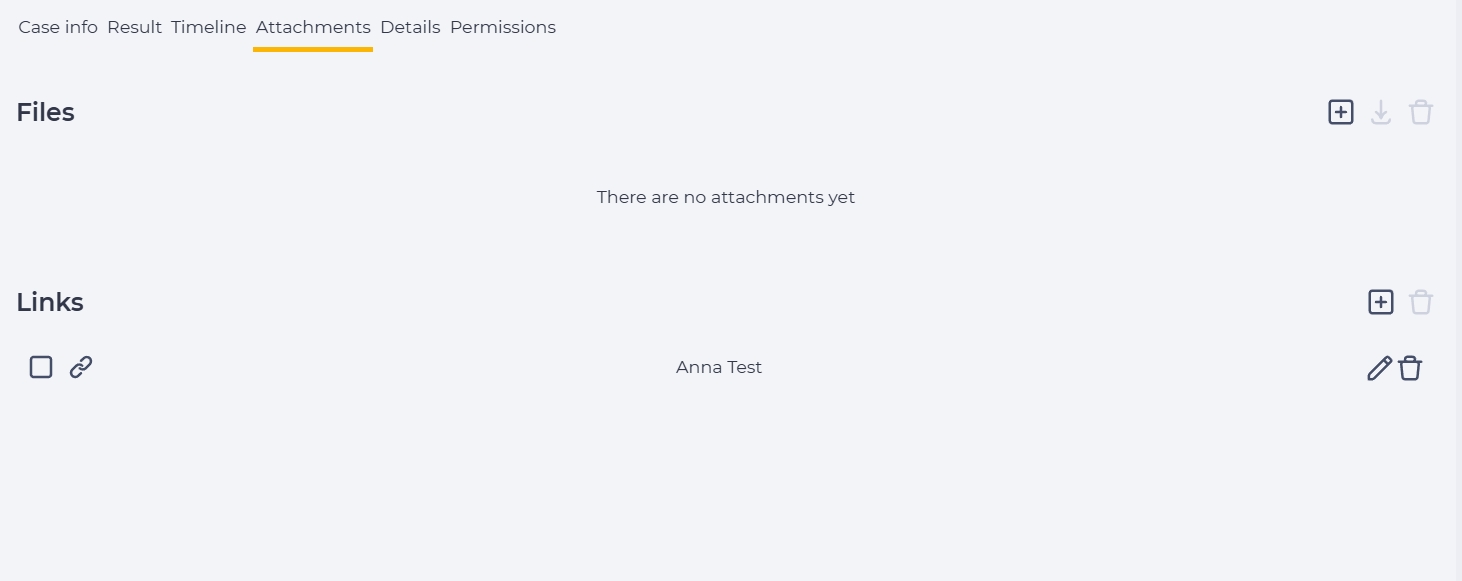
The "Attachments" tab (Fig. 9) — files and links uploaded for the Case can be added or removed.
-
The "Permissions" tab (if available) — shows only the roles and users that are accessible to the current user according to their permissions.
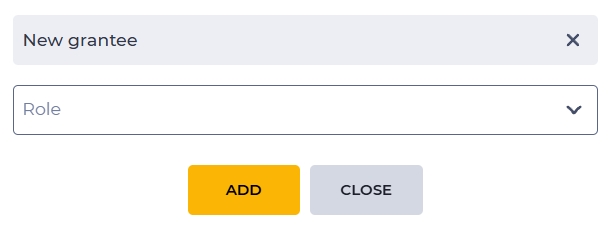
To grant access to other users or roles, click the Add role button. After clicking, the "New grantee" modal window opens (Fig. 10).
In the Role field, a list of all roles and users in the system is displayed, to whom access to the Case can be granted.
Clicking Add assigns a new role; clicking Close or the icon 
4. Deleting a Single Record
To delete a single Case:
-
Find the required entry in the registry.
-
Click the Delete icon

-
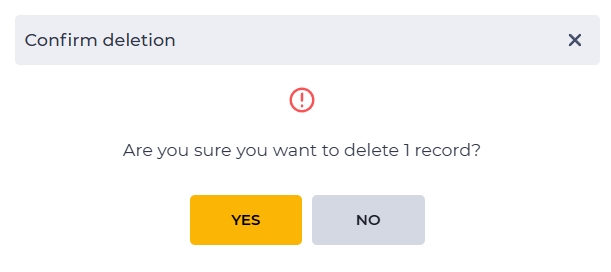
In the confirmation modal window (Fig. 11), click the Yes button.
-
The Case will be deleted.
5. Deleting Multiple Records
To delete multiple Cases:
-
Select the required entries in the registry using the checkboxes

-
At the top of the page, click the Delete button

-
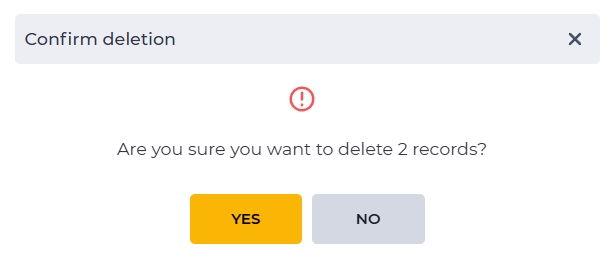
In the confirmation modal window (Fig. 12), click the Yes button.
-
The selected Cases will be deleted.