
1. Description
The post processing form for an outgoing call is intended for the operator to record the results of a manual outgoing call.
1.1. How it works
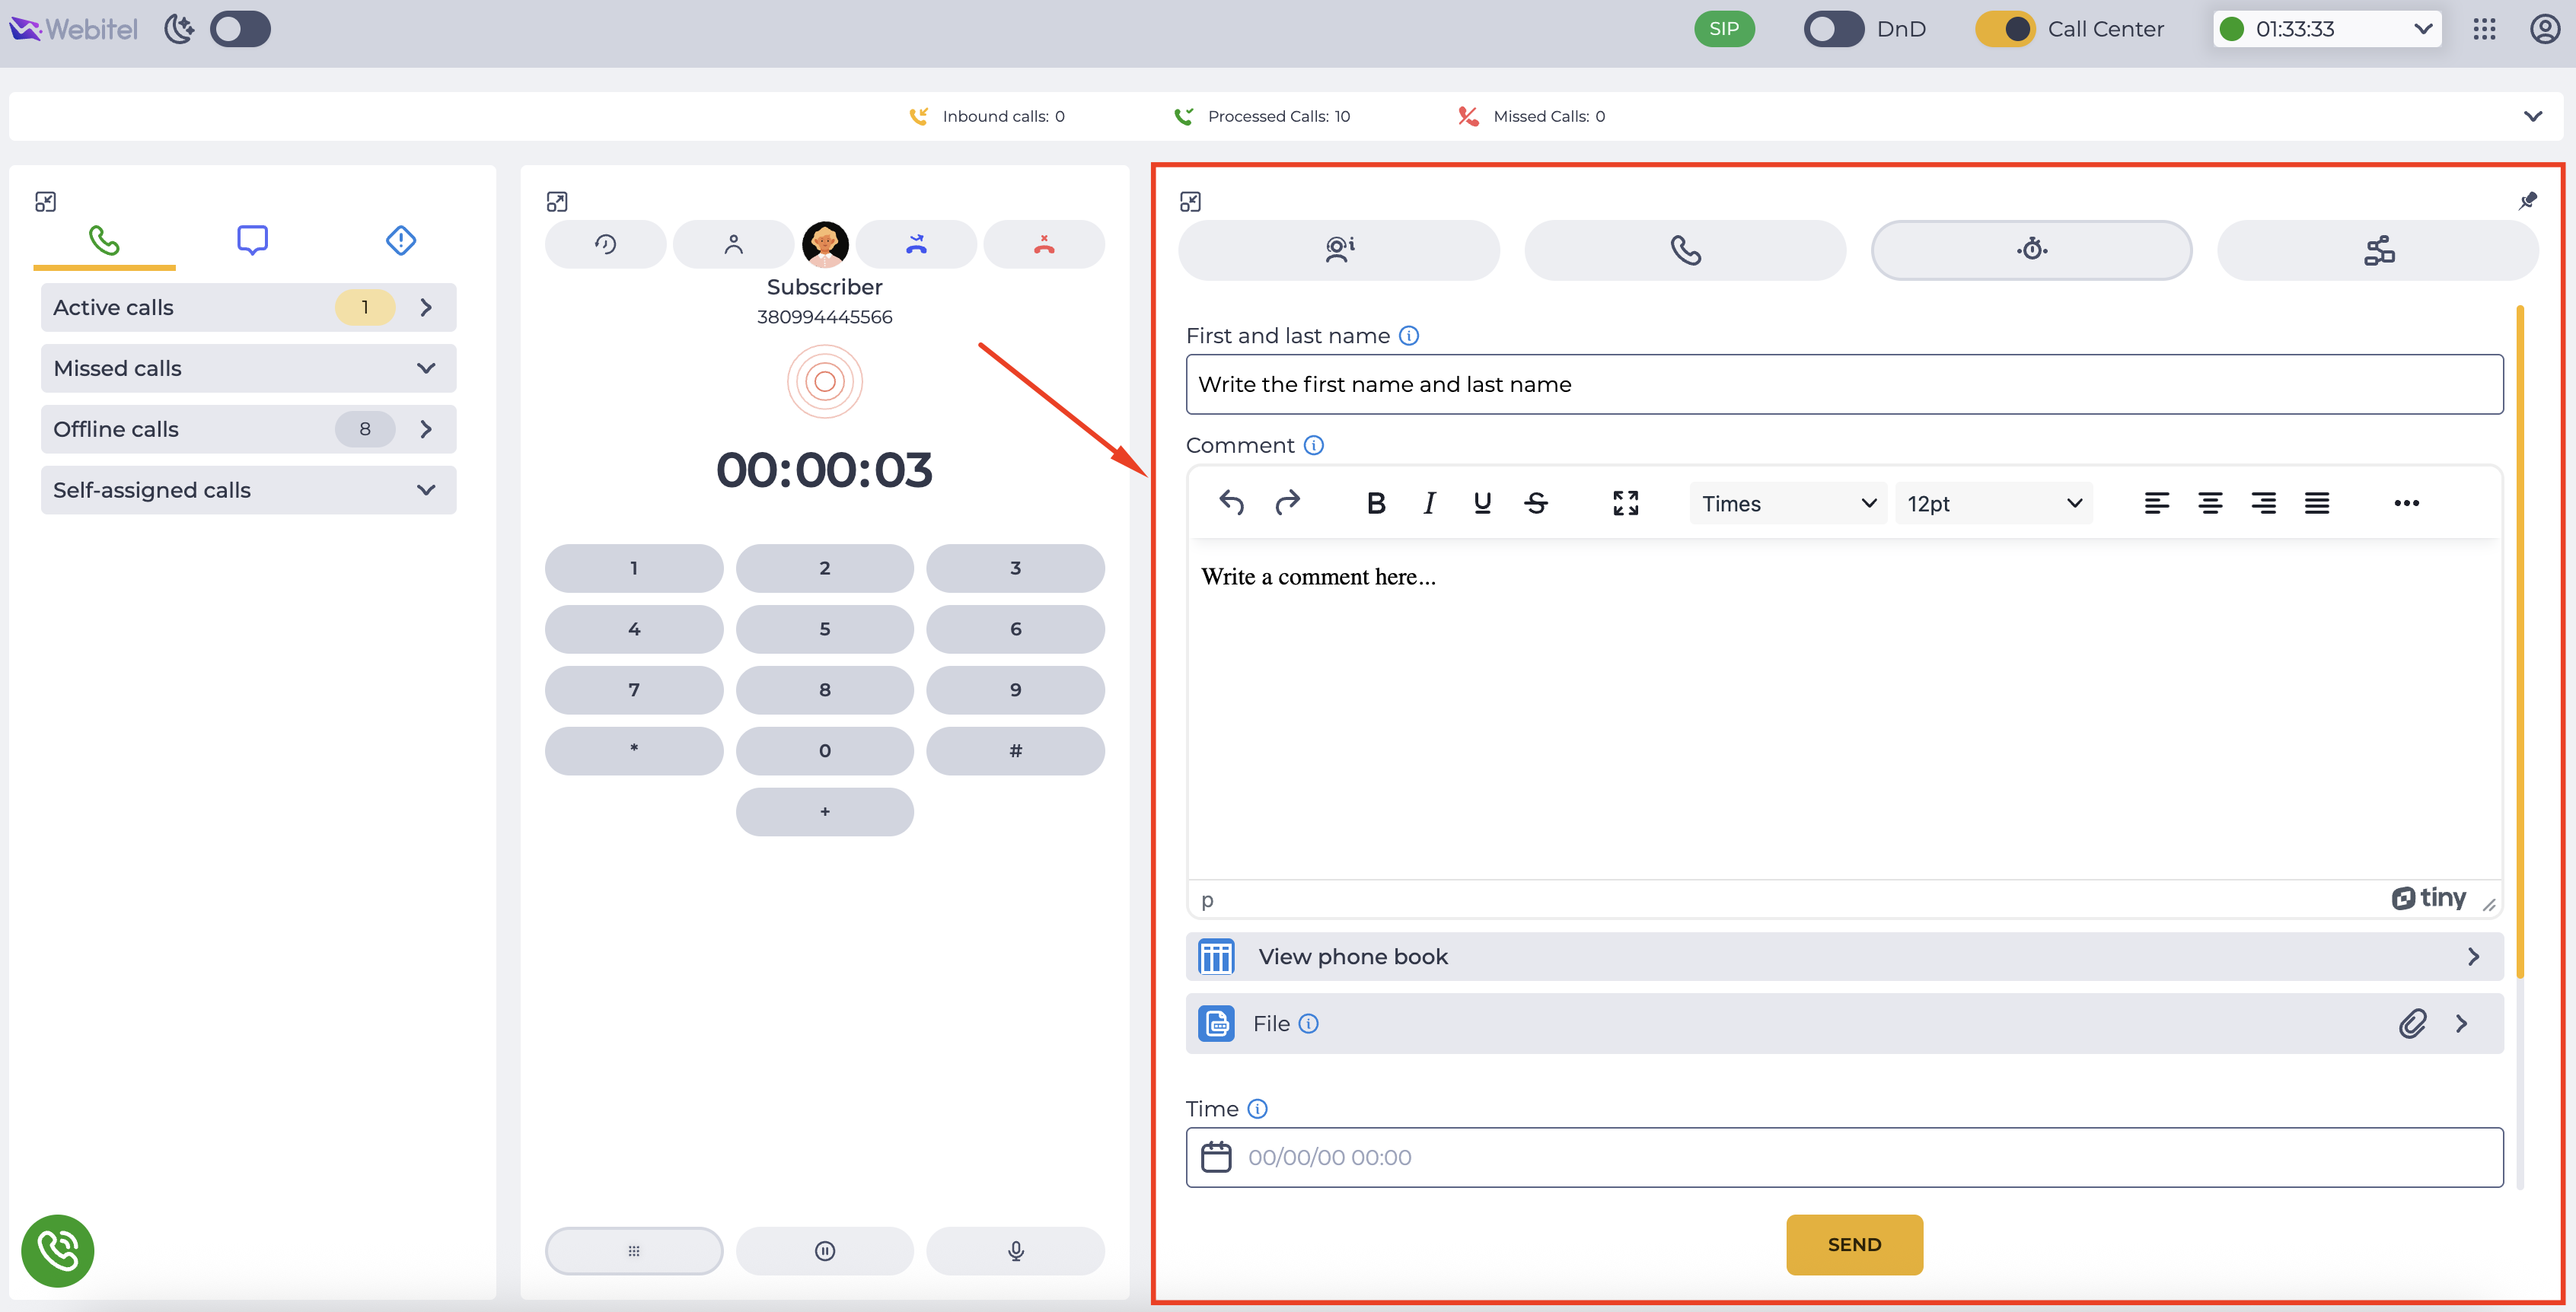
During an active outgoing call, the post processing form opens automatically.
In this form, the operator can:
-
record the result of the call (for example, "the client agreed to a meeting");
-
create a new Case in the system (if the "Cases" application is available);
-
perform other actions defined by the administrator in the settings.
The form looks the same as the regular post processing form for incoming queue calls.
When the form is open during an outgoing call, no other incoming calls are distributed to the operator until post processing is completed.
2. Setup
2.1. Creating and configuring a Flow schema
A Flow schema for an outgoing call with a post processing form can be created in two ways: through code or through a diagram.
2.1.1. Creating through code
-
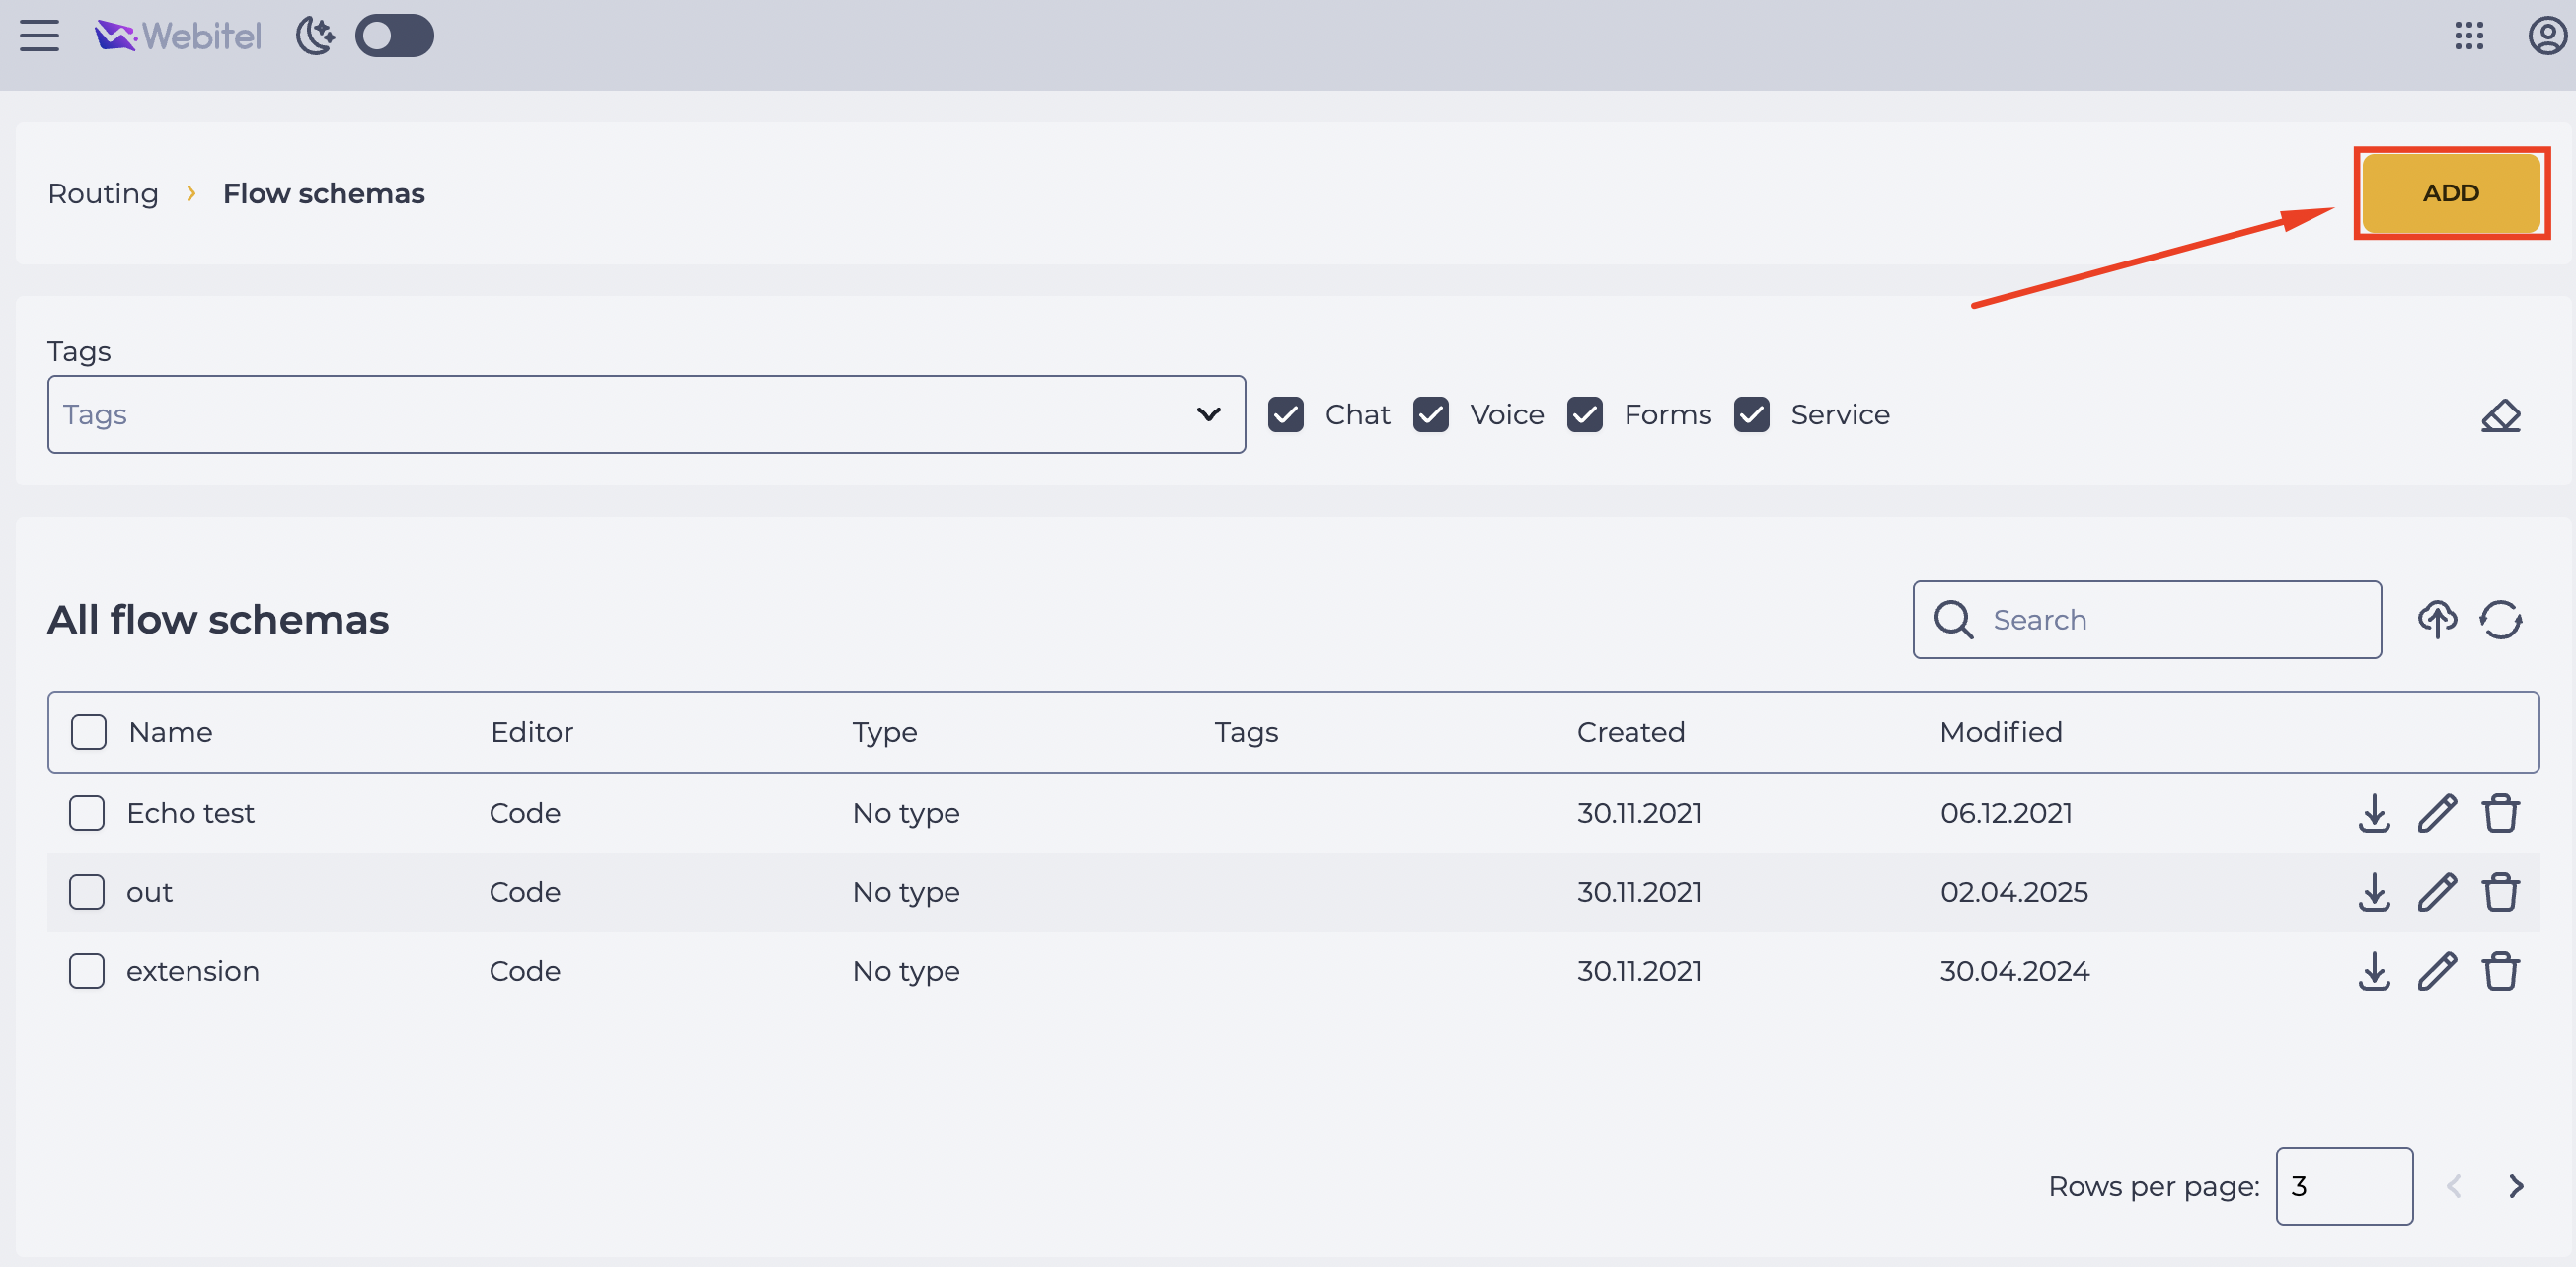
In the section Admin → Routing → Flow schemas, click the Add button (Fig. 1).
-
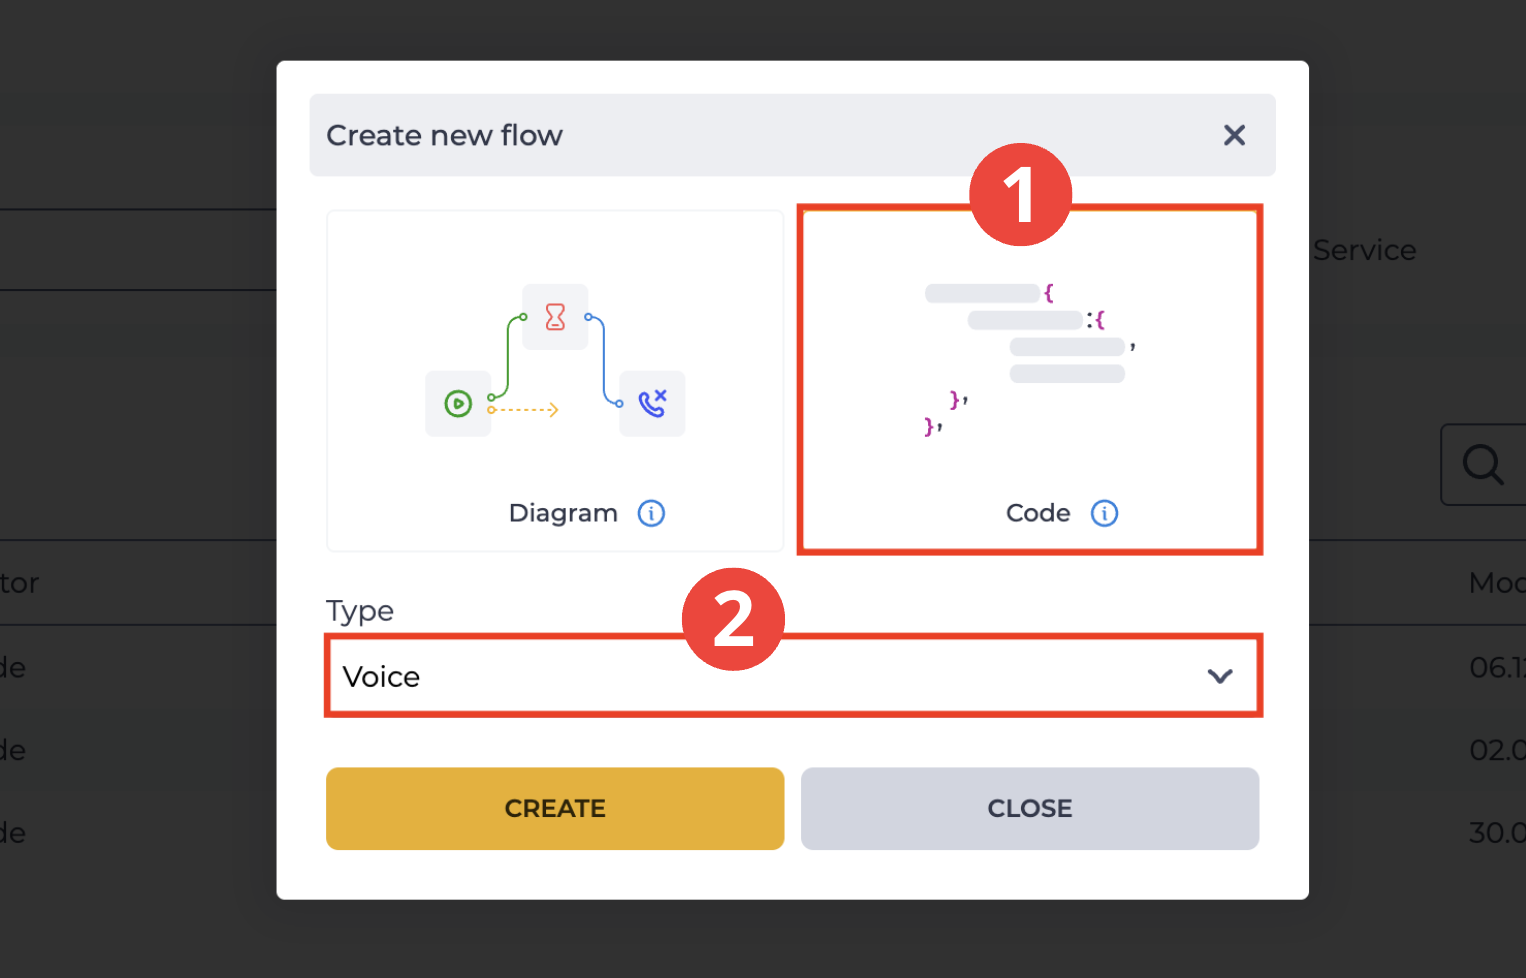
In the modal window, select "Code" (Fig. 2.(1)) and type "Voice" (Fig. 2.(2)).
-
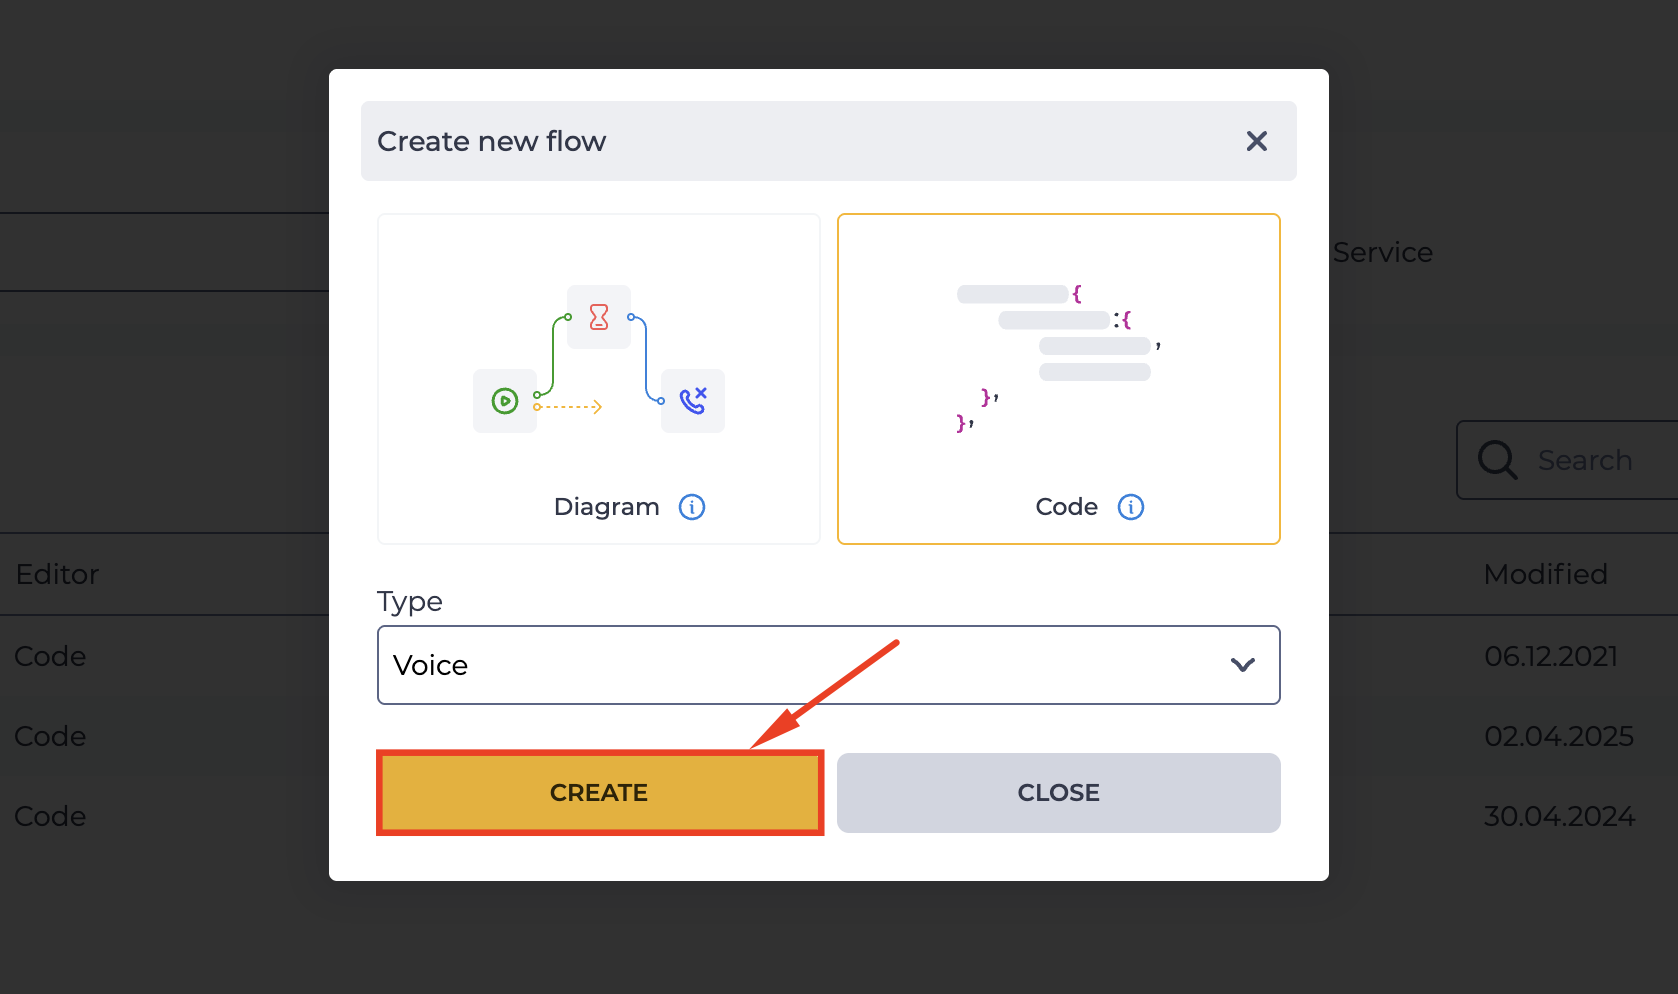
Click the Create button (Fig. 3).
-
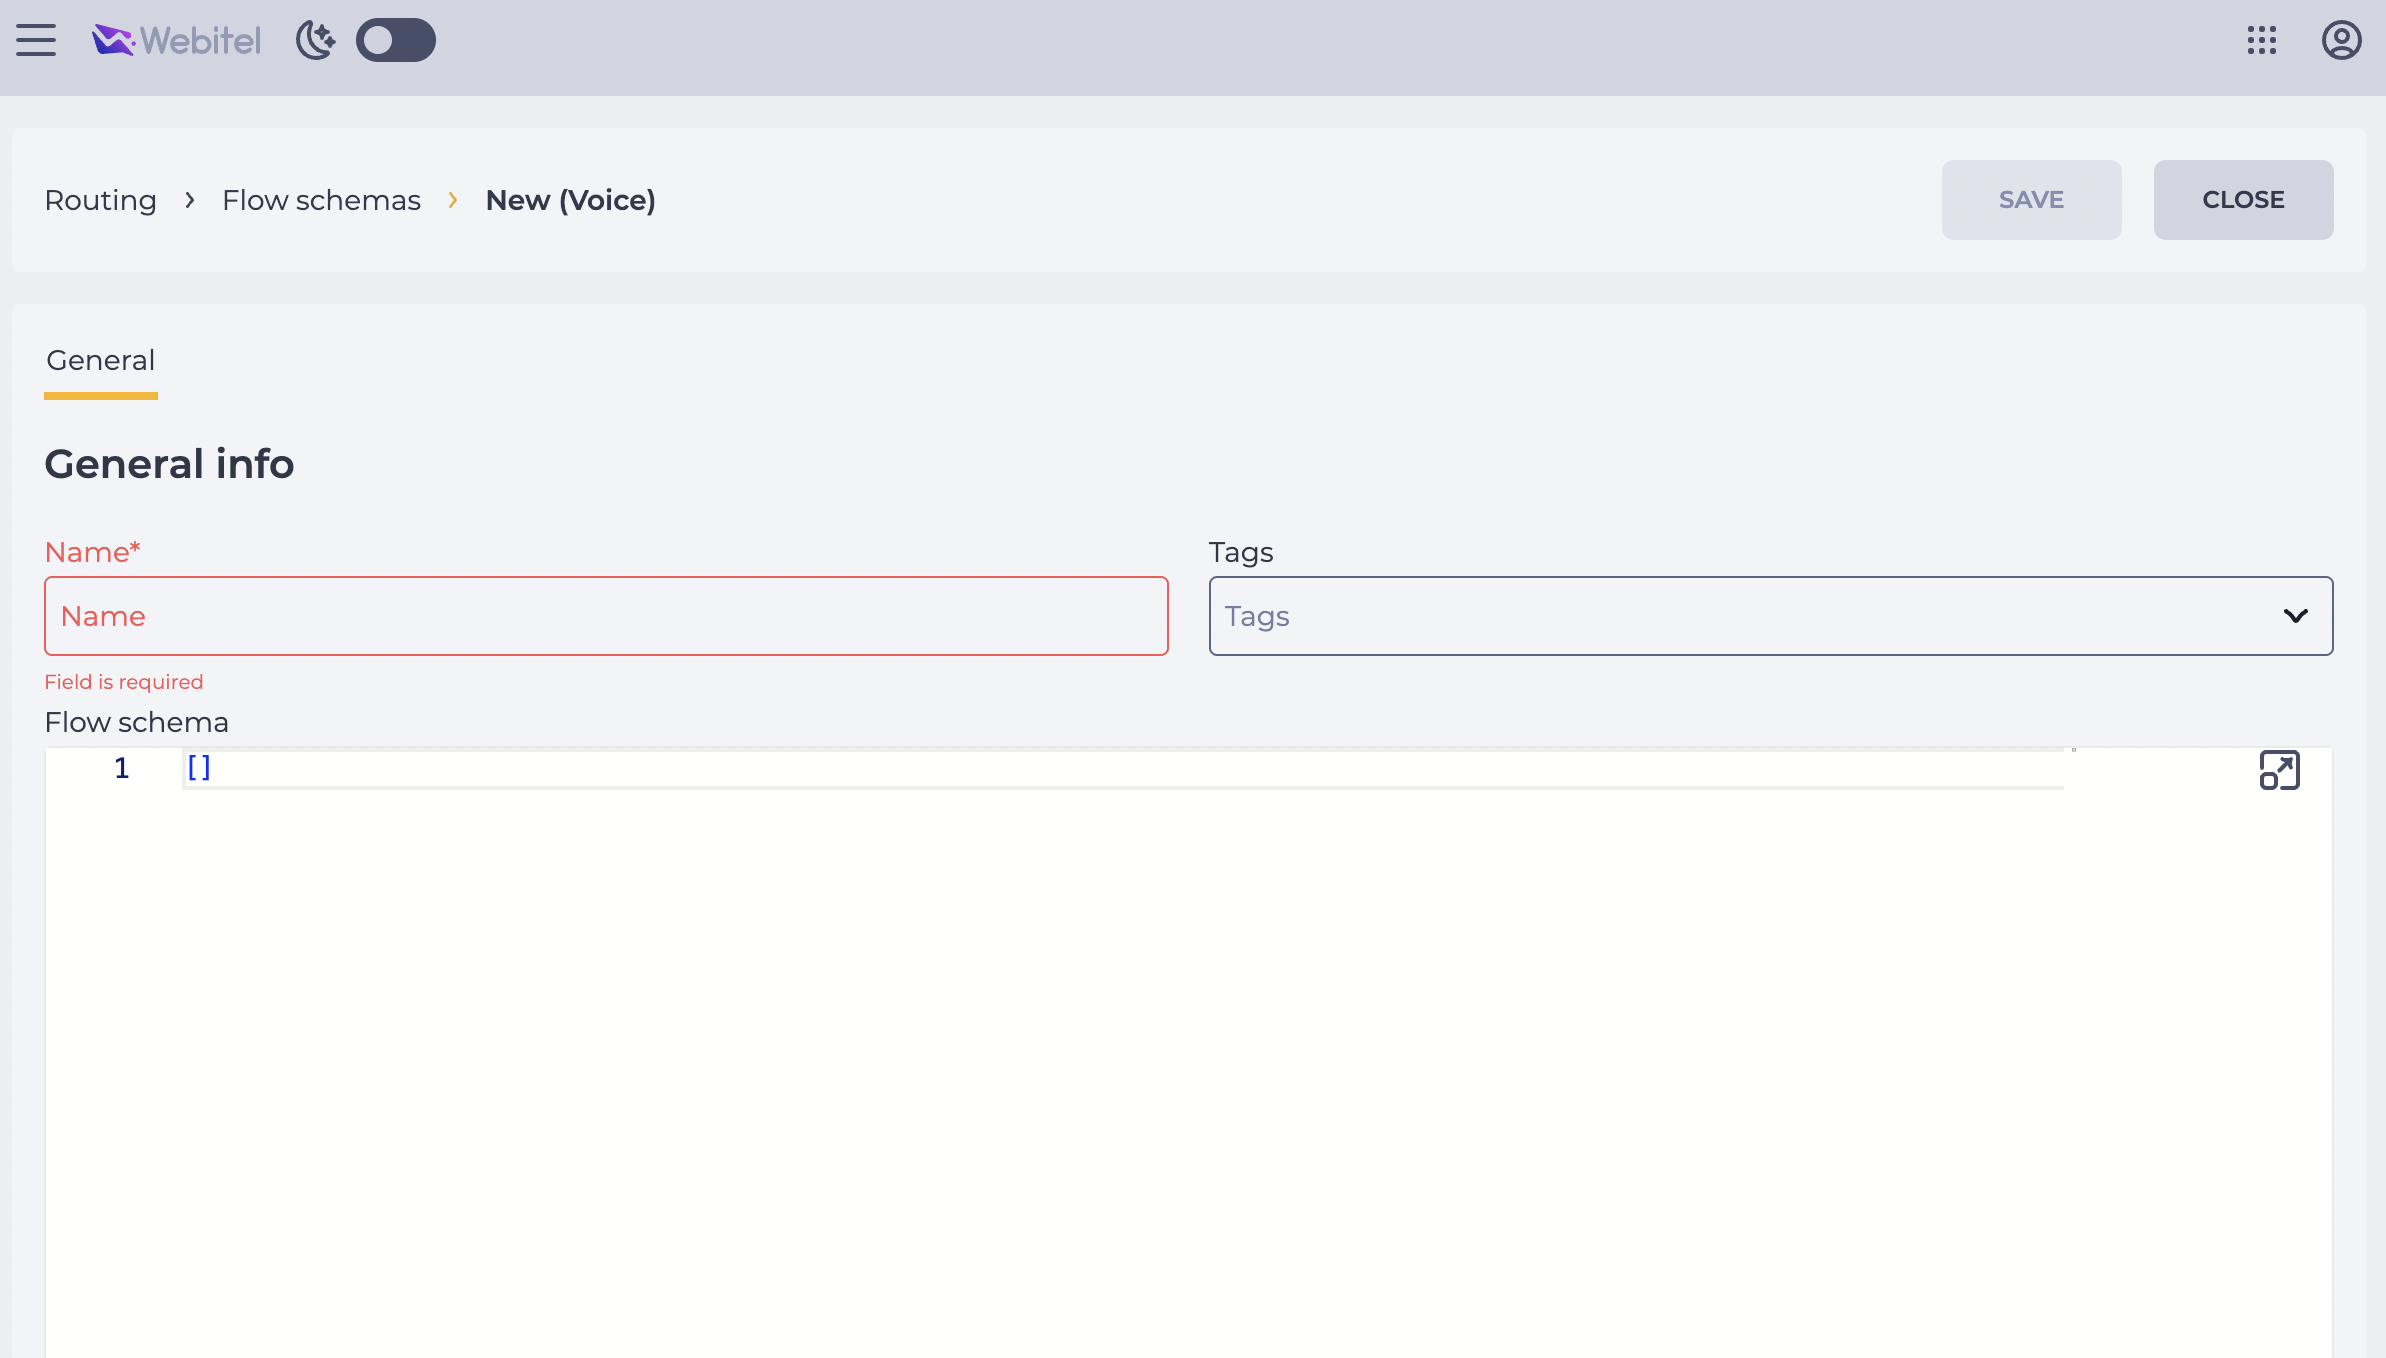
The General tab for creating a new schema will open (Fig. 4).
-
Enter the schema name and, if necessary, add tags.
-
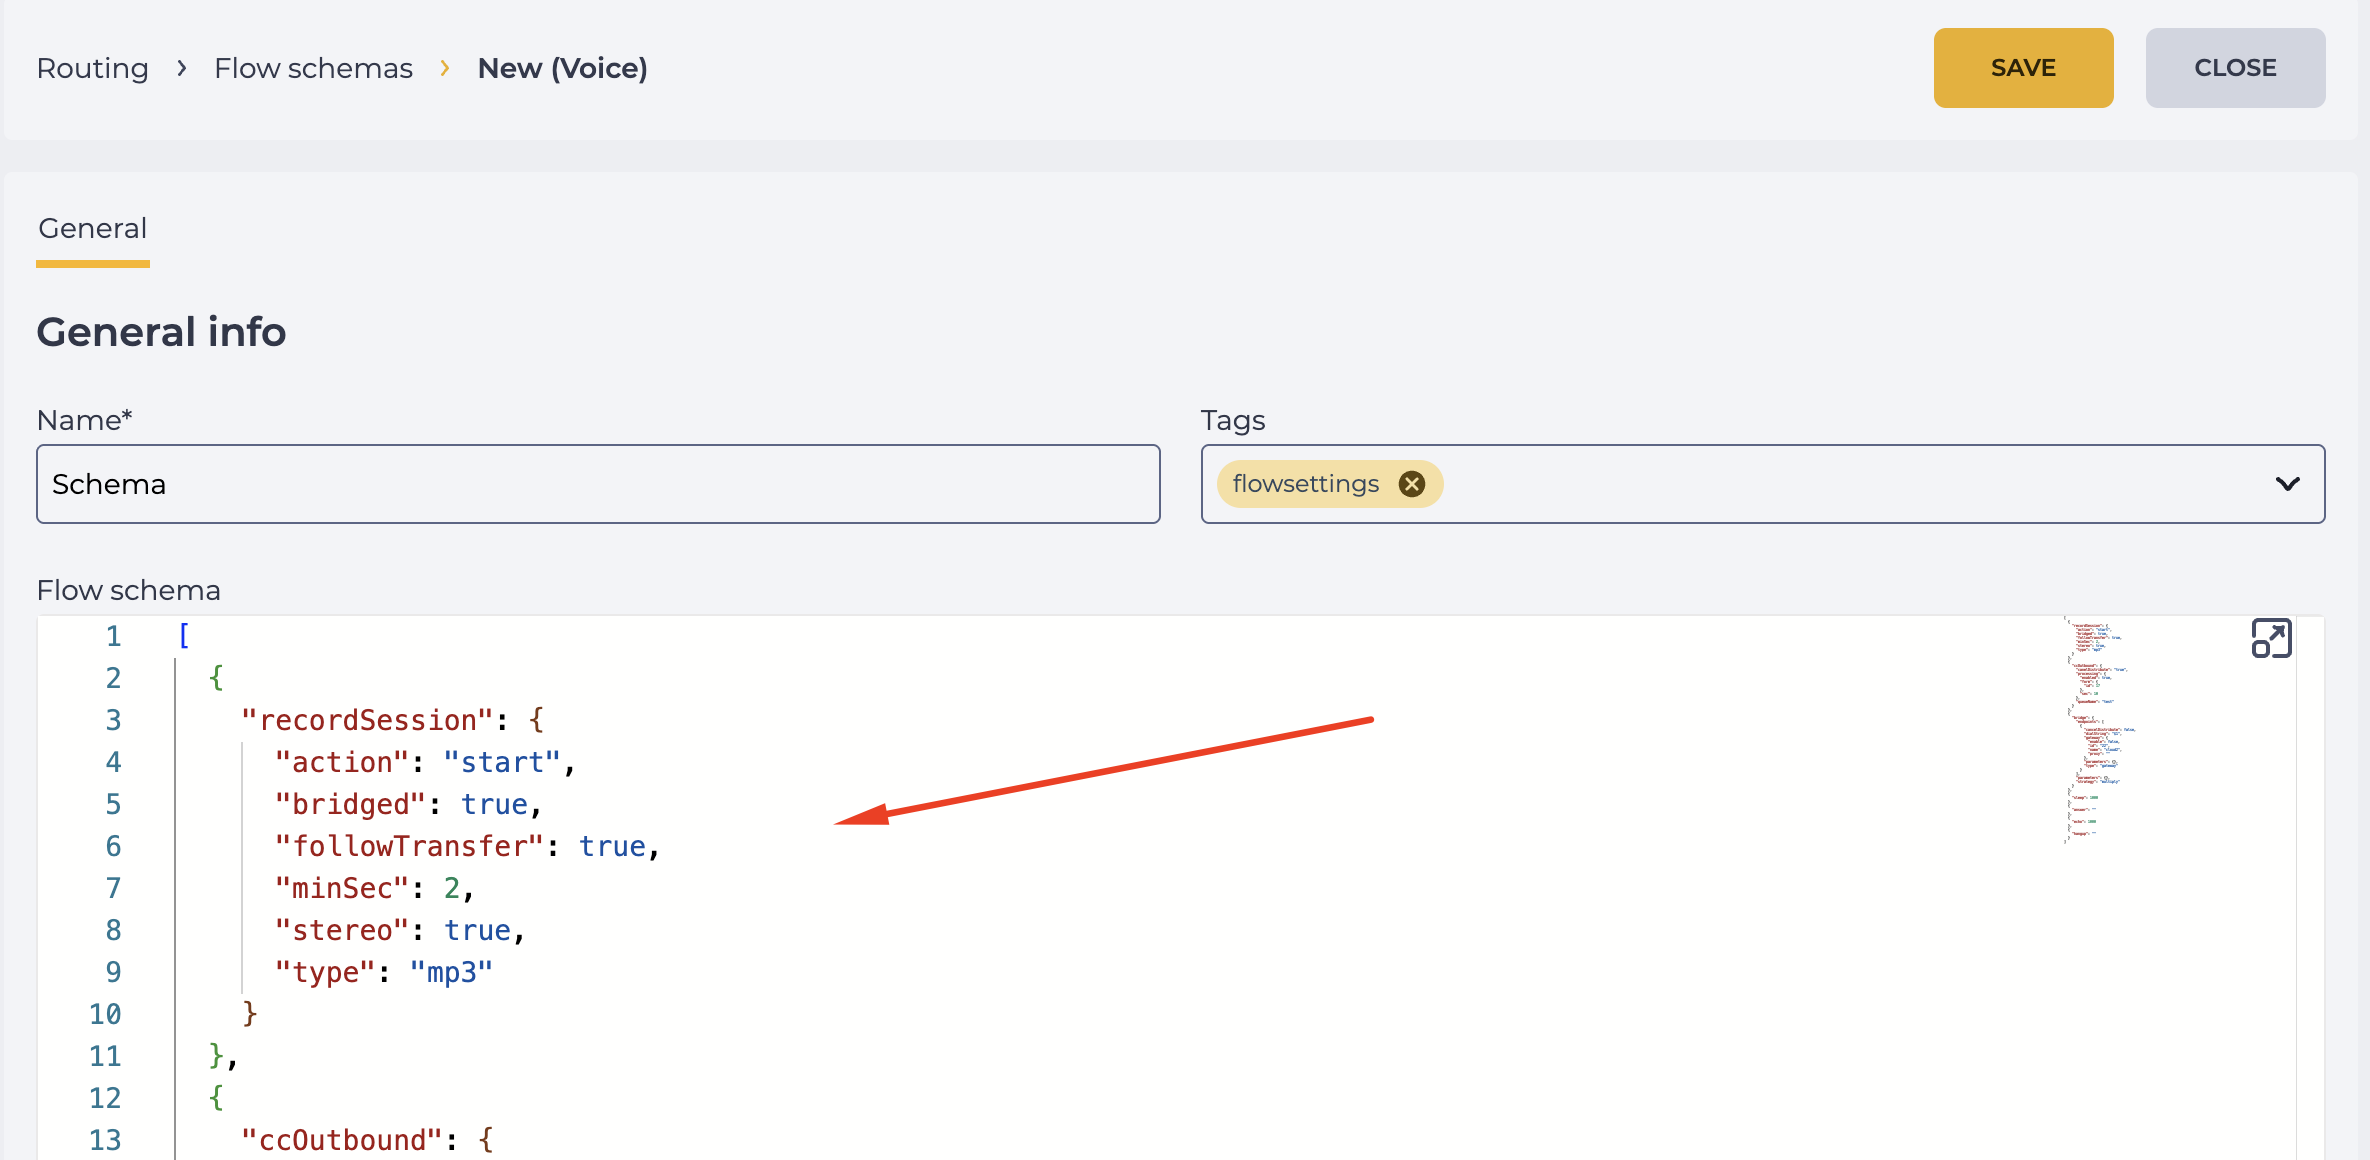
In the Flow schema field (Fig. 5), insert the JSON configuration (see below).
-
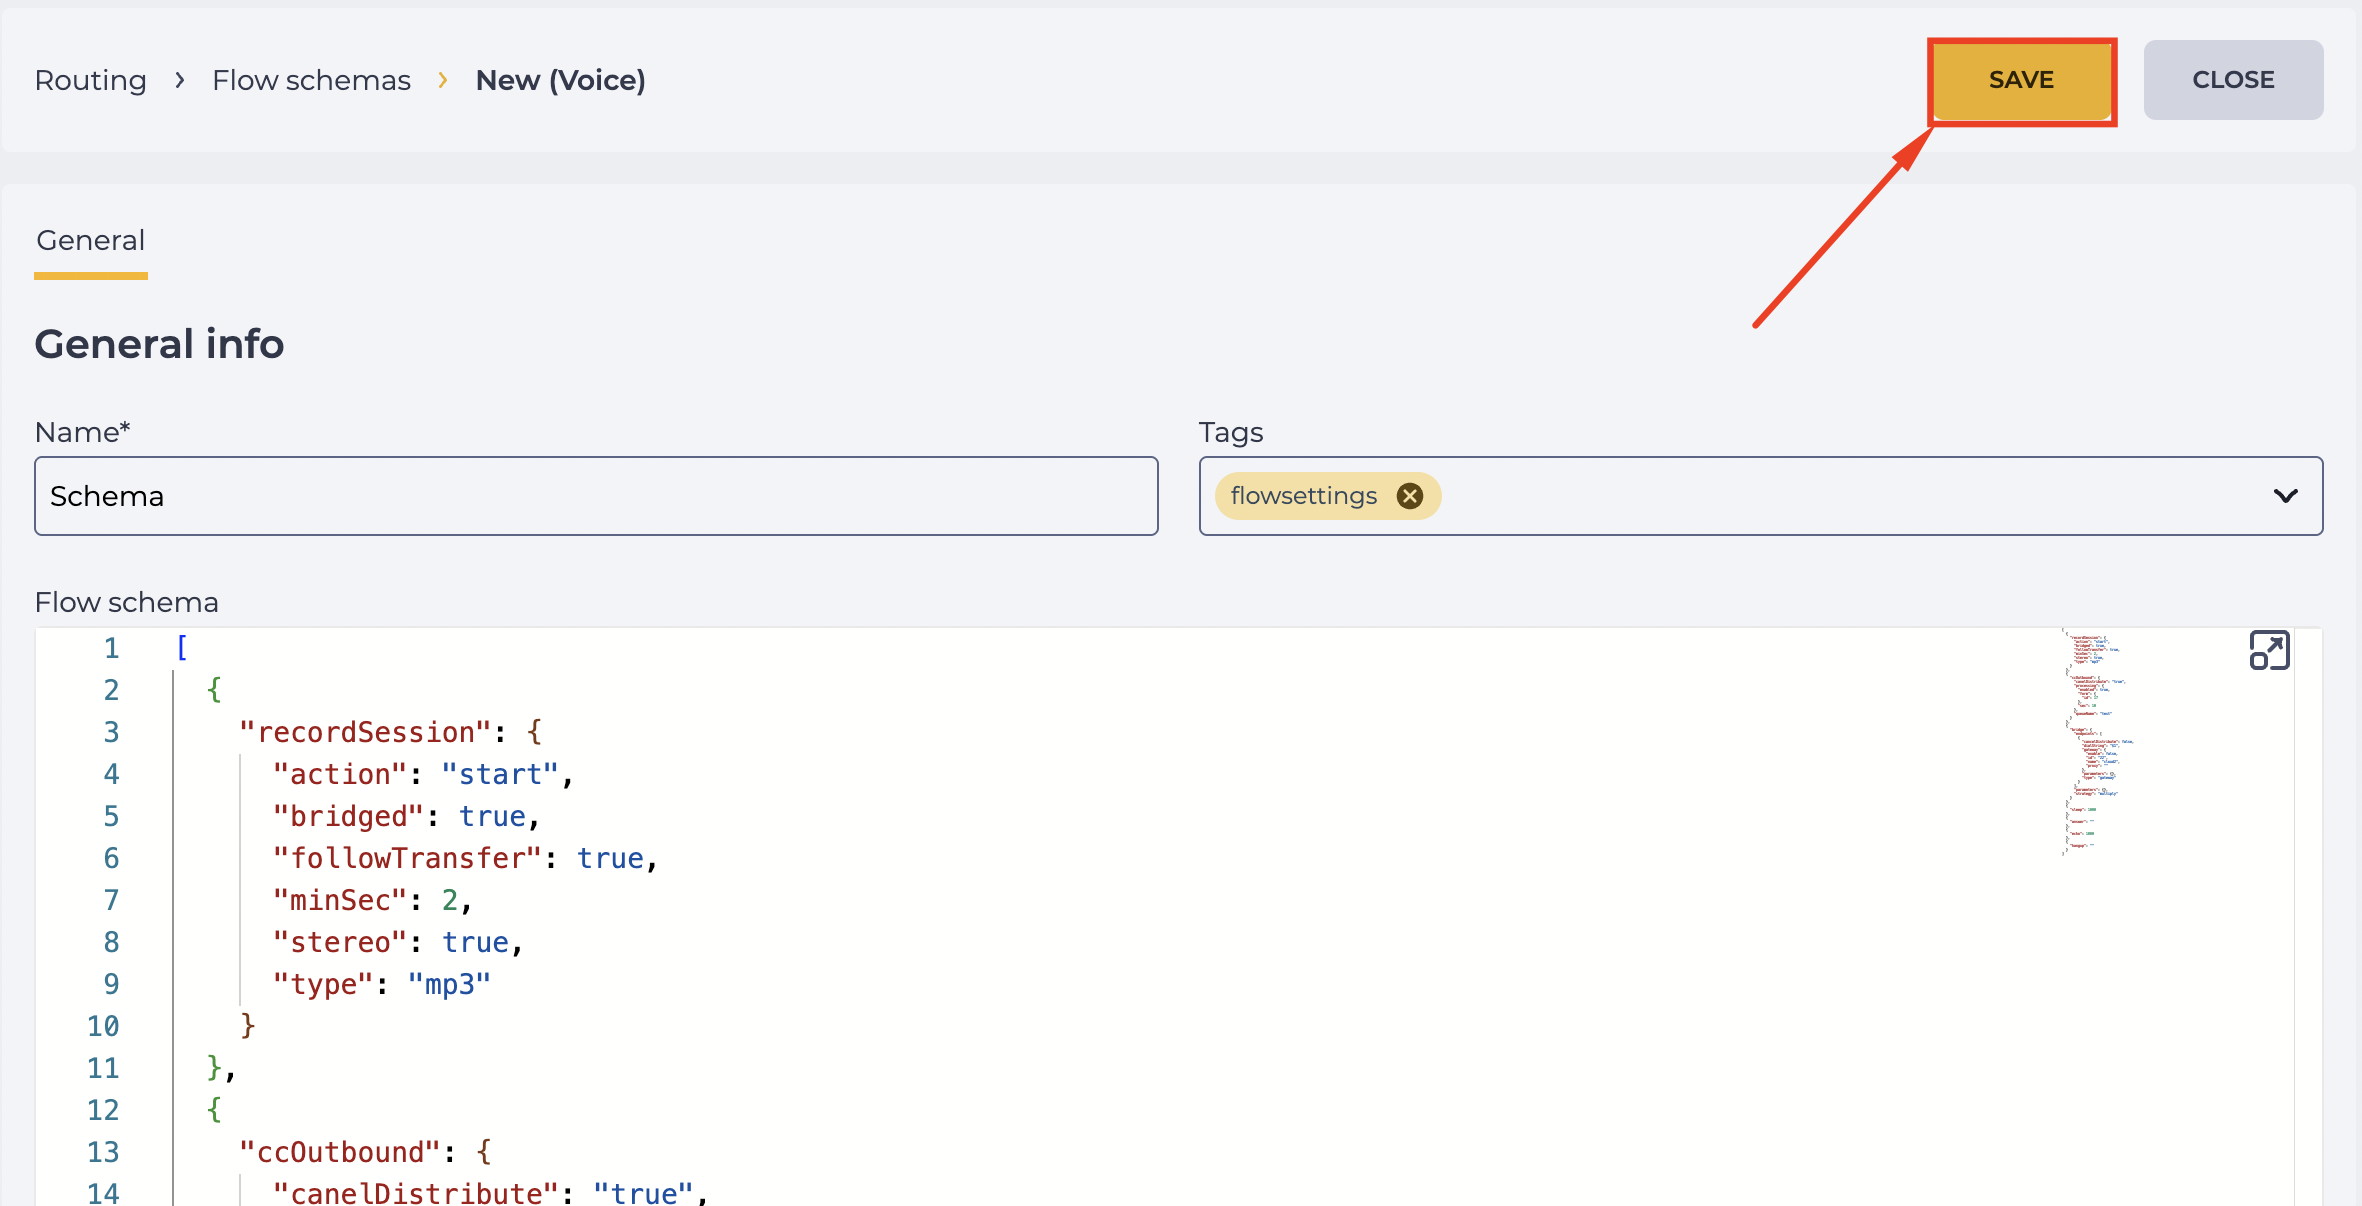
Click the Save button (Fig. 6).
Example of a JSON configuration:
[
  {
    "recordSession": {
      "action": "start",
      "bridged": true,
      "followTransfer": true,
      "minSec": 2,
      "stereo": true,
      "type": "mp3"
    }
  },
  {
    "ccOutbound": {
      "canelDistribute": "true",
      "processing": {
        "enabled": true,
        "form": {
          "id": 17
        },
        "sec": 10
      },
      "queueName": "test"
    }
  },
  {
    "bridge": {
      "endpoints": [
        {
          "cancelDistribute": false,
          "dialString": "$1",
          "gateway": {
            "enable": false,
            "id": "22",
            "name": "cloud2",
            "proxy": ""
          },
          "parameters": {},
          "type": "gateway"
        }
      ],
      "parameters": {},
      "strategy": "multiply"
    }
  },
  {
    "sleep": 1000
  },
  {
    "answer": ""
  },
  {
    "echo": 1000
  },
  {
    "hangup": ""
  }
]
Main parameters:
-
recordSession – responsible for call recording.
-
ccOutbound – parameters of the outgoing call:
-
canelDistribute: true― no other calls will be distributed to the operator; -
processing.enabled: true― activates the post processing form; -
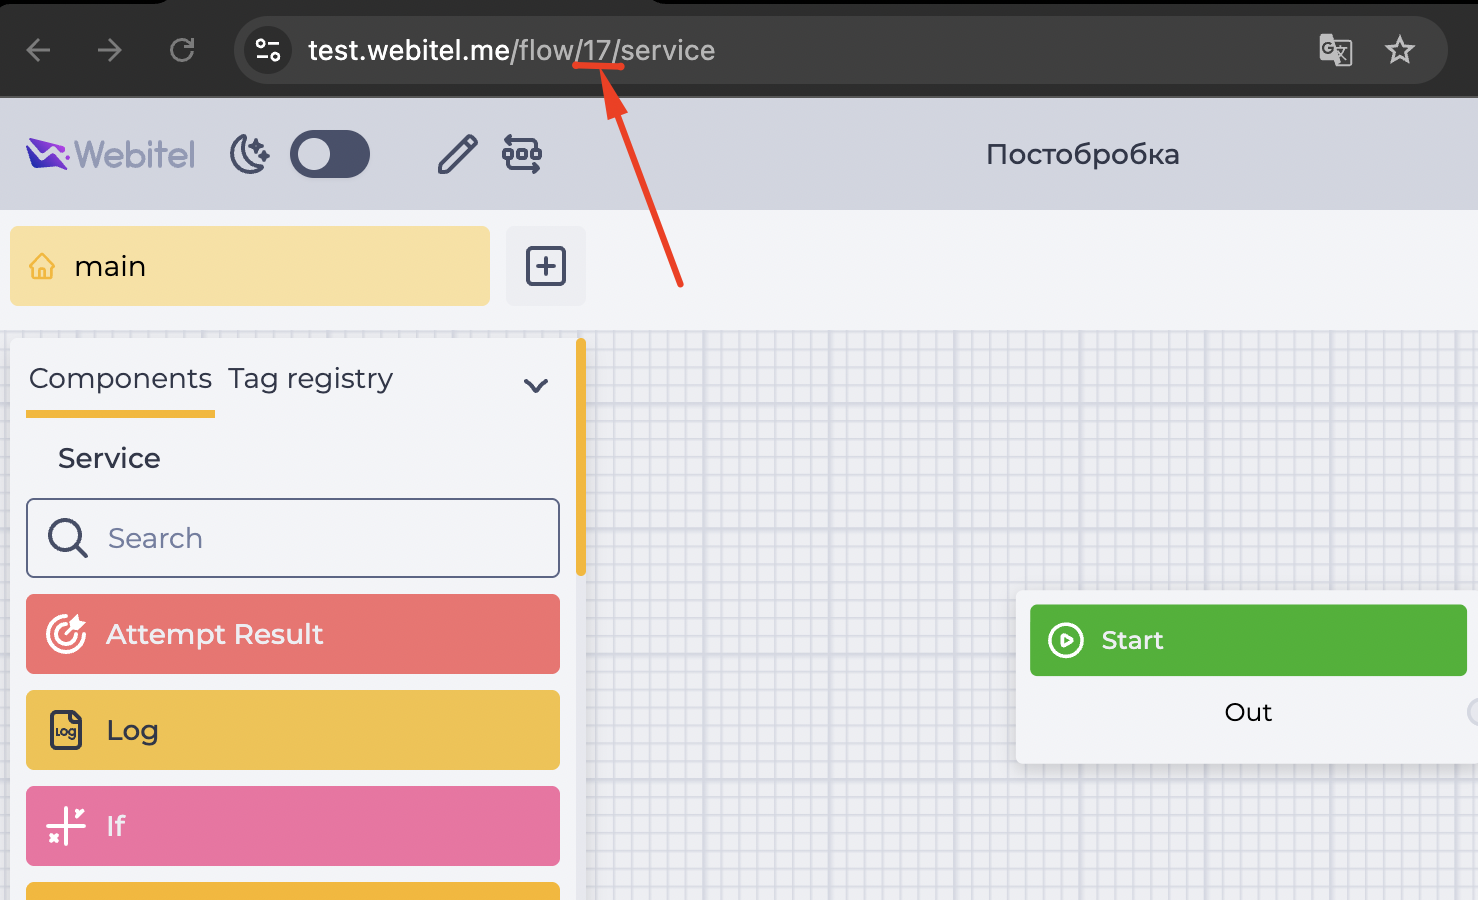
form.id: 17― ID of the form that will open after the call. To find the ID, locate the post processing schema linked to the call and copy its ID from the address bar (Fig. 7); -
sec: 10― duration of post processing (in seconds); -
queueName: "anna test"― the name of the queue for the outgoing call.
-
-
bridge – parameters of the connection with the subscriber (gateway, dialString, dialing strategy).
-
sleep, answer, echo, hangup – service actions that regulate the call process.
2.1.2. Creating through a diagram
-
In the section Admin → Routing → Flow schemas, click the Add button (Fig. 8).
-
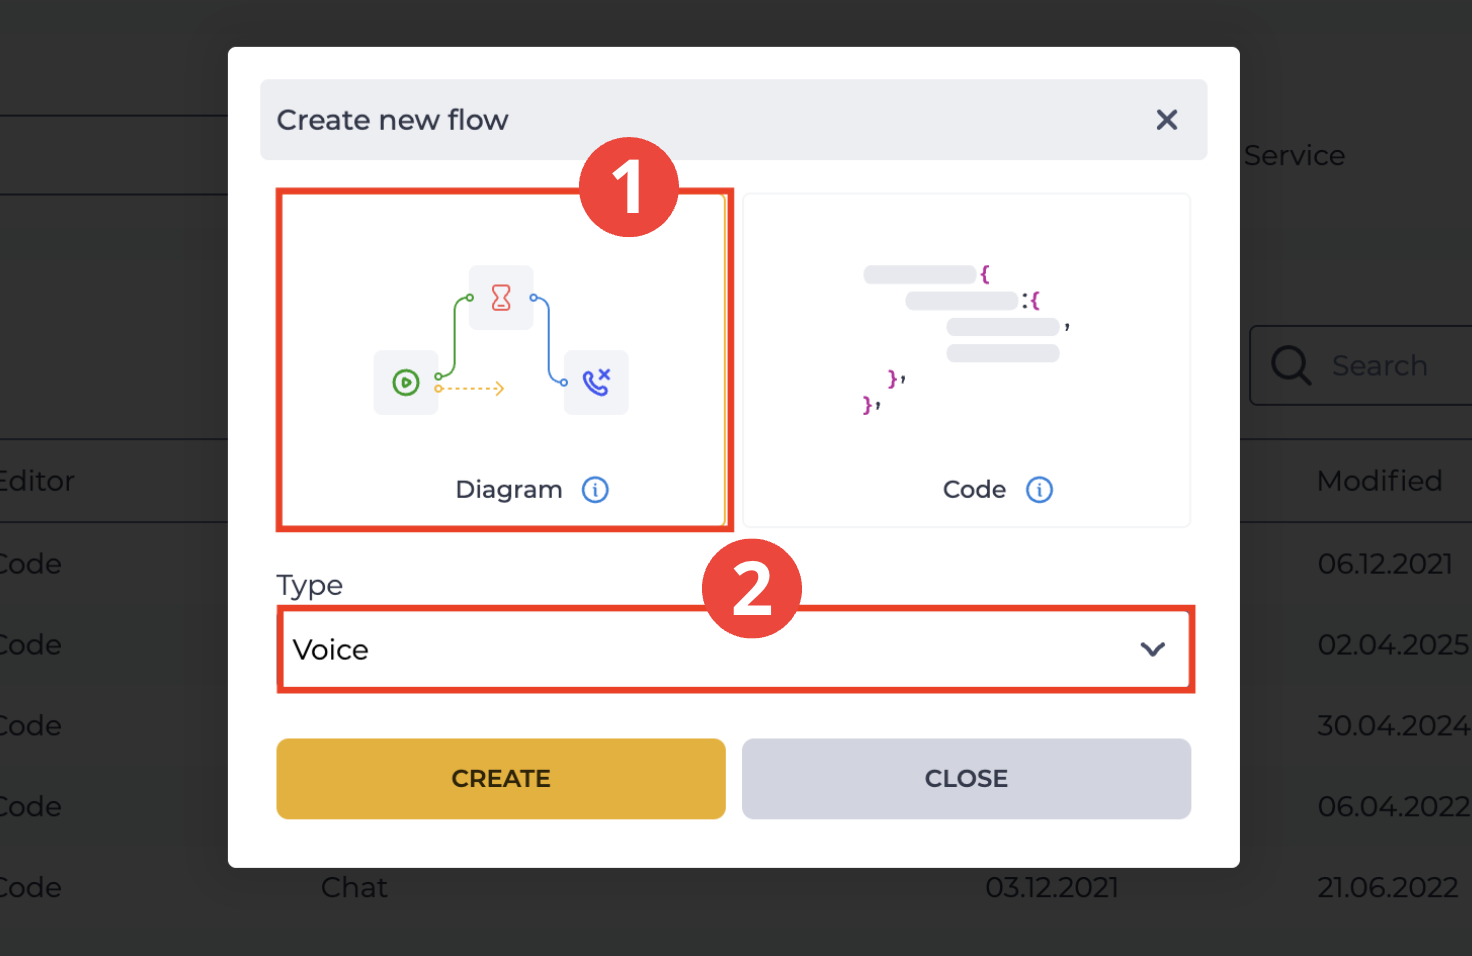
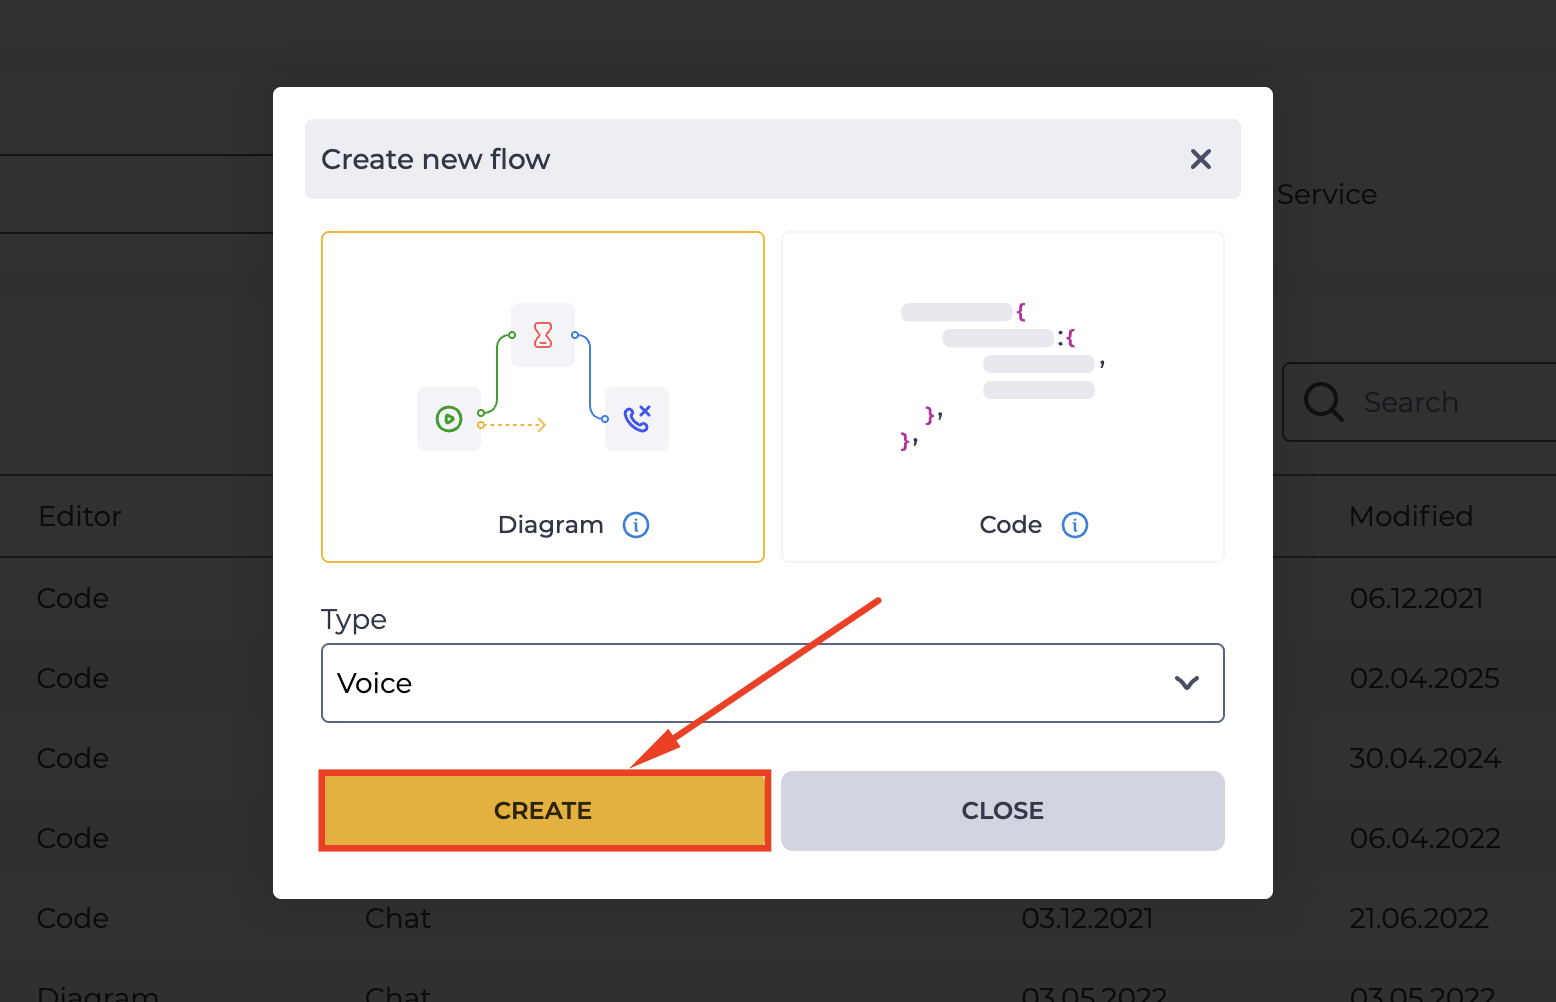
In the modal window, select "Diagram" and type "Voice" (Fig. 9).
-
Click Create (Fig. 10).
-
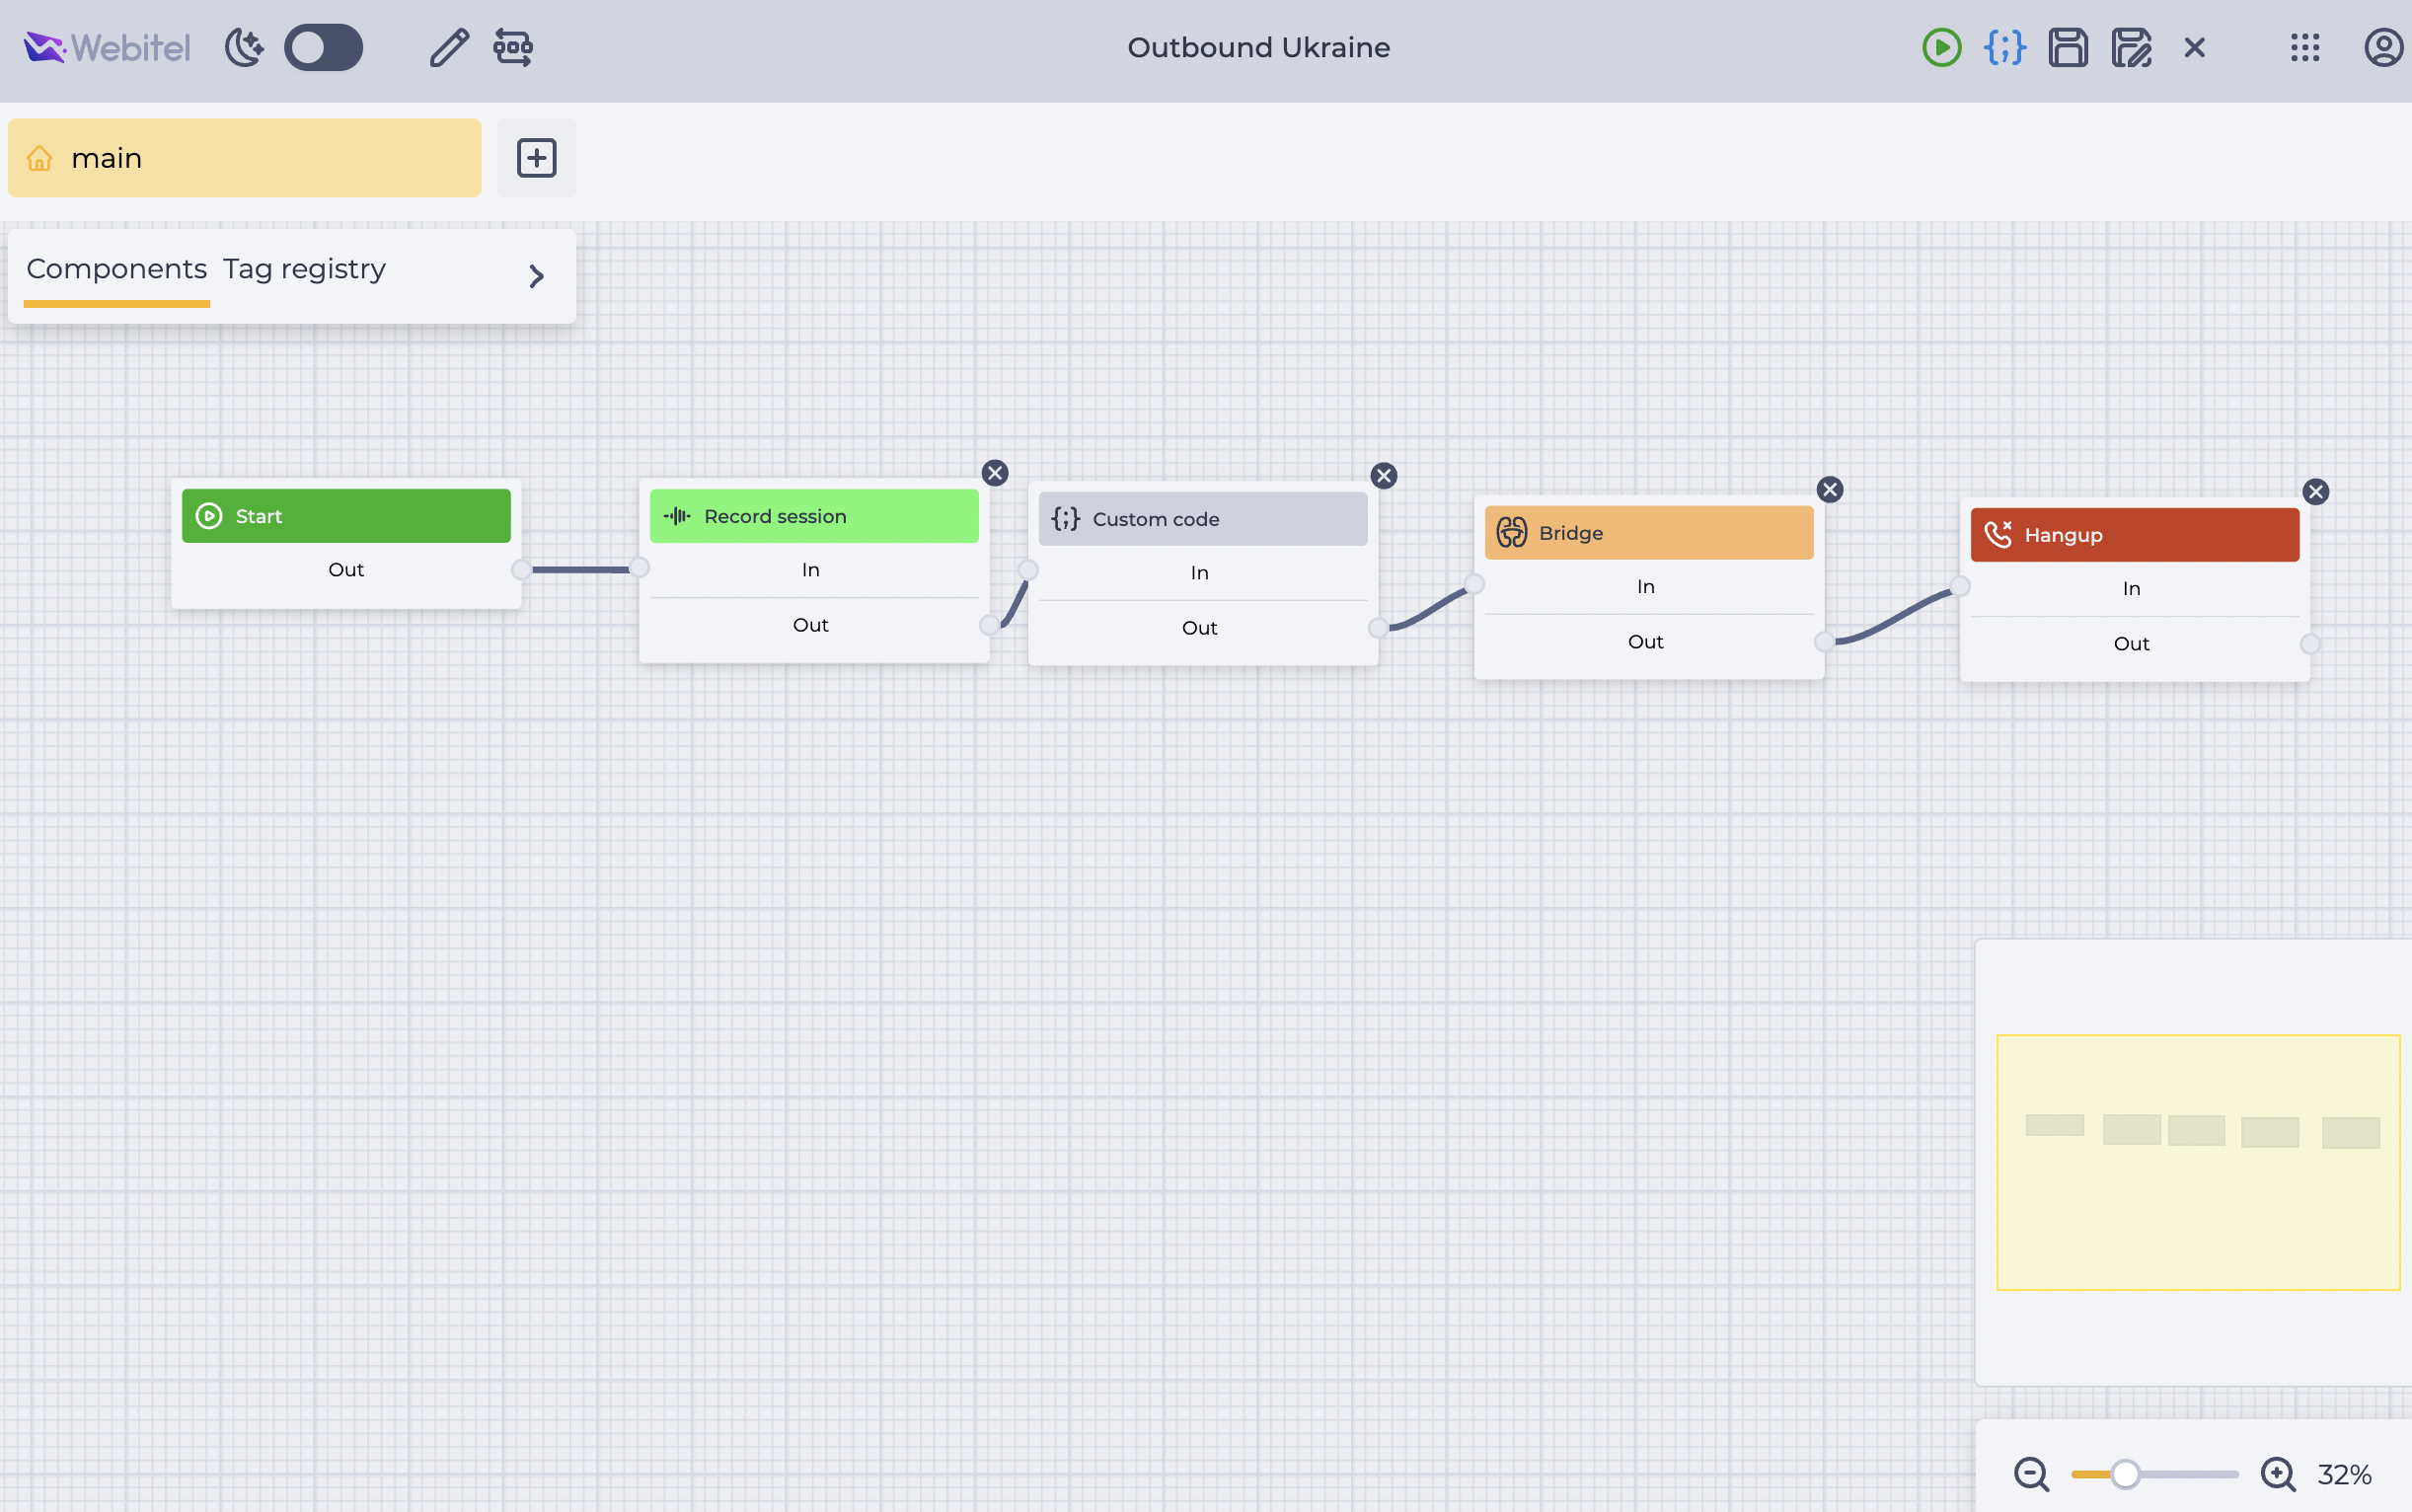
Add the following components sequentially:
-
Start → "Record session" → "Custom code" → "Bridge" → "Hangup" (Fig. 11).
-
-
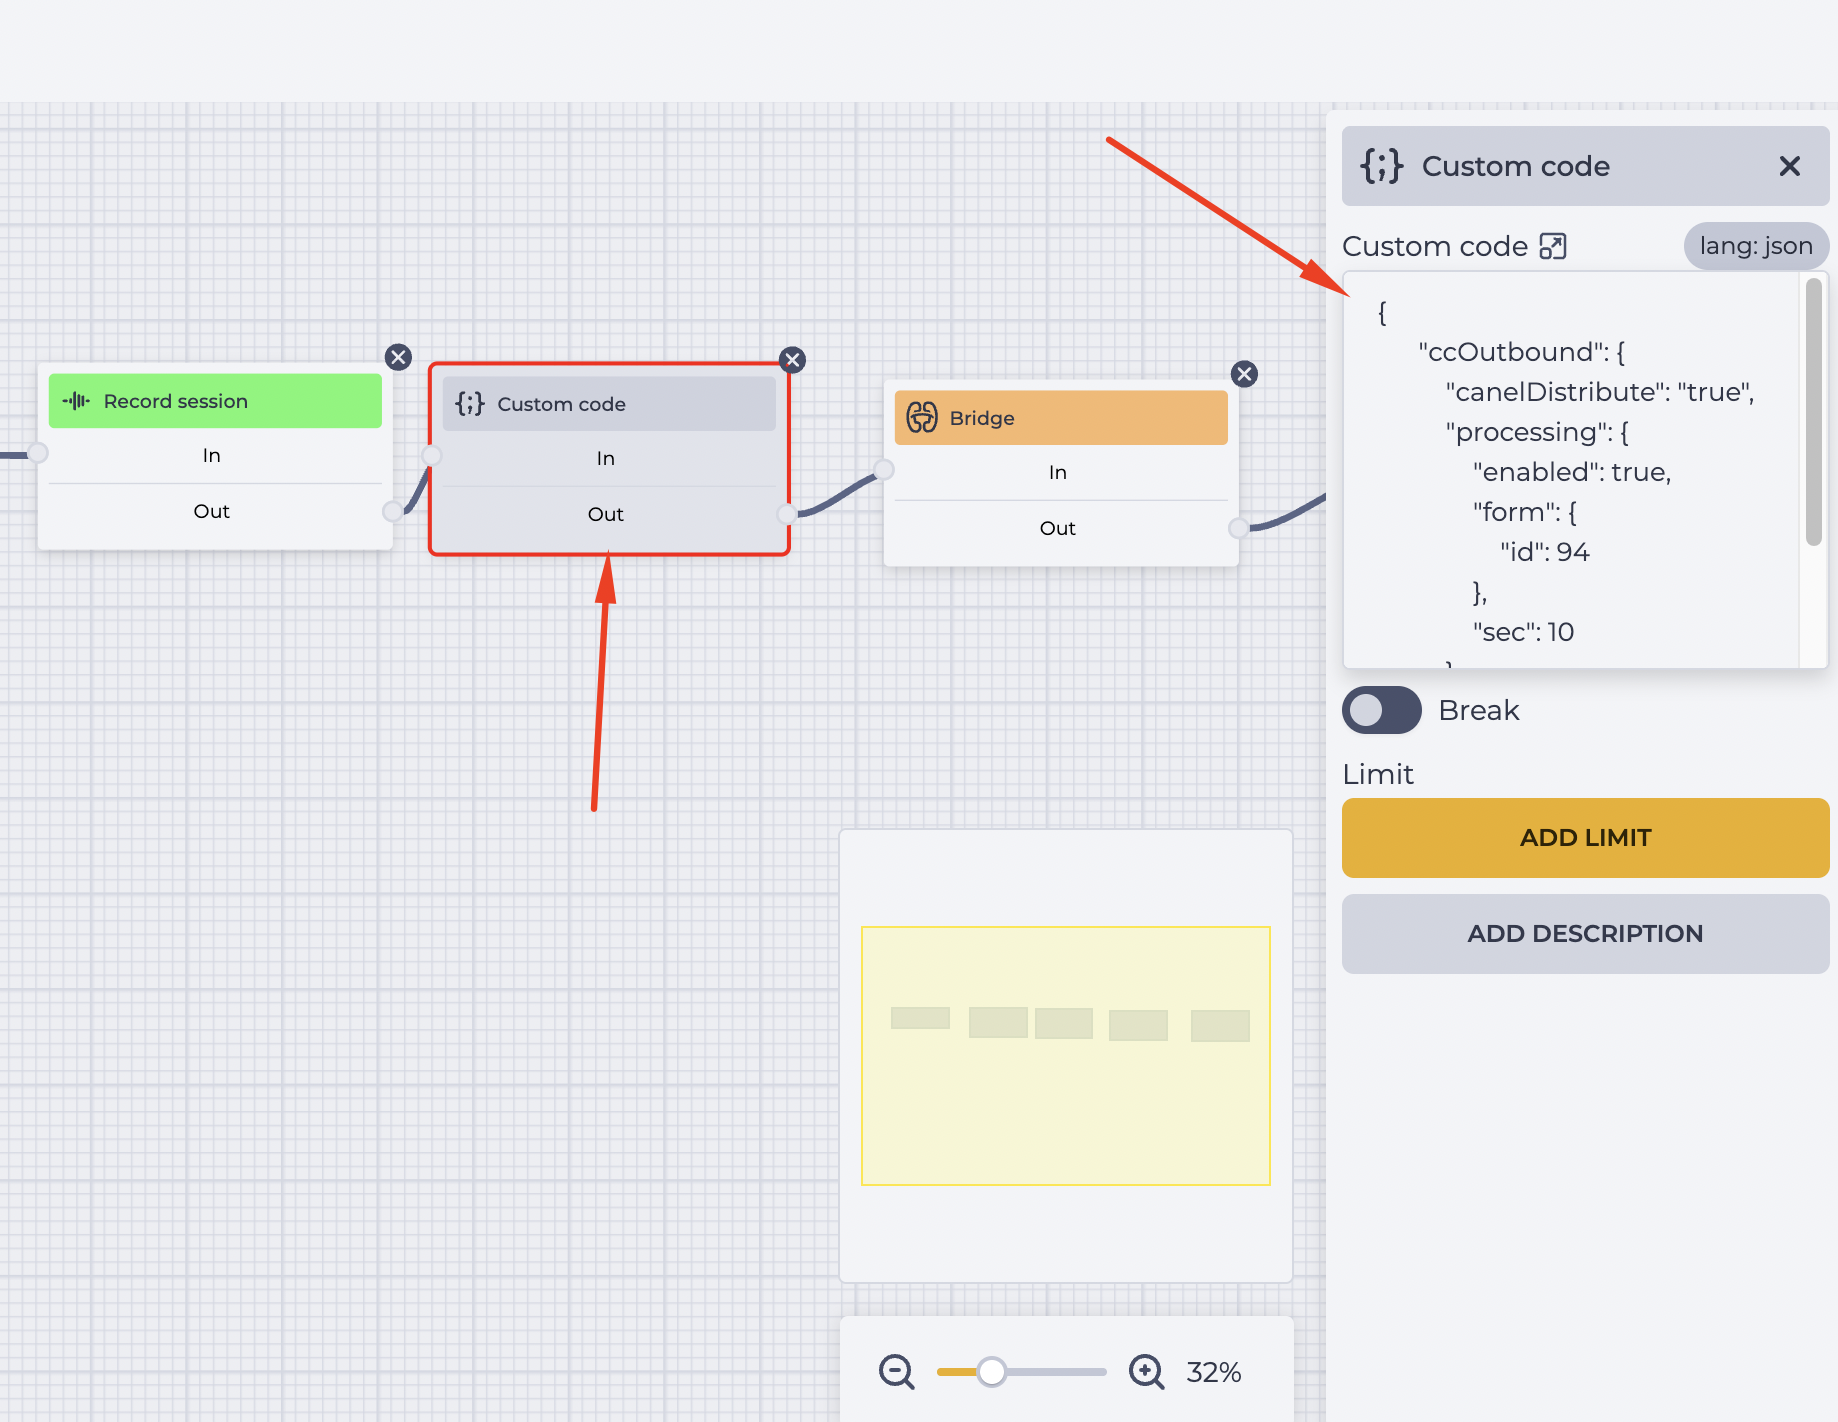
In the Custom code component (Fig. 12), insert the code into the field (the parameters for "id", "sec", and "queueName" must be adjusted as required):
 {
    "ccOutbound": {
      "canelDistribute": "true",
      "processing": {
        "enabled": true,
        "form": {
          "id": 17
        },
        "sec": 10
      },
      "queueName": "test"
    }
  }
-
Configure the other components of the schema.
-
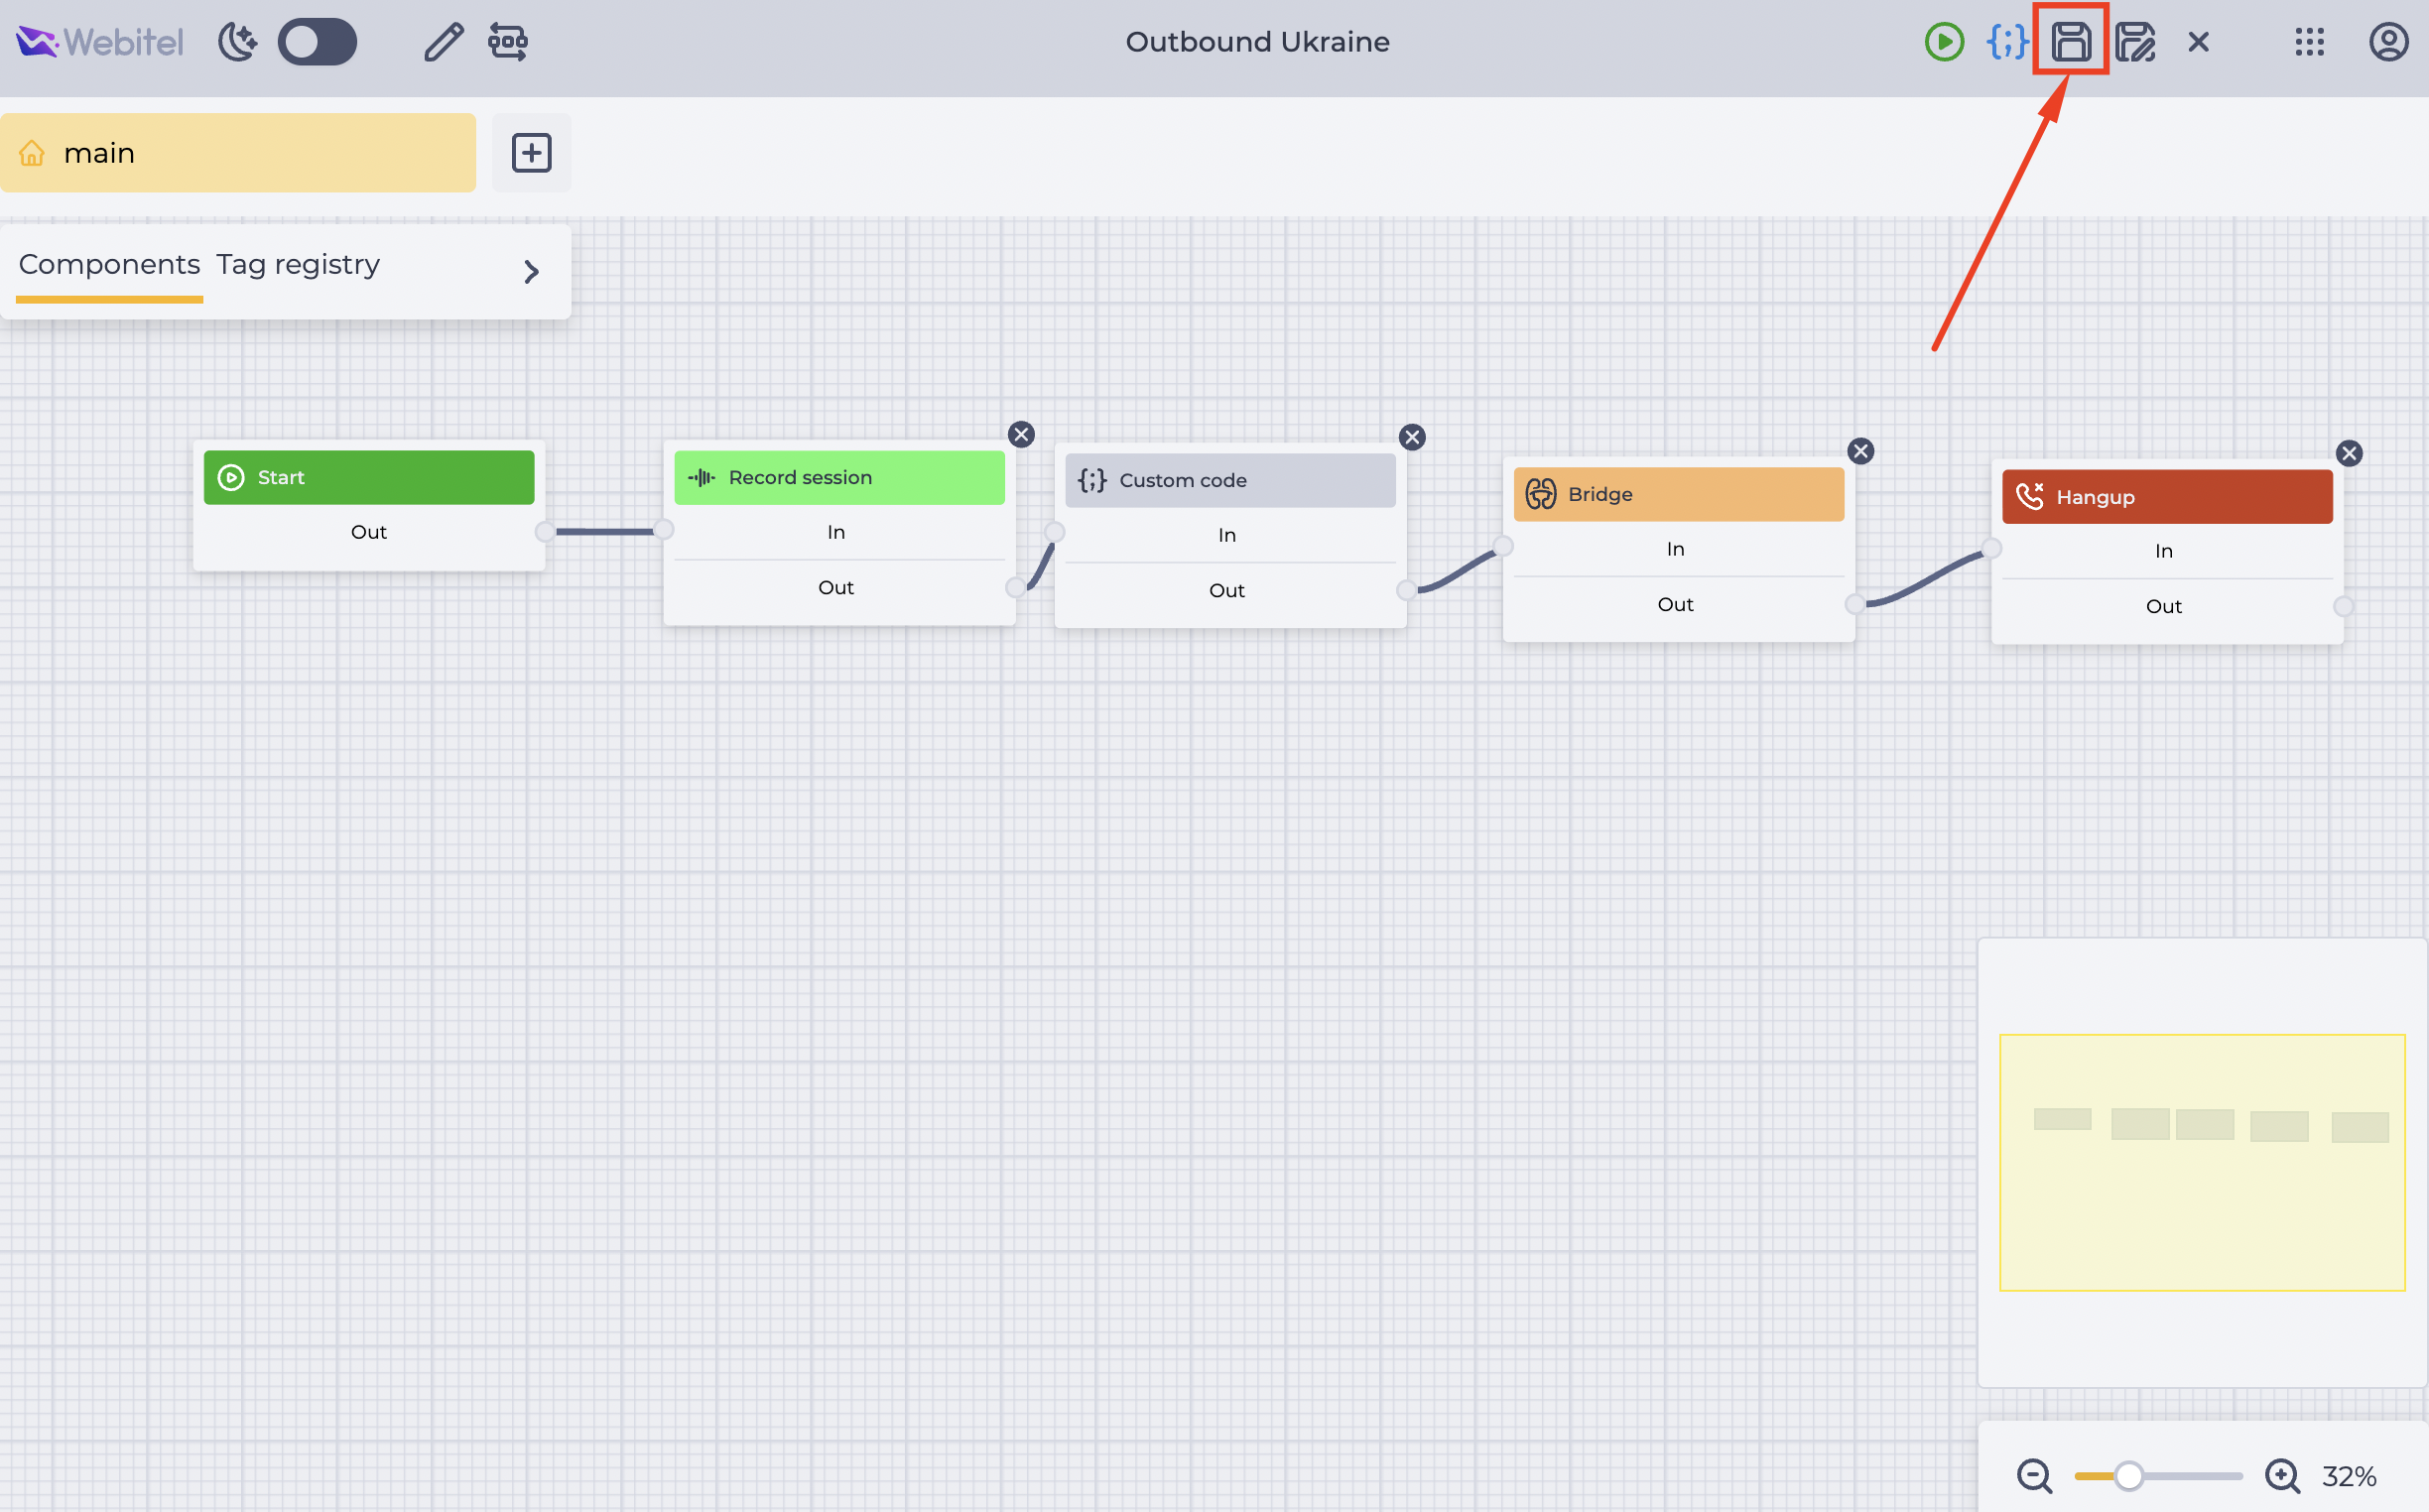
Click the Save icon (Fig. 13).
2.2. Configuring a Dialplan rule
For the schema with code to work for manual outgoing calls, it must be linked to a Dialplan rule.
-
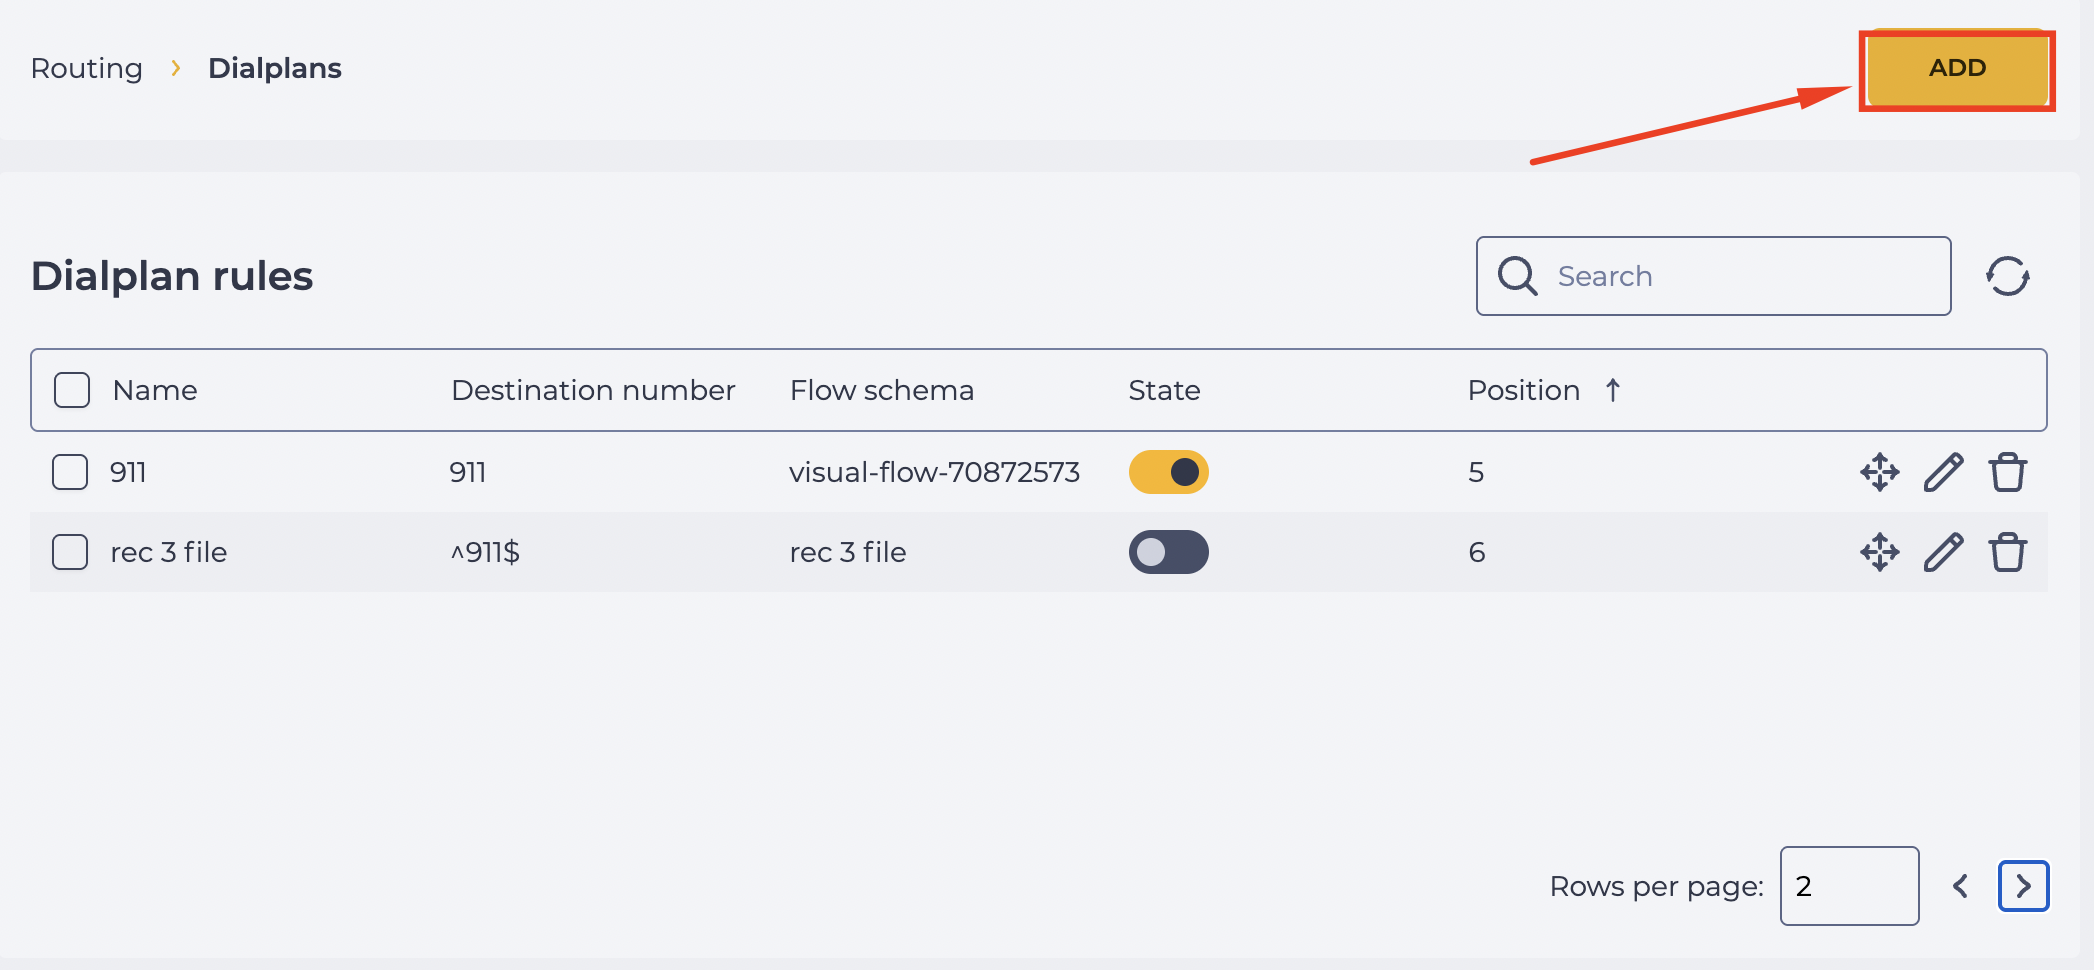
In the section Admin → Routing → Dialplans, click the Add button (Fig. 14).
-
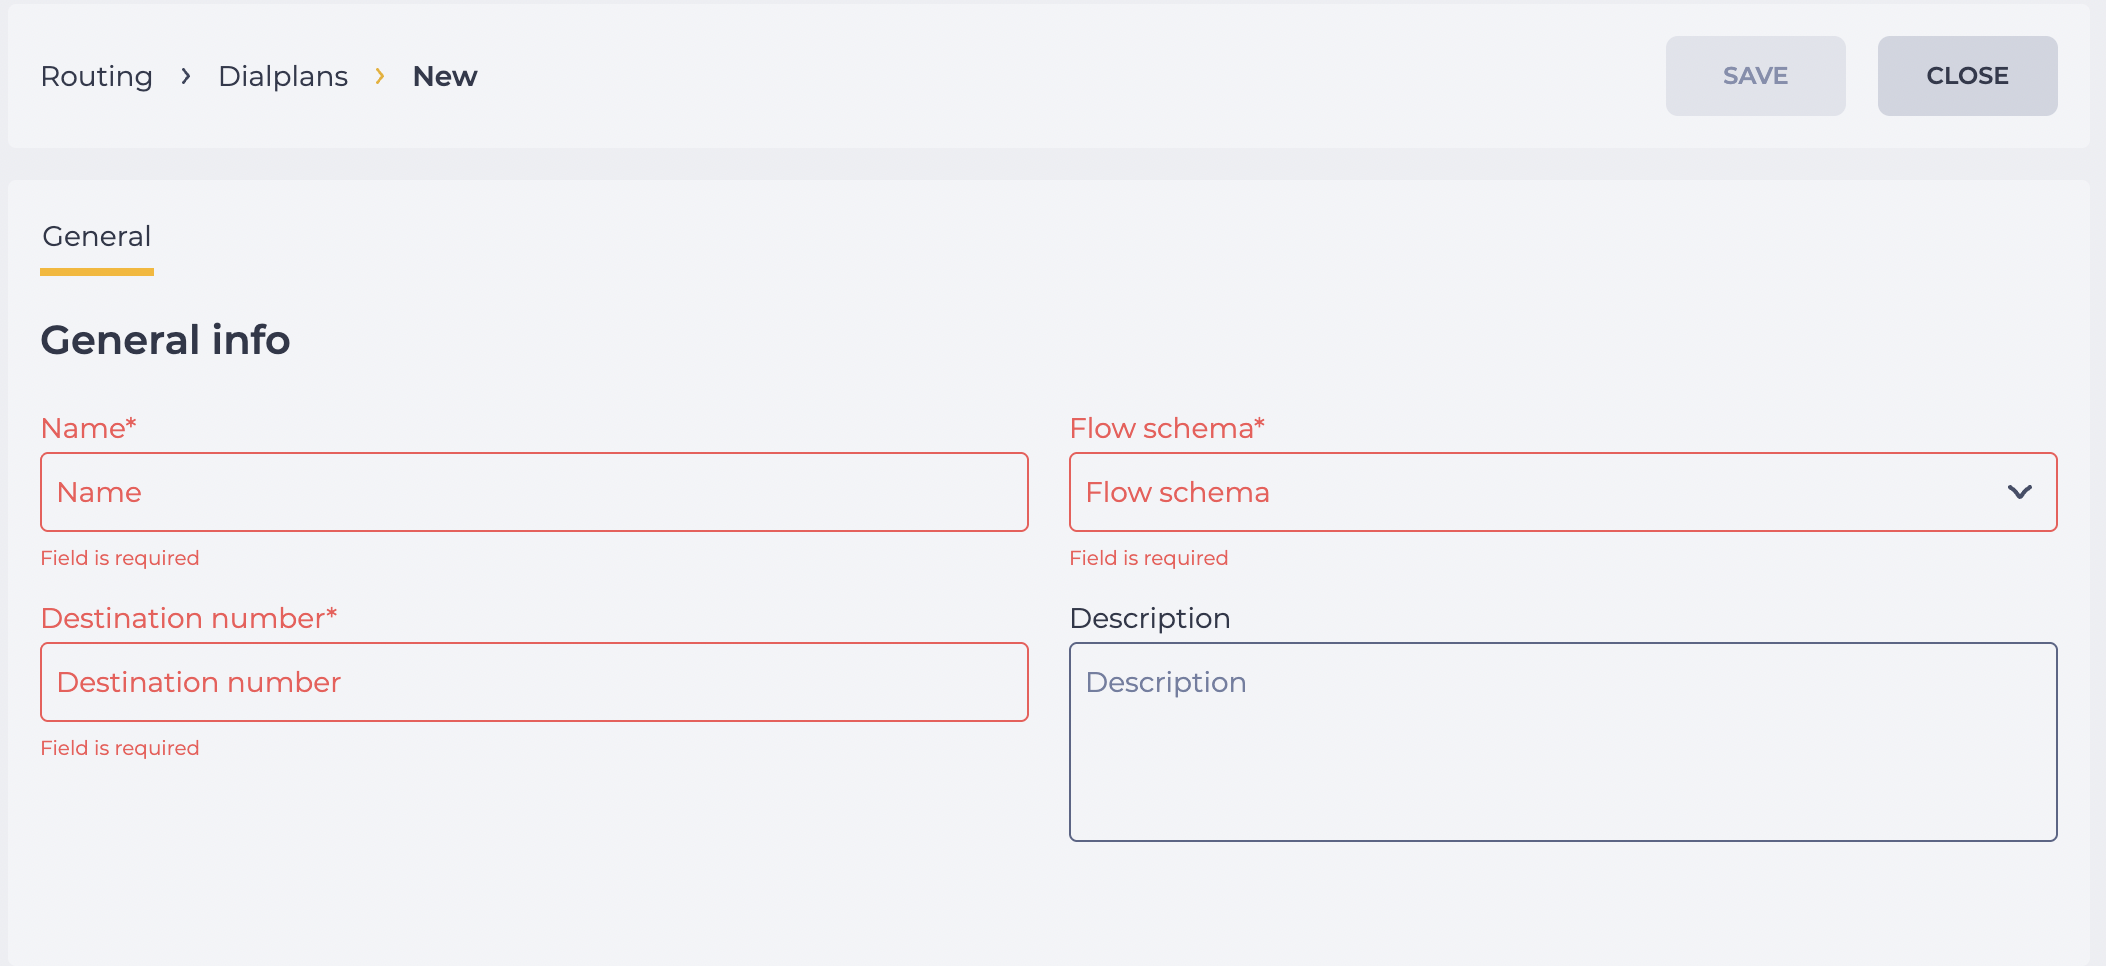
In the Dialplan creation form, fill in the required fields (Fig. 15):
-
"Name" — the rule name that helps you identify it.
-
"Destination number" — a regular expression used by the system to determine which numbers the rule applies to (for example, ^+?380\d{9}$ for Ukrainian numbers).
-
"Flow schema" — select your schema with code (created in the previous step) from the list.
-
-
If necessary, you can add a description of the rule in the "Description" field.
-
Click the Save button (Fig. 16).
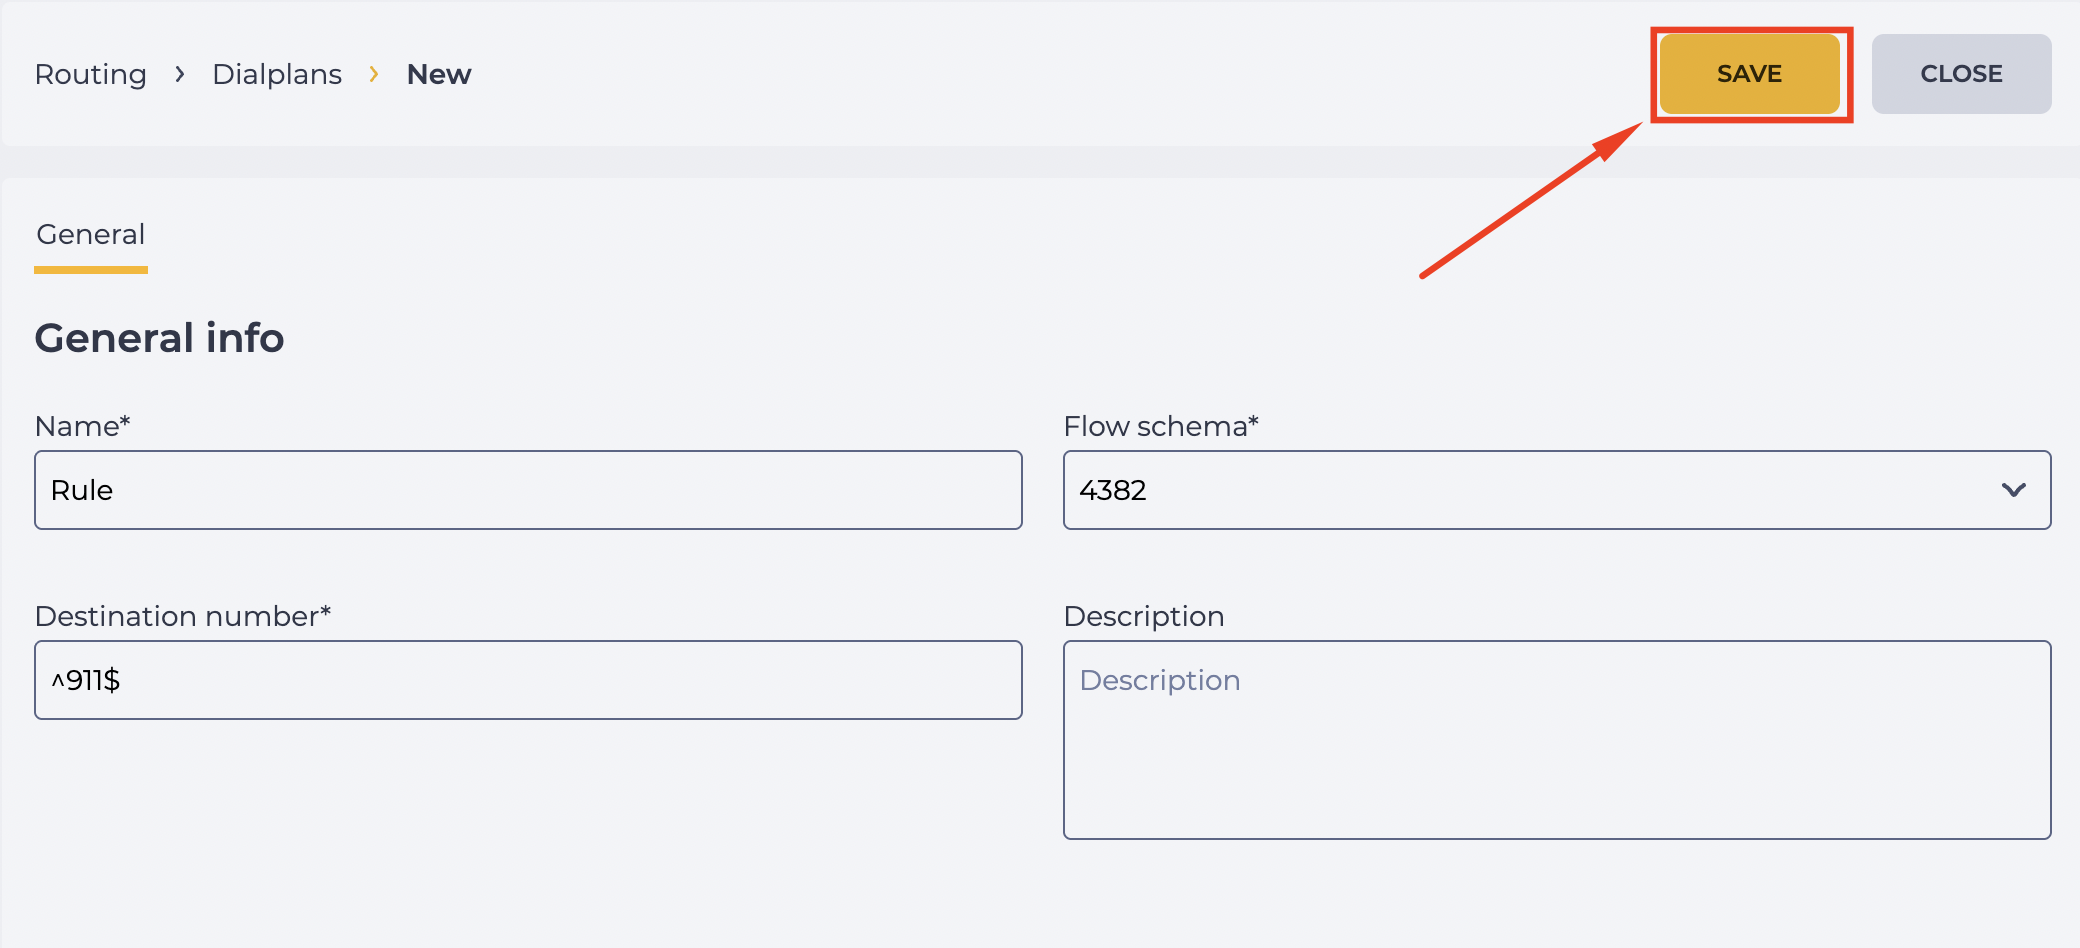
After this, the rule will be activated, and during an outgoing call, the system will use the linked schema.
Important!
In Dialplan configuration, the position of rules in the registry matters: during an outgoing call, the number is checked against each rule from top to bottom. Therefore, the Dialplan rule with your schema must be placed in the correct order to ensure it is executed with priority.
3. Display in Workspace
3.1. Opening the form
-
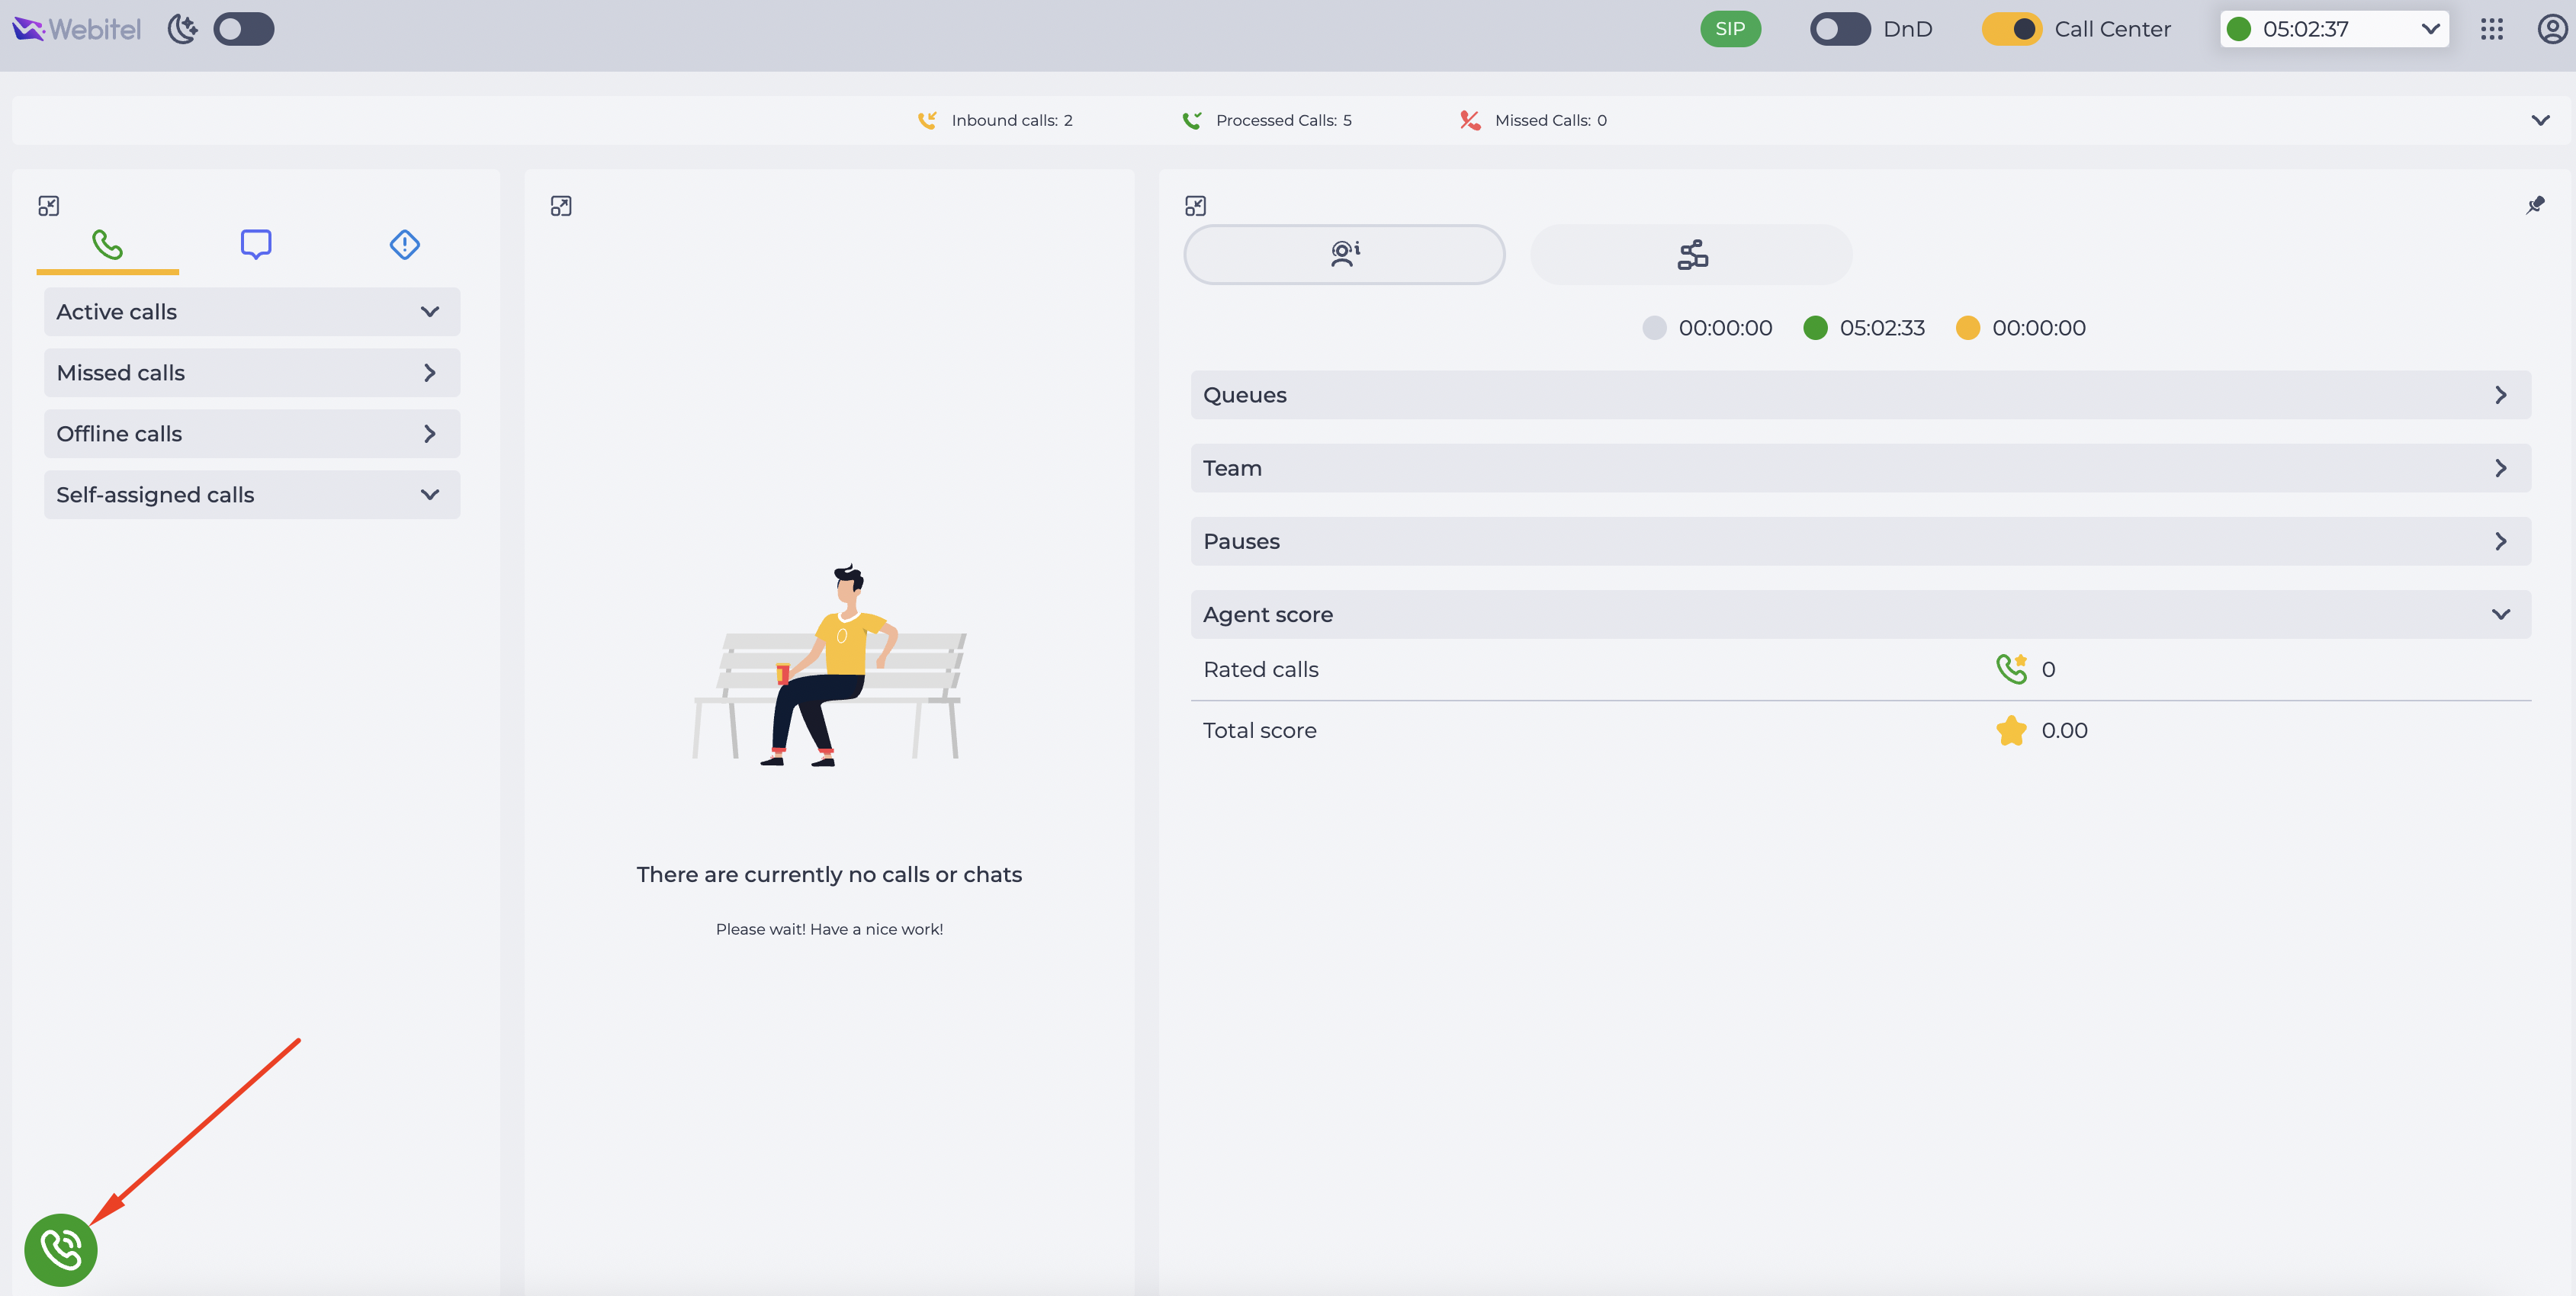
The operator initiates a manual outgoing call through the call icon on the bottom panel of Workspace. To do this, click the call icon (Fig. 17).
-
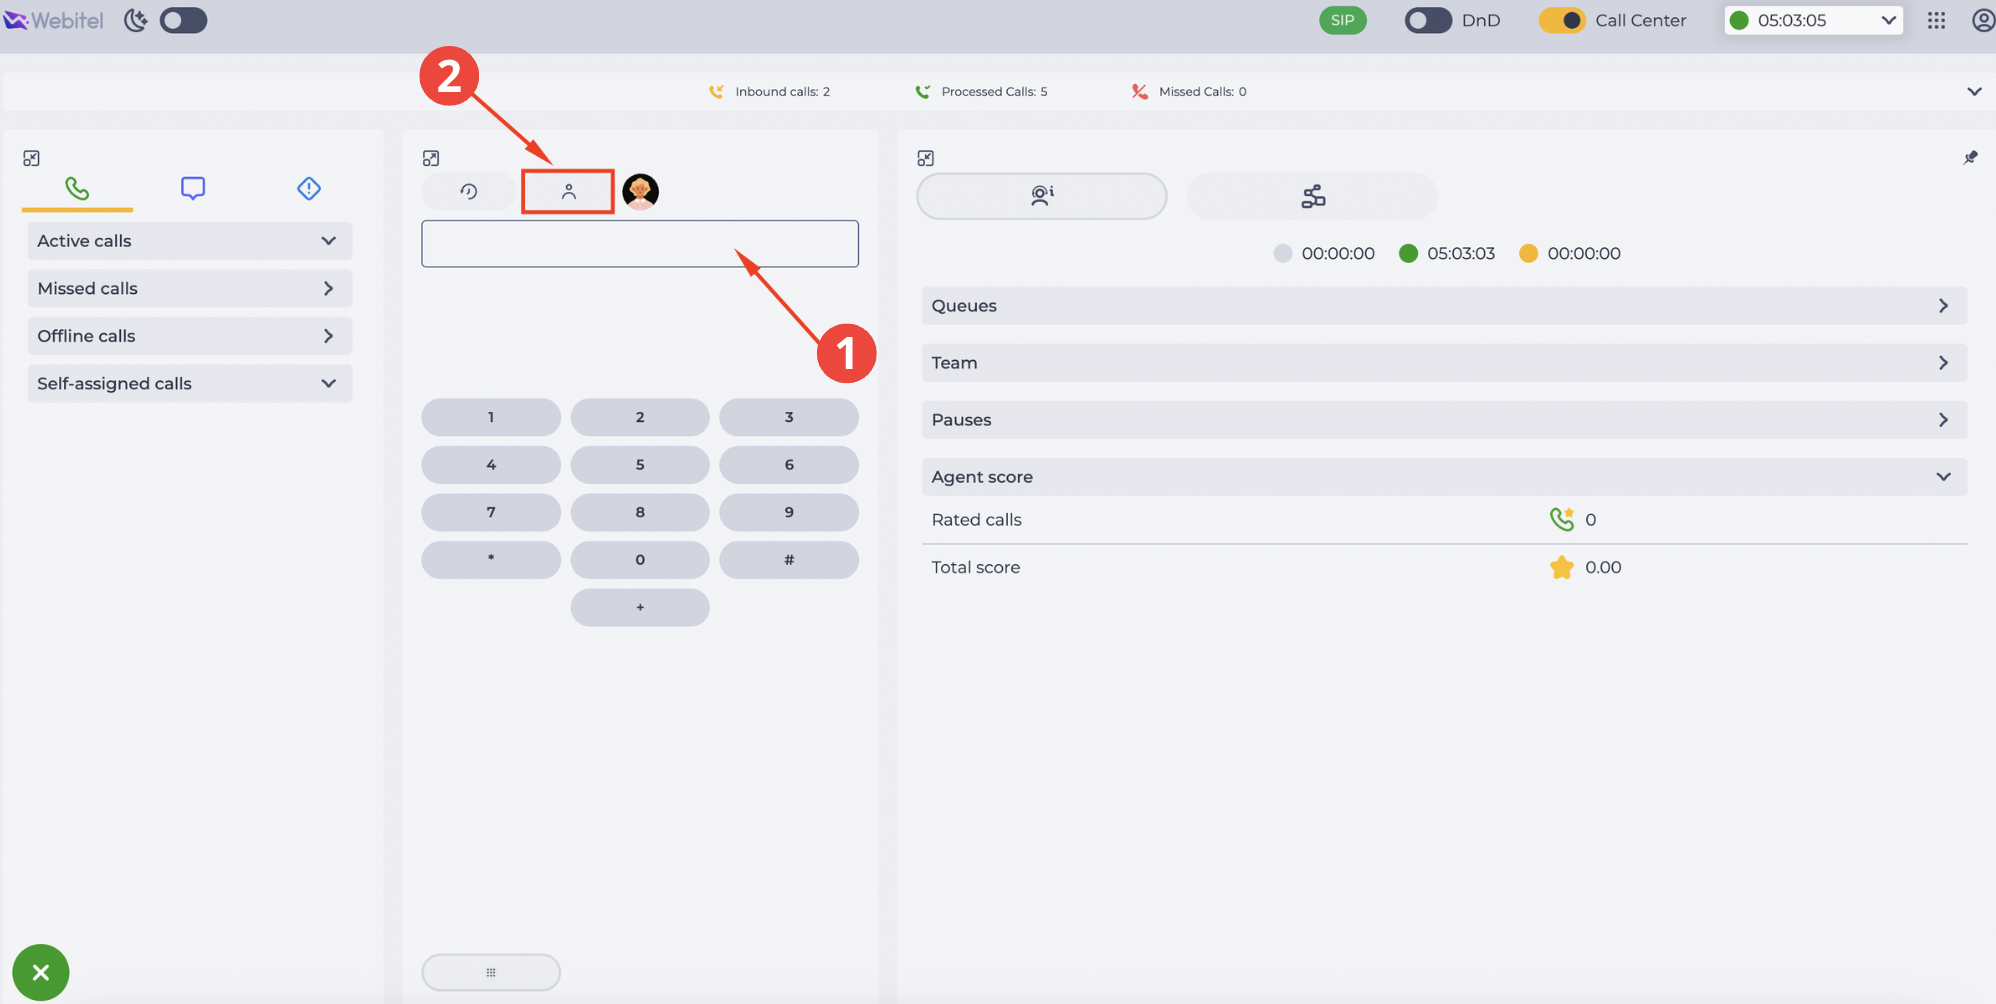
Next, enter the subscriber’s number manually (Fig. 18.(1)) or select it from the list of available contacts (Fig. 18.(2)).
-
During an active call, the system automatically pulls up the post processing form configured in the schema.
3.2. Working with the form
-
The fields in the form are determined by the schema that was linked to the Dialplan rule.
-
The form may include:
-
fields for creating a "Case" (if the "Cases" application is available);
-
fields for performing additional tasks.
-
3.3. Saving data
-
The operator fills in the form according to the results of the call.
-
All entered data is saved after clicking the "Send" button. After that, the data becomes available in the system according to the logic defined in the schema (for example, a Case is created).