
IMPORTANT!
Before proceeding, make sure you have the necessary access rights:
-
Access to the Webitel Admin application;
-
Access to the “Licenses” section in the application;
1. Viewing Available Licenses and Their Expiration Date
-
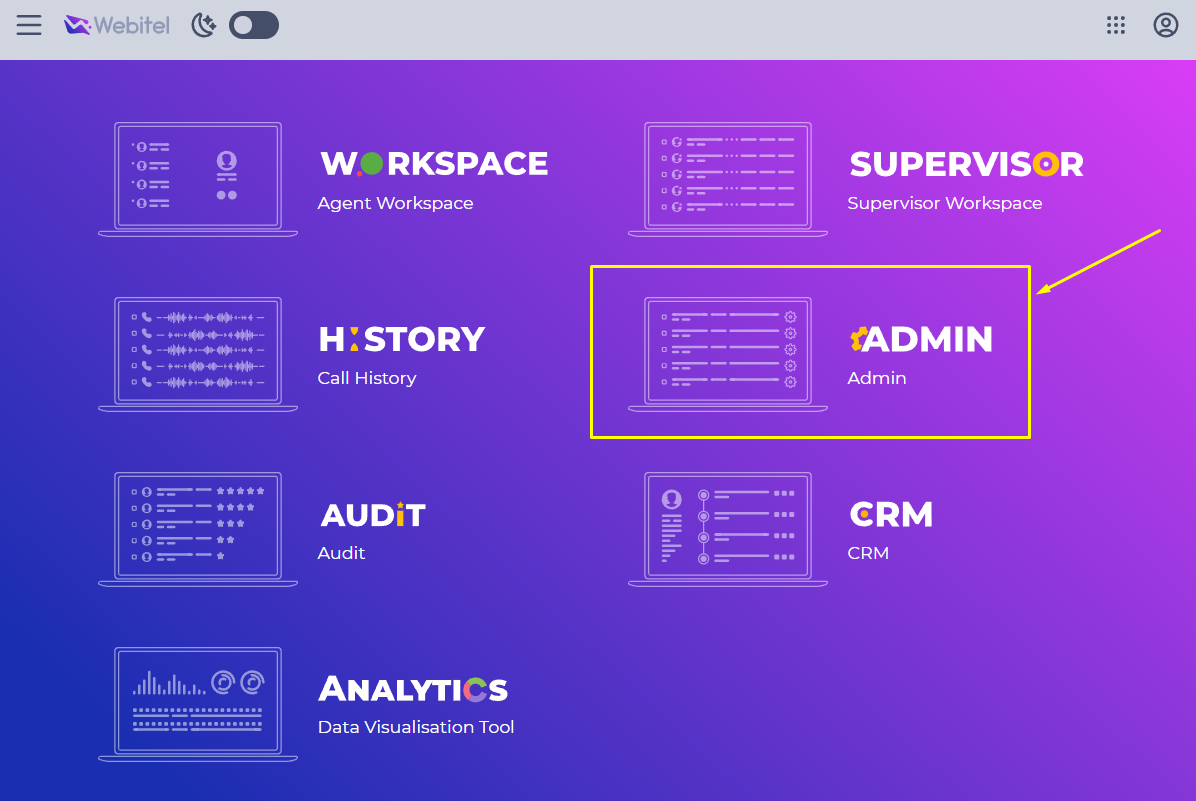
Open the Webitel Admin application (Fig. 1).
-
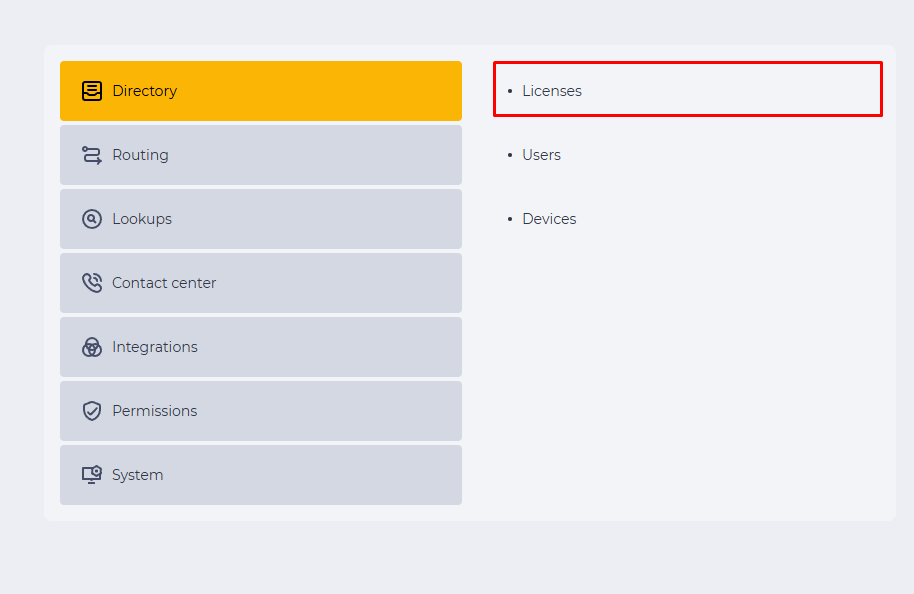
Go to Directory → Licenses (Fig. 2).
-
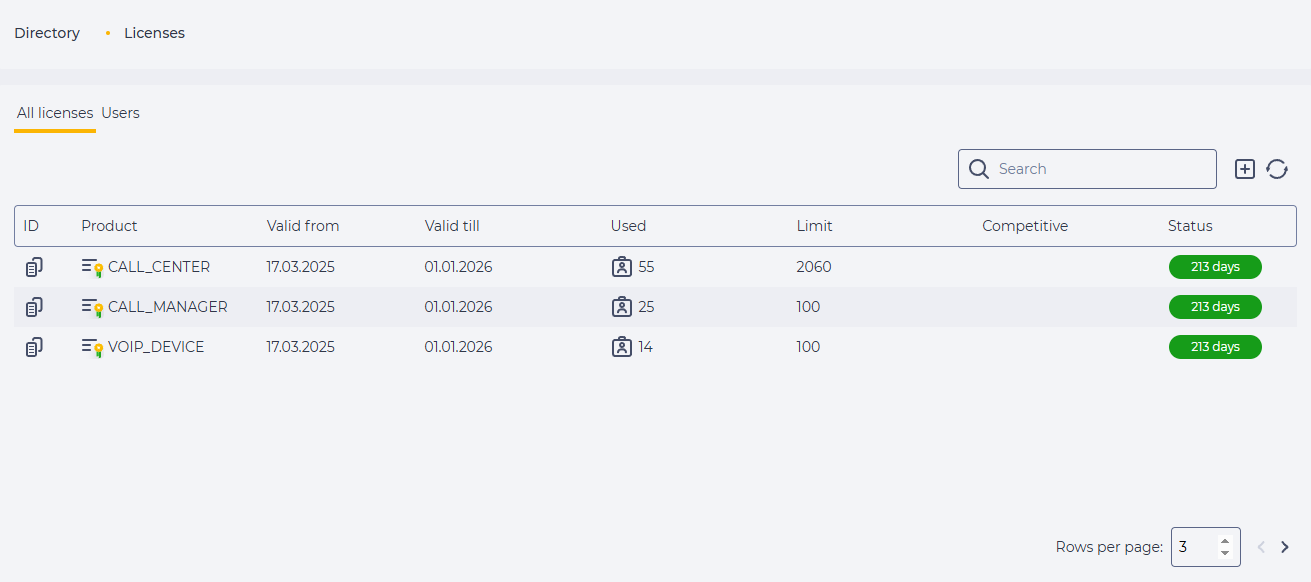
In the “All Licenses” tab table (Fig. 3), all licenses in the system will be displayed, including the following data:
-
ID — clicking the button

-
Product — the name of the product (e.g., WFM, EMAIL, CHAT) for which the license was issued;
-
Valid From / Valid till — start and expiration dates of the license;
-
Used:
For named licenses: shows the number of users assigned to the license.
For concurrent licenses: shows the current number of active users.
Clicking on the number opens a modal window displaying the users assigned to this license.
-
Limit:
For named licenses: displays the maximum number of users who can be assigned the license.
For concurrent licenses: shows the maximum number of active users allowed.
-
Concurrent — indicates whether the license is concurrent. “Yes” means it is concurrent. An empty field means it is a named (non-concurrent) license.
-
Status — displays the number of days remaining until the license expires (e.g., 227 days).
-
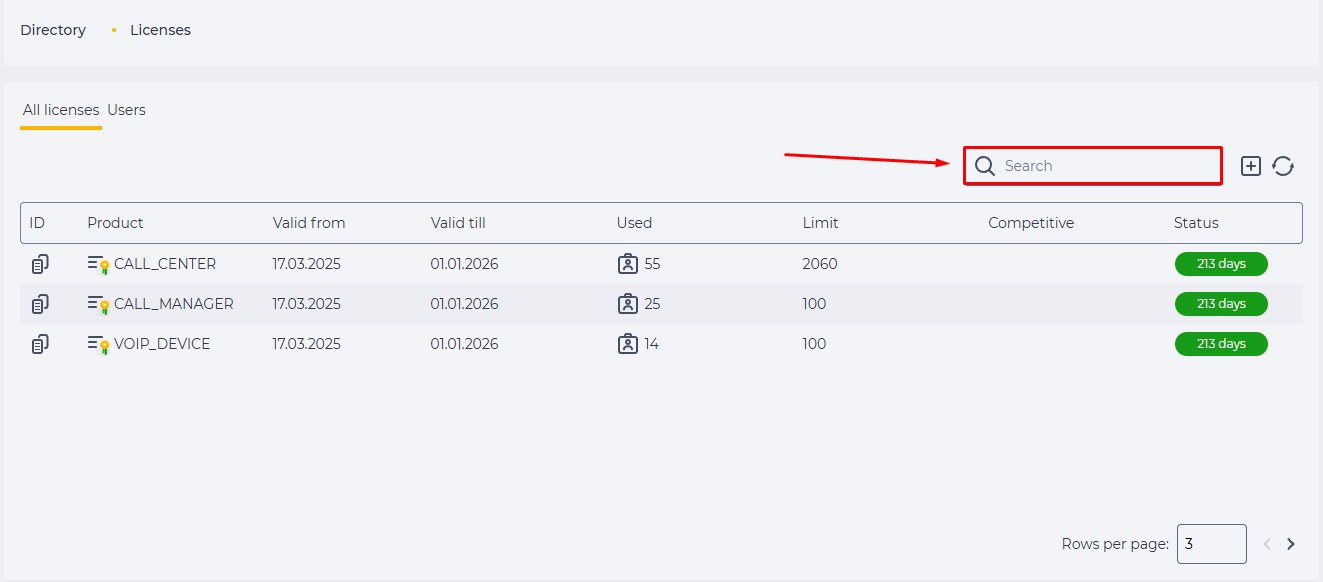
For convenience, use the search field (Fig. 4) in the upper right corner to quickly find the required license.
2. Viewing Assigned Licenses for Users
-
Open the Webitel Admin application (Fig. 5).
-
Go to Directory → Licenses (Fig. 6).
-
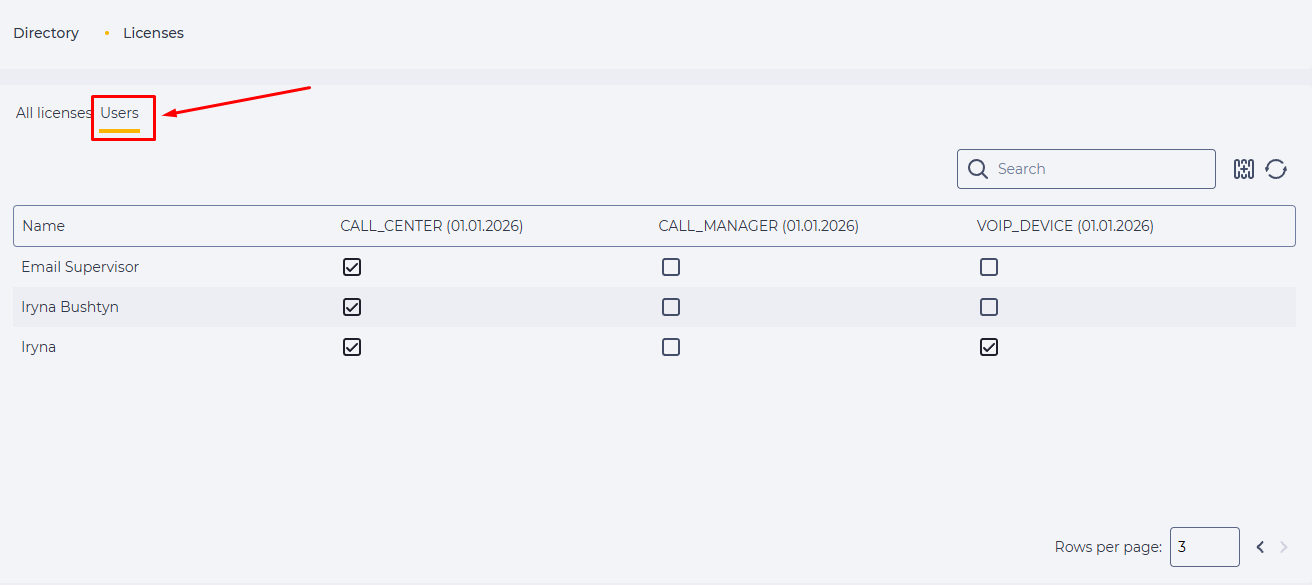
Select the “Users” tab (Fig. 7).
-
The table will display a list of all system users.
-
Each user will show all available licenses — assigned licenses are marked with checkboxes.
-
For easier navigation:
-
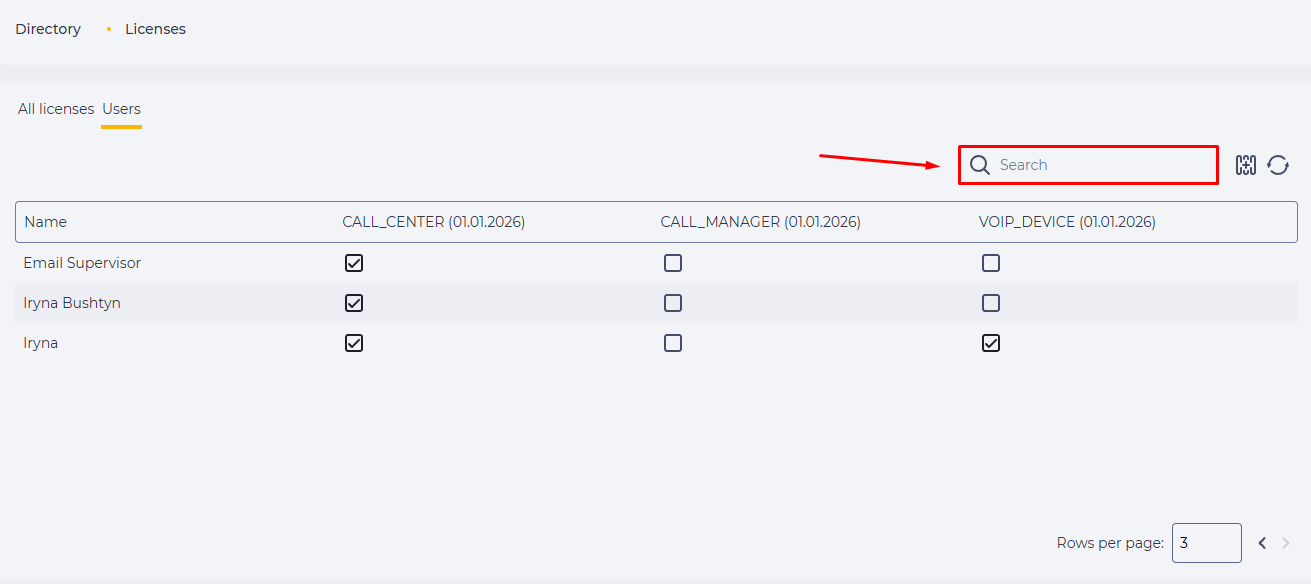
Use the search at the top of the table to quickly find the desired user (Fig. 8).
-
-
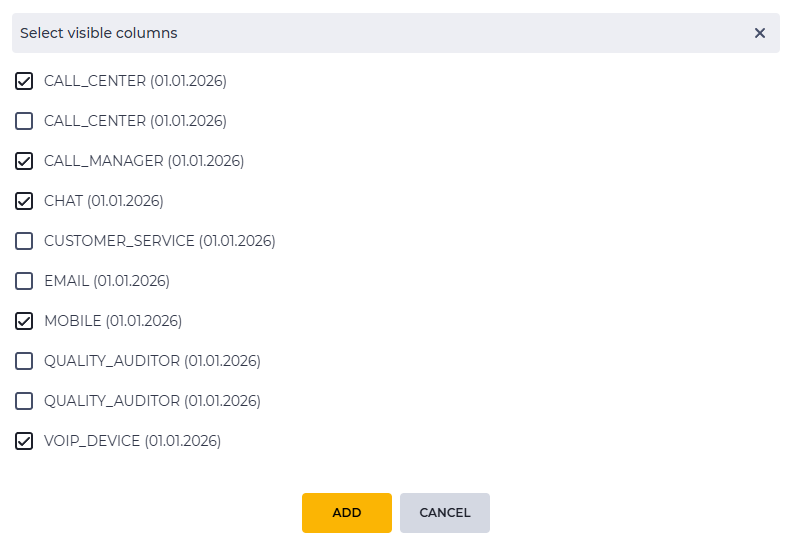
Click the column selection icon

-
In the modal window, check or uncheck the licenses you want to display in the table.
-
Click “Add” to apply your selection.
-
-
The checkboxes next to the licenses will also show the expiration date for each license (e.g., 01.01.2026).
3. Assigning a License to a User
-
Open the Webitel Admin application (Fig. 10).
-
Go to Directory → Licenses (Fig. 11).
-
Select the “Users” tab (Fig. 12).
-
The table will display the list of system users.
-
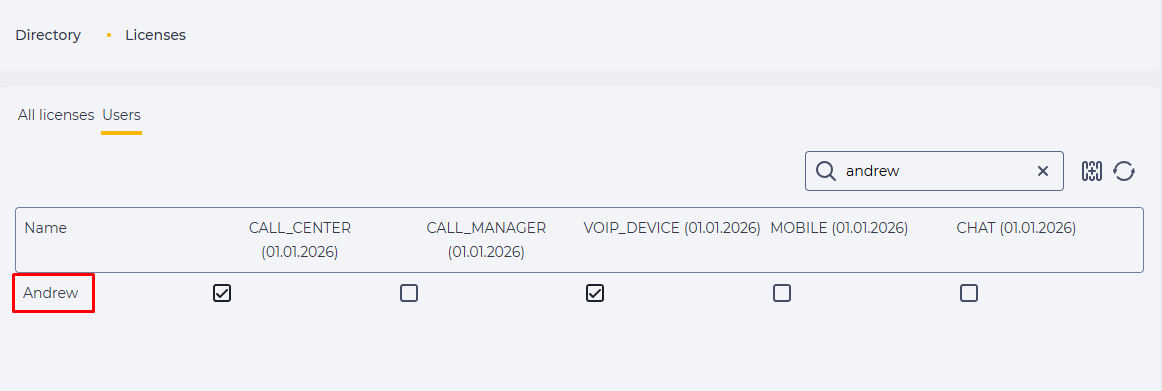
Find the required user — for example, Andrew. For convenience, you can use the search field at the top of the table (Fig. 13).
-
In the column with the name of the desired license (e.g., CALL_MANAGER (01.01.2026)), check the box (Fig. 14).
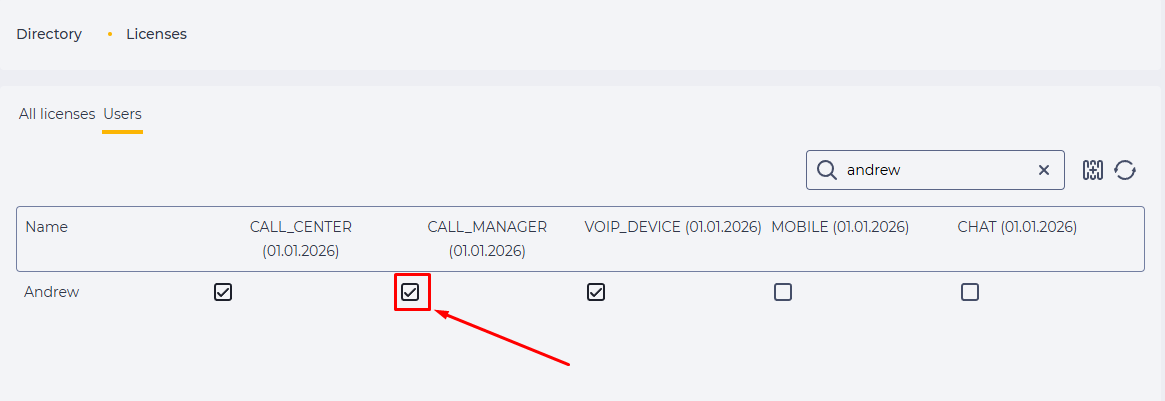
The corresponding license will be assigned to user Andrew.
4. Removing a License from a User
-
Open the Webitel Admin application (Fig. 15).
-
Go to Directory → Licenses (Fig. 16).
-
Select the “Users” tab (Fig. 17).
-
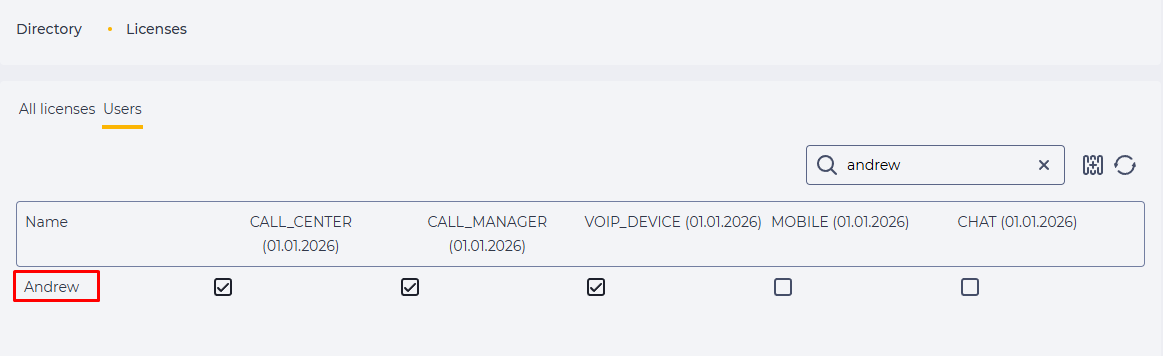
Find the user from whom you want to remove the license — for example, Andrew. Use the search field at the top of the table if needed (Fig. 18).
-
In the column with the license name (e.g., CALL_MANAGER (01.01.2026)), uncheck the box (Fig. 19).
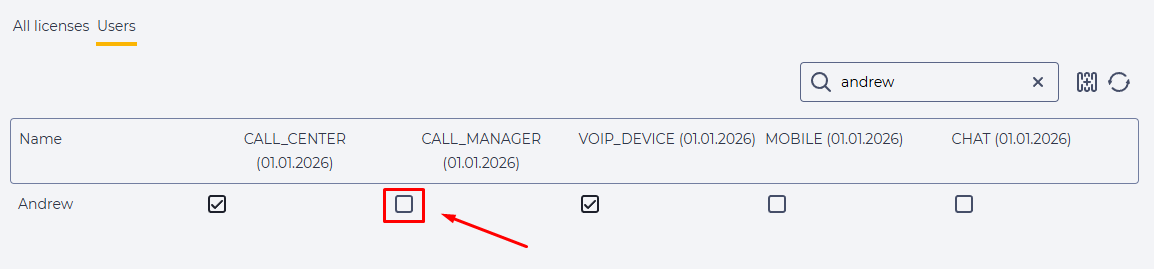
The license CALL_MANAGER (01.01.2026) will be removed from user Andrew. The checkbox will become empty.
5. Adding a License Key to Extend the License Validity
-
Open the Webitel Admin application (Fig. 20).
-
Go to Directory → Licenses (Fig. 6).
-
Click the add button

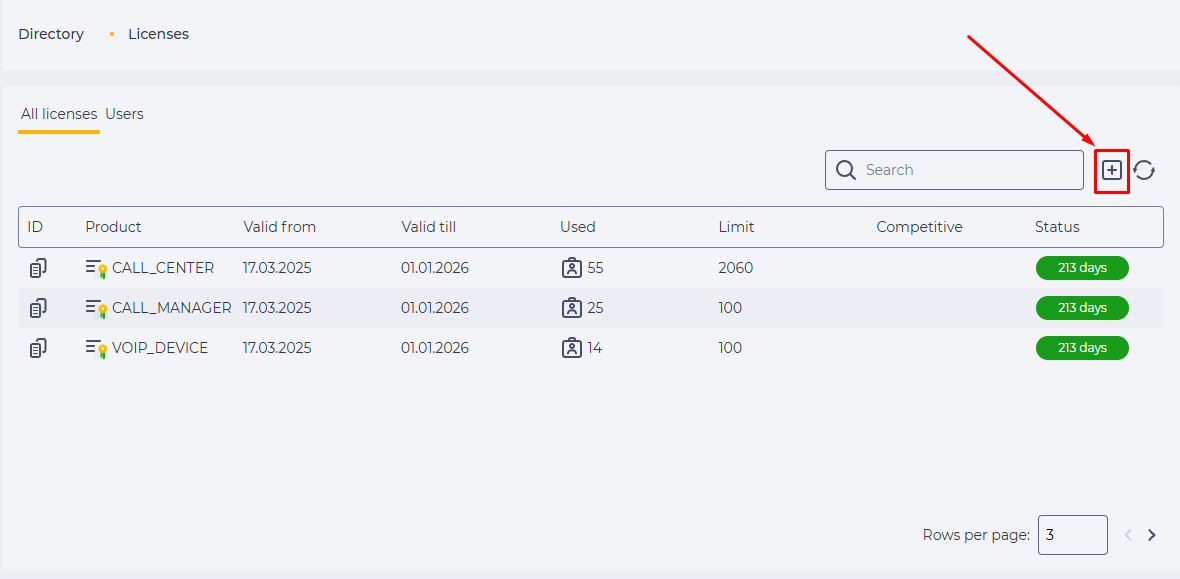
-
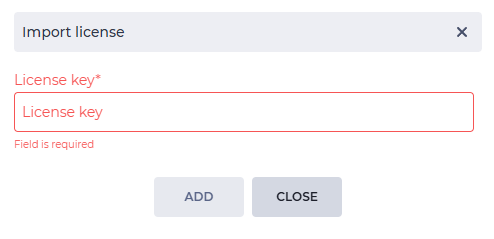
The “Upload License” modal window will open (Fig. 23).
-
In the “License Key” field, enter the obtained key. After entering the data, the “Add” button will become active (yellow).
-
Click “Add” to confirm the upload (Fig. 24).
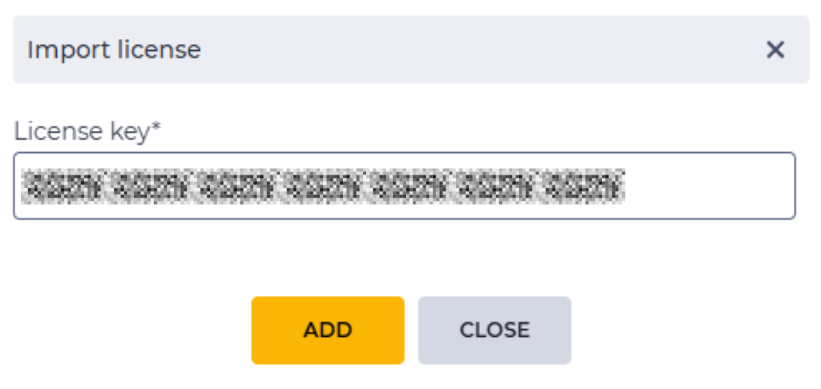
The modal window will close automatically. A new entry will appear in the registry for the product for which the license was added.
5.1. Obtaining a License Key
You can obtain the license key by one of the following methods:
-
By contacting the manager.
-
By creating a ticket on the Webitel Support portal.
After receiving the key, you can activate it according to the activation instructions (see section 5).
5.2. Extending the License after Expiration Without Admin Access
If the license has expired and access to the Admin Panel is unavailable, you can renew the license via API by executing the following request:
curl -XPUT https://SERVER_ADDR/api/customer -d '{"certificate":"LICENSE KEY"}'