
1. Description
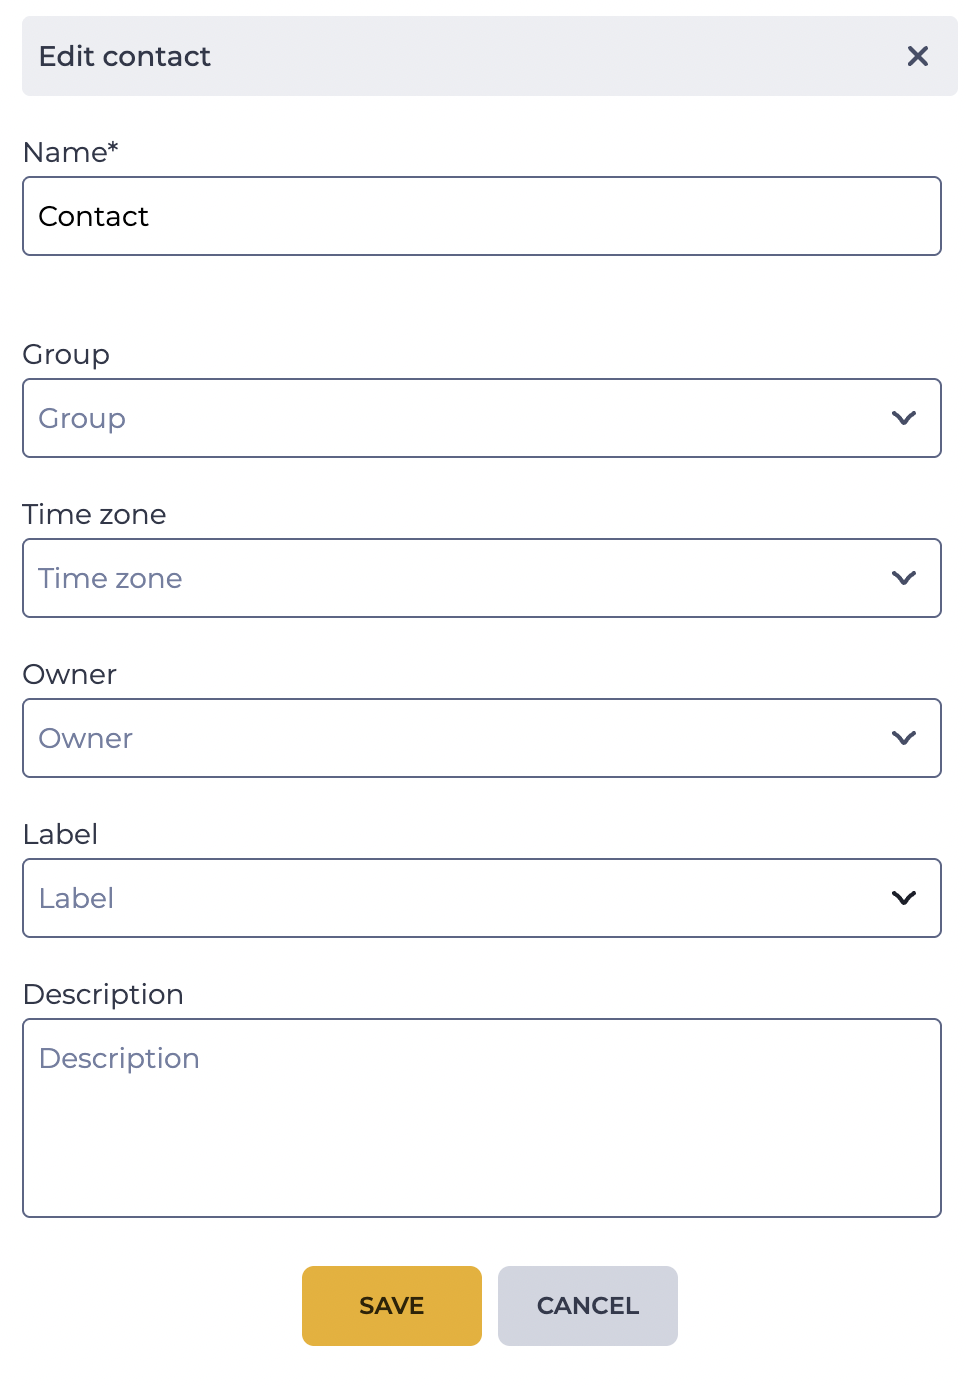
It is designed to customize the Contact.
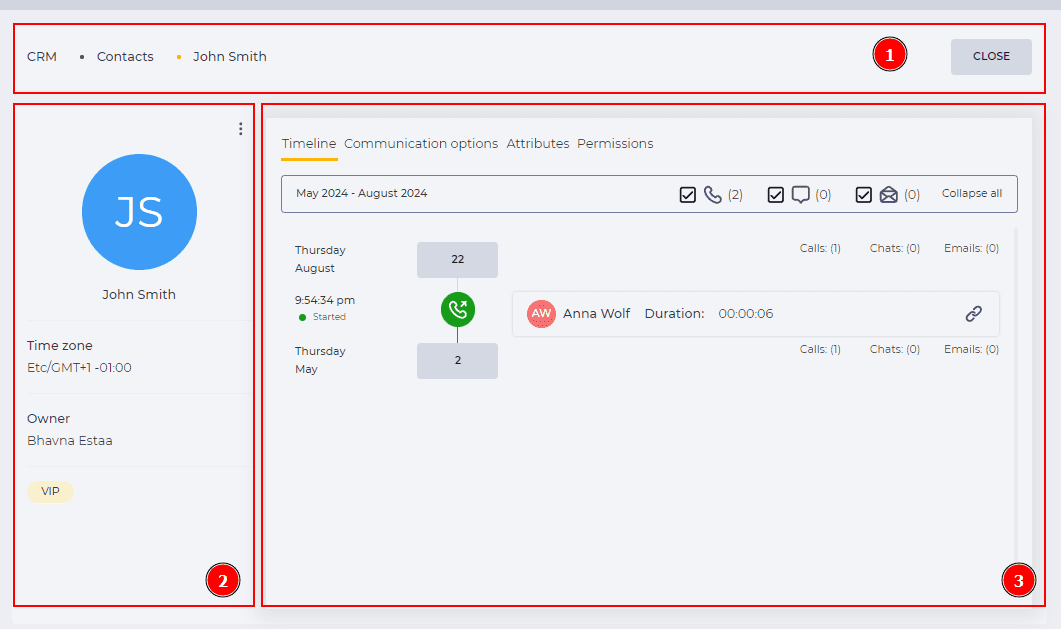
It consists of the following elements:
-
Top bar (Fig.1.(1));
-
Sidebar (Fig.1.(2));
-
Tab bar (Fig.1.(3)).
1.1. Top bar
The top bar consists of the path of the page and the Close button. The Close button closes the Contact page and opens the Contacts page.
1.2. Sidebar
General contact information is displayed here.
It consists of the following elements:
-
Options button;
-
Avatar;
-
Contact name;
-
Group;
-
Time zone;
-
Owner;
-
Description
-
Labels.
1.2.1. Options button
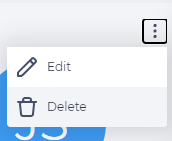
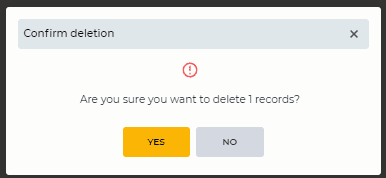
Click the 


1.2.2. Avatar
An avatar is automatically substituted as name initials on the appropriate background for each Contact.
The background colour of the avatar is determined by the first letter of the name. Both Latin and Cyrillic are considered.
1.2.3. Contact name
The Contact name is displayed here.
If the Contact is linked to a user in Admin → Directory → User, a special icon is displayed next to the name 
1.2.4. Group
Here you select a group of users who will be associated with this contact and will be able to work with it.
1.2.5. Time zone
Here, you select the contact's time zone.
1.2.6. Owner
The name of the Contact owner is displayed here.
1.2.7. Description
The description of the contact is displayed here.
1.2.8. Labels
The labels of the Contact are displayed here.
1.3. Tab bar
The Tab Bar displays tabs with data for this Contact.
There are the following tabs:
2. Opportunities
2.1. Add the Communication option to the Contact
|
Goal |
Add the Email to the Contact |
|---|---|
|
Preconditions |
|
|
Steps
|
|
|
Result |
The modal window closes. The entry is added to the registry in the Email tab. |

2.2. Remove the Communication option to the Contact
|
Goal |
Remove the Email to the Contact |
|---|---|
|
Preconditions |
|
|
Steps
|
|
|
Result |
The Email is removed from the registry. |

2.3. Change the Communication option in the Contact
|
Goal |
Change the Email in the Contact |
|---|---|
|
Preconditions |
|
|
Steps
|
|
|
Result |
Data saved. |
2.4. Add an attribute to the Contact
|
Goal |
Add an attribute to the Contact |
|---|---|
|
Preconditions |
|
|
Steps
|
|
|
Result |
The modal window closes. The entry has been added to the registry. |

2.5. Remove the attribute from the Contact
|
Goal |
Remove the attribute from the Contact |
|---|---|
|
Preconditions |
|
|
Steps
|
|
|
Result |
The attribute is removed from the registry entries. |
2.6. Change the attribute in the Contact
|
Goal |
Change the attribute in the Contact |
|---|---|
|
Preconditions |
|
|
Steps
|
|
|
Result |
Data saved. |
2.7. Add a Role or User to the list of those who have access to the Contact
|
Goal |
Add a Role that will have access to the Contact |
|---|---|
|
Preconditions |
|
|
Steps
|
|
|
Result |
The modal window closes. The entry is added to the registry. |
2.8. Remove a Role or User from the list of those who have access to the Contact
|
Goal |
Remove the Role that has access to the Contact |
|---|---|
|
Preconditions |
|
|
Steps
|
|
|
Result |
The Role is removed from the registry. |
2.9. Change action permission from Role to Contact
|
Goal |
Change action permission |
|---|---|
|
Preconditions |
|
|
Steps
|
|
|
Result |
Data saved. |