
1. Description
The General tab in the Agent card is designed to view and manage the key parameters of the Agent. It includes displaying the current status, evaluations, the ability to configure the team and location, as well as managing calls and pauses.
The page consists of three functional blocks:
-
Top bar (Fig. 1.(1));
-
Settings bar (Fig. 1.(2));
-
Pause bar (Fig. 1.(3)).
.png?cb=1764147ebdd2ecfe8b311d42c5eb2e58)
1.2. How to change the Agent status
To change the current status of an Agent, make sure you have the appropriate permissions.
-
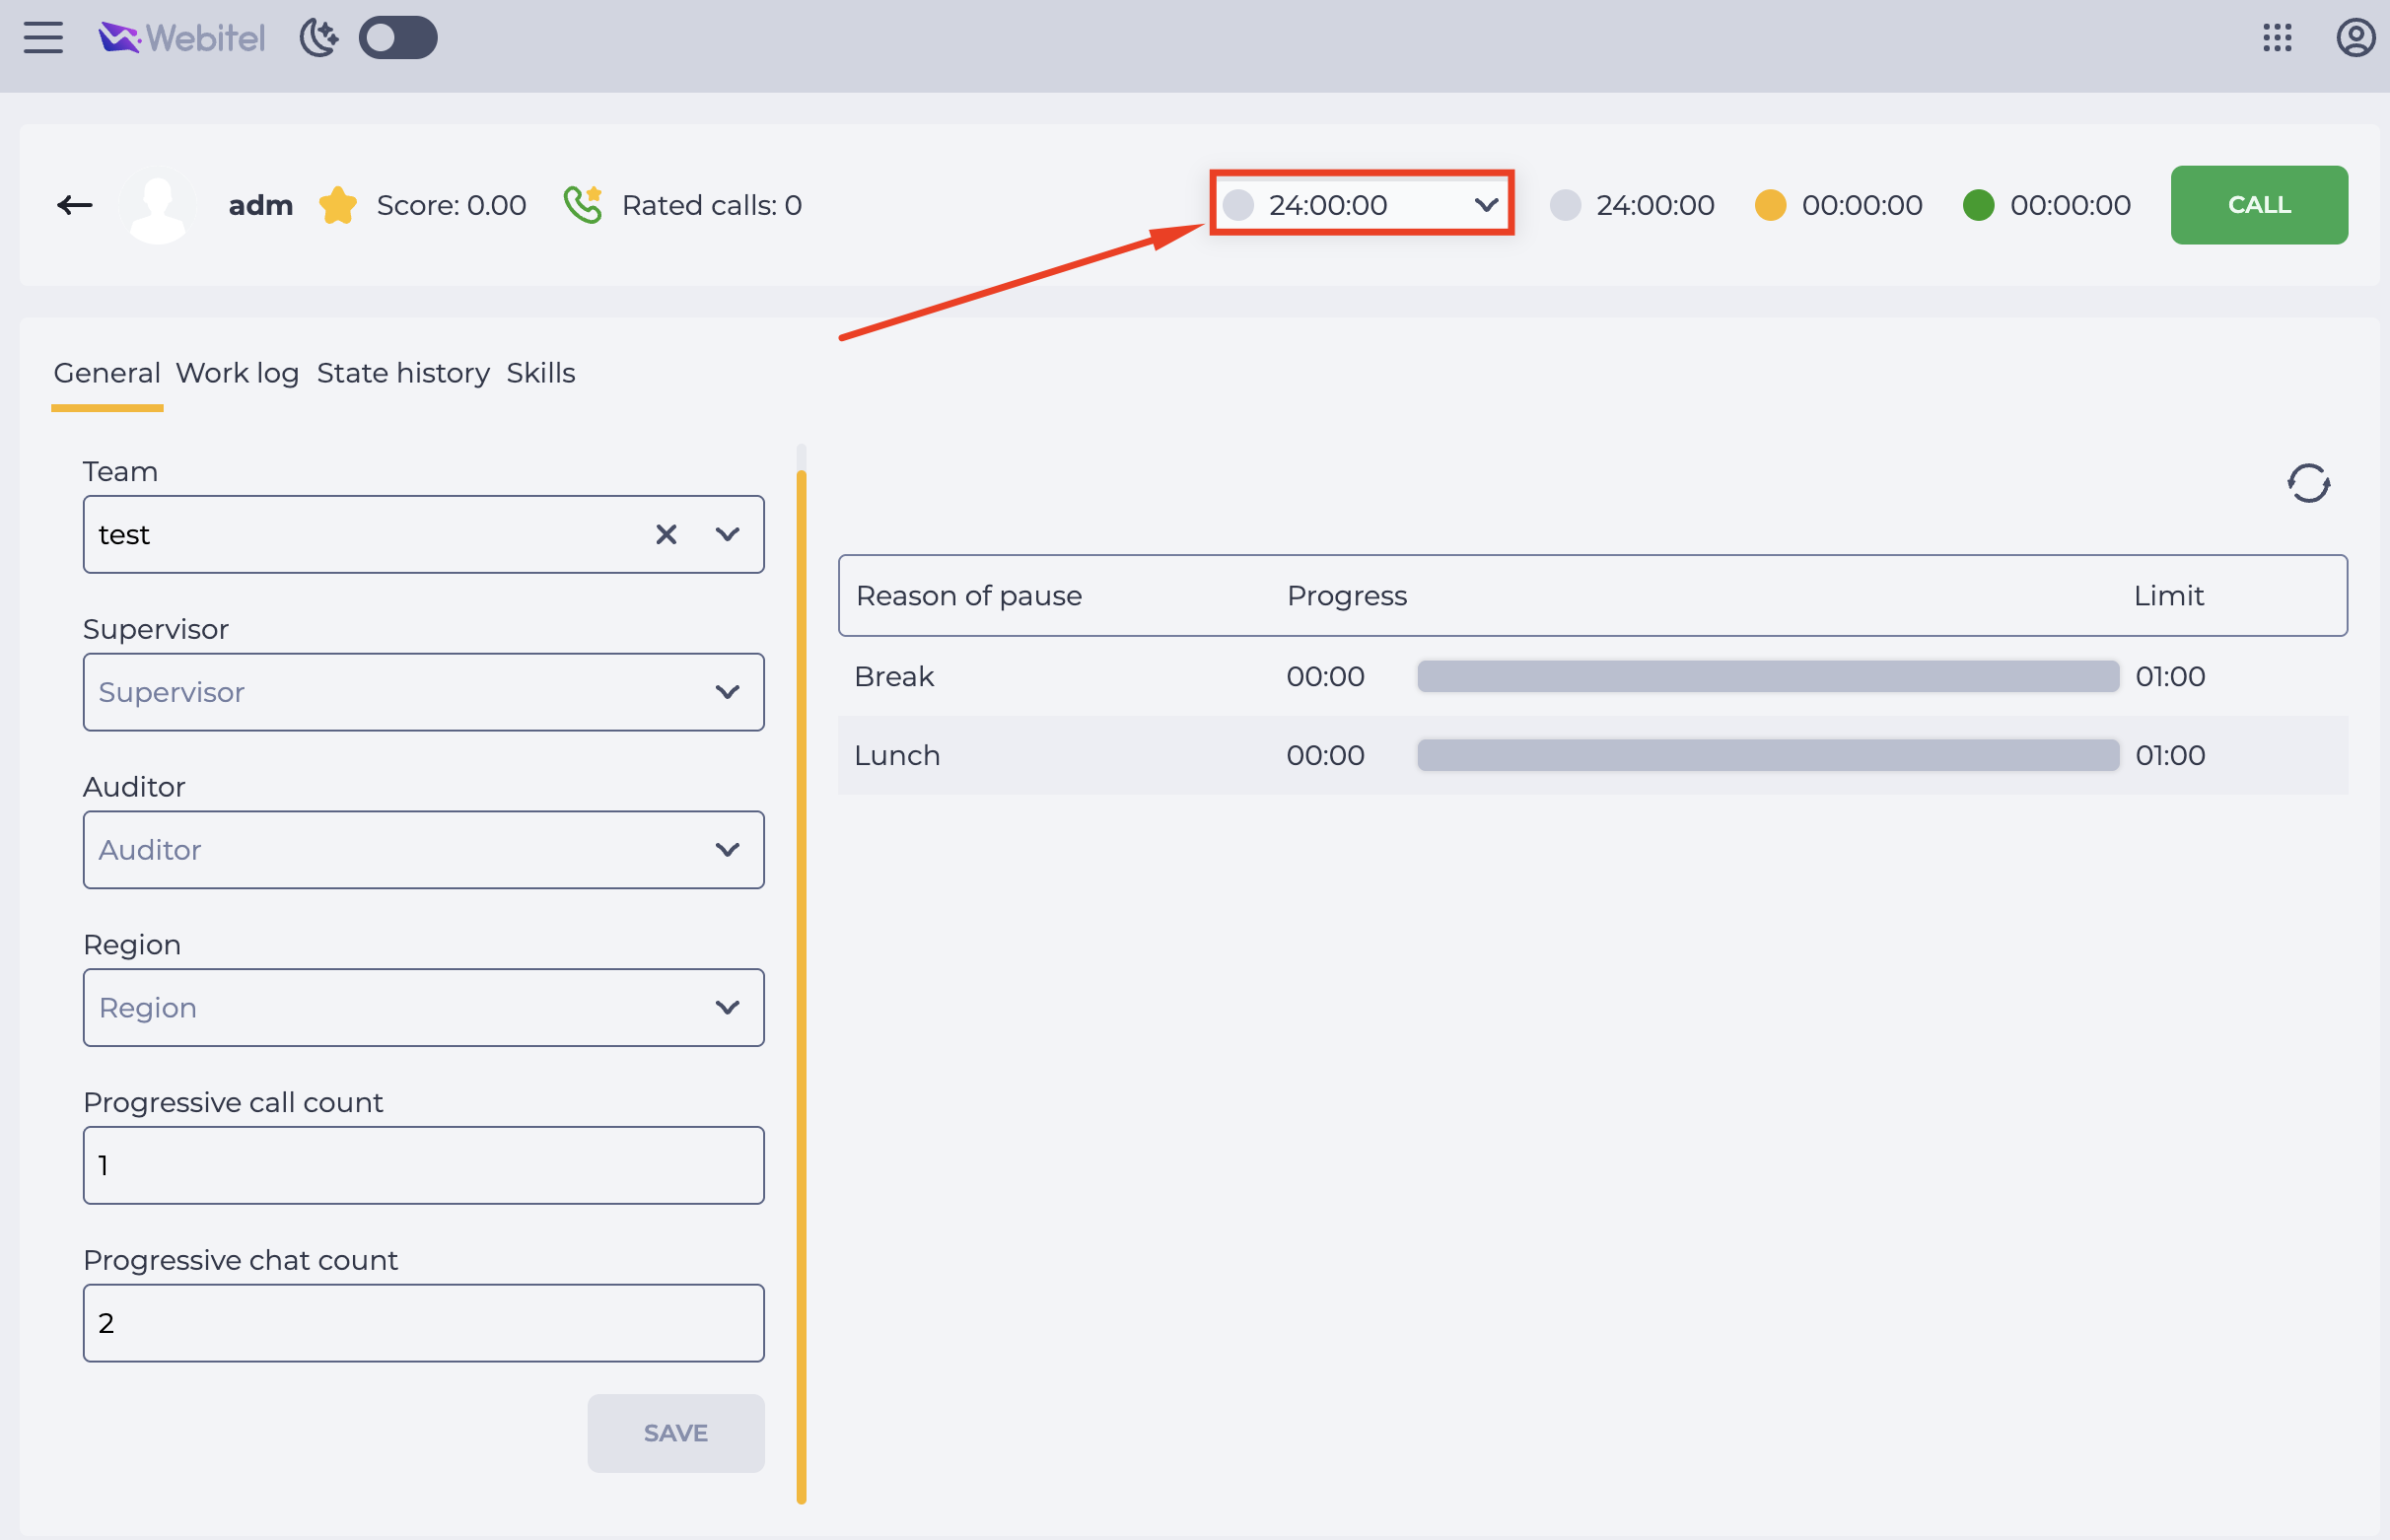
On the top bar, find the block displaying the current status of the Agent and the timer showing the duration of this status (Fig. 2).
-
Click on the timer field. A drop-down list of all available statuses will appear:
-

-

-

-
Select the required status by clicking on it.
If you select the Pause status:
-
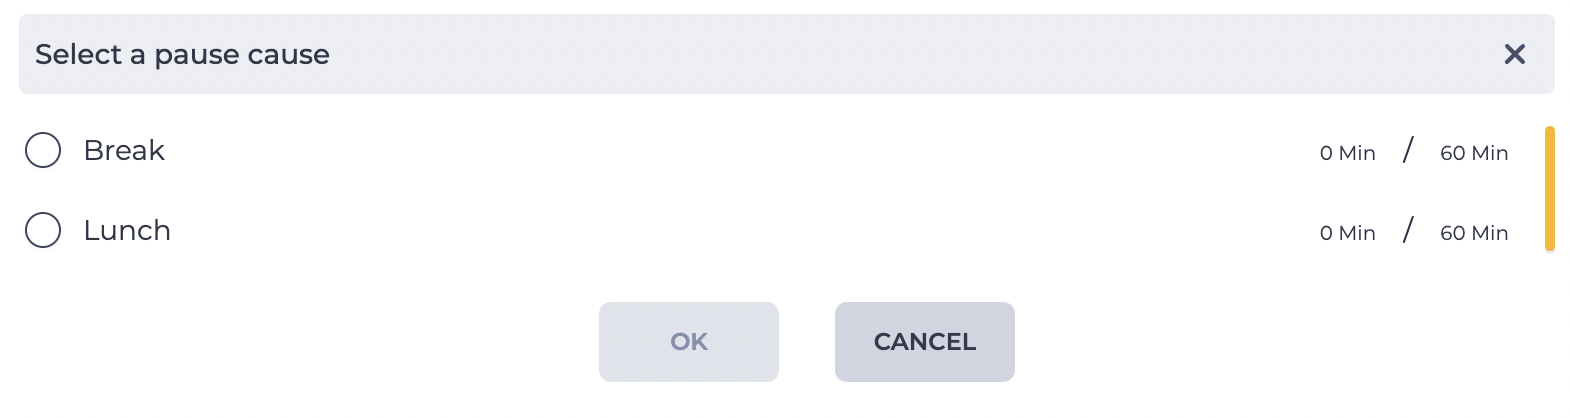
the Select a pause cause modal window opens automatically (Fig. 3);
-
choose the required reason from the list;
-
after selecting, click the OK button.
Important: A Supervisor can only transfer an Agent to those pauses for which the “Supervisor can change this status” option is enabled in Admin → Agent Statuses.
If this option is disabled, the status will not appear for the Supervisor in the drop-down list.
After the status is changed:
-
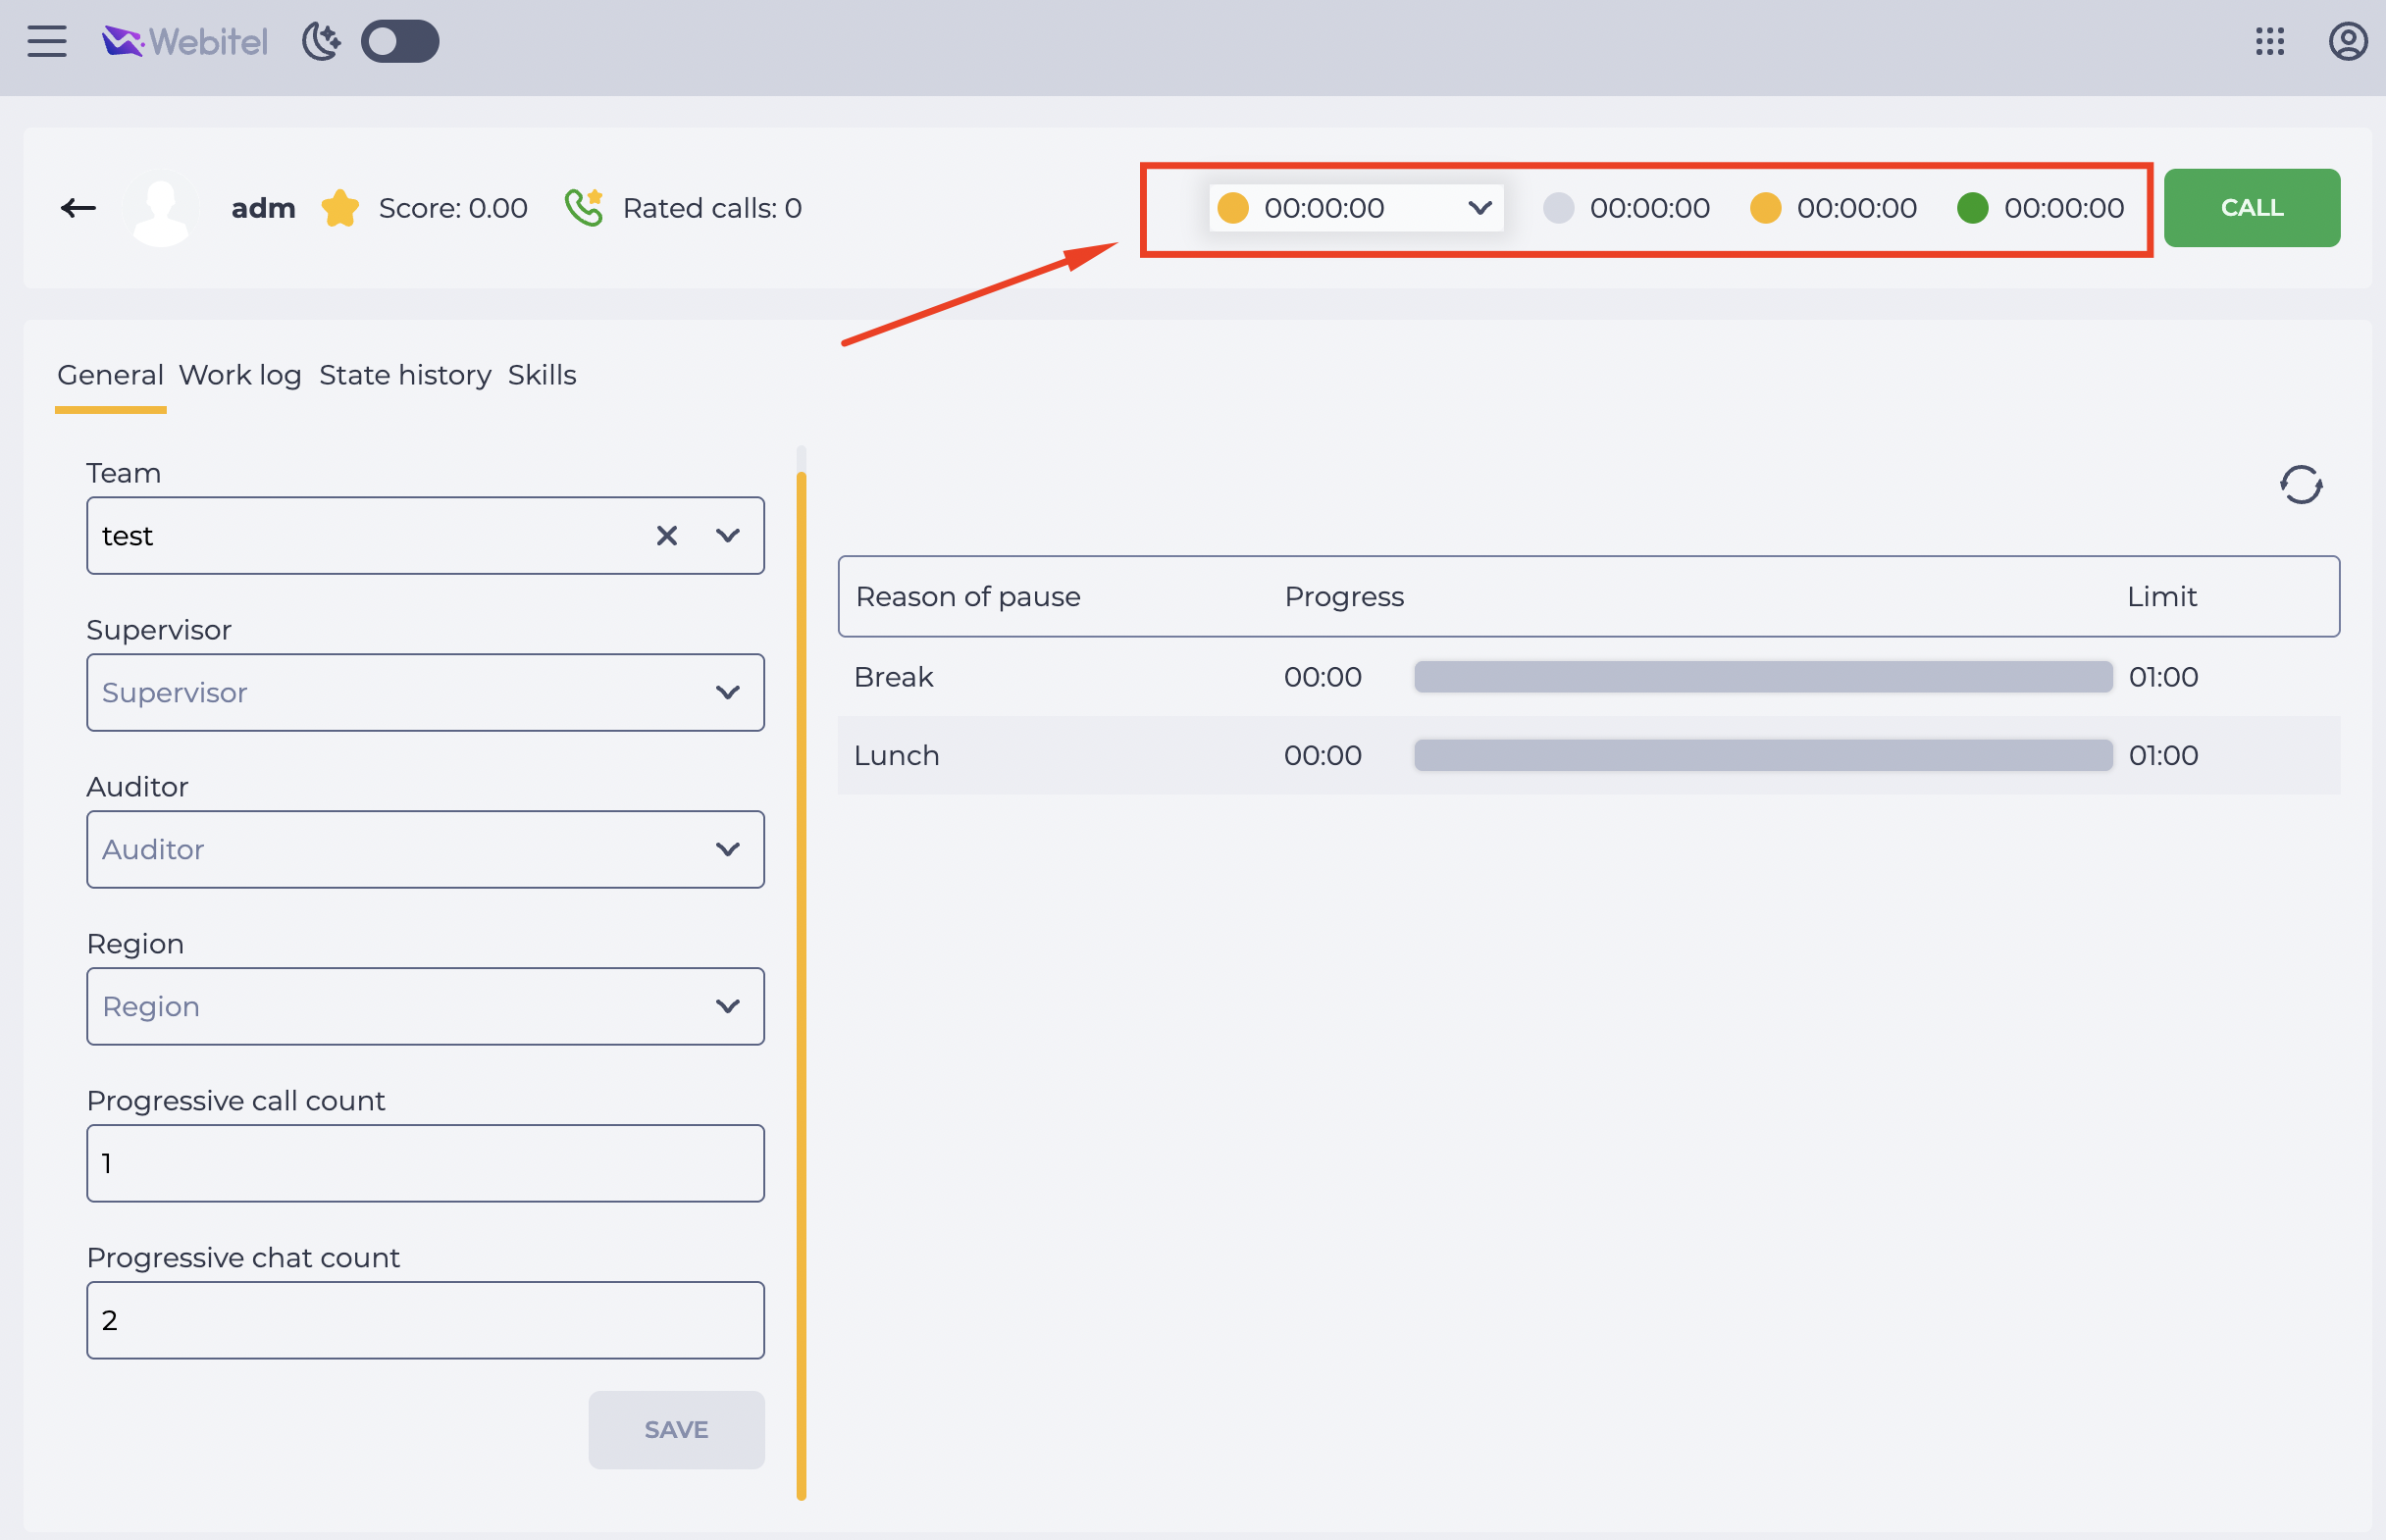
the Agent status is updated on the panel;
-
the timer resets and starts counting from the new status.
1.3. How to view and change Agent parameters
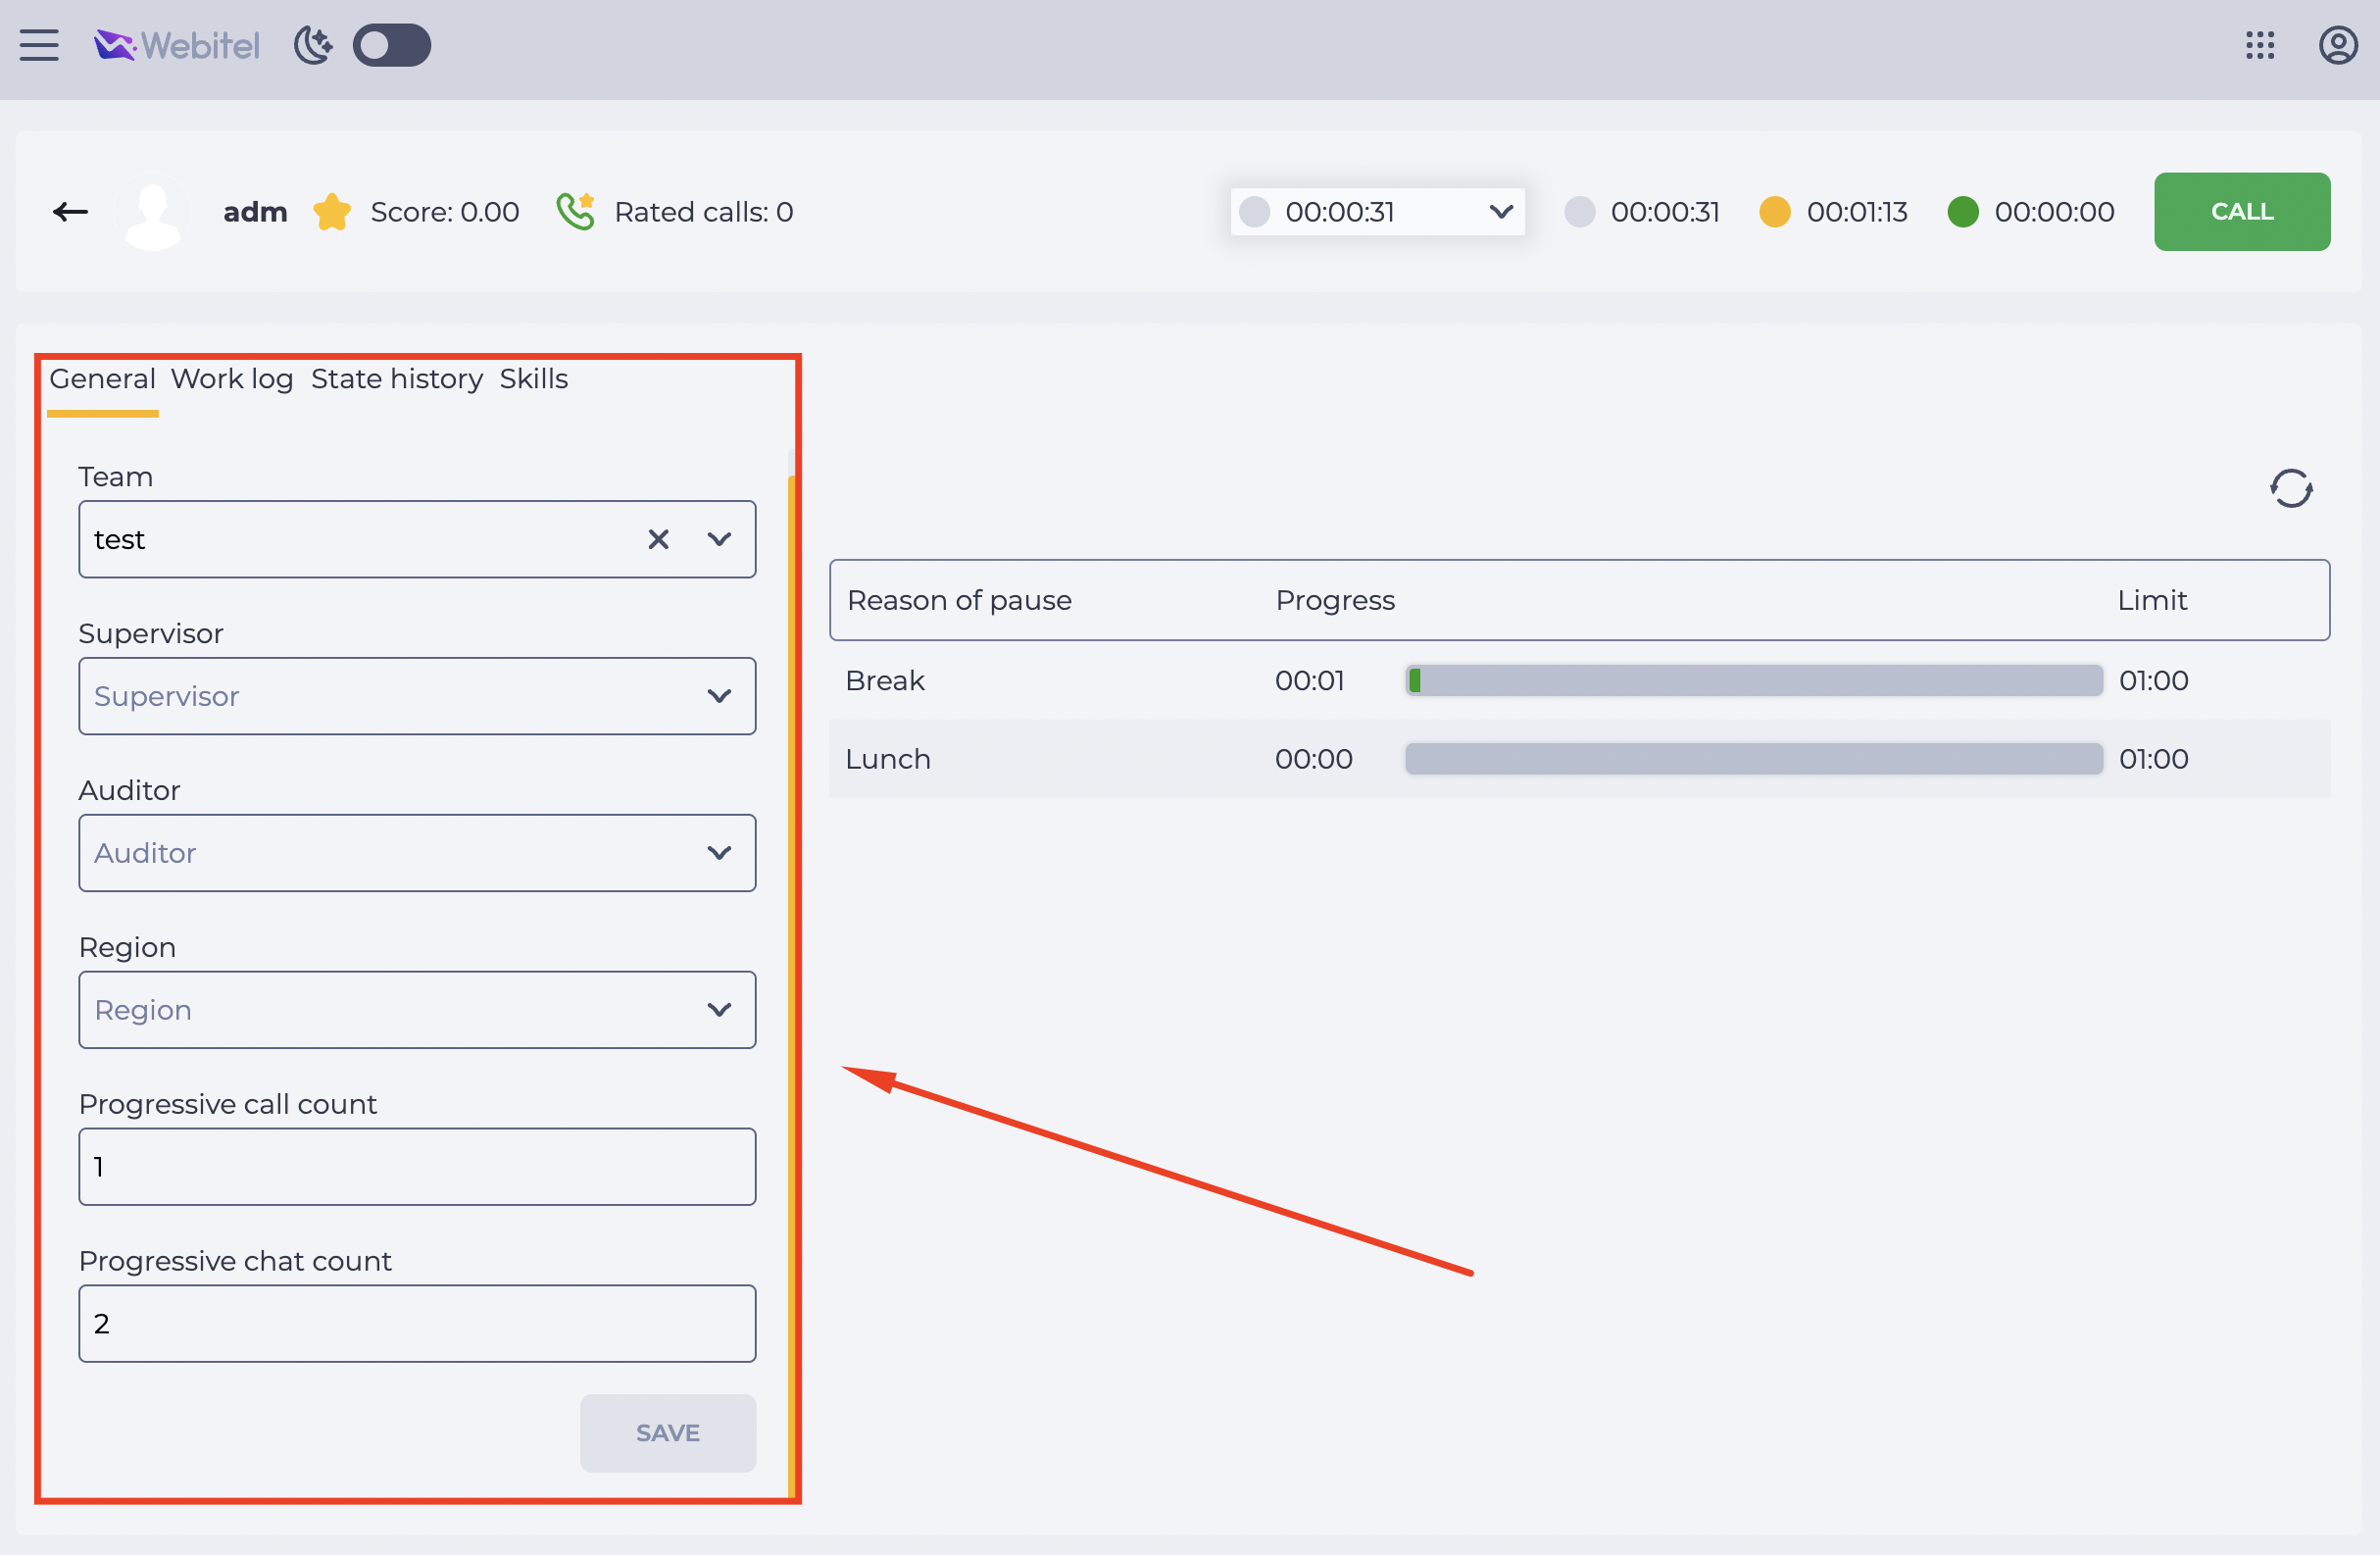
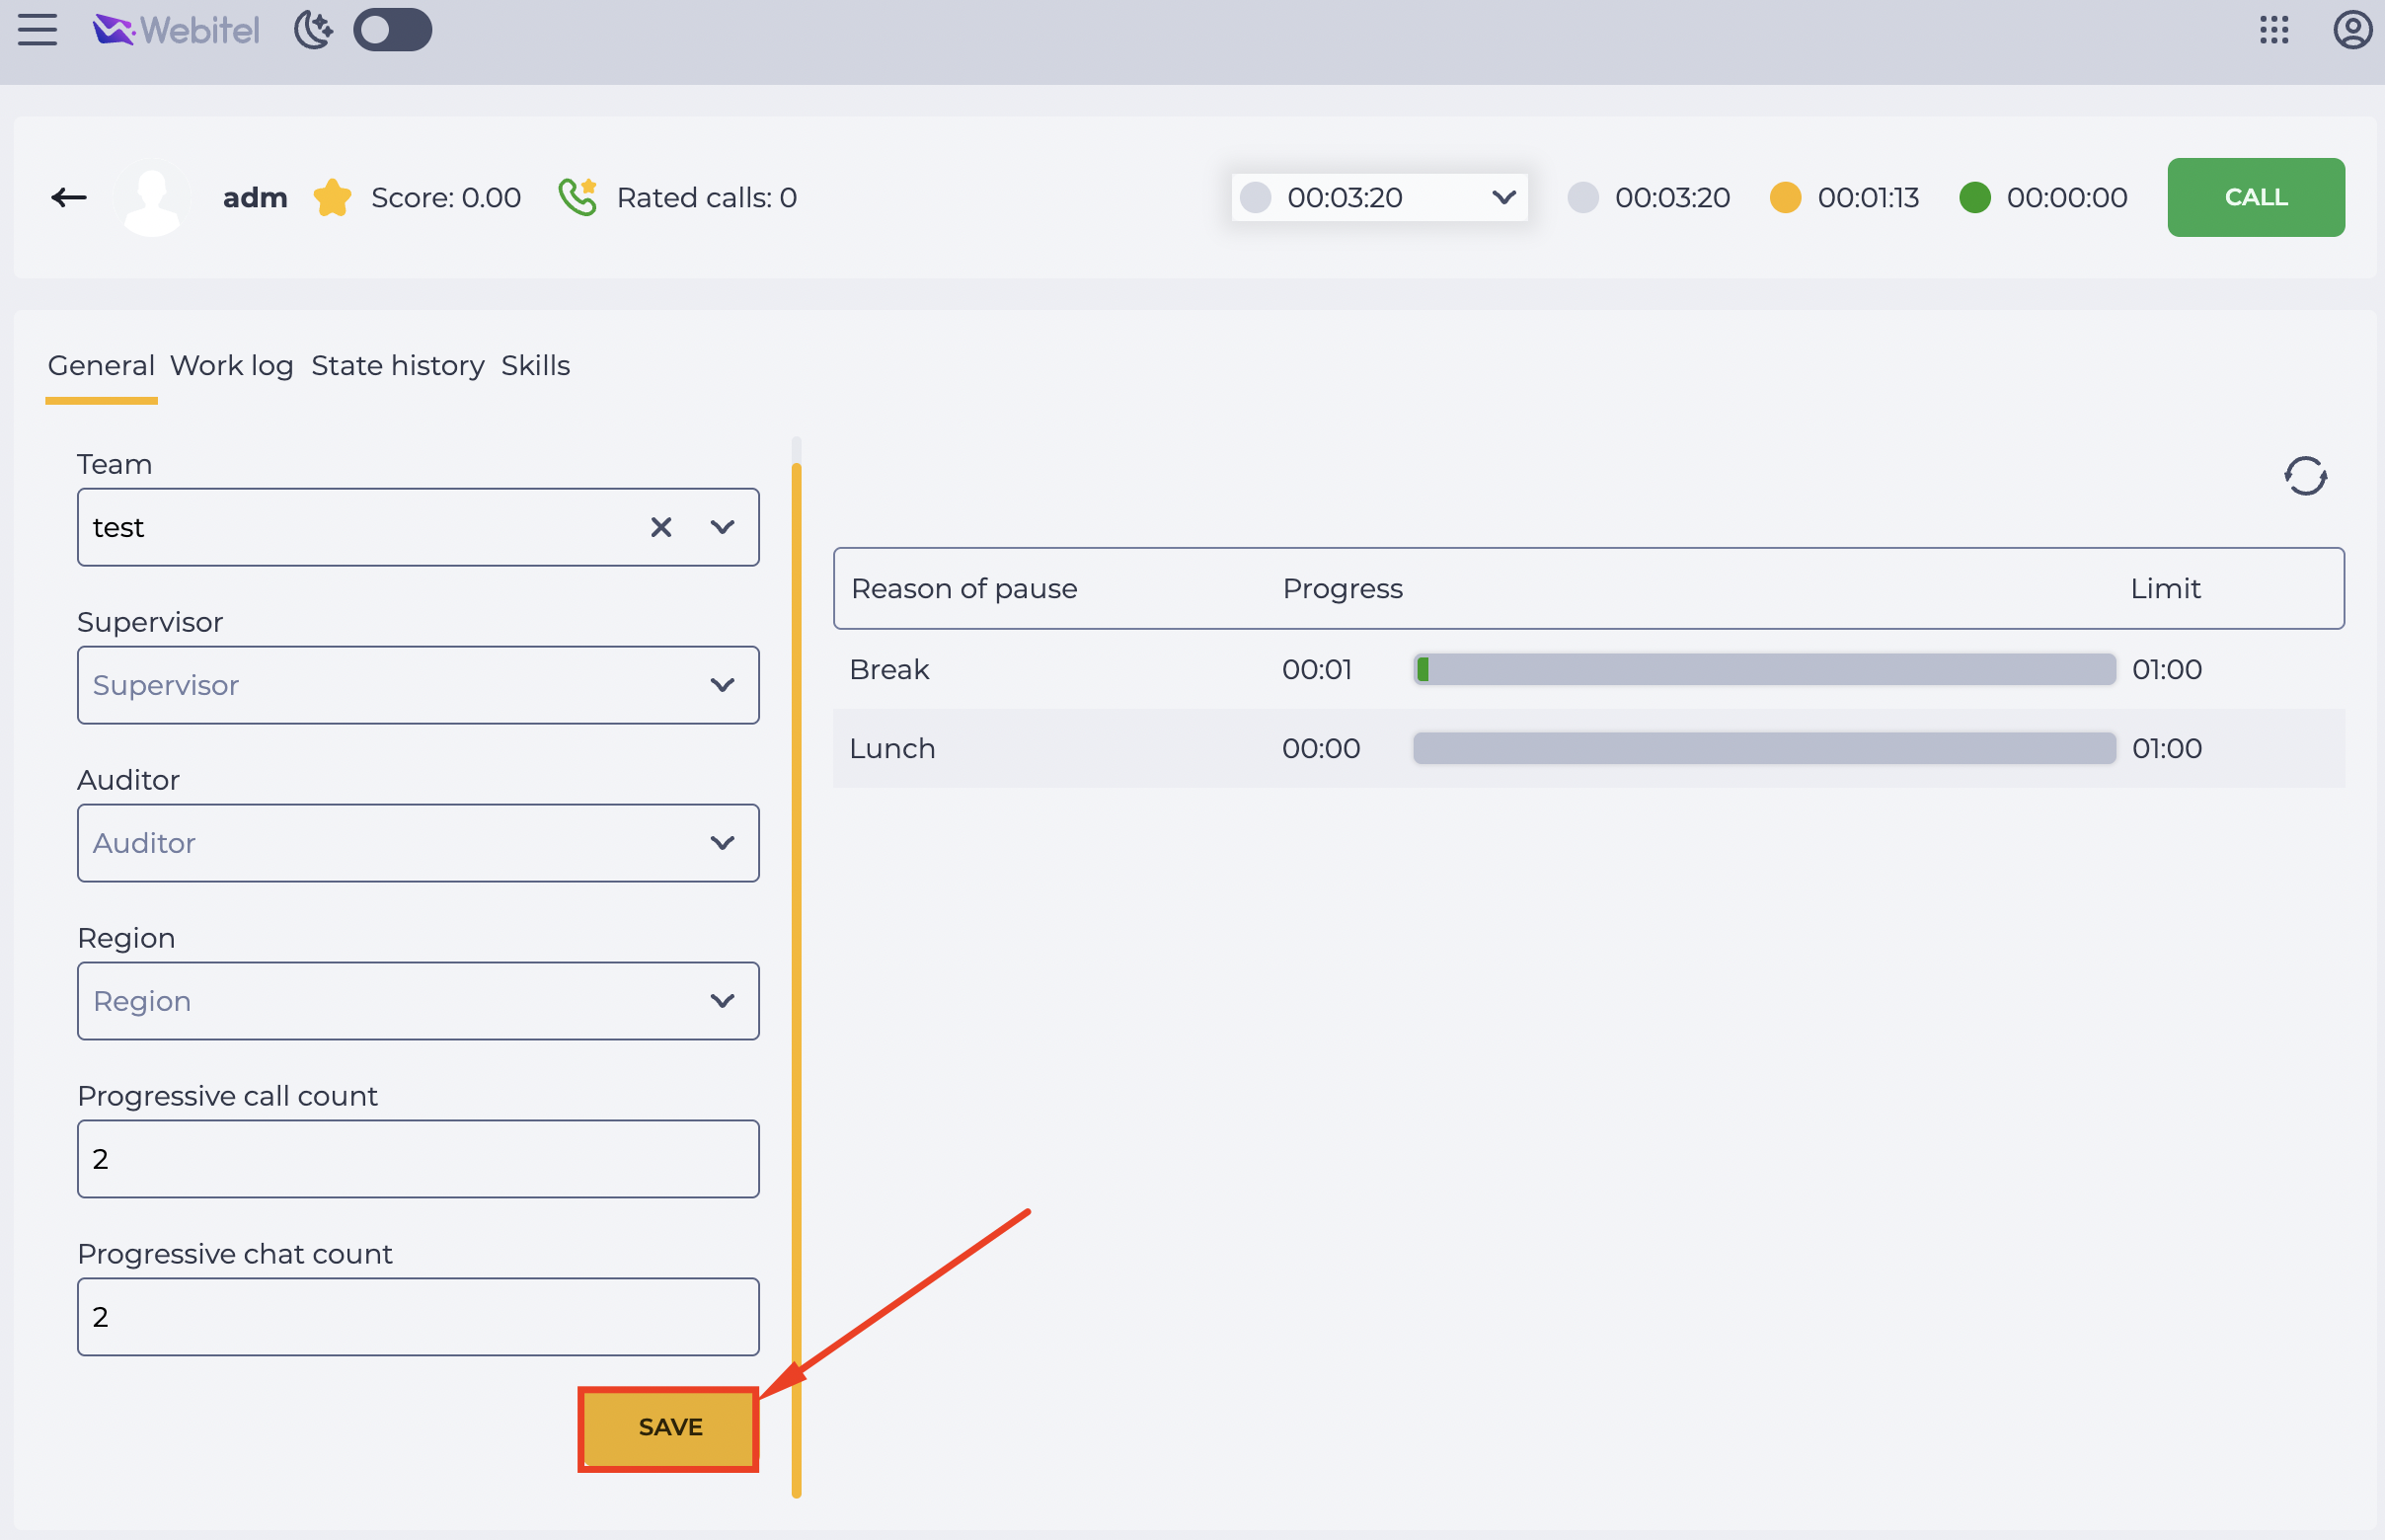
The General tab allows configuring parameters related to assigning a team, supervisor, auditor, region, and communication limits.
To change the required parameters:
-
Locate the Settings bar — it is placed under the top bar (Fig. 5).
-
Click on the required field to edit:
-
Team — opens a list of available teams. Select one or use the field as a search by entering the name.
-
Supervisor — select one or several supervisors from the list.
-
Auditor — select one or several auditors from the list.
-
Region/Location — specify the region assigned to the Agent.
-
Simultaneous call count — set how many simultaneous calls can be directed to this Agent. You can enter a number or use the increase


-
Simultaneous chat count — specify how many chats the Agent can handle simultaneously. You can enter a number or use the increase
-
-
After making changes, click the Save button (Fig. 6).
After saving:
-
the updated data is applied to the Agent;
-
the current values are displayed immediately on the panel.
1.4. How to call an Agent
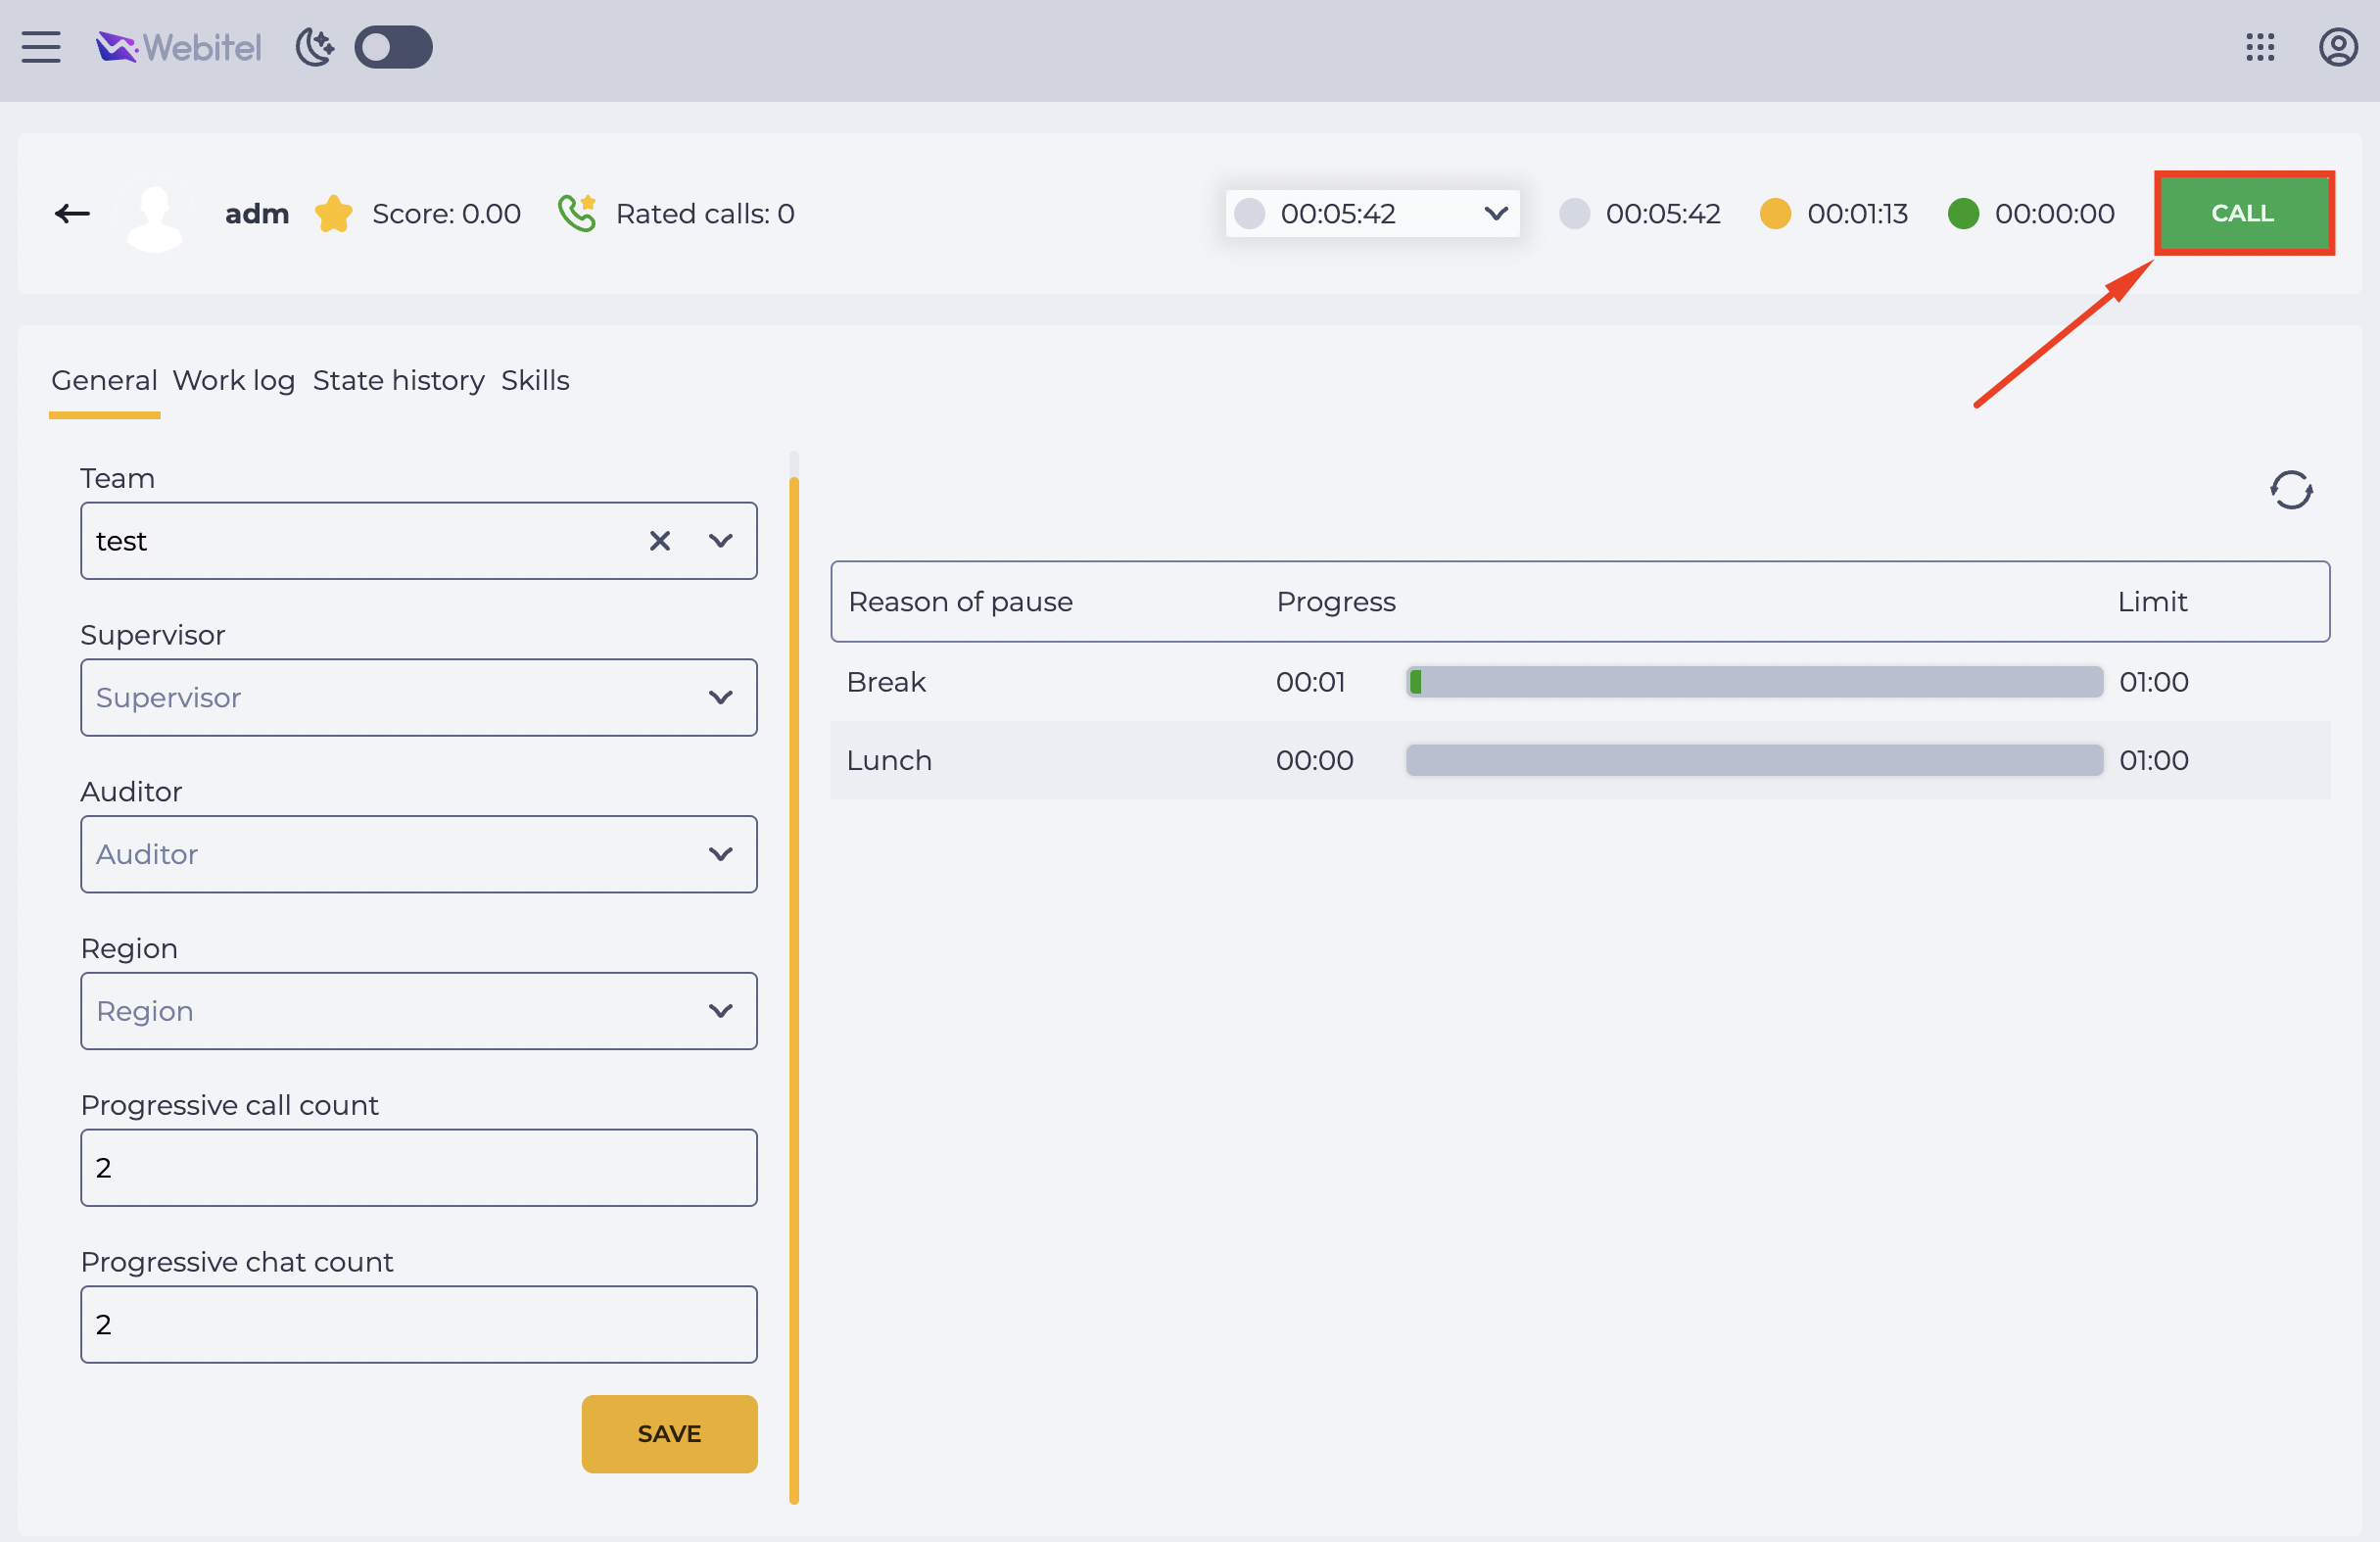
On the General tab, you can directly initiate a call to the Agent if you have the appropriate permissions.
If the Agent has Do Not Disturb mode enabled, the internal call will not be delivered.
To make a call:
-
Click the Call button on the top bar (Fig. 7).
-
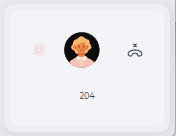
A minimized call window appears in the lower-right corner (Fig. 8). Dialing begins.
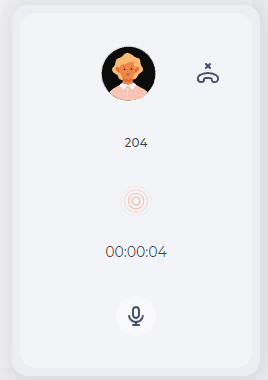
3. When hovering over the window, it expands (Fig. 9), showing control elements:
-

-

-

-

-
To end the call, click the End Call icon

After completion:
-
the call window closes automatically;
-
you return to the current Agent card view.
1.5. How to view Agent pause information
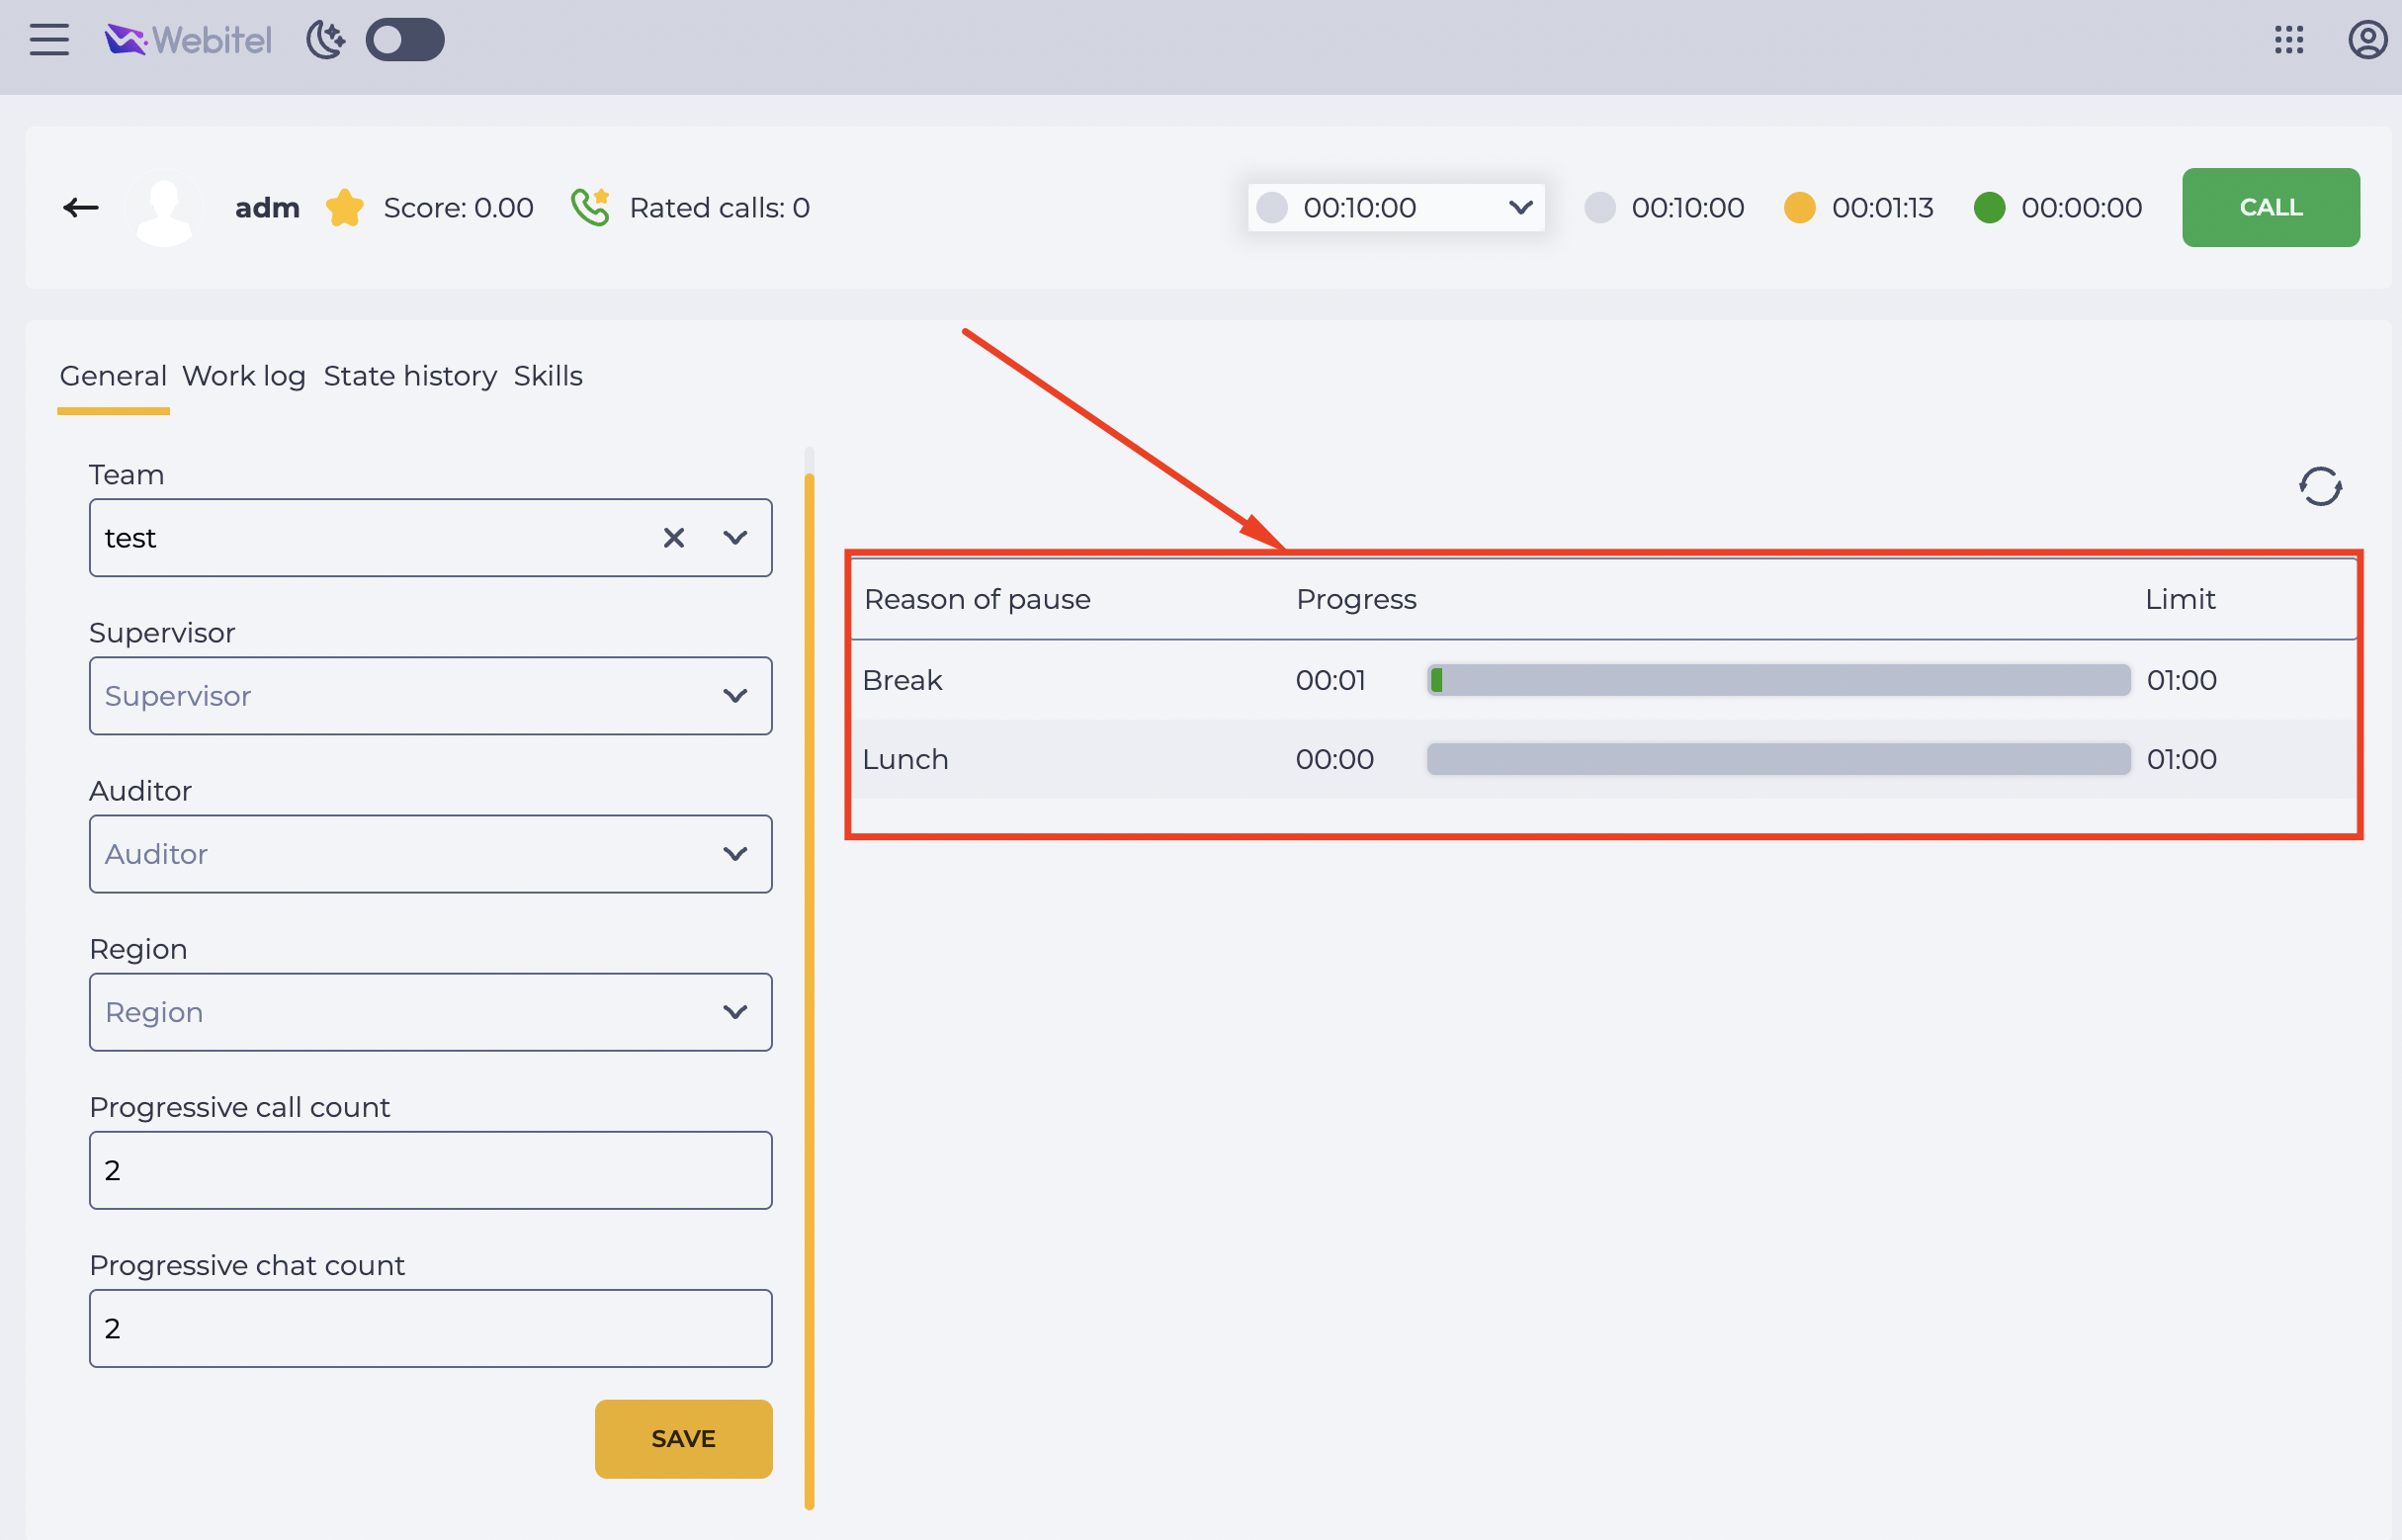
The Pause bar on the General tab allows tracking which pauses the Agent uses, how much time has already been spent in each pause, and how much remains (Fig. 10).
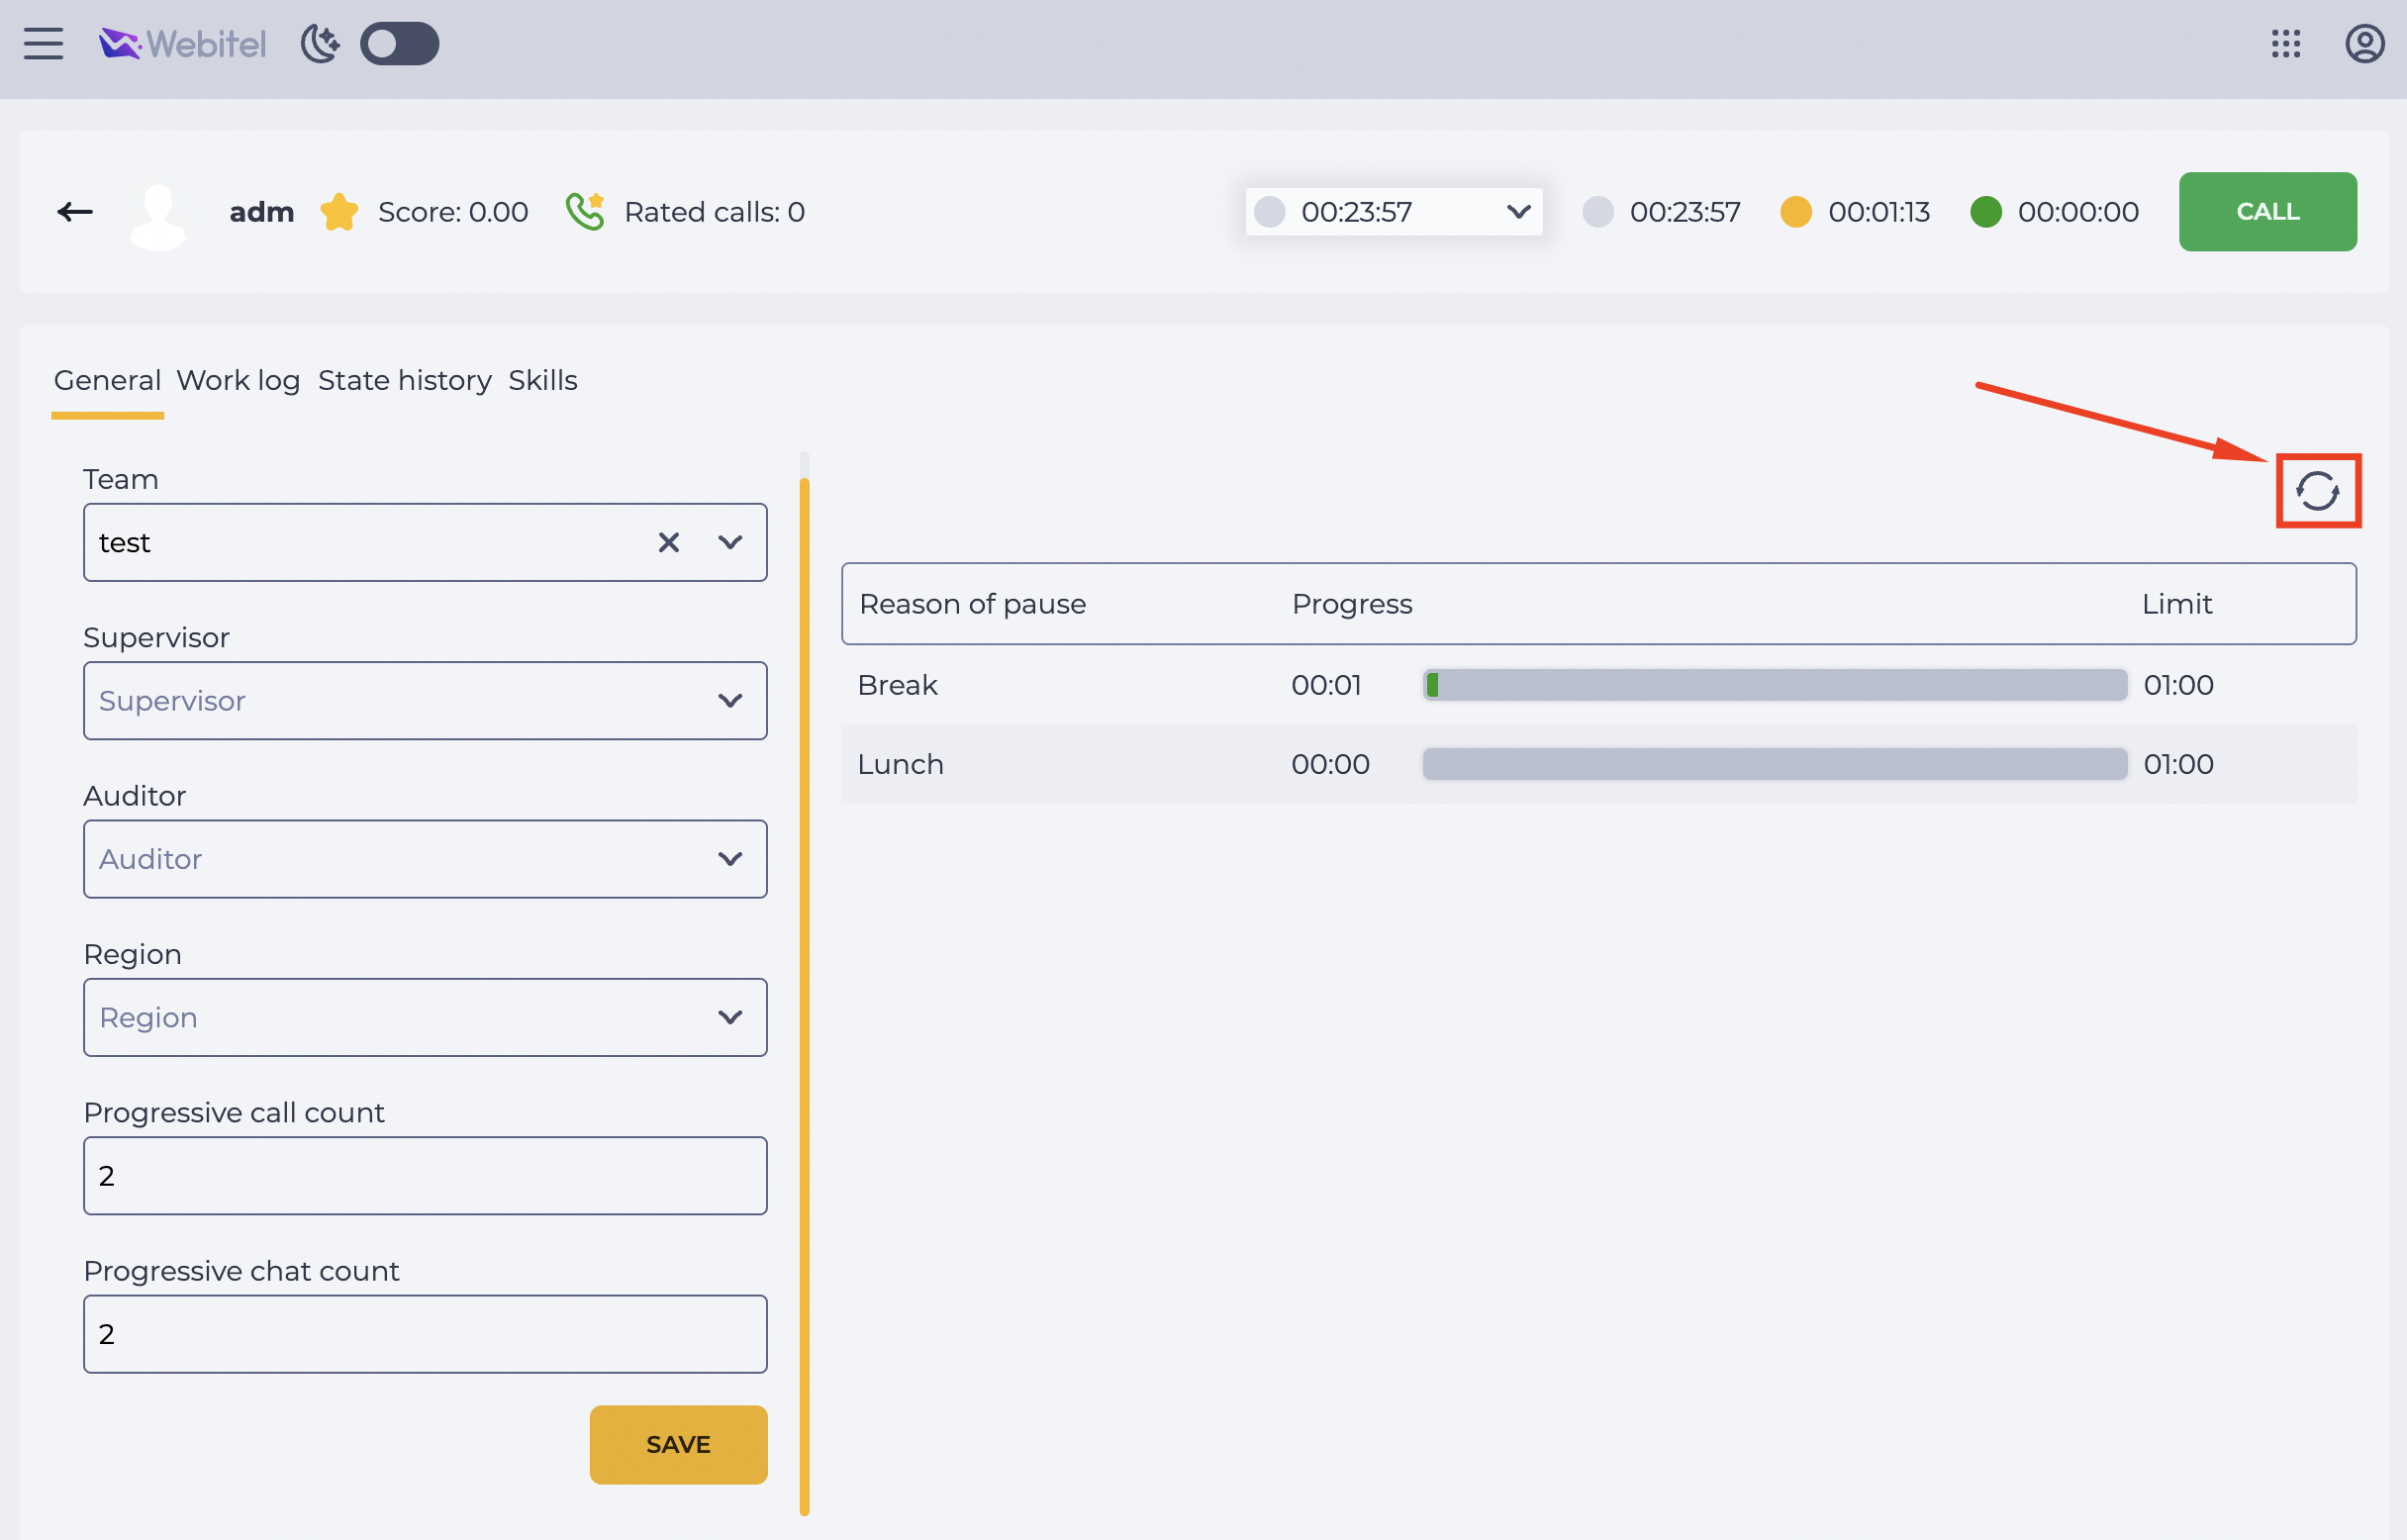
To refresh the data without reloading the page, click the Refresh icon (Fig. 11).
How to understand the table values:
-
Reason of pause — the list of all pause types available to the Agent;
-
Progress — how much time the Agent has already spent in a specific pause for the current day;
-
Limit — the maximum allowed time in this pause.
A visual scale between the Progress and Limit columns shows the ratio of used and remaining time.
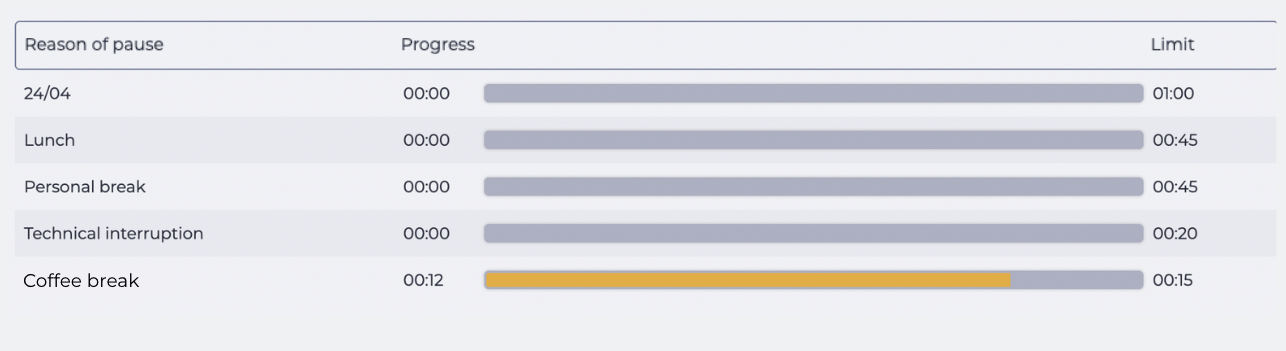
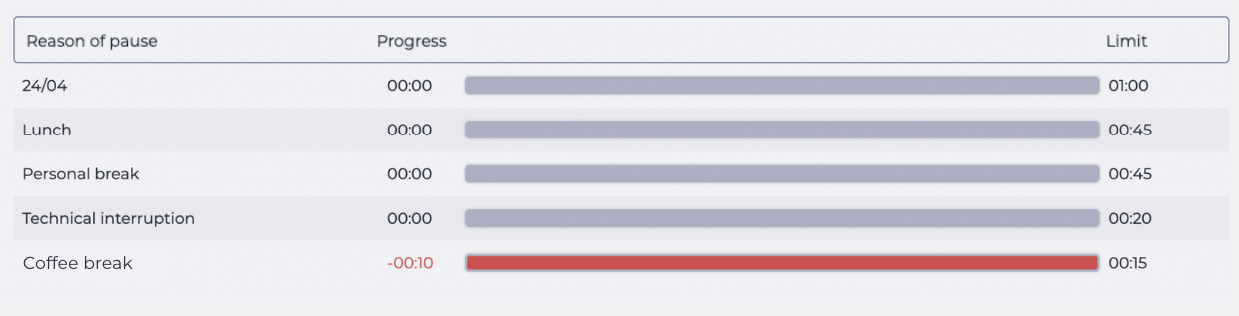
Color indicators of the scale:
-
🟩 Green — the Agent is within the allowed pause limit (Fig. 12);

-
🟨 Orange — the time is approaching the limit (Fig. 13);
-
🟥 Red — the limit has been exceeded. The time used beyond the limit is also highlighted in red (Fig. 14).
The information is updated in real time. The displayed pauses depend on the settings configured in the Agent Statuses section of the Admin application.