1. Description
The Work log tab in the Agent card is designed to view the history of calls handled by the Agent. It includes the ability to listen to conversations, evaluate service quality, apply filters by date, statuses, and other parameters, as well as access to change the Agent’s status and make a call.
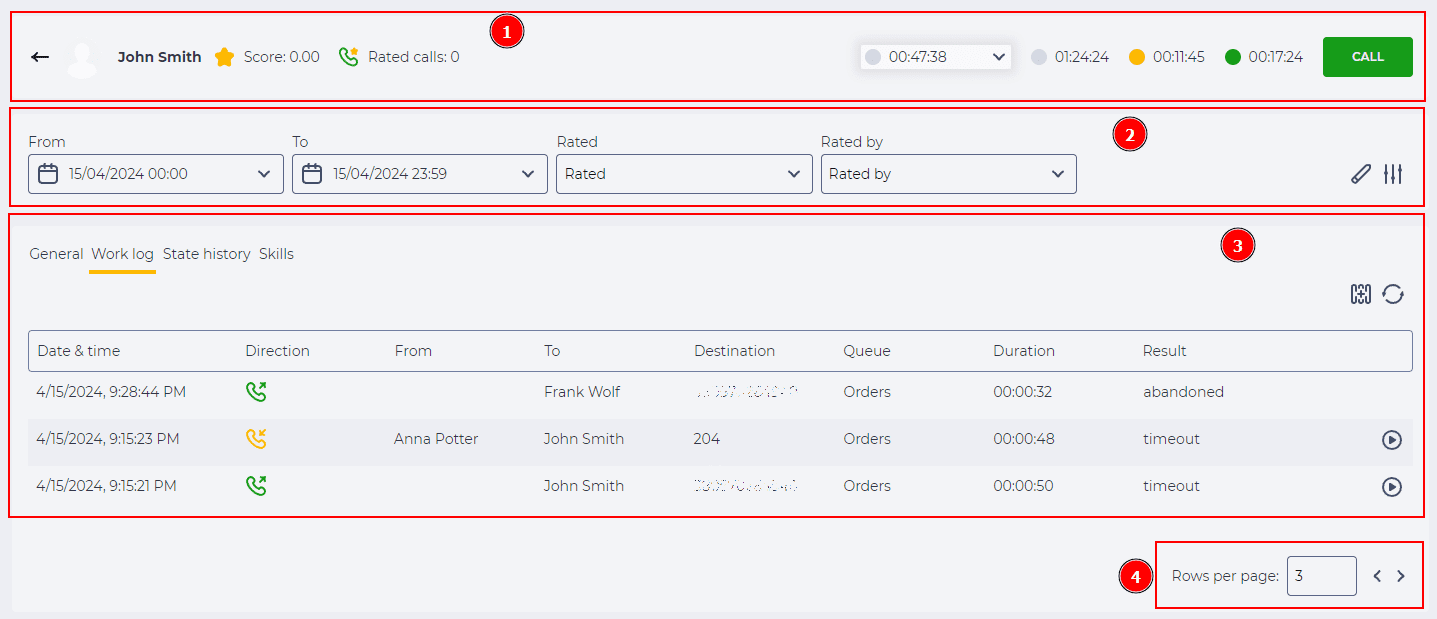
The page consists of the following elements:
-
Top bar with Agent information, status, evaluation, and call button (Fig. 1.(1));
-
Call filter panel (Fig. 1.(2));
-
Registry of contact center call records (Fig. 1.(3));
-
Call list pagination (Fig. 1.(4)).
1.2. How to change the Agent status
To change the current status of an Agent, make sure you have the appropriate permissions.
-
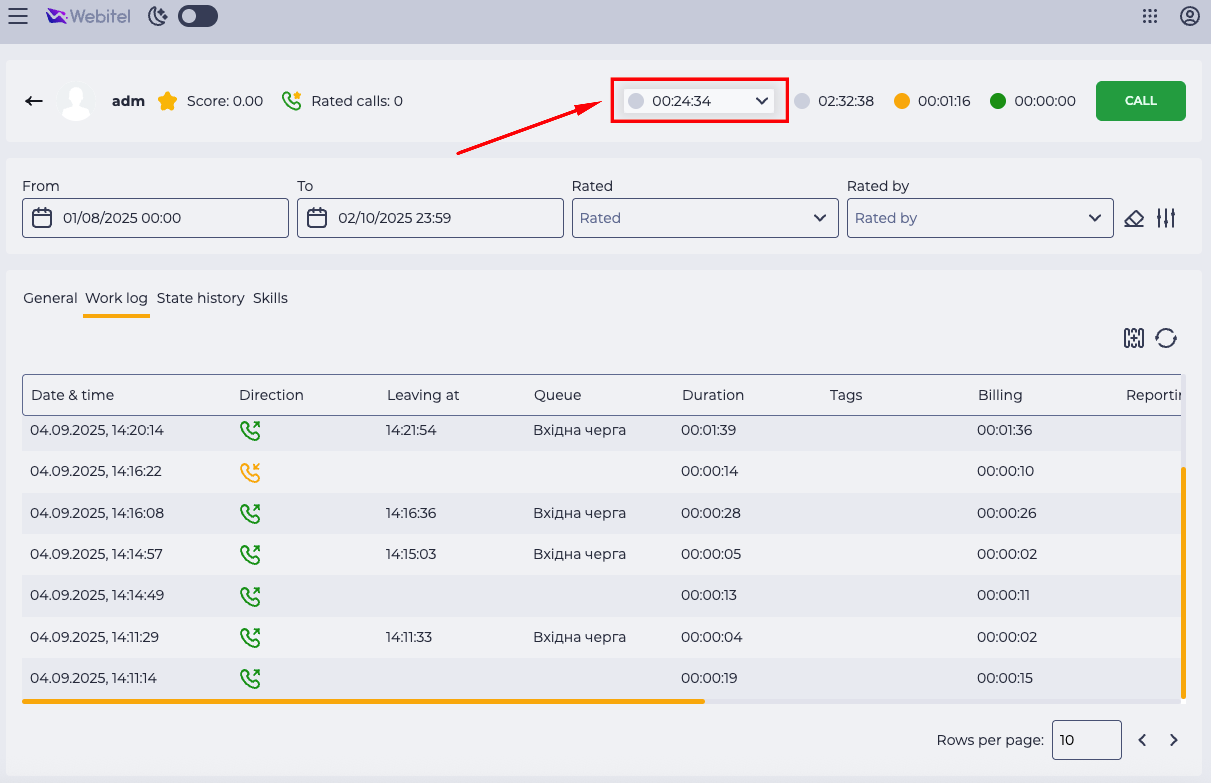
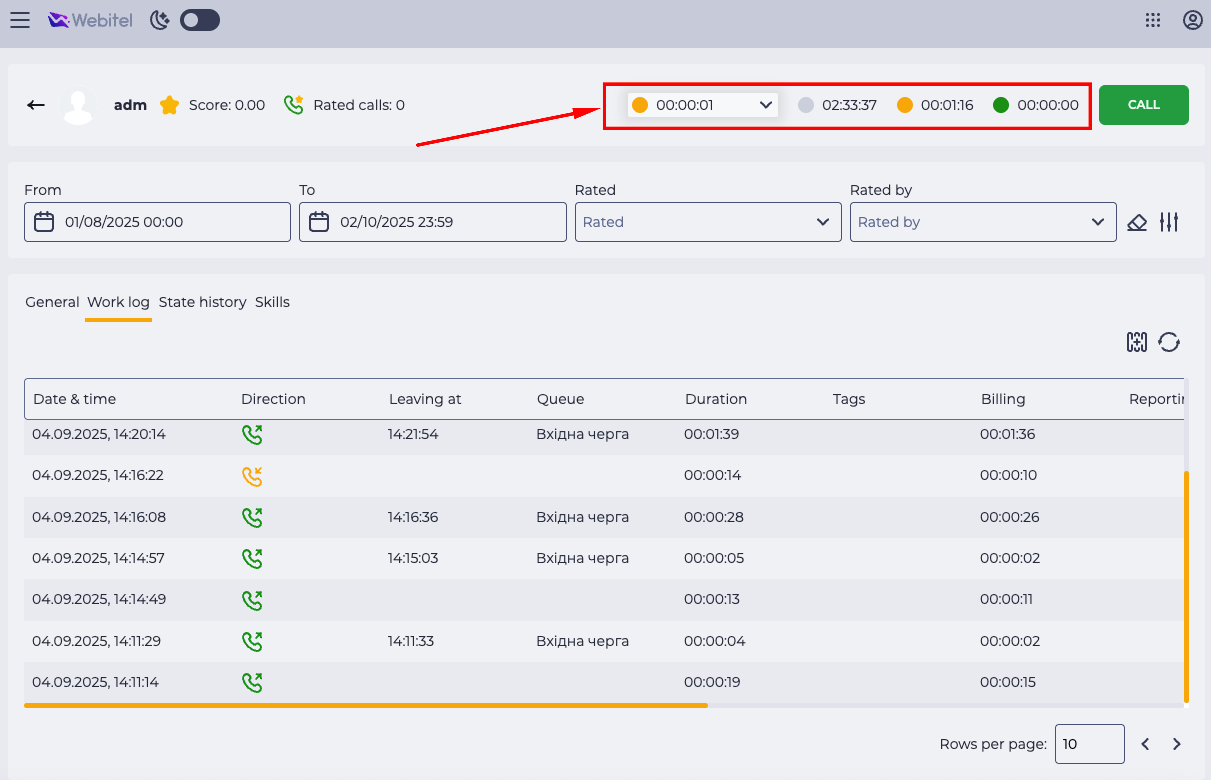
On the top bar, find the block displaying the current status of the Agent and the timer showing the duration of this status (Fig. 2).
-
Click on the timer field. A drop-down list of all available statuses will appear:
-

-

-

-
Select the required status by clicking on it.
If you select the Pause status:
-
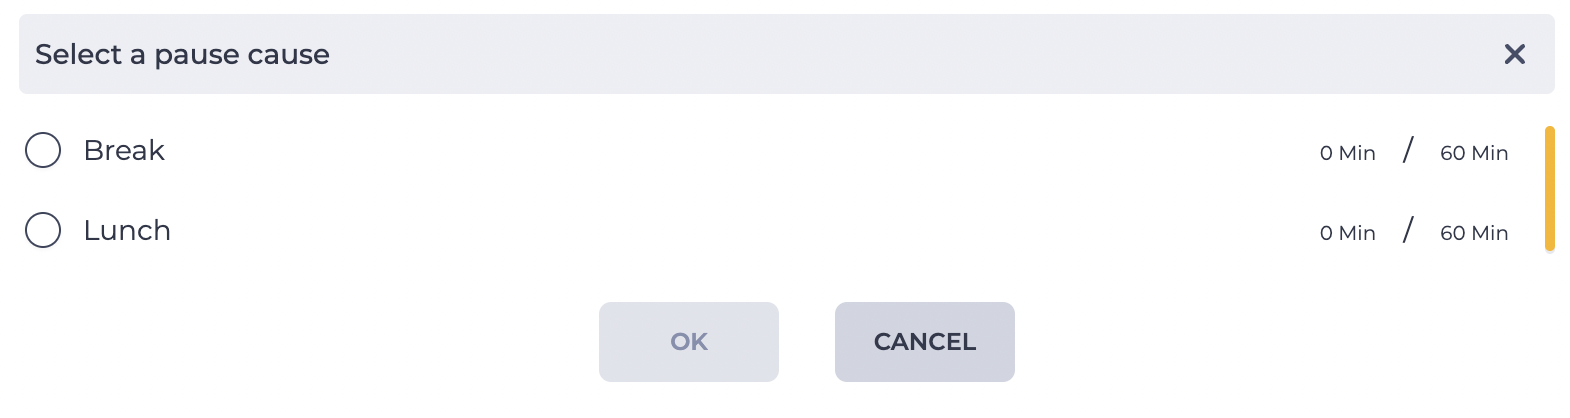
the Select a pause cause modal window opens automatically (Fig. 3);
-
choose the required reason from the list;
-
after selecting, click the OK button.
Important: A Supervisor can only transfer an Agent to those pauses for which the “Supervisor can change this status” option is enabled in Admin → Agent Statuses.
If this option is disabled, the status will not appear for the Supervisor in the drop-down list.
After the status is changed:
-
the Agent status is updated on the panel;
-
the timer resets and starts counting from the new status.
1.3. How to call an Agent
On the Work log tab, you can directly initiate a call to the Agent if you have the appropriate permissions.
If the Agent has Do Not Disturb mode enabled, the internal call will not be delivered.
To make a call:
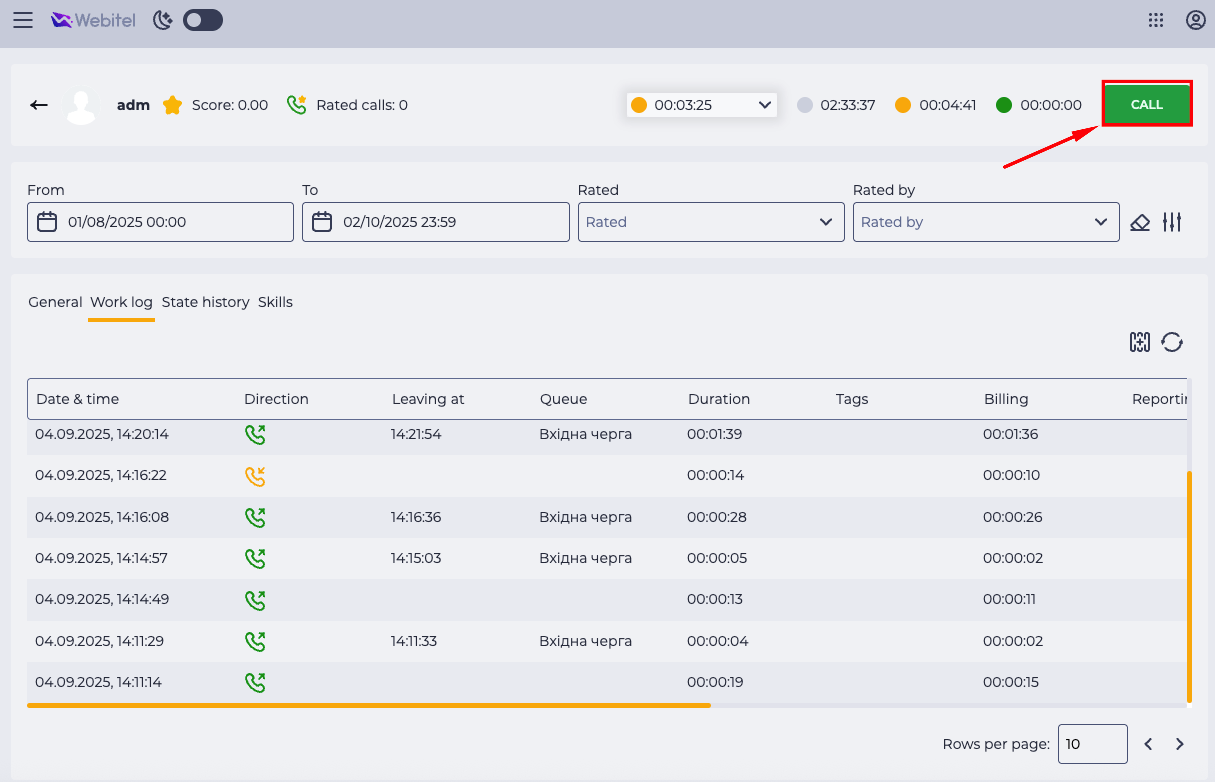
1. Click the Call button on the top bar (Fig. 5).
-
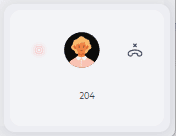
A minimized call window appears in the lower-right corner (Fig. 6). Dialing begins.
-
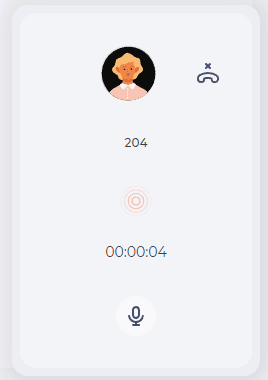
When hovering over the window, it expands (Fig. 7), showing control elements:
-

-

-

-

-
To end the call, click the End Call icon

After completion:
-
the call window closes automatically;
-
you return to the current Agent card view.
1.4. How to work with the registry of records
Below the filter panel, a table is displayed with a list of calls handled by the Agent. The table contains only calls from the contact center.
The registry includes the following elements (Fig. 8):
-
Select visible columns icon (Fig. 8.(1));
-
Refresh icon (Fig. 8.(2));
-
Records table (Fig. 8.(3)).
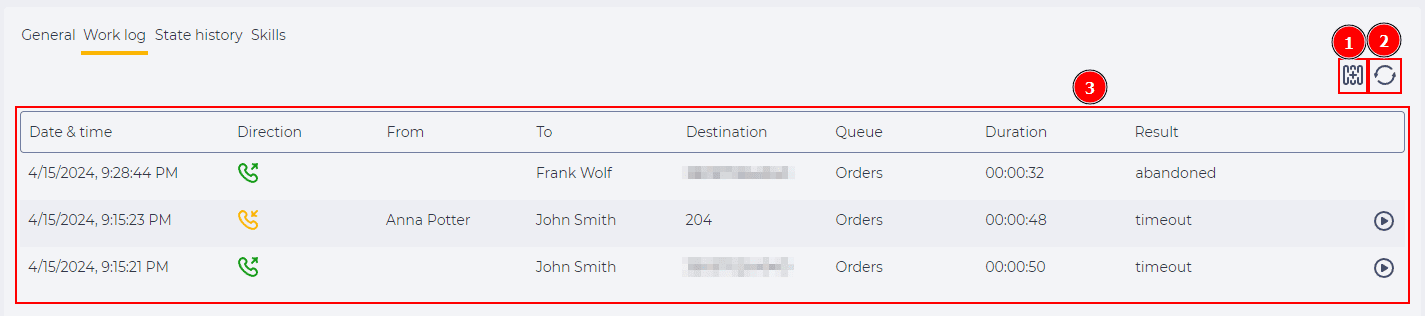
The table contains extended information about each call. Below are the main columns and their values:
-
Date & time — the moment the call took place.
-
Direction — inbound or outbound call.
-
Number From / To / Destination — participant numbers of the call (depending on the call type).
-
Queue / Team / Member — routing-related parameters.
-
Call duration / Wait time / Hold time / Reporting — technical parameters of the call.
-
Result — the outcome of the call: Success, Missed, Canceled, etc.
-
Rating / Rated by — call evaluation results.
-
SIP code / Hangup cause — technical termination codes.
A full list of columns, as well as tables with parameter mappings by call type and SIP codes, can be found in additional materials (see Tab. 1 and Tab. 2 in the technical documentation).
1.4.1. How to select visible columns
To configure which columns are displayed in the table:
-
Click the Select visible columns icon

-
Check the boxes for the columns you want to display.
-
Clear the boxes for the columns you don’t want to display.
-
Close the window — the table will update according to your selection.
.png?cb=3ed833df36fe2975ca289eb7ac427656)
1.4.2. How to refresh the table
To refresh the data manually, click the Refresh icon 
The table data is updated automatically every 10 seconds.
1.5. How to apply call filters
The filter panel on the Work log tab allows selecting call records by specific parameters. The panel is located below the top bar and includes the following elements (Fig. 10):
-
Filtering fields (Fig. 10.(1));
-
Reset filters icon (Fig. 10.(2));
-
Expand filters icon (Fig. 10.(3)).

To filter by a specific period:
-
Click the From field — the calendar opens.
-
Select the start date and time of the required period.
-
Click Add — the selected date appears in the field.
-
Repeat the same steps for the To field to set the end date of the period.
Additionally, you can filter calls by evaluation:
-
In the Rated field, select Yes or No to show only rated or unrated calls.
-
In the Rated by field, enter the username of the person who evaluated the calls, if needed.
To reset all selected filters, click the Reset filters icon (Fig. 10.(2)) — all fields will be cleared.
If some filtering fields are hidden, you can expand them by clicking the Expand filters icon 
After applying filters, the records table updates automatically and displays only those records that match the selected conditions.
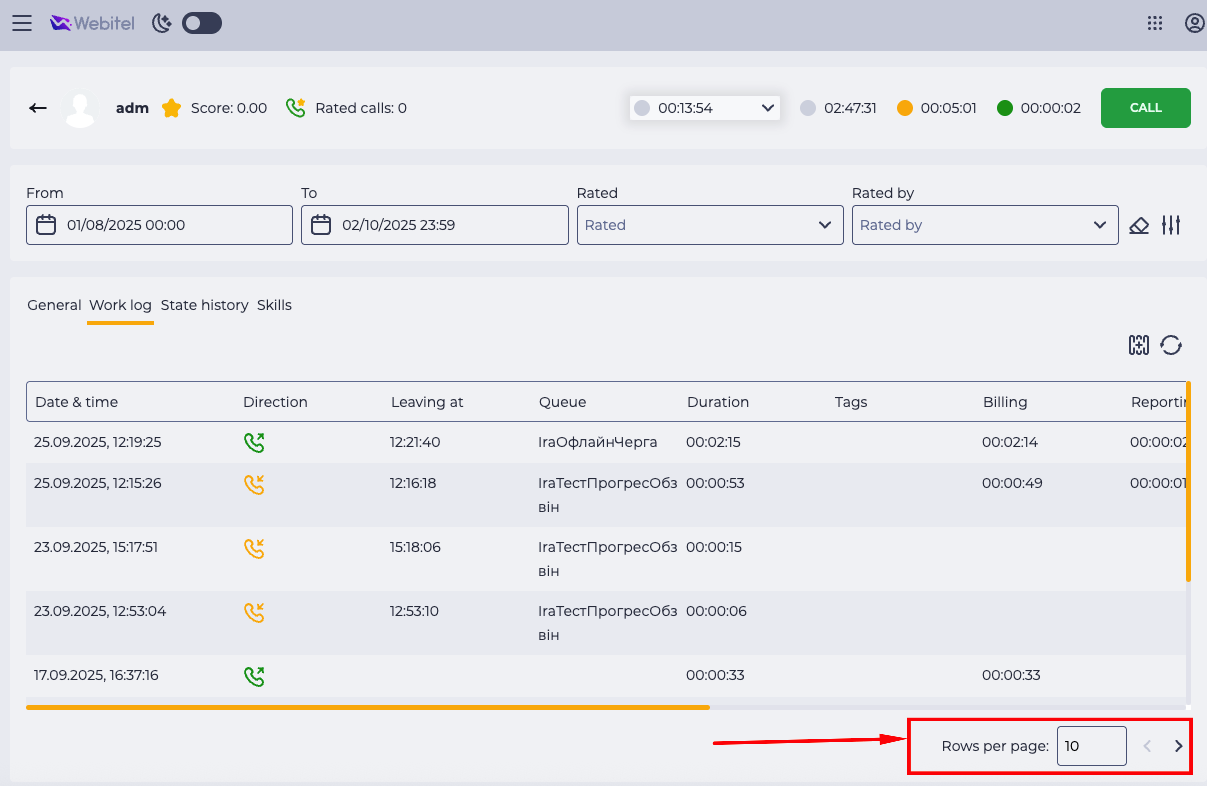
1.6. How to view table pages
Pagination elements are available below the records table:
-
Buttons to navigate to the previous or next page;
-
Rows per page selector: 10, 25, 50, etc.