
1. Description
Component for customizing the connection of leg-A side to leg-B side. It is used to create the Leg-B side, the ability to call the User or another call through the selected Gateway.
This component is present in flow types like:
-
Voice.
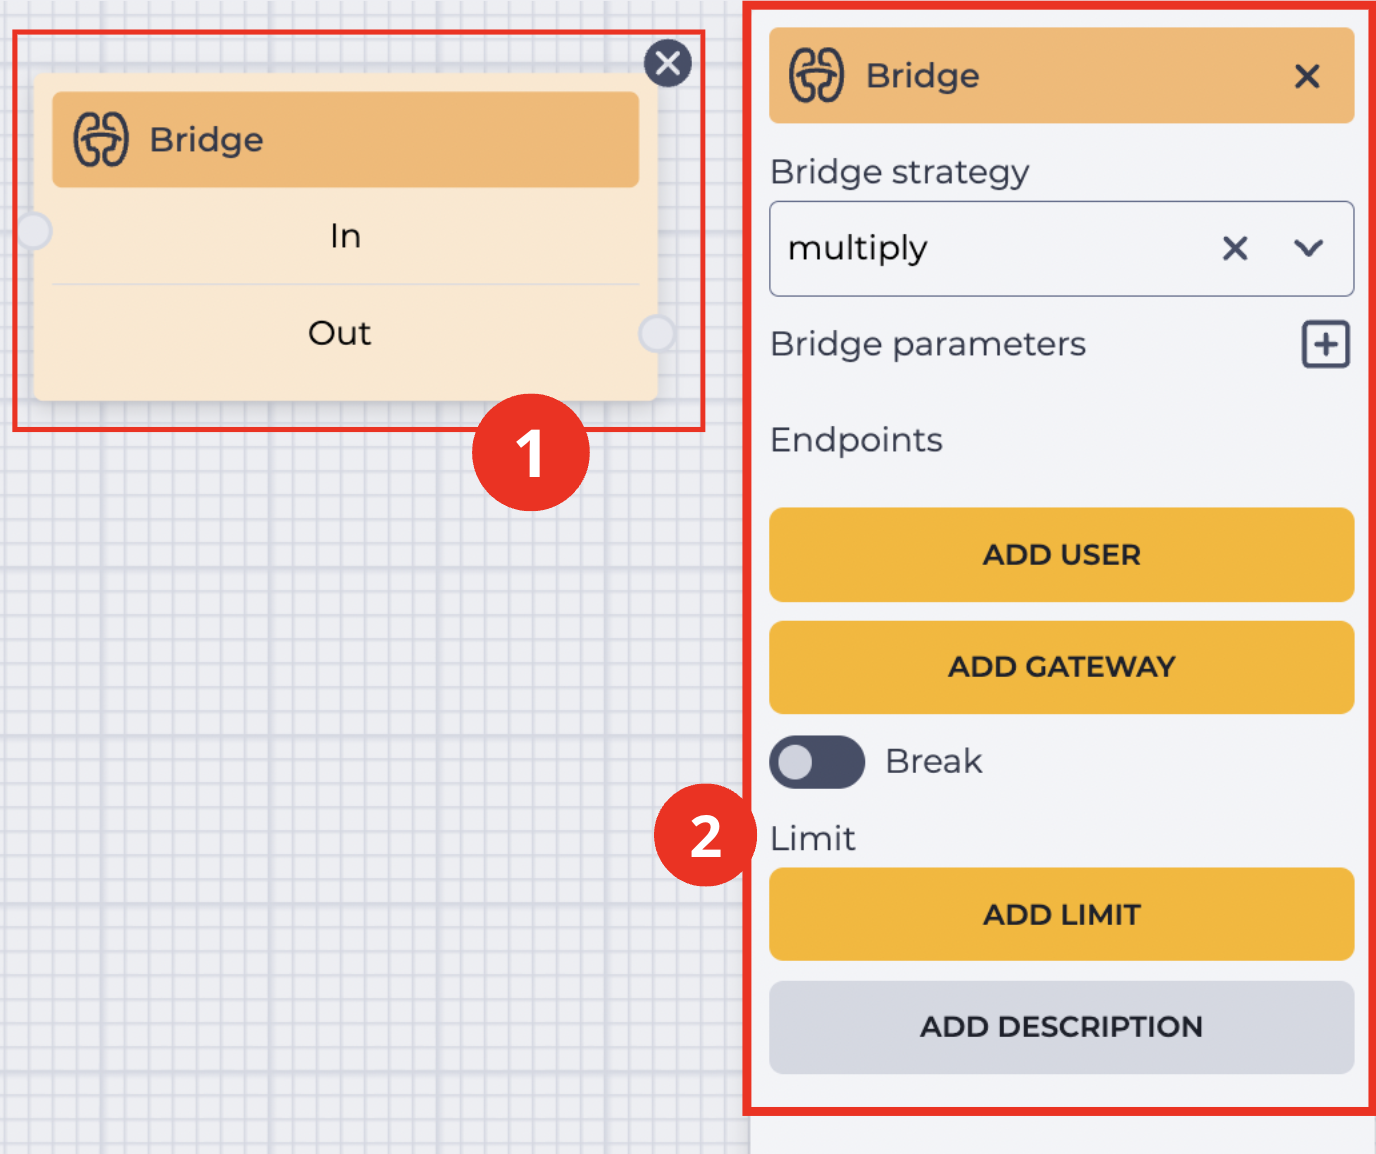
The block (Fig.1(1)) is used in space to build the Flow. The settings panel for this component opens (Fig.1(2)) when you click on the block.
1.1. Bridge block
The block consists of the following elements:
-
The name of the component;
-
In branch — receiving (connecting with the previous block) branch;
-
Out branch — outgoing (connecting with the following block) branch. When hovering over the Out field, a switch appears. The switch allows this component to be connected to a component that already has a connection.
The presence of an 
Changing the switch position removes the outgoing branch of this component.
The 
1.2. Bridge settings panel
It consists of the following elements:
-
Bridge strategy;
-
Bridge parameters;
-
Endpoints;
-
Break;
-
Limit;
-
Add description.
1.2.1. Bridge strategy
It is designed to select the strategy for connecting the leg-A side to the Leg-B side.
The following options are available:
-
multiply — simultaneous attempts to connect with several representatives of the Leg-B party (for an incoming call — with several Agents, which are specified in the Endpoints element);
-
failover — serial connection.
1.2.2. Bridge parameters
Click the icon 
-
Key — the name of the parameter;
-
Value — the value of the parameter;
-
Remove tool — when clicked, removes the parameter next to which it stands.
It is possible to set several parameters.
List of parameters that can be used (Table 1).
|
Key= |
Description |
|
|
Controls what happens when the called party is unavailable (busy/offline). If |
|
|
Ringback will not wait for an indication before sending a callback signal to the caller. |
|
|
Ignore the early media from the endpoint. |
|
|
Same as |
|
|
Controls what happens to the calling party (A) when it is in the bridge state, and the called party (B) hangs up. If set to If set to |
|
|
Do not send displayed UPDATEs to the call leg (update_display). |
|
|
Specifies how long (in seconds) the endpoint will ring. The default is 60 seconds. |
|
|
It can only be used inside endpoint parameters. |
|
|
Specifies the timeout in seconds before calling a branch. It can only be used inside endpoint parameters. |
|
|
Sets the initial CallerID number. |
|
|
Allow changing SDP codec with re-INVITE. |
Table. 1. List of options
1.2.3. Endpoints
It is designed to specify exactly where the connection will occur — the generation of the Leg-B side.
It consists of the following elements:
-
Add user;
-
Add gateway.
1.2.3.1. Add user
It is designed to add a User/Agent to which the connection will be made.
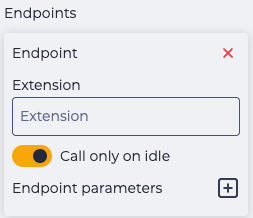
Click on the Add user button opens access to the settings of the Endpoint section containing the following parameters (Fig. 2):
-
Extension;
-
Call only on idle;
-
Endpoint parameters;
-
Remove tool.
It is possible to add several Agents.
1.2.3.1.1. Extension
Here enter the internal number of the Agent to which the connection will be made.
1.2.3.1.2. Call only on idle
Responsible for allowing connection attempts to be made when the Agent is free:


1.2.3.1.3. Endpoint parameters
Click on the icon
-
Key — the name of the parameter;
-
Value — the value of the parameter;
-
Remove tool — when clicked, removes the parameter next to which it stands.
You can add several parameters using the icon
1.2.3.1.4. Remove tool
Clicking the icon 
1.2.3.2. Add gateway
It is designed to add a specific Gateway to which the connection will be made.
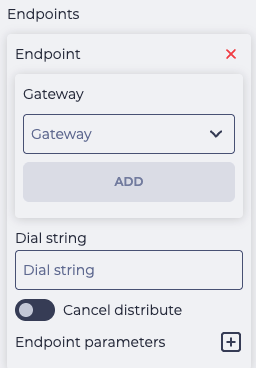
Click on the Add gateway button opens access to the settings of the Endpoint section containing the following parameters (Fig.3):
-
Gateway;
-
Dial string;
-
Cancel distribute;
-
Endpoint parameters;
-
Remove tool.
It is possible to add several Gateways.
1.2.3.2.1. Gateway
It is designed to select a Gateway. Consists of:
-
Gateway — a field for choosing a Gateway. Clicking on the field opens a drop-down list of existing Gateways;
-
Add — button to add the selected Gateway.
After clicking the Add button, the Gateway field and the Add button disappear, and the selected Gateway is displayed with the ability to delete it through the 
1.2.3.2.2. Dial string
It is designed to indicate the destination number where the call will be made.
Here you can specify either a specific phone number or reference the destination number using the “$” sign and the ordinal number of the possible value. Such a number is specified in the Destination Number on the Dialplan page for routing that uses this Flow Scheme.
For example, for a Dialplan that uses this Flow Schema, the Destination Number is ^(7)(4997045627)$
Where
$0 = 74997045627;
$1 = 7;
$2 = 4997045627.
1.2.3.2.3. Cancel distribute
Responsible for dropping calls that are distributed to the Agent if, at the same moment, the Agent makes an outgoing call:

1.2.3.2.4. Endpoint parameters
Click the icon
-
Key — the name of the parameter;
-
Value — the value of the parameter;
-
Remove tool — when clicked, removes the parameter next to which it stands.
You can add several parameters using the icon
1.2.3.2.5. Remove tool
Clicking the icon
1.2.4. Break
Responsible for the completion of the flow execution.
-

-

1.2.5. Limit
It is intended to determine the maximum number of passes through this component.
The failover branch appears in the edited component when the limit is set 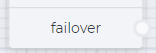
The failover branch will be used if more passes are passed through the component than entered in the Max field.
Clicking on the Add Limit button adds a Max field and a Delete limit button.
The number of possible passes is indicated in the Max field.
Clicking on the Delete limit button removes the limit and returns the Add limit button.
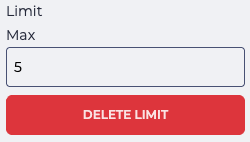
Fig. 4. Setting a limit
1.2.6. Add description
When you click the Add description button, a Description field and a Delete description button will be added.
The Description field is used to add comments to the component.
Clicking the Delete description button removes the description field and brings back the Add description button.
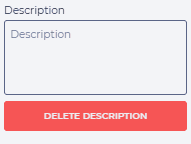
Fig. 5. Add description