
The top bar consists of a button to return to the Agents page (Fig. 1.(1)), displaying the name of the Agent (Fig. 1.(2)), the amount of time (Fig. 1.(5)), which they spent in each status, as well as:
-
Agent evaluation (Fig. 1.(3));
-
Status change menu (Fig. 1.(4));
-
Call button (Fig. 1.(6)).
.png?cb=96481fb3163e5abaf34c42ac123a207e)
Data updates occur every 10 seconds automatically
1.1.1. Agent evaluation
This displays the number of calls rated by Auditors and Supervisors, as well as the summarised rating of the Agent.
Rating—total score. It is calculated by the formula sum(call ratings) / number of rated calls, rounded off to hundredths (0.00).
Calls with transfers are not rated.
Only a call that has a call recording and/or transcription can be evaluated.
One call can only be evaluated once.
1.1.2. Status change menu
The status change menu consists of a timer that displays the amount of time in this status since the last transition to this status and a drop-down list that opens when you click on the timer field (Fig. 2). The drop-down list displays the available transition statuses. To switch to the desired status, click on it in the drop-down list.
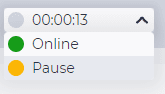
There are such statuses:
-

-

-

-

When the agent is in the Break out status, the drop-down list looks like in Fig. 4.
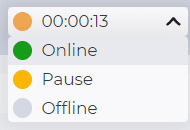
An Agent enters the Break out status only if they miss the number of calls entered in the Max no answer field on the Timing tab of the agent`s Team. This parameter is counted by distributed calls that the Agent missed, regardless of whether the subscriber dropped it or was distributed to another Agent.
The status change menu forces the Agent to enter the required status.
When the "Pause" status is selected, the "Select pause reason" modal window opens (Fig. 4).
The window displays:
-
all available pause reasons;
-
the time indicators: how long the agent has been in this pause today / how much time is allowed;
-
a comment input field — the agent may enter the reason for choosing this status.
After selecting a reason and confirming the transition to the pause, if the agent has added a comment, an icon 
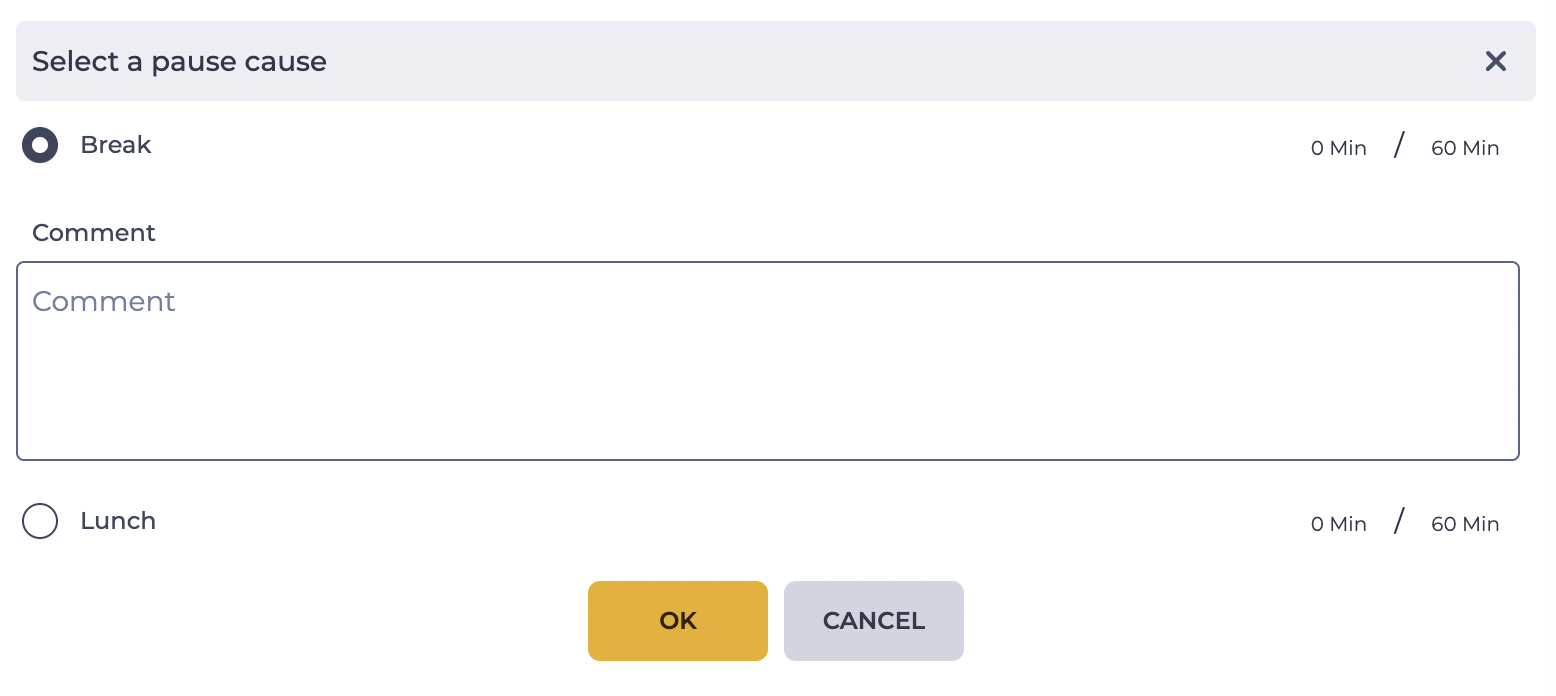
Which pauses will be displayed in the modal window depends on the settings on the Agent Statuses page in the Admin application.
1.1.3. Call button
The button is designed to call the Agent. When you click the button, a call window opens (Fig. 5)
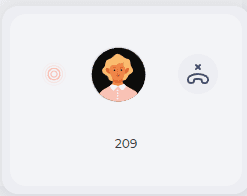
When you hover the cursor over the window, it takes the following form (Fig. 6):
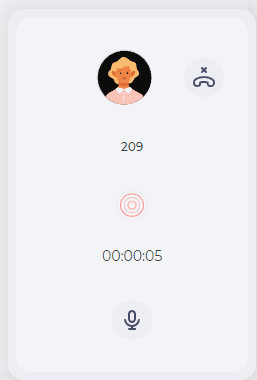
When a call is accepted, the agent’s extension changes to their name, a talk time counter and additional tools appear (Fig. 7), namely:
-

-

-

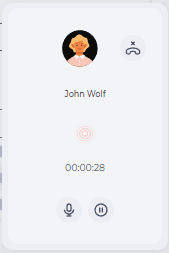
Clicking the end call button 
2. Connecting to the Operator's Screen in Real Time
The operator screen connection feature allows a supervisor to view an agent's desktop in real time.
The viewing capability is available only under the following conditions:
-
the Webitel DeskTrack application is installed and running on the agent’s computer;
-
the agent is logged in to Webitel DeskTrack;
-
the Agent screen control switch is enabled in the agent’s or their team's settings in Admin.
If all conditions are met, the screen connection icon is displayed in the top panel (Fig. 8).

2.1. Agent Screen Connection Icon
Clicking the icon (Fig. 8) initiates the connection to the agent's screen. While the connection is being established, a loading indicator 
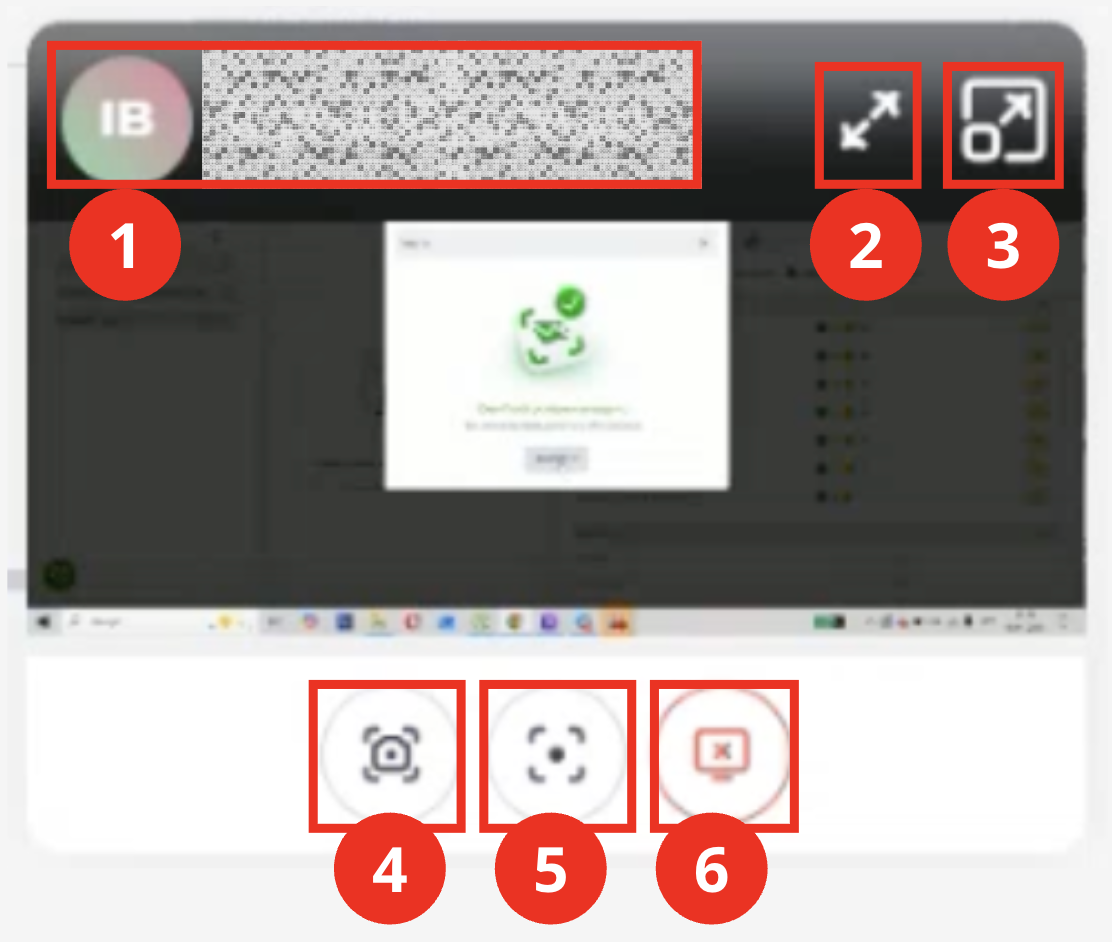
The following tools are available in the window:
-
agent icon and name (Fig. 9.(1));
-
tool for expanding the preview window to medium size (Fig. 9.(2));
-
tool for expanding the preview window to full screen (Fig. 9.(3));
-
screenshot tool (Fig. 9.(4));
-
screen recording tool (Fig. 9.(5));
-
tool for stopping the agent screen view (Fig. 9.(6)).
2.1.1. Agent Icon and Name
Displays the icon and name of the agent whose screen is being viewed. Allows the supervisor to quickly identify the current agent during a session.
2.1.2. Expand Window to Medium Size Tool
Increases the preview window to a medium format, providing better image detail.
After expanding, the icon is replaced by a collapse tool 
2.1.3. Expand Window to Full Screen Tool
Opens the agent's screen preview in full-screen mode in a new browser window. Allows the supervisor to monitor the agent's desktop with maximum viewing area.
After expanding, the icon is replaced by a collapse tool
2.1.4. Screenshot Tool
Takes an instant screenshot of the agent's screen. The following results are displayed after execution:
-
If the screenshot was taken successfully:
-
a success icon is shown

-
the file is automatically saved in the system under the Agent Screenshots tab.
-
-
If the screenshot could not be taken:
-
an error icon is shown –

-
the file is not saved in the system.
-
2.1.5. Screen Recording Tool
Starts a video recording of the agent's screen. A recording duration timer is displayed after activation. Clicking the button again stops the recording, and the file is automatically saved in the system under the Agent Screen Recordings tab.
2.1.6. Stop Agent Screen View Tool
Stops viewing the agent's screen and closes the preview window.
If a screen recording was active at the time of stopping, it is also automatically stopped.
2. Opportunities
2.1. Change Agent status
|
Goal |
Change Agent status from Online to Pause |
|---|---|
|
Preconditions |
|
|
Steps
|
|
|
Result |
The Agent has entered the Lunch pause status. |
2.2. Call the Agent
|
Goal |
Make a call to the Agent |
|---|---|
|
Preconditions |
|
|
Steps |
|
|
Result |
A call is made to the Agent. |