|
Component
|
Block of component
|
Component parameters
|
Description
|
Displayed
|
|
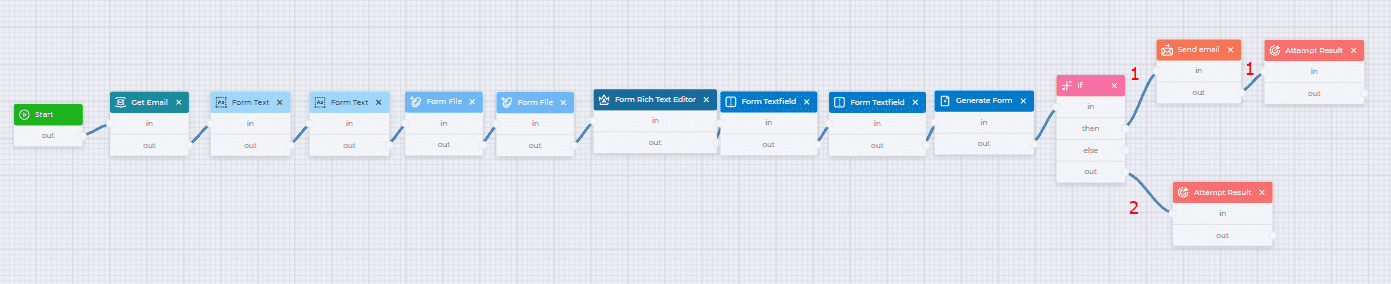
Start
|
|
|
Start component
|
|
|
Get Email
|
|
|
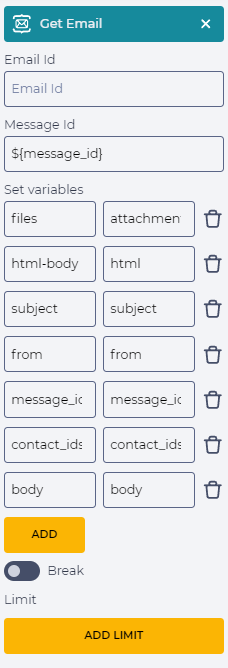
Component for retrieving message information.
To do this:
-
In the Message Id field, specify the message identifier. In this Flow schema, the identifier is passed using the variable — ${message_id};
-
In the Set variables element, add additional variables:
|
|
|
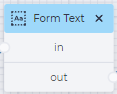
Form Text
|
|
|
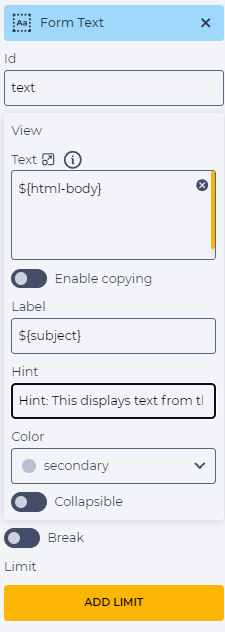
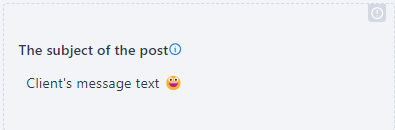
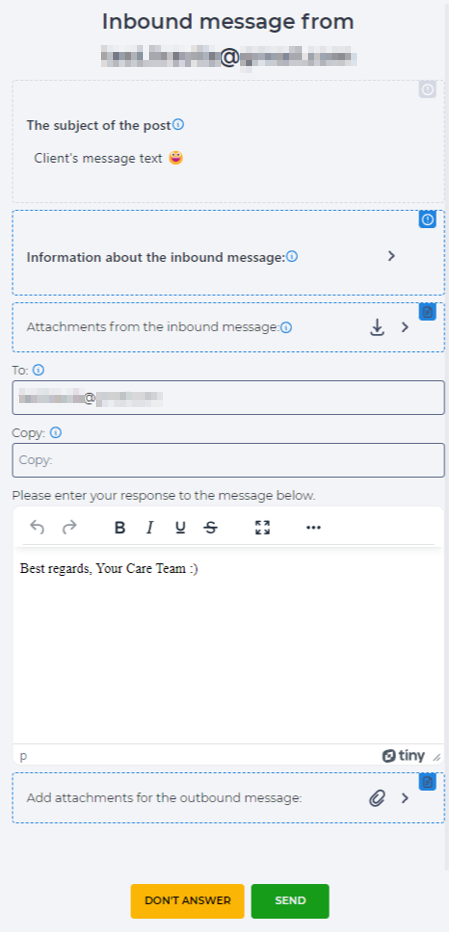
To display an inbound message.
To do this:
-
In the Id field, specify a service name. In this Flow schema, text is specified;
-
In the Text field, specify the variable ${html-body} to display the message body;
-
In the Label field, specify the title. In this Flow schema, the message subject is specified using the variable - ${subject};
-
In the Hint field, specify a hint. In this Flow schema, the following is provided: Hint: This displays text from the Hint field of the Form Text component.
|
|
|
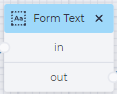
Form Text
|
|
|
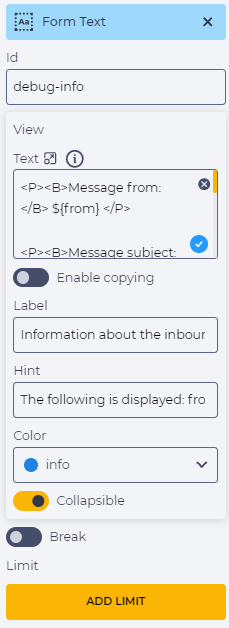
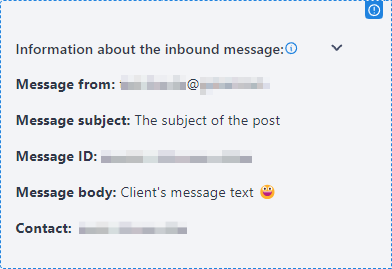
For displaying the text with information about the inbound message.
To do this:
-
In the Id field, specify a service name. In this Flow schema, debug-info is specified;
-
In the Text field, specify the following: <P><B>Message from: </B> ${from} </P>
<P><B>Message subject: </B> ${subject} </P>
<P><B>Message ID: </B> ${message_id}</P>
<P><B>Message body: </B> ${body} </P>
<P><B>Contact: </B> ${contact_ids} </P>
-
In the Label field, specify the title.
In this Flow schema, the following is specified: Information about the inbound message:;
-
In the Hint field, provide a hint.
In this Flow schema, the following is specified: The following is displayed: from, subject, message_id, body.;
-
In the Color field, select the color info;
-
Set the Collapsible switch to the active position.
|
|
|
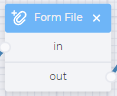
Form File
|
|
|
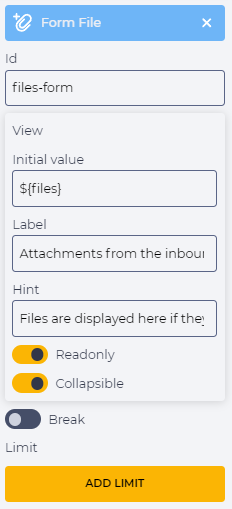
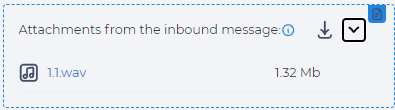
File container for inbound message attachments.
To do this:
-
In the Id field, enter a system name. In this Flow schema, it is set to files-form.
-
In the Initial value field, specify the variable that contains the attached files from the inbound message. In this Flow schema, it's ${files}.
-
In the Label field, specify the title. In this Flow schema, the following is specified: Attachments from the inbound message:;
-
In the Hint field, enter a hint. In this Flow schema, the following is specified: Files are displayed here if they are present in the inbound message.;
-
Set the Readonly switch to the active position;
-
Set the Collapsible switch to the active position.
|
|
|
Form File
|
|
|
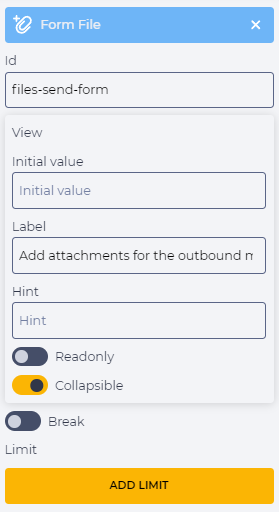
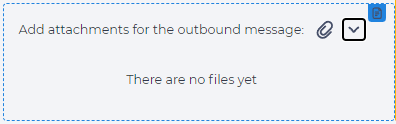
File container for outgoing message attachments.
To do this:
-
In the Id field, enter a system name. In this Flow schema, it is set to files-send-form;
-
In the Label field, specify the title. In this Flow schema, the following is specified: Add attachments for the outbound message:;
-
Set the Collapsible switch to the active position.
|
|
|
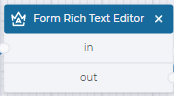
Form Rich Text Editor
|
|
|
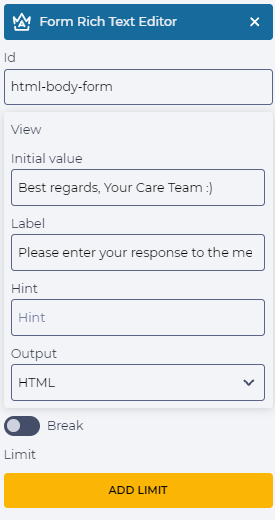
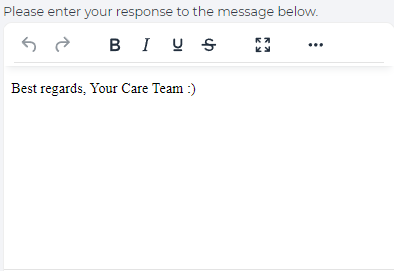
To create a text input field with a formatting option for the Agent.
In it, you enter the text that will be sent to the email address specified in the Send email component.
To do this:
-
In the Id field, enter a system name. In this Flow schema, it is set to html-body-form;
-
In the Initial value field, specify the pre-filled text. In this Flow schema, the following is specified: Best regards, Your Care Team :);
-
In the Label field, specify the title. In this Flow schema, the following is specified: Please enter your response to the message below.;
-
In the Output field, select the HTML option.
|
|
|
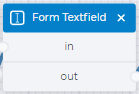
Form Textfield
|
|
|
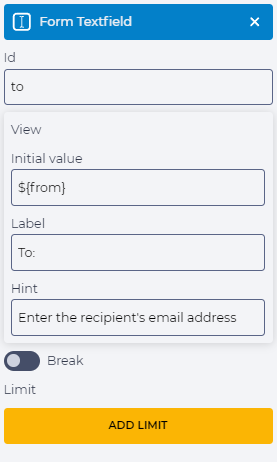
To create an input field for the Agent. This Flow schema uses this component to enter the recipient's email address in the response form.
To do this:
-
In the Id field, enter a system name. In this Flow schema, it is set to to;
-
In the Initial value field, specify the recipient's email address for the reply. In this Flow schema, the address from which the message was received is indicated using the variable - ${from};
-
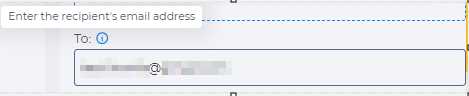
In the Label field, specify the title. In this Flow schema, the following is specified: To:;
-
In the Hint field, specify the hint. In this Flow schema, the following is specified: Enter the recipient's email address.
|
|
|
Form Textfield
|
|
|
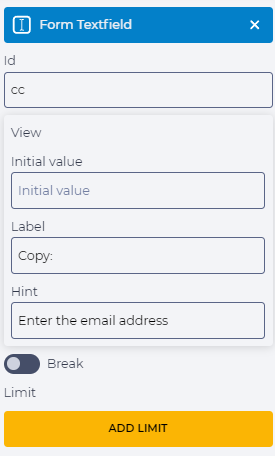
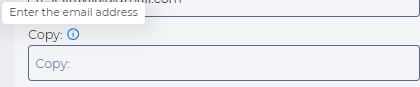
To create an input field for the Agent. In this Flow schema, this component is used to input the email address to which a copy of the reply will be sent.
To do this:
-
In the Id field, enter a system name. In this Flow schema, cc is specified.
-
In the Label field, specify the title. In this Flow schema, the following is specified: Copy:;
-
In the Hint field, specify the hint. In this Flow schema, the following is specified: Enter the email address.
|
|
|
Generate Form
|
|
|
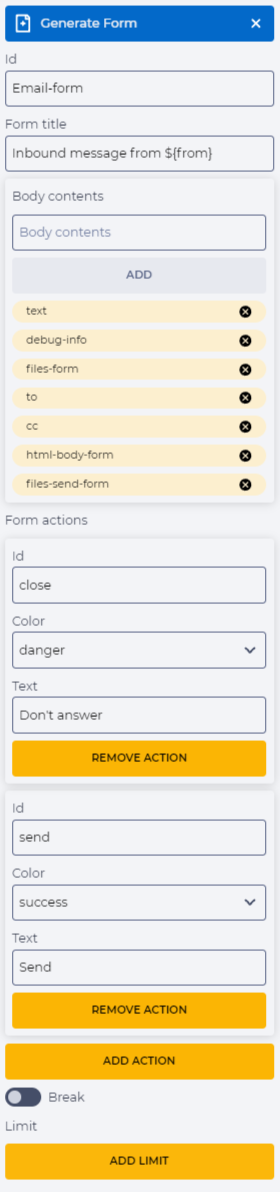
Create a form based on previously created elements.
To do this:
-
In the Id field, enter a system name. In this Flow schema, it is set to Email-form;
-
In the Form title field, enter the text of the form title: Inbound message from ${from};
-
In the Body contents field, enter the id of the components in the order in which they should be displayed in the form. To add a component, enter the component id and click the Add button:
-
Enter the id from the Form Text component - text and click the Add button;
-
Enter the id from the Form Text component - debug-info and click the Add button;
-
Enter the id from the Form File component - files-form and click the Add button;
-
Enter the id from the Form Textfield component - to and click the Add button;
-
Enter the id from the Form Textfield component - cc and click the Add button;
-
Enter the id from the Form Rich Text Editocomponent - html-body-form and click the Add button;
-
Enter the id from the Form File component - files-send-form and click the Add button;
-
In the Form actions element, enter the data for creating buttons:
-
The Don't answer button
-
In the Id field, enter the service name - close;
-
In the Color field, select the button color - danger;
-
In the Text field, enter the name of the button - Don't answer
-
the Send button
-
In the Id field, enter the service name - send;
-
In the Color field, select the button color - success;
-
In the Text field, enter the name of the button - Send
|
|
|
If
|
|
|
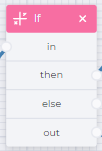
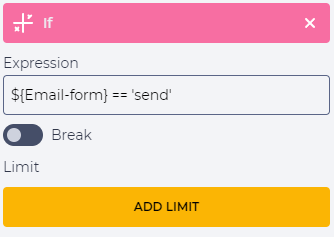
Checking if the Send button is clicked.
To do this, enter the following in the Expression field: ${Email-form} == 'send'
|
|
|
Branch 1
|
|
Send email
|
|
|
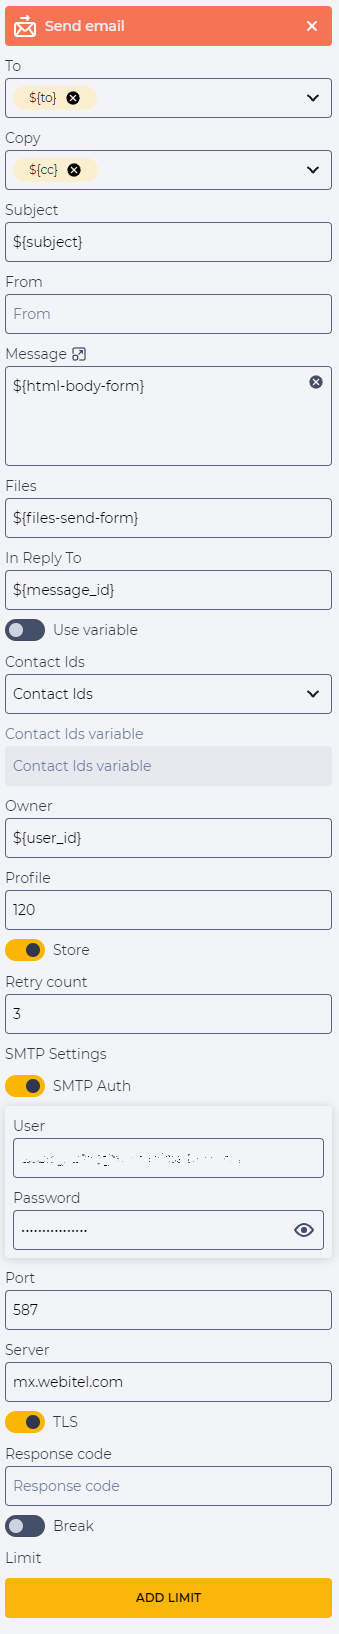
To send an email.
To do this:
-
Enter the recipient's email address in the To field, or specify it using a variable. In this example, the variable used is ${to};
-
In the Copy field, enter the email address to which to send a copy of the answer, or set it using a variable. In this example, the variable used is ${cc};
-
In the Subject field, enter the subject of the outgoing message. In this Flow schema, a variable is used to pass the subject of the inbound message - ${subject};
-
In the Message field, enter the message's text to be sent or specify it as a variable. In this Flow schema, a variable from the Form Rich Text Editor component is used - ${html-body-form};
-
In the Files field specify the variable id from the Form File component - files-send-form;
-
In the In Reply To field, specify the variable ${message_id} to quote the inbound message;
-
In the Owner field, specify the variable ${user_id};
-
In the Profile field specify the identifier of the Email profile to be used. In this example - 120;
-
Set the Store switch to the active position;
-
In the Retry count field, specify the number of retries;
-
Switch the SMTP Auth switch to the active position - the User field and the Password field are added:
-
In the User field, enter the email address specified in the Email profile (in the Login field), which will be used to send notifications;
-
In the Password field, enter the password for the email address specified in the Email profile (the Password field), which is used to send the message;
-
In the Port field, enter the data from the SMTP Port field of the Email profile used;
-
In the Server field, enter the data from the SMTP Host field of the Email profile used.
The Email profile must be enabled.
|
|
|
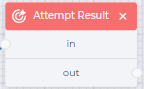
Attempt Result
|
|
|
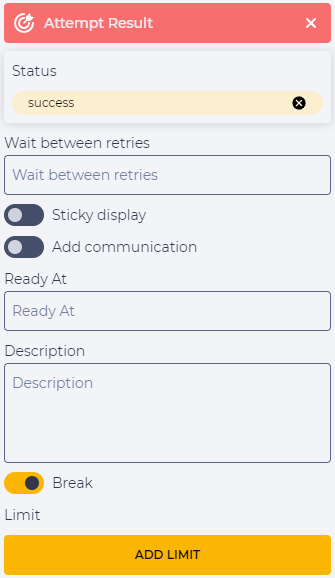
In this example:
-
In the Status field, select - success. Click the Add button;
-
Set the Break switch to the active position.
|
|
|
Branch 2
|
|
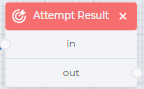
Attempt Result
|
|
|
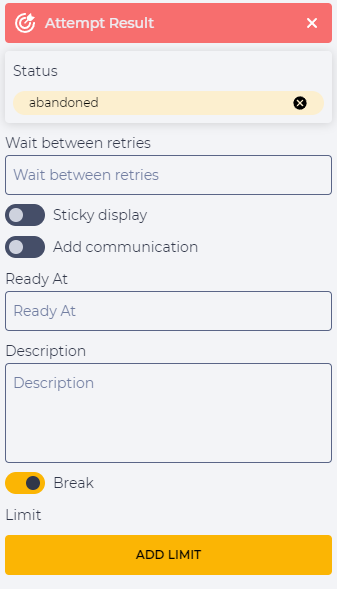
In this example:
-
In the Status field, select - abandoned. Click the Add button;
-
Set the Break switch to the active position.
|
|