
1. Description
It is designed to direct the subscriber to the Queue and is used for Inbound calls or chats.
This component is present in flow types like:
-
Voice;
-
Chat.
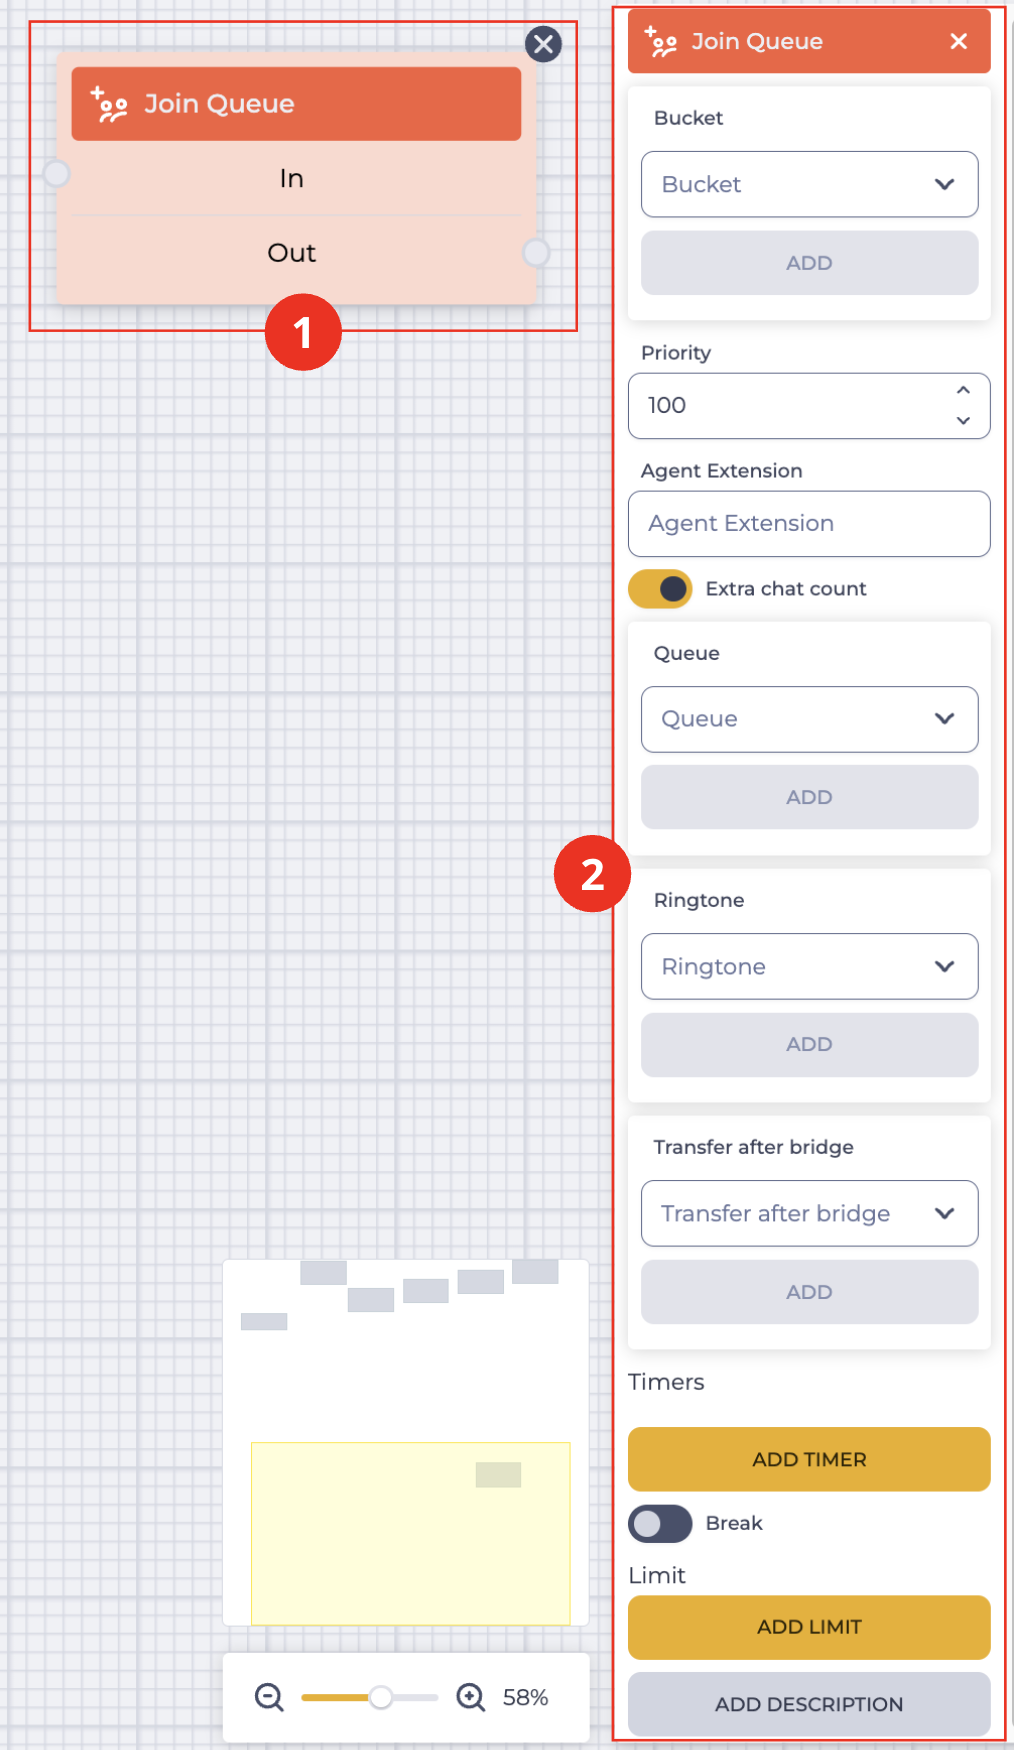
The block (Fig. 1.(1)) is used in space to build the Flow. The settings panel for this component opens (Fig. 1.(2)) when you click on the block.
1.1. Join Queue block
The block consists of the following elements:
-
The name of the component;
-
In branch — receiving (connecting with the previous block) branch;
-
Out branch — outgoing (connecting with the following block) branch. When hovering over the Out field, a switch appears. The switch allows this component to be connected to a component that already has a connection.
The presence of an 
Changing the switch position removes the outgoing branch of this component.
The 
1.2. Join Queue settings panel
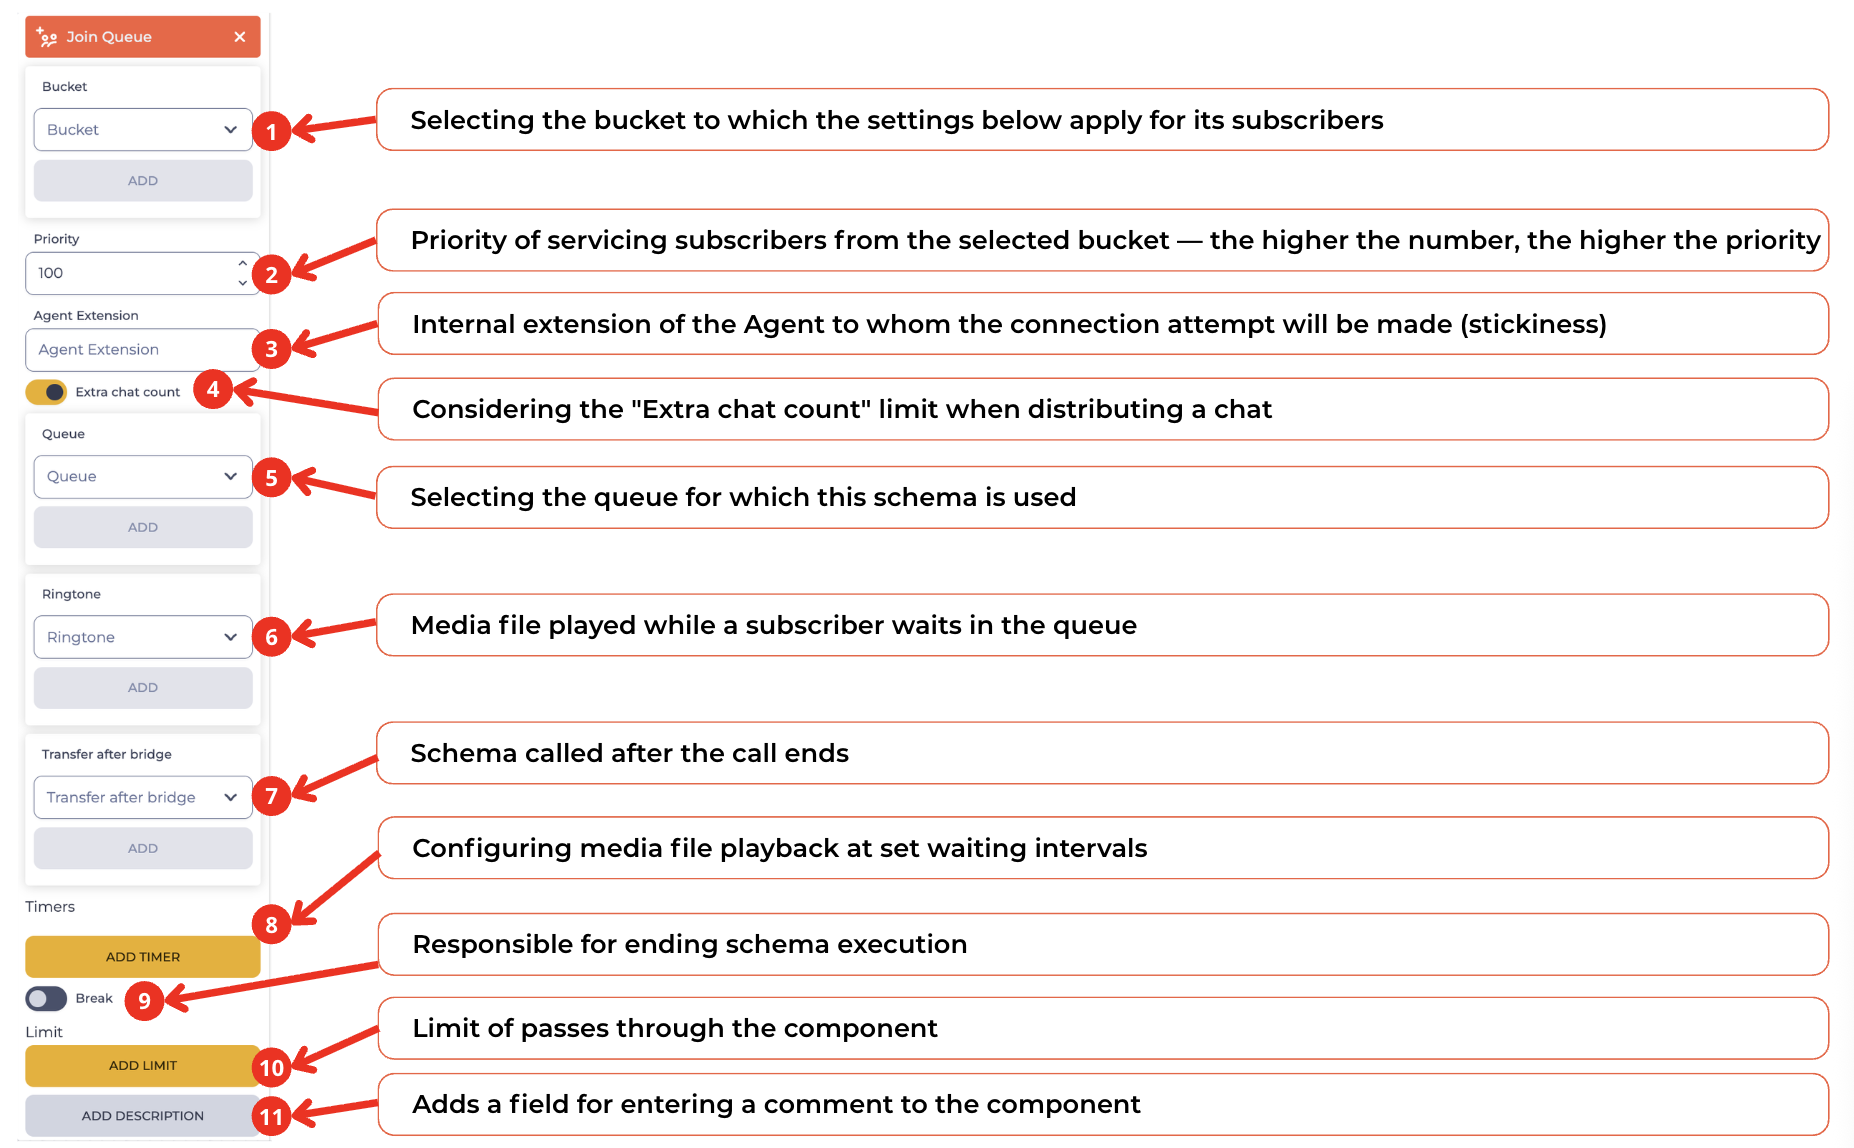
It consists of the following elements (Fig. 2):
1.2.1. Bucket
When you click on this field, a drop-down list opens from which you can select a Bucket for which the current settings will be specified below. You can select from the drop-down list or set it manually.
1.2.2. Priority
You can set the service priority for subscribers from the selected Bucket in this field. The higher the number, the higher the priority.
1.2.3. Agent Extension
Here you can enter the Extension of a specific agent to which an attempt to connect will be made (sticky).
1.2.4. Extra chat count toggle
Determines whether the Extra chat count limit set in the Agent's card is applied to a chat passing through this component.
The logic depends on the toggle's value and whether the Agent Extension field is filled in:
-
the toggle is on and the Agent Extension field is filled in — the chat is routed to the specified Agent, and the Extra chat count limit is checked for that Agent;
-
the toggle is on and the Agent Extension field is empty — the chat is routed to the queue, and the Extra chat count limit is checked for all Agents in the queue;
-
the toggle is off and the Agent Extension field is filled in — the chat is routed to the specified Agent, and the Extra chat count limit is not checked;
-
the toggle is off and the Agent Extension field is empty — the chat is routed to the queue, and the Extra chat count limit is not checked for any of the Agents in the queue.
1.2.5. Queue
Clicking on this field opens a drop-down list of queue names from which you have to select the Queue for which this Flow Scheme will be used. You can select from the drop-down list or set it manually.
1.2.6. Ringtone
It is intended for selecting a media file that will be played while the subscriber is waiting in the Queue. Clicking on the field opens a drop-down list with available media files. You can select from the drop-list or set it manually.
1.2.7. Transfer after bridge
It is designed to be able to call another Flow schema after the end of the call.
Clicking on this field opens a list of Flow schemas from which you can choose. You can select from the drop-down list or set it manually.
It is used, for example, to send a request to the subscriber to evaluate the call quality.
1.2.8. Timers
It is used to play a media file with information that needs to be played after some waiting time.
Represented by the Add timer button, which, when clicked, opens the Timer element, which consists of:
-
Interval (sec);
-
Tries;
-
Remove tool.
A branch appears with the name of this timer in the block (Fig.2) when adding the Timer element (Fig.1(1)). The name of the timer is generated automatically.
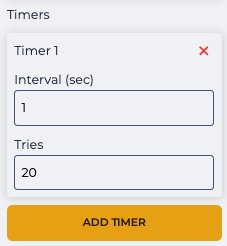
You can add several timers.
1.2.8.1. Interval (sec)
Here enter the time (in seconds) after which the record selected using the Playback component is played.
1.2.8.2. Tries
Here enter the number of playback repetitions.
For example:
You enter 20 in the Interval (sec) field and 3 in the Tries field.
The file selected using the Playback component will be played on the 20th, 40th, and 60th-second.
1.2.8.3. Remove tool
Clicking the icon 
1.2.9. Break
Responsible for the completion of the flow execution.
-

-

1.2.10. Limit
It is intended to determine the maximum number of passes through this component.
The failover branch appears in the edited component when the limit is set 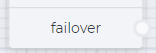
The failover branch will be used if more passes are passed through the component than entered in the Max field.
Clicking on the Add Limit button adds a Max field and a Delete limit button.
The number of possible passes is indicated in the Max field.
Clicking on the Delete limit button removes the limit and returns the Add limit button.
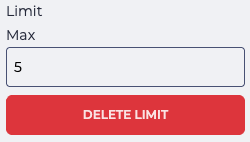
Fig. 3. Setting a limit
1.2.11. Add description
When you click the Add description button, a Description field and a Delete description button will be added.
The Description field is used to add comments to the component.
Clicking the Delete description button removes the description field and brings back the Add description button.
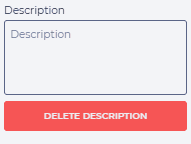
Fig. 4. Add description