
1. Description
It is designed to put the subscriber in the agent's queue.
This component is present in flow types like:
-
Voice.
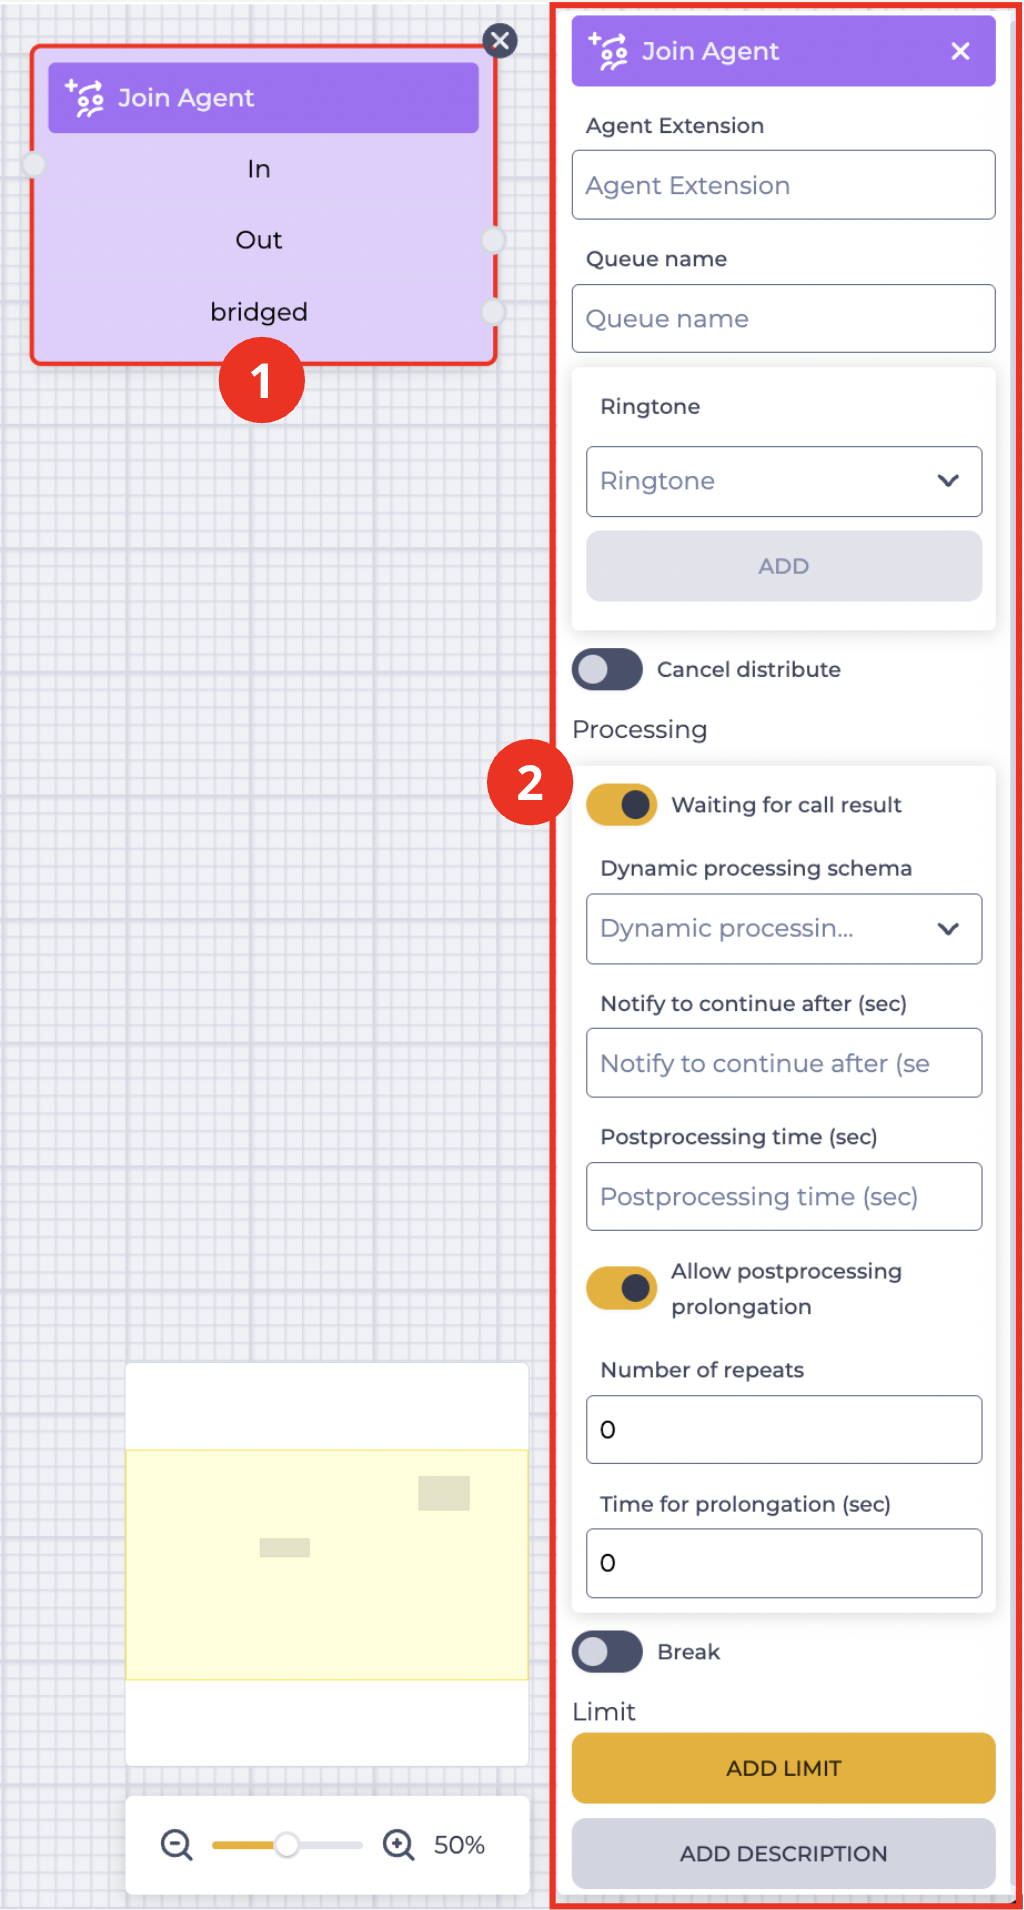
The block (Fig. 1.(1)) is used in space to build the Flow. The settings panel for this component opens (Fig. 1.(2)) when you click on the block.
1.1. Join Agent block
The block consists of the following elements:
-
The name of the component;
-
In branch — receiving (connecting with the previous block) branch;
-
Bridged branch — to act on the connection event (the agent accepted a call);
-
Out branch — outgoing (connecting with the following block) branch.
When hovering over the Out, or Bridged field, a switch appears. The switch allows this component to be connected to a component that already has a connection.
The presence of an 
Changing the switch position removes the outgoing branch of this component.
The 
1.2. Join Agent settings panel
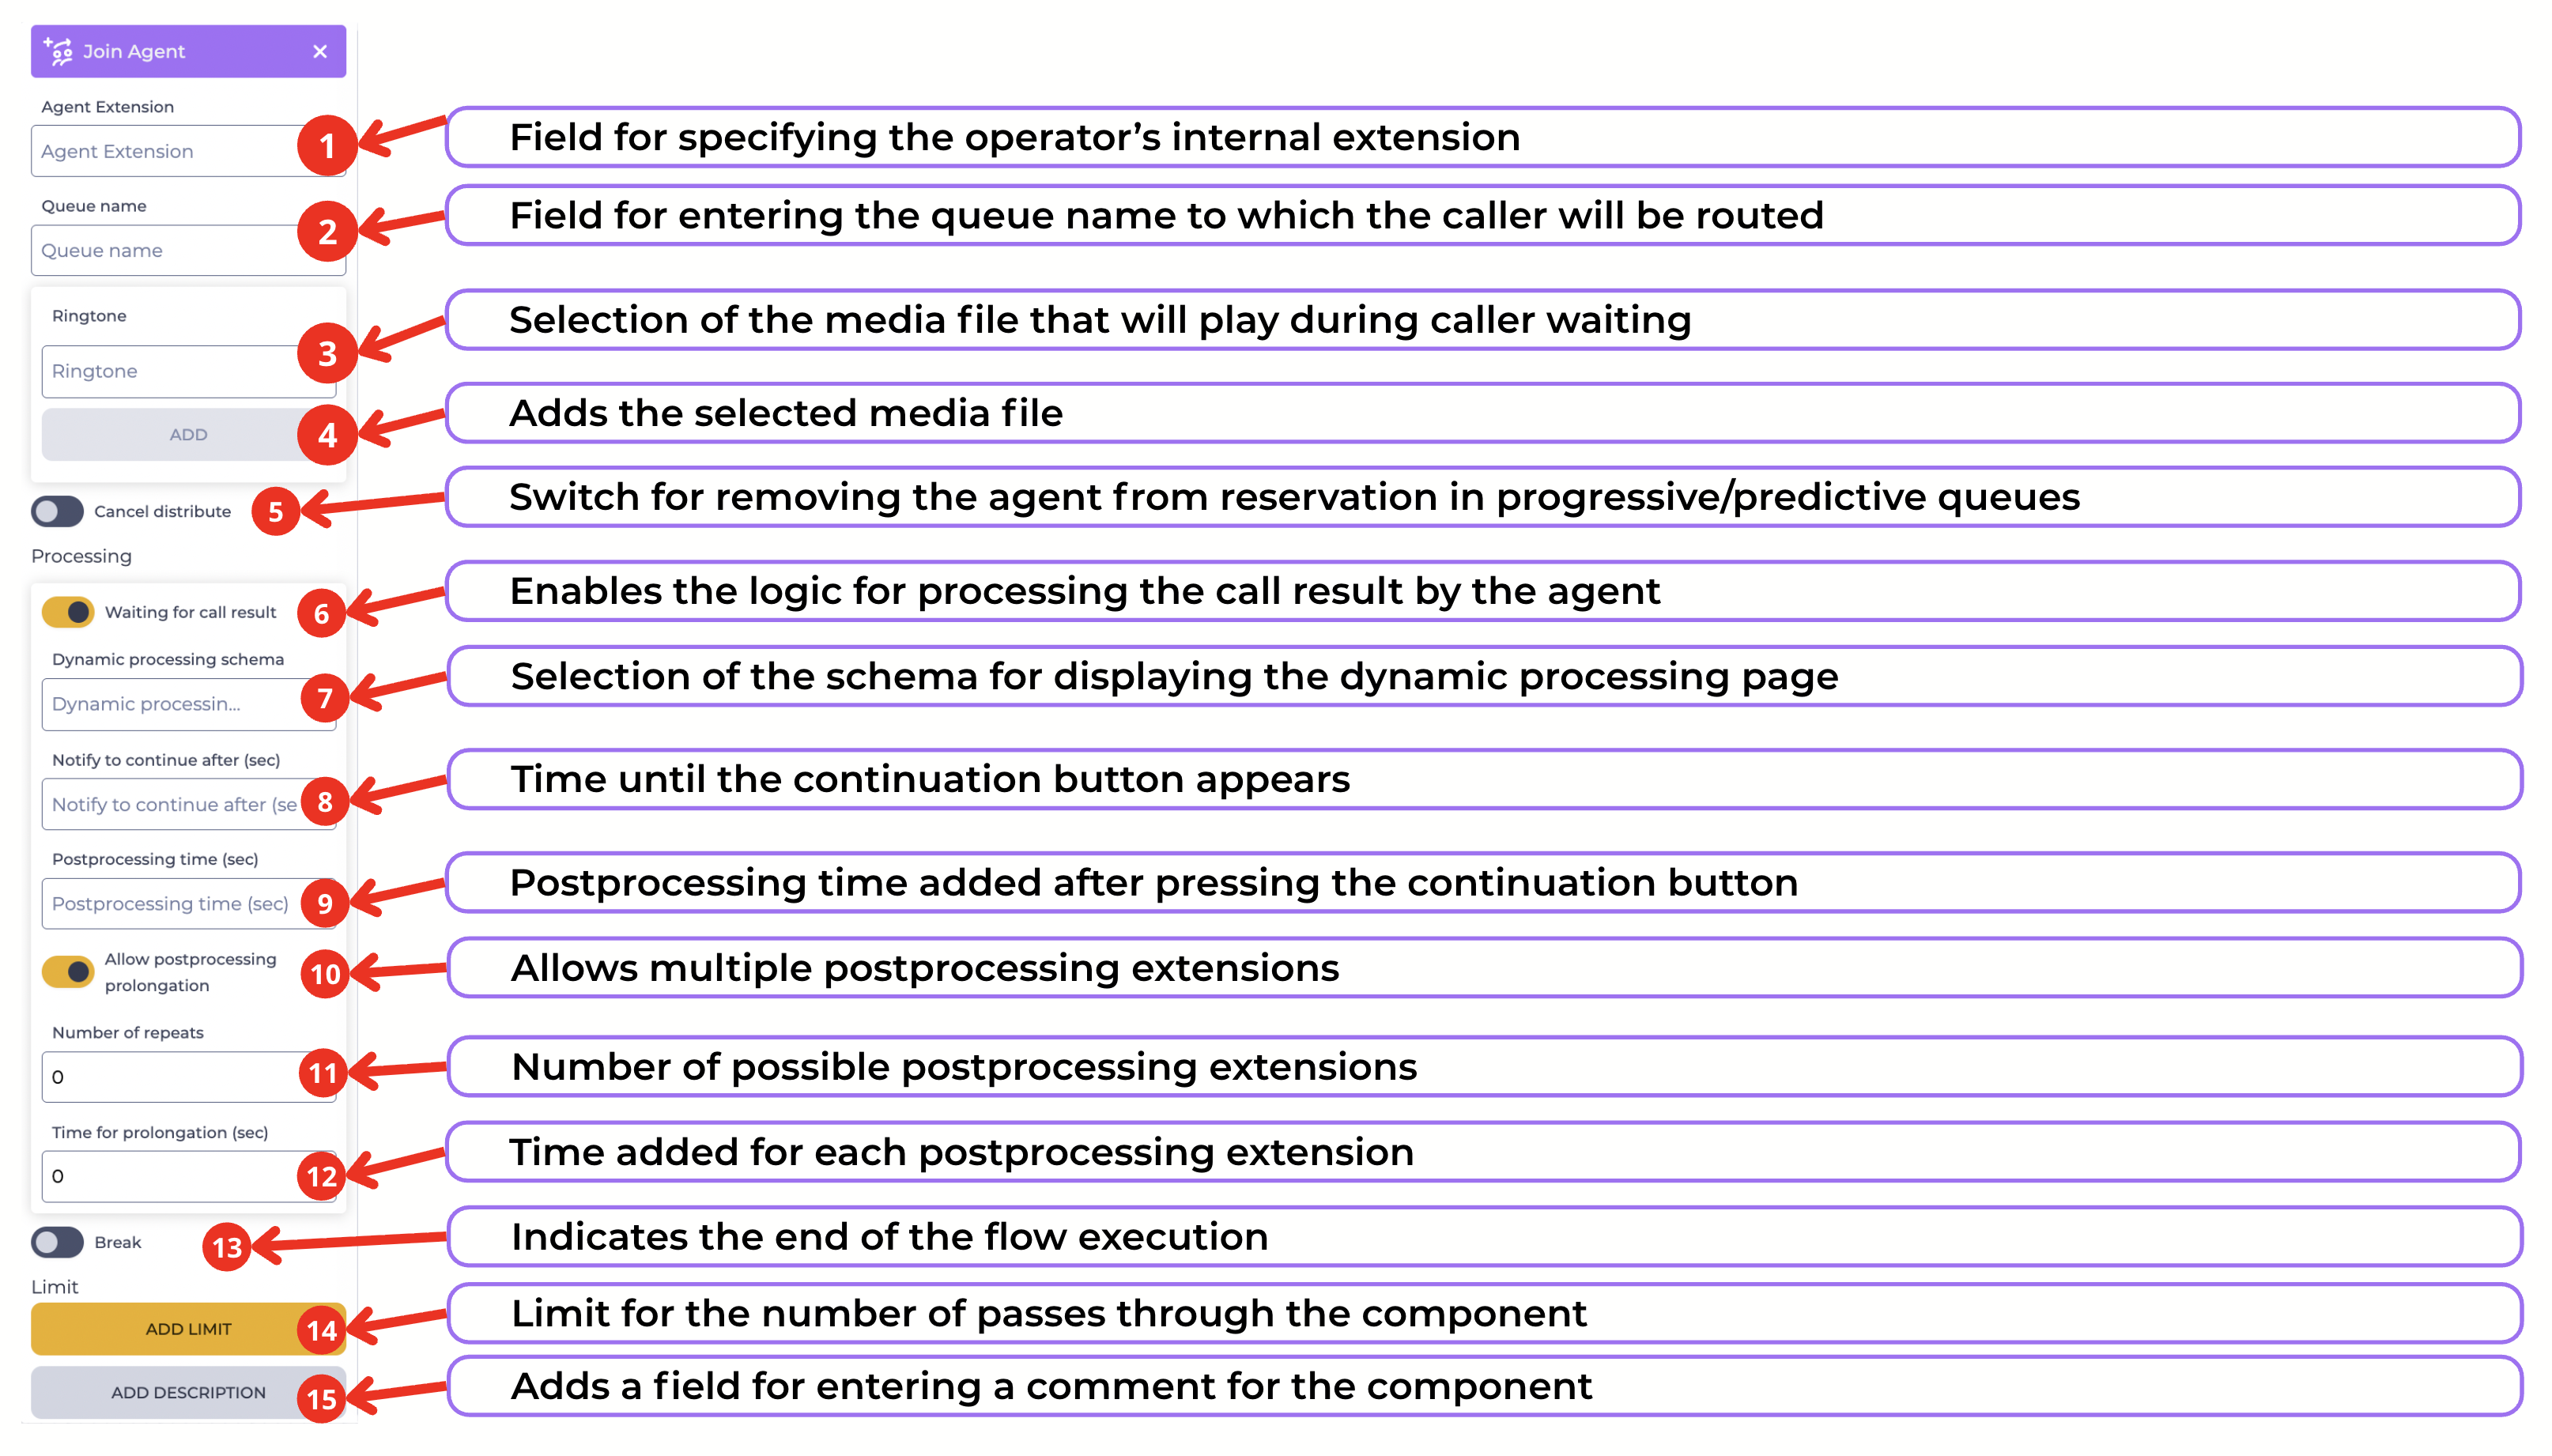
It consists of the following elements (Fig. 2):
1.2.1. Agent Extension
Here, enter the extension of the Agent to whom you want to put the subscriber.
1.2.2. Queue name
Here, enter the name of the Queue to display to the Agent.
1.2.3. Ringtone
It is intended for selecting a media file that will be played while the subscriber is waiting. Clicking on the field opens a drop-down list with available media files. You can select from the drop-list or set it manually.
1.2.4. Add button
After clicking the button, the selected ringtone is displayed as a chip with the option to remove it.
1.2.5. Cancel distribute
Responsible for removing an Agent from a reservation (used in a predictive or progressive Queue) if the Agent is reserved.
-

-

1.2.6. Processing element
This block is used to configure the logic of call processing by the agent.
When the toggle Waiting for call result is enabled
-
Field Dynamic processing schema;
-
Field Notify to continue after (sec);
-
Field Postprocessing time (sec);
-
Toggle Allow postprocessing prolongation.
1.2.7. Field Dynamic processing schema
Selection of the schema that defines the display of the dynamic page.
1.2.8. Field Notify to continue after (sec)
The number of seconds before the end of the processing time after which the agent will see the continue button.
1.2.9. Field Postprocessing time (sec)
The amount of time in seconds that is added to post-processing when the continue button is clicked.
1.2.10. Toggle Allow postprocessing prolongation
Intended to allow repeated extension of post-processing.
If the toggle is enabled
-
Field Number of repeats;
-
Field Time for prolongation (sec).
1.2.11. Field Number of repeats
A numeric field for defining the number of possible repeated post-processing extensions.
1.2.12. Field Time for prolongation (sec)
A numeric field for specifying the amount of time (in seconds) that will be added with each extension.
1.2.13. Break
Responsible for the completion of the flow execution.
-

-

1.2.14. Limit
It is intended to determine the maximum number of passes through this component.
The failover branch appears in the edited component when the limit is set 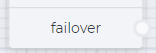
The failover branch will be used if more passes are passed through the component than entered in the Max field.
Clicking on the Add Limit button adds a Max field and a Delete limit button.
The number of possible passes is indicated in the Max field.
Clicking on the Delete limit button removes the limit and returns the Add limit button.
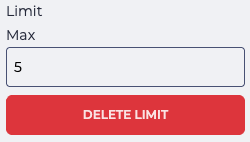
Fig. 3. Setting a limit
1.2.15. Add description
When you click the Add description button, a Description field and a Delete description button will be added.
The Description field is used to add comments to the component.
Clicking the Delete description button removes the description field and brings back the Add description button.
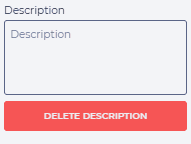
Fig. 4. Add description